Are you planning a new home or major renovation? There’s more than meets the eye when it comes to brick veneer, and that’s why it pays to understand the difference between good brick work and bad. In this case, the word “veneer” implies something thin and skimpy, but it’s actually one full brick thick – about 3 1/2″. Most of the modern brick homes and commercial buildings you see are made with one layer of brick like this and there are good reasons brick veneer is one of the premium exterior wall treatments. It’s long lasting, maintenance-free, it boosts energy performance and resale value, and it looks great.
- Reading time: 8 minutes
- Video watch time: 7 minutes
The thing is, brick veneer needs to be laid down with specific installation details in order to endure. And while bricklayers are supposed to know and follow all the best details on their own, as a property owner with a renovation or new home in mind, you need to be your own watchdog. And besides, even if you don’t have brickwork planned at your place, you might find the details and downloadable tech guide here interesting for future reference.
One of the biggest differences between a top quality brick veneer job and a bad one comes down to moisture control. This is especially true in Canada, where I live, with our legendary seasonal freeze-thaw cycles. Besides the need to keep brick at least 6” above the soil surrounding the building to avoid splashed water, the heart of moisture control begins with how the all-important air space behind the brick is created.
Brick Veneer Air Space
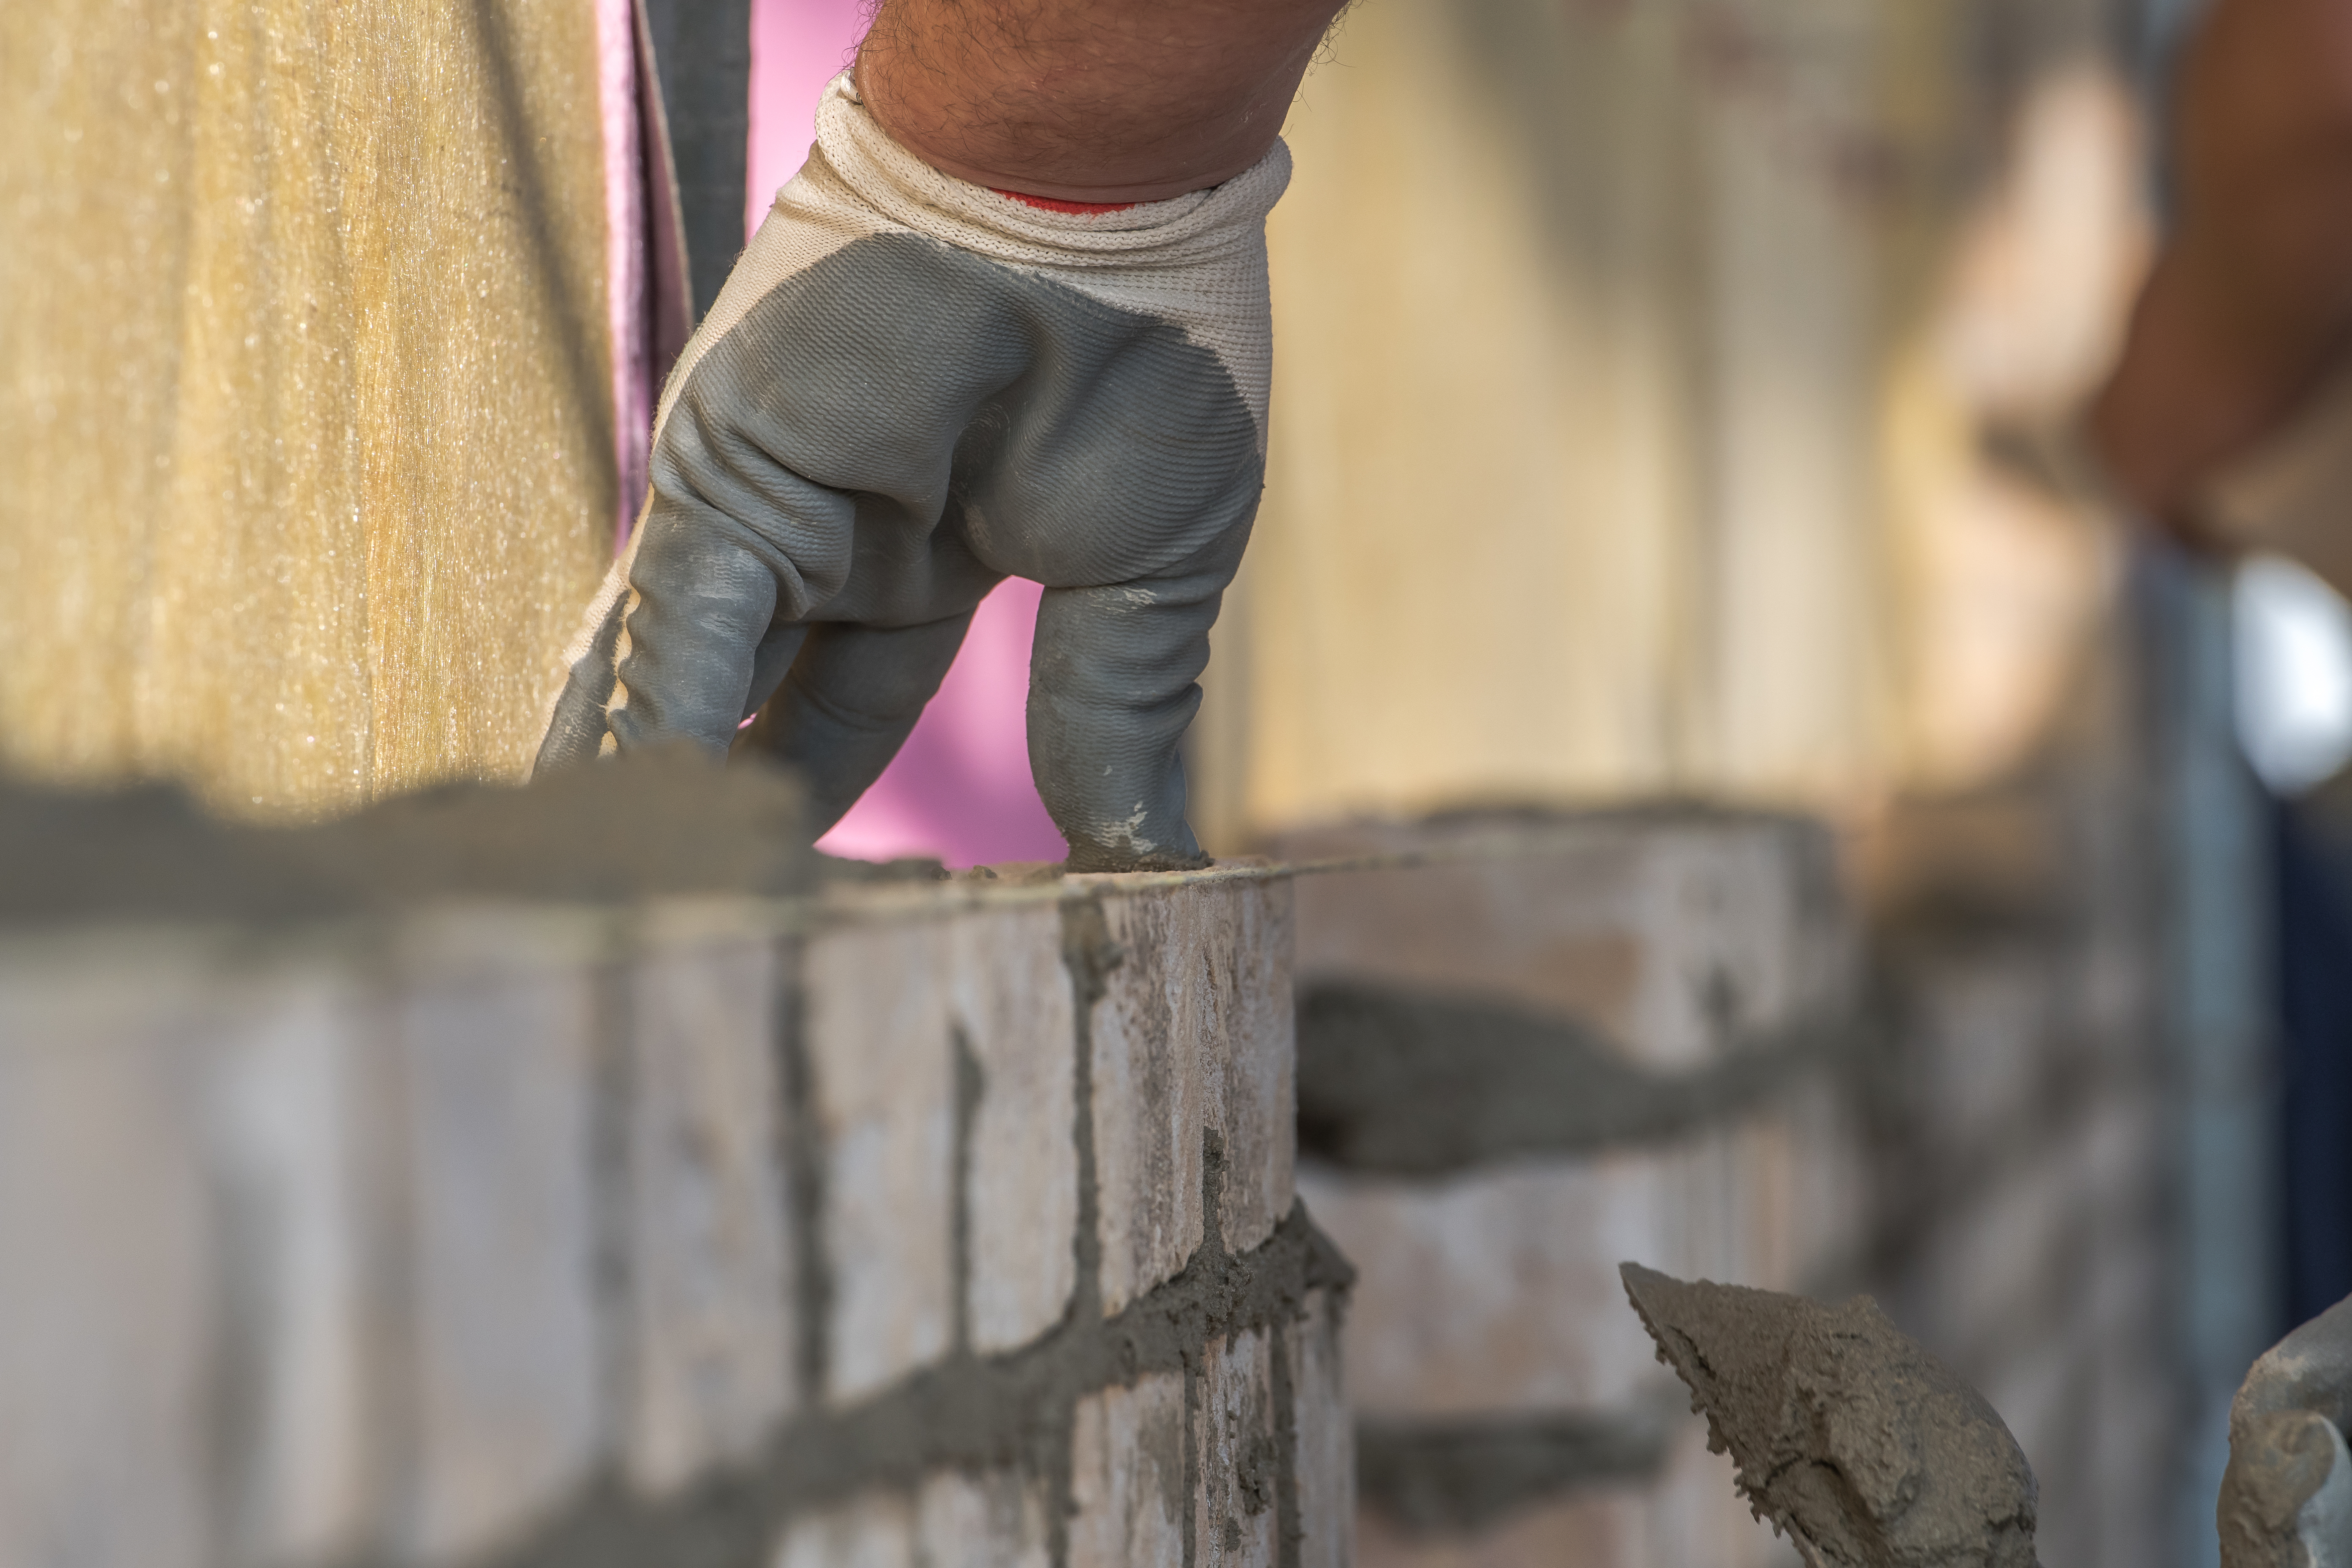
Behind every layer of brick veneer, there’s an open air space. Or at least there’s supposed to be. The purpose of the air space is to allow water to drain down and out of the wall structure, and this is usually where understanding (and attention to detail) begins to taper off during the construction of brick veneer. It’s not unusual for this air space to be mismanaged enough during installation that it doesn’t function properly. One common mismanagement issue has to do with failure to allow for mortar squeeze-out behind the bricks, clogging the space. Click the image here to download a free technical illustration that shows all the essential brick veneer details.
Even the neatest brick layer in the world will drop mortar while they work, and when this happens in the space between the brick and wall frame, it can short-circuit the drainage action of that space. Even six inches of hardened mortar buildup at the bottom of the space will slow or prevent the drainage of water that gets behind the brick. And water will certainly get there, either from leakage of rain or condensation.
The best way to ensure that dropped mortar doesn’t clog brick veneer air spaces is by applying a ventilation screen or mat against the wall before bricks go on. Some systems cover the entire wall, and other systems keep drainage open just by sitting at the bottom of the air space. To work properly, the ventilation screen needs to connect with weep holes in the bottom of the wall, one missing vertical mortar joint every three or four bricks along the bottom. More on weep holes in a minute.
Brick Veneer & Better Building Wrap
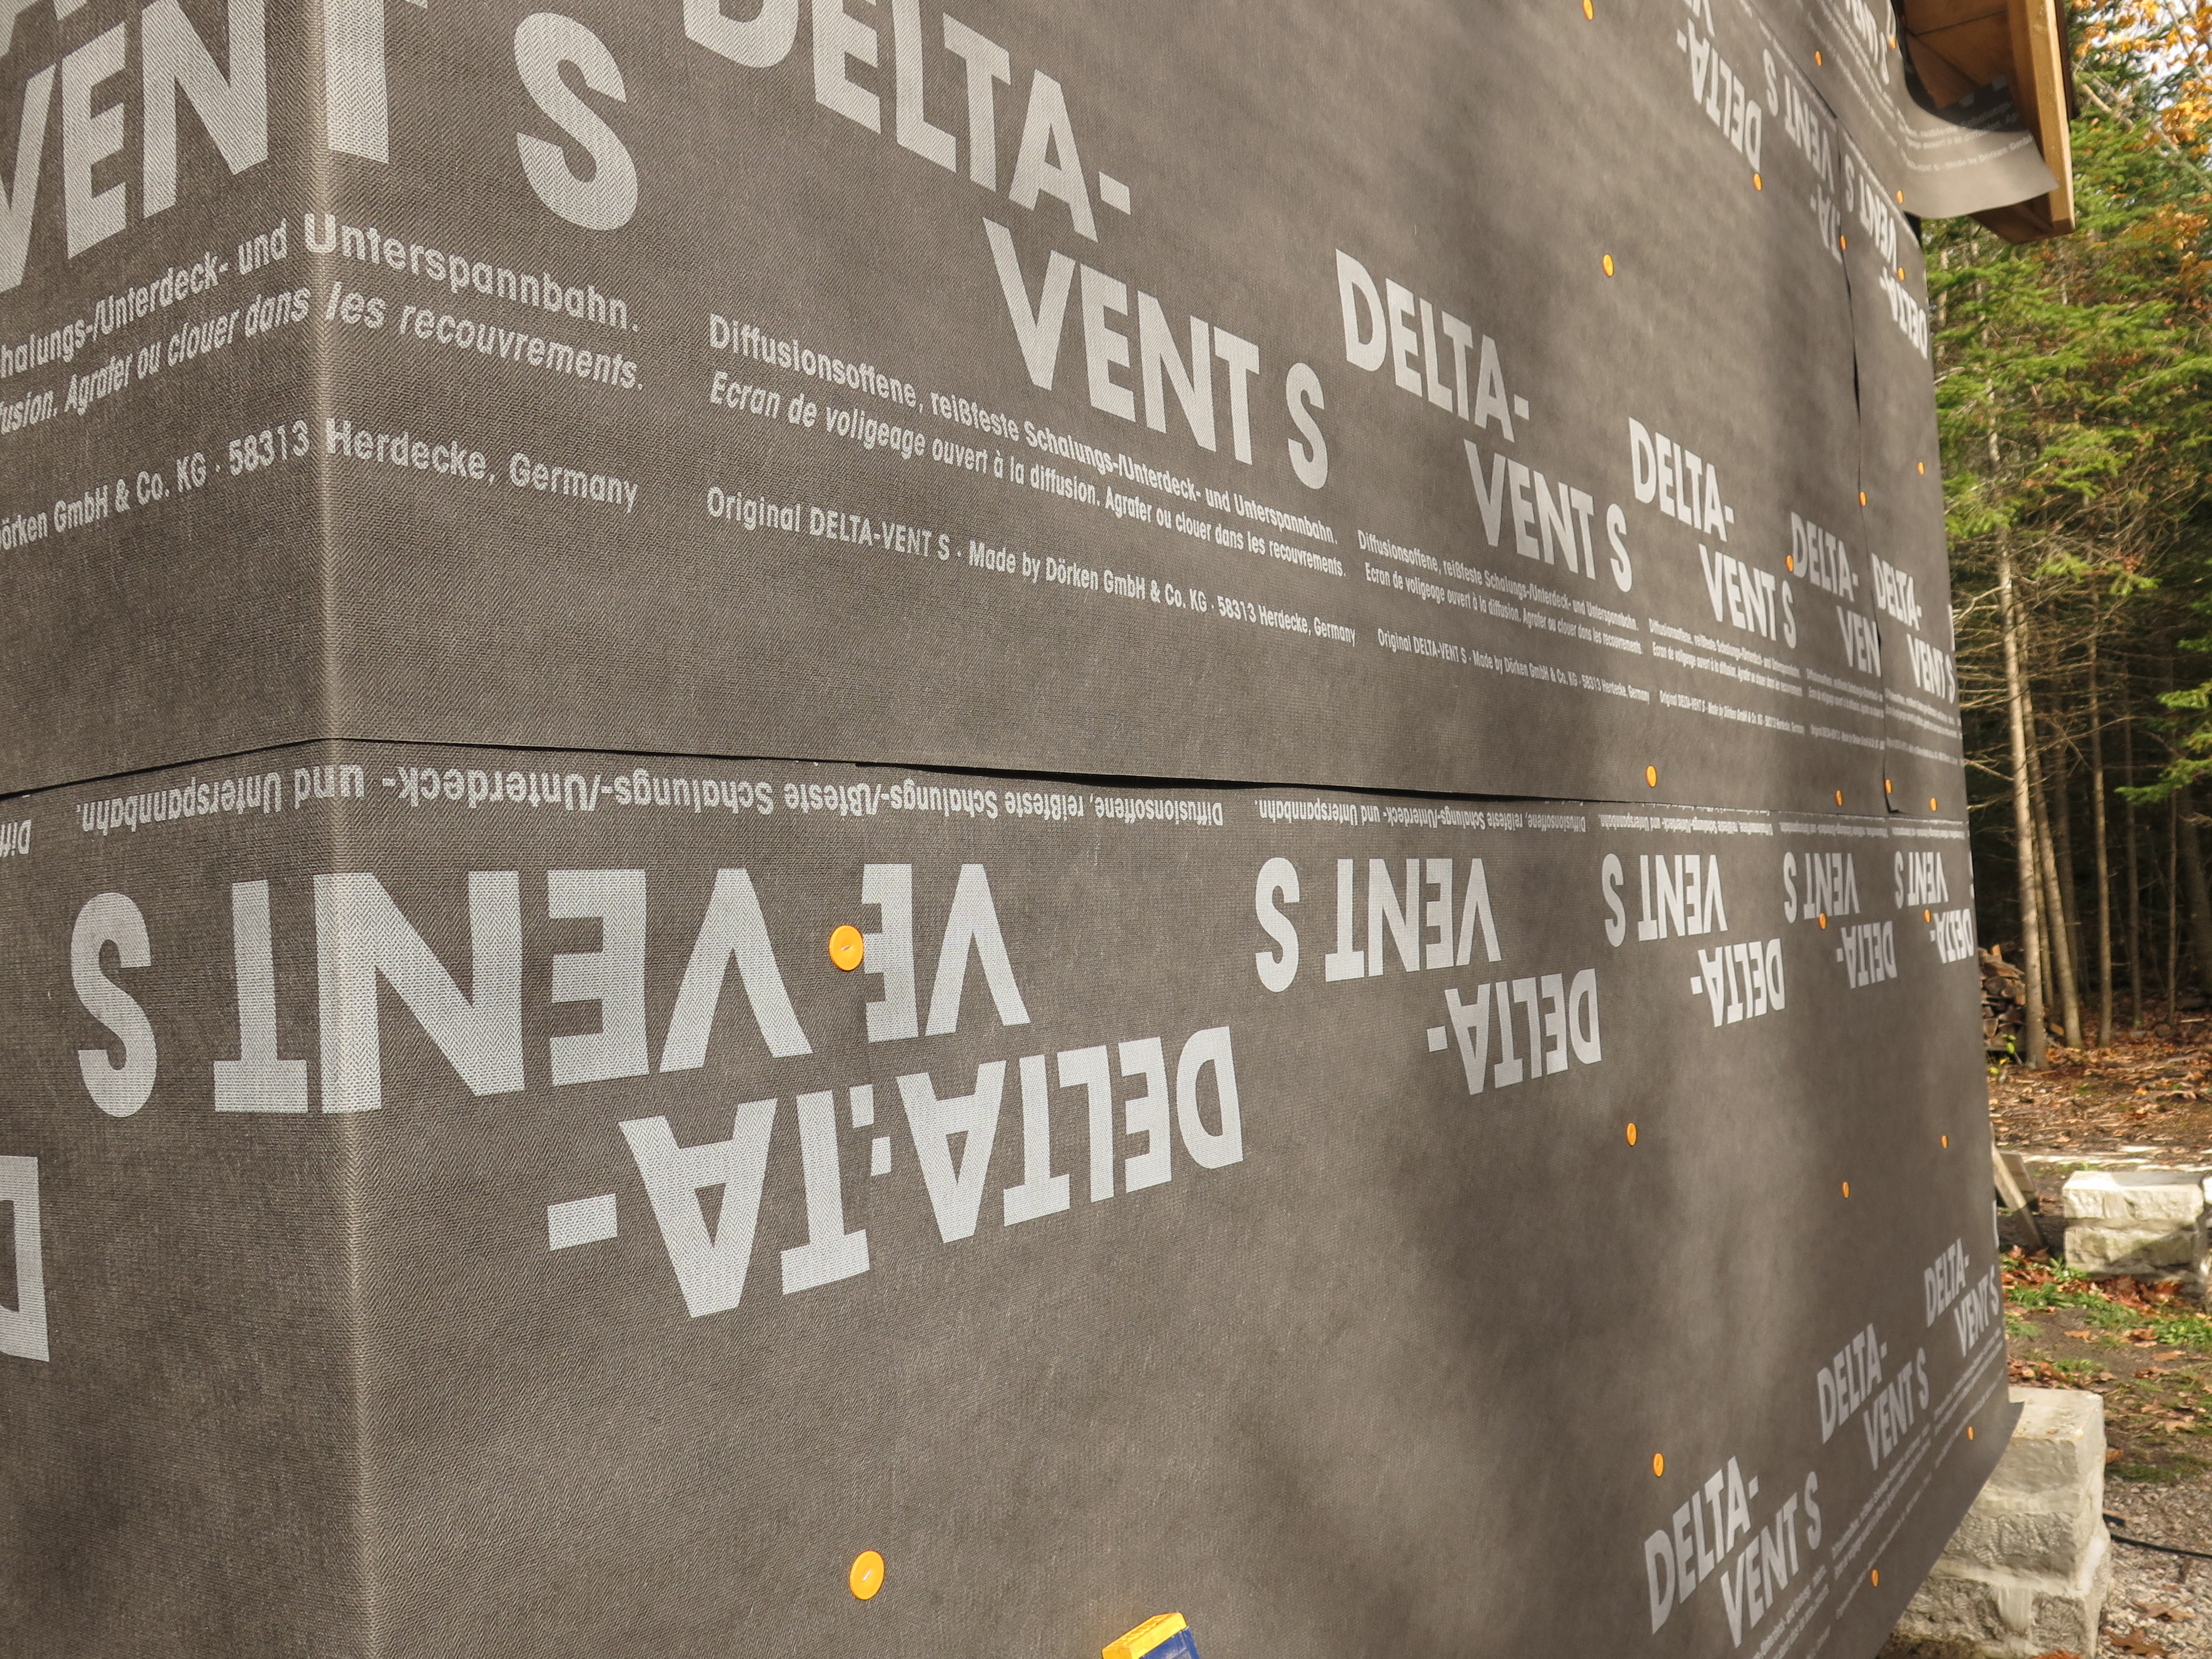
Advances in building wrap has made it possible to have your cake and eat it, too. Today’s best wraps provide very durable protection against liquid water penetration, while also allowing water vapour to pass through them if drying of the underlying wall frame ever becomes necessary. A building should be waterproof before brick goes on, but the ability for the underlying structure to dry out is a big bonus, too. Standard building wraps do not allow drying, so ask questions about the wrap you plan to use. I know from experience that the DELTA VENT S product you see here works great and is highly breathable.
Brick Veneer & Foundation Flashing
Water is sneaky stuff, and that’s the reason to install flashing between the bottom layer of bricks and the top of the foundation that supports the brick, extending up the wall frame at least 6”. Without this flashing, water can do one of two nasty things. First, any liquid water that drains down into the air space behind the brick is just as likely to leak back into the building as it is to drain out the weep holes if there’s no flashing. Flashing ensures an outward flow only. And second, flashing ensures that water hitting the outside of the bricks doesn’t sneak into the joint between the brick veneer and the foundation. Since the flashing extends beyond the building with a lip, it encourages water to drip down on the outside of the foundation, just like it’s supposed to.

These days “flashing” isn’t usually the sheet metal that gave this item it’s name years ago. Now flashing is much more likely to be a flexible, synthetic membrane laid on top of the foundation wall before the first bricks go down. This works fine and is code compliant, but copper sheet is still considered the best option. Copper resists corrosion, lasts forever and since it’s rigid it can be bent to create an angled extension that ensures water drips beyond the foundation.
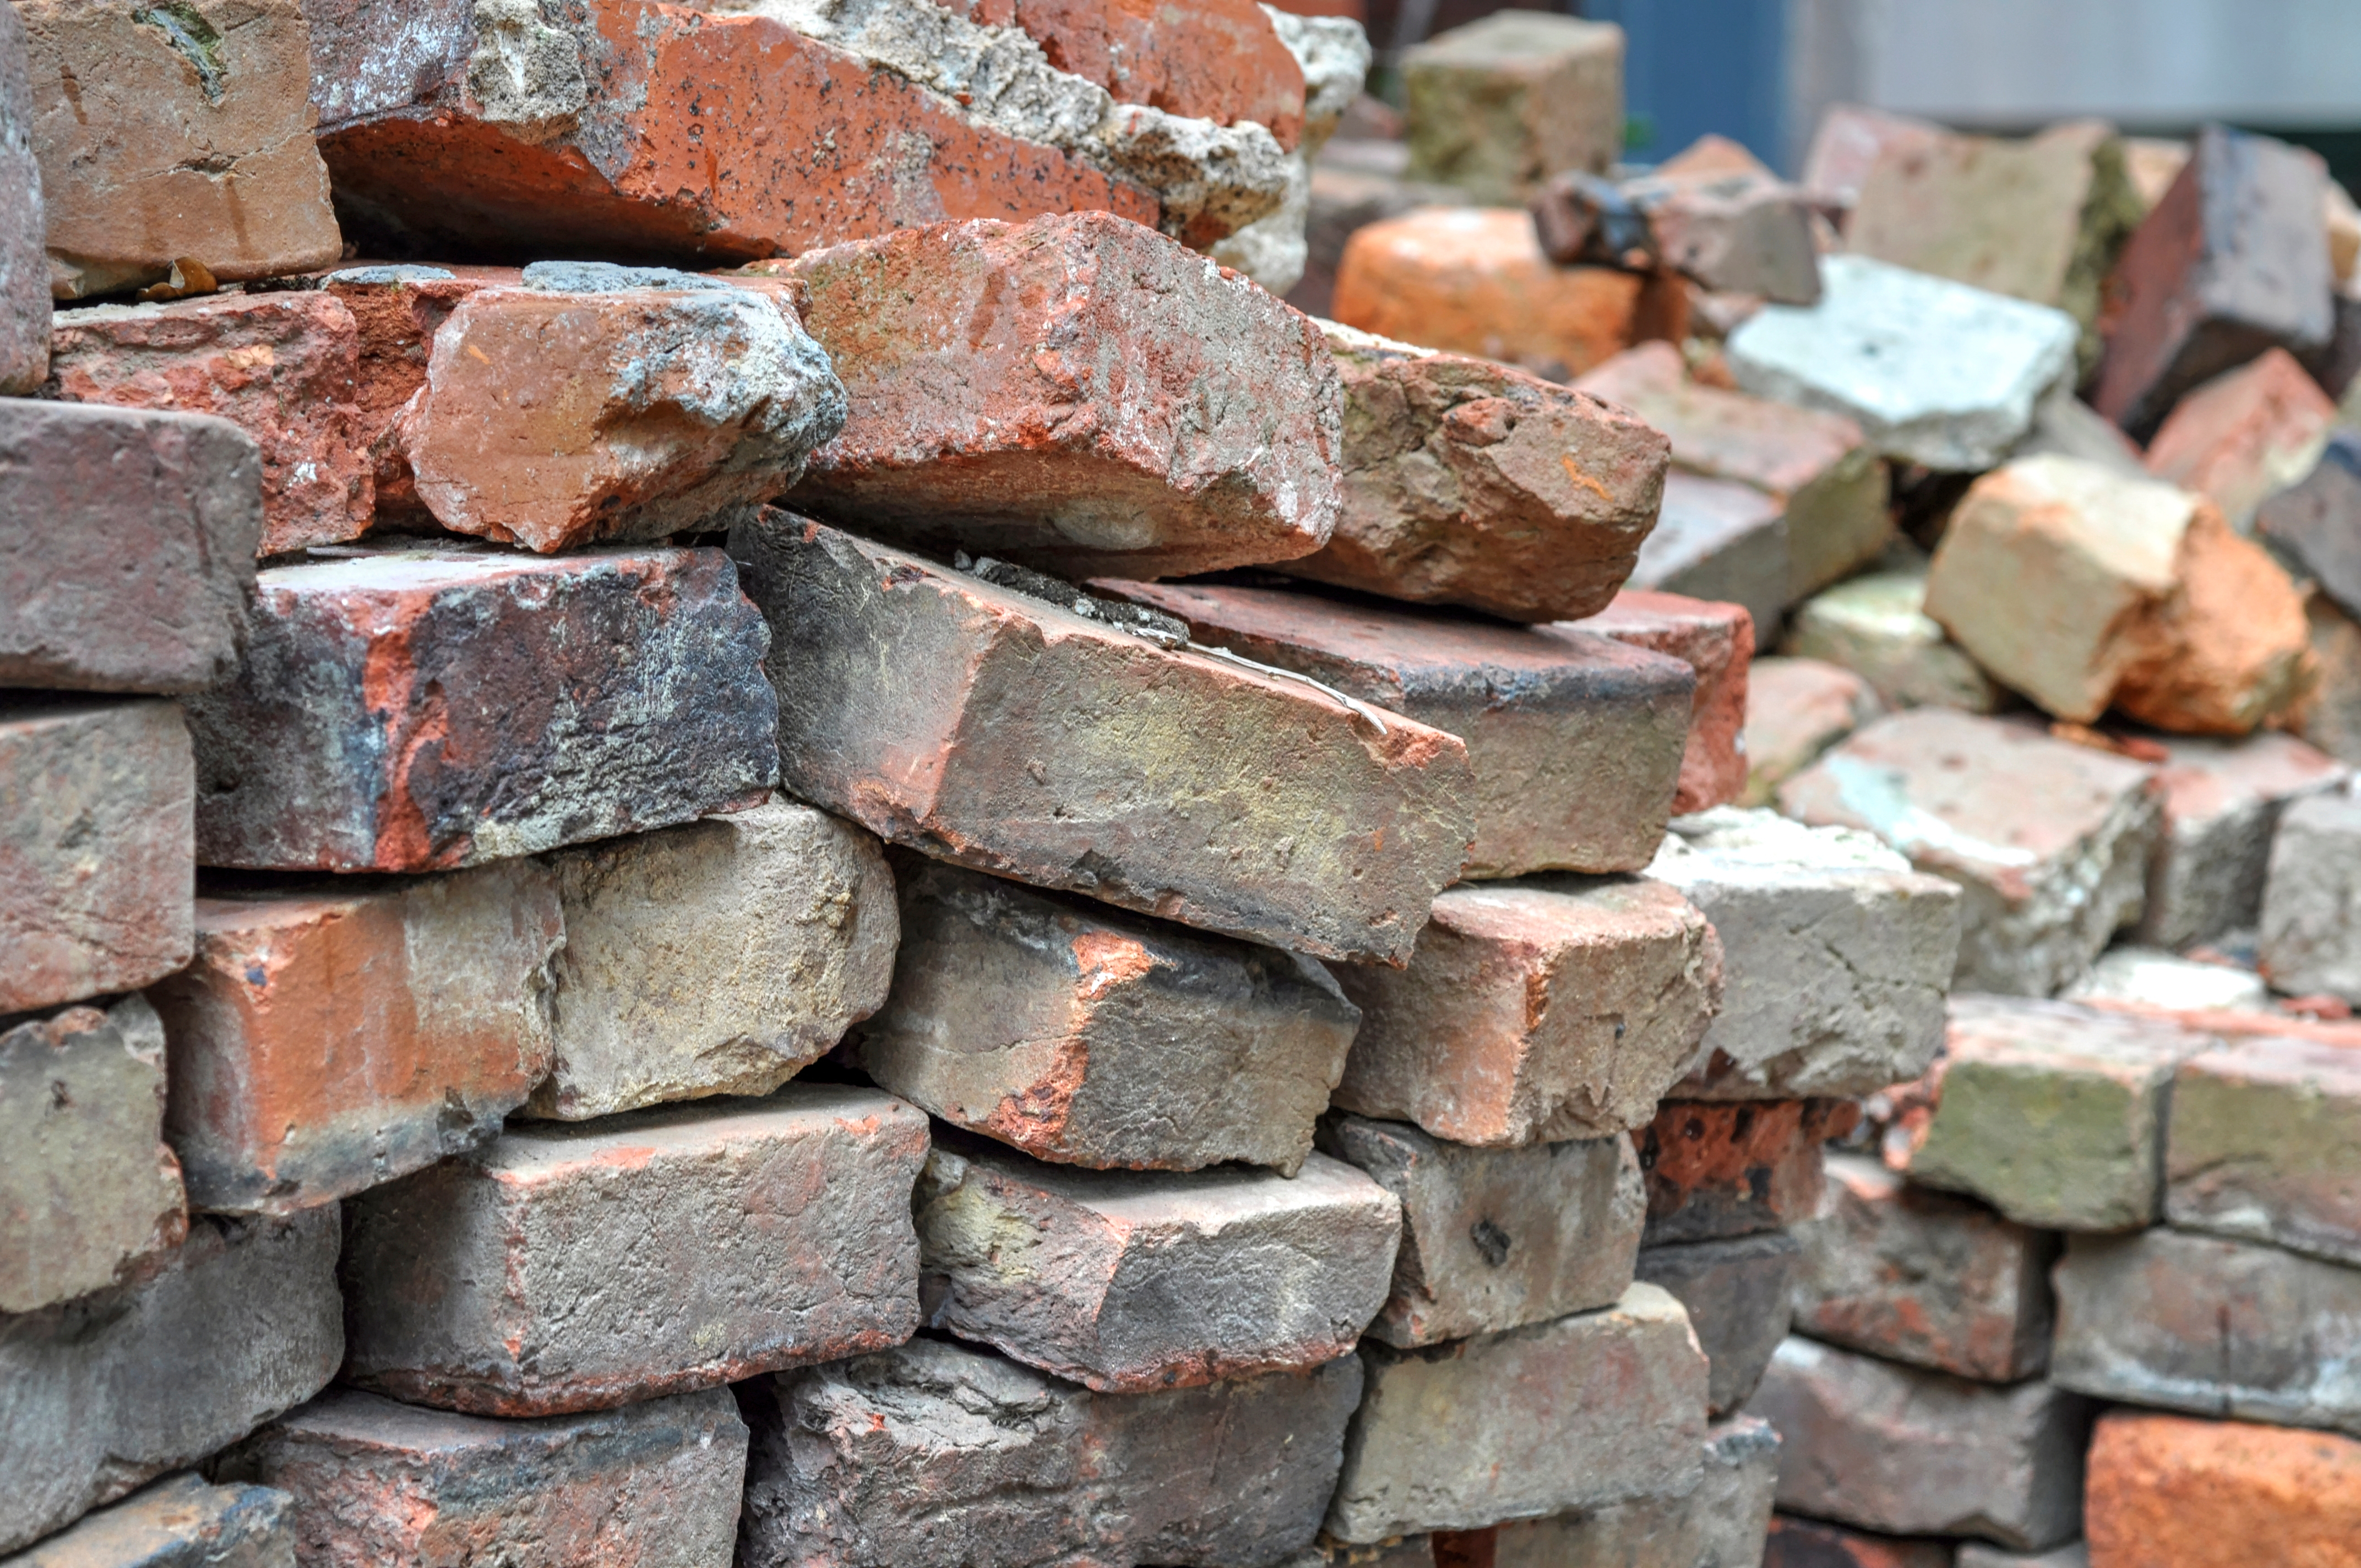
Beware Reclaimed Bricks
From time to time you’ll see new buildings made with old-fashioned reclaimed bricks. That’s understandable because old brick looks so good, but it also presents a danger that you need to understand. Reclaimed bricks usually come from buildings that were made entirely with brick – no wood or steel wall frames involved, just multiple thicknesses of solid brick, two, three or even four bricks interlocked together. In vintage buildings like this it wasn’t unusual for only the exterior bricks to be fired to the point where they don’t absorb enough moisture to be in danger during winter. Cheaper, more porous brick could have been used for all the rest. It’s entirely possible that some inner bricks can get mixed up with an order of reclaimed antique brick, leading to flaking and spalling of that brick in time in your building.
Brick Veneer Weep Holes
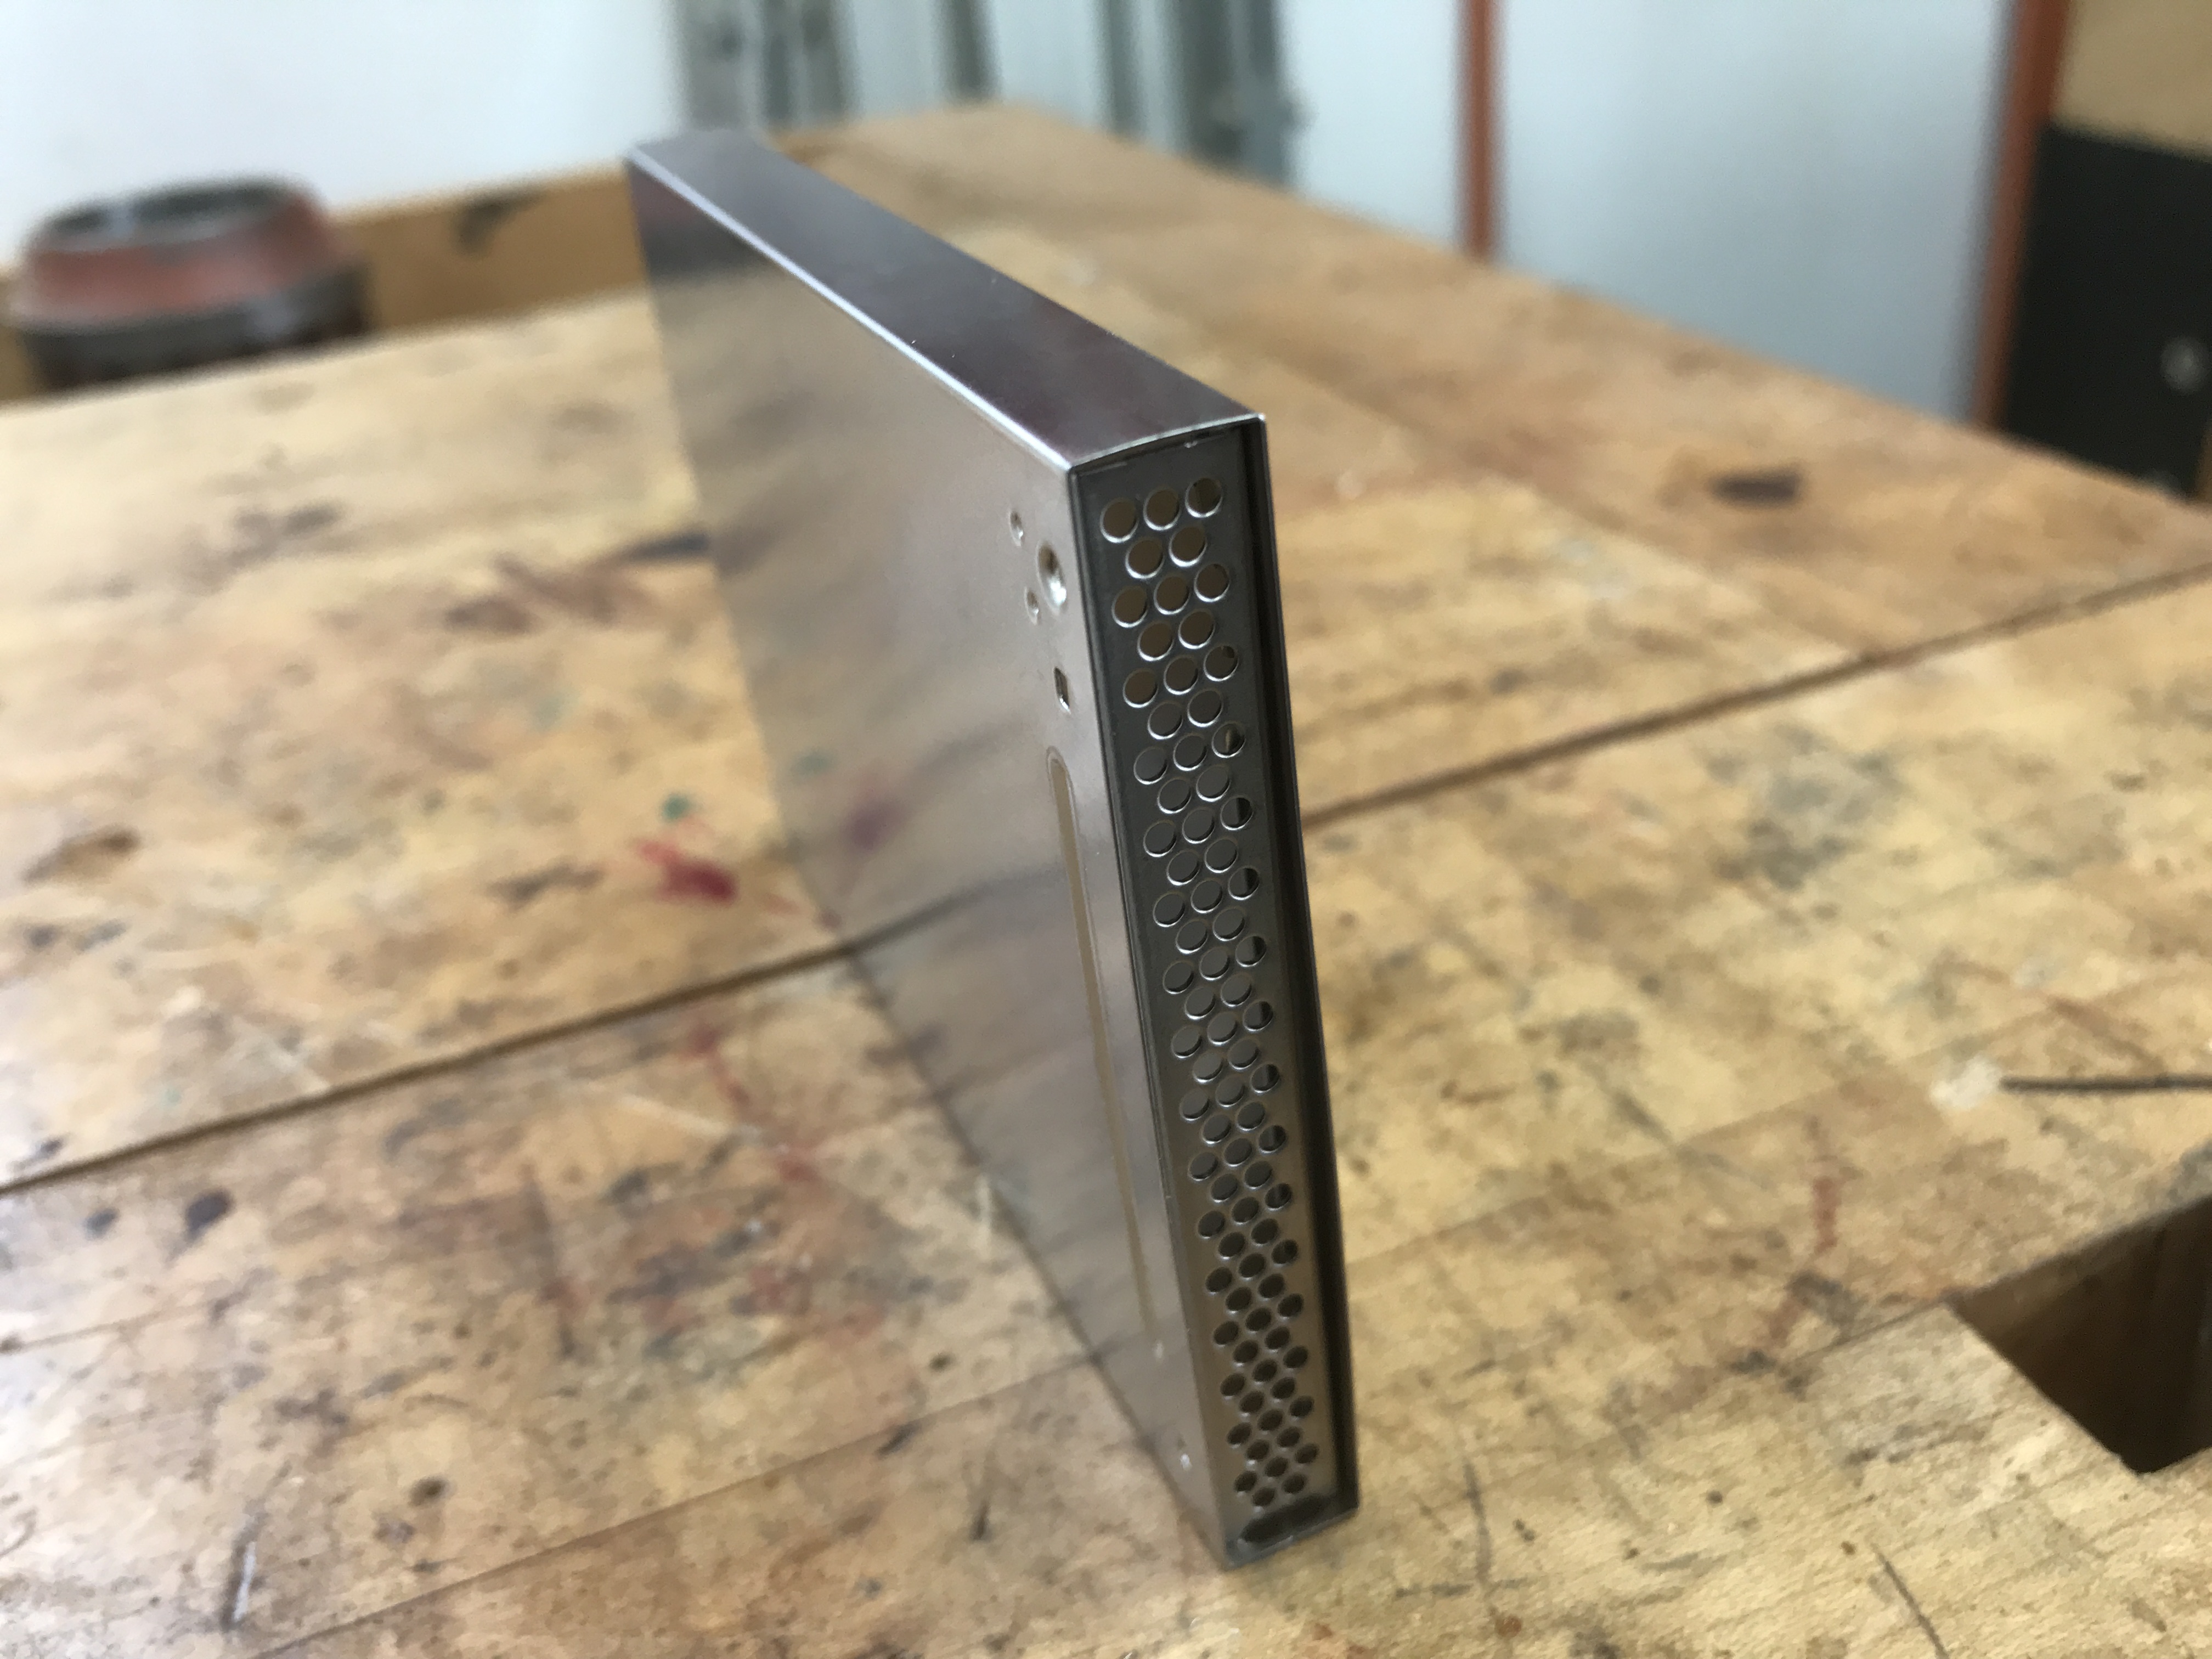
Look along the bottom of any properly built brick veneer structure and you’ll see weep holes. Or at least you should see them. As I mentioned, weep holes are empty or screened vertical mortar joints designed to let water out from between the brick and the wall frame, but the standard practice of leaving weep holes open or minimally screened is risky because they can let in insects and mice. Weeps holes in action are what you see below.
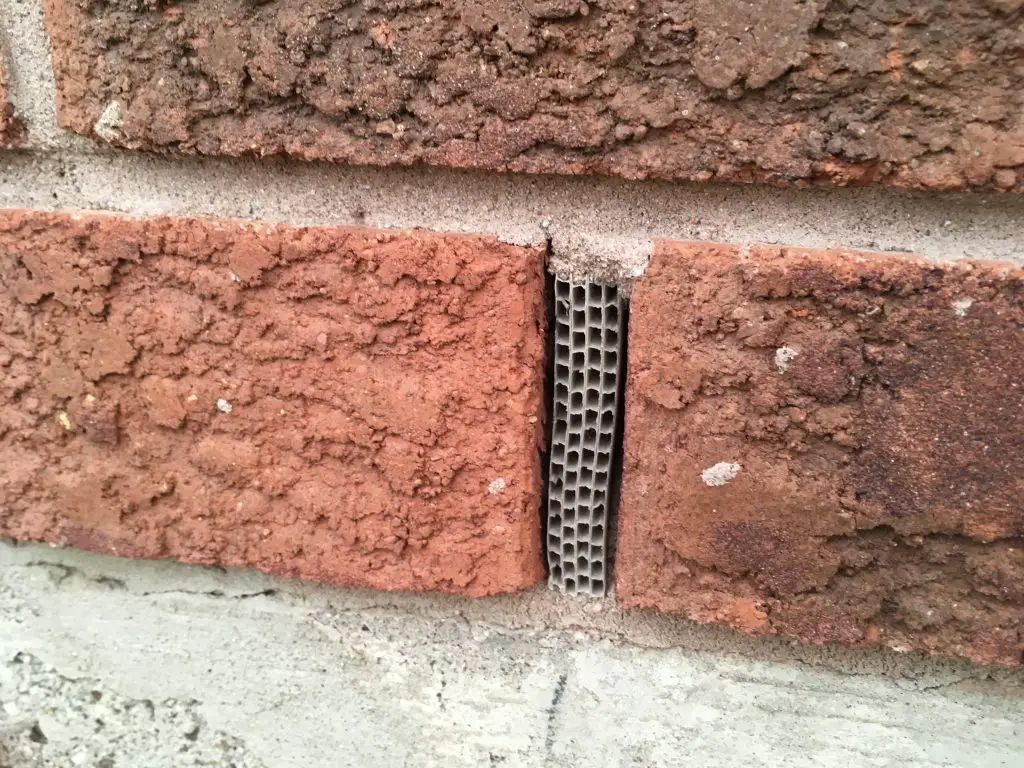
Small rodents have no trouble squeezing into the 3/8”-wide width of an open weep hole. Protection against vermin is one reason why weep hole vents were made. The best I’ve seen are made in Australia by a company called Weepa. They make a variety of models and the best are stainless steel and can be opened for inspection and cleaning. The unit here is the top-of-the-line model from Weepa. It gets installed between bricks at the bottom of a wall or above windows and doors, installed between two bricks.
Anchoring Decks to Brick Veneer
Brick veneer seems solid, but technically speaking it’s not supposed to bear any load beyond itself. This means you’re never supposed to bolt a deck directly to brick veneer. So how are you supposed to support a deck in cases like this? There are different takes on the challenge, most with significant problems:
Option#1: Support the deck from the main foundation down below the brick. This is easier when the brick is only a few courses above the foundation, but still not technically simple.
Option#2: Bore an oversized hole through the veneer, then anchor the deck into the rim joist of the floor frame with a lag bolt or compression bolt. In practice, this still can put a load on the brick veneer as the bolt bends downwards under the weight of the deck. Also, if you tighten the lag bolt too much in this application, it could crack the brick because of inward pressure of the deck floor frame.
Option#3: Remove bricks so the deck floor gets bolted directly to the house frame. I’ve only ever heard this suggested by engineers. Who is going to open this can of worms in the real world?
Option#4: Make the deck fully self-supporting. This is the least controversial approach and makes good sense. No inspector will complain if the job is done right and a complete deck foundation eliminates any chance of water infiltration into the house.
Click here to see my video about a unique piece of hardware that does the best job I’ve ever seen supporting a deck against a brick veneer building.
Like many things in the building world, brick veneer isn’t complicated but it does demand crucial details. Get these right and brick veneer is an excellent approach for getting the beauty and durability of masonry with the energy performance of insulated framed walls.
I happen to think that masonry is a great building material, and I use it whenever I can in my own work. Click below for my video tour Five Reasons to Love Masonry
 I hope you found this interesting if not downright useful. Please consider helping me cover the cost of creating and publishing content like this. Click the “buy me a coffee button” below and it’ll take you to a fast, simple and safe way to join other loyal followers who are helping out. Thank you!
– Steve Maxwell