 If you’re like most homeowners, you rightly consider ceramic and porcelain tiles a premium flooring choice. Tiles are easy to clean and last a lifetime with little maintenance when properly installed. That’s a lot to like. What you might not realize is how often and how irreparably tile installations fail because they don’t include features that ensure long life. Even if you don’t plan to do tiling work yourself, it’s essential that you know enough to insist that four specific details be part of your installation.
Detail #1: Uncouple Tiles from the Subfloor
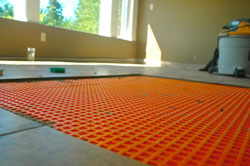 Uncoupling membranes offer a big boost in reliability by allowing small amounts of side-to-side movement of tiles relative to the underlying subfloor. Changes in temperature and humidity can cause stresses to develop along the interface between tiles and substrate, and uncoupling membranes relieve these stresses, while also keeping the tiles fully supported from below. These lightweight rolls of plastic also replace the need for an additional layer of cement board or plywood on the subfloor, saving labour and time. Top-quality uncoupling membranes aren’t cheap, but they do make sense if you factor in the labour they save and the hassles they eliminate.
Detail #2: Use the Right Kind of Mortar
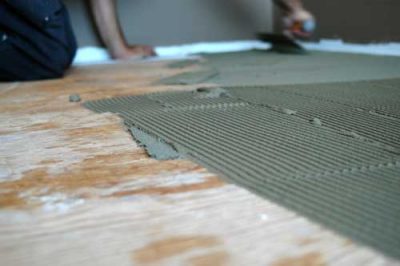 Thinset is the name for the family of mortars that’s used to install tiles, and there are two kinds in the world: modified thinset and unmodified. Many tile setters use modified thinset as a matter of course, but this isn’t always correct. Modified formulations contain additives that stop the mortar from drying out in contact with porous materials like wood and concrete. This is a good thing as far as it goes, unless you’re installing tiles on non-porous surfaces. In cases like these, unmodified thinset is far better. If your tiles are going down over an uncoupling membrane applied over a plywood subfloor, here’s the way things should be installed: modified thinset, uncoupling membrane, unmodified thinset, then tiles. Also, to make sure that first layer of modified thinset doesn’t dry out, the wood subfloor must be thoroughly dampened before mortar goes down.
Detail #3: Expect Wall Protection
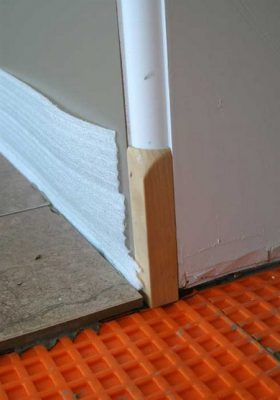 Tiling usually happens when finished wall surfaces are up and painted, and you’ll get much better results if your walls are protected before tiling and grouting. A swath of foam sill gasket stapled onto the wall base before tiles go down eliminates any risk of damage and the need to clean the wall surface later. The use of sill gasket also keeps grout and thinset away from walls, retaining the all-important expansion gap around the room for an even more reliable installation.
Detail #4: Full Mortar Support
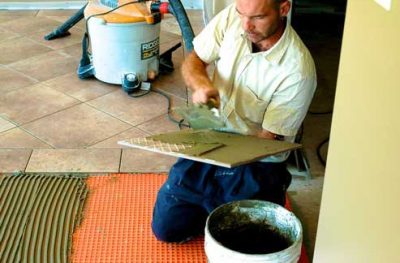 The trend in hard surface tiles these days is for larger tile sizes, and this creates a couple of challenges. First, larger tiles are more demanding to install flat. It takes more care to set them so edges aren’t sitting proud above a neighboring tile. Also, the integrity of a large tile installation is more dependent on full coverage of thinset mortar than with smaller tiles. To support tiles properly, a careful installer will apply mortar to the back face of the tile as well as the floor. This is called back buttering, and though it takes a little extra time, the installation is much more reliable for it.
Ceramic and porcelain tiles used to be exotic, but now people expect them. And while the ante might be upped, as a homeowner you can minimize the risks and maximize tiling reliability if you make sure things are done right.
Watch my video to see exactly how the whole tiling process is done correctly. It shows trained tile setter Dale Wallace installing large-format tiles over a typical plywood subfloor at a high-end project I visited last summer.


