You’ve got a stack of terrific wood sitting in your workshop and a vision for building some great woodworking projects. Tools are sharp, the shop is clean, you’ve got a design you’re excited about, and you’ve got the time to do things right. What you need now are some strategies to make the most of the wood you’ve got, and one of the most powerful of these strategies begins at the beginning.
No stack of lumber is perfect. That’s why you need to put your best foot forward with what I call “big-picture crosscutting”. It’s all about directing your choicest pieces of wood where they’ll do the most good in your projects, and leaving the bad sections for the woodstove or camp fire. You should start by positioning all your boards where you can see them. Then grab your project sketches and ask yourself some key questions.
“Which parts are the longest and most prominent?”
“And which boards are the best?”
“Which areas of these boards are so good they make you smile?”
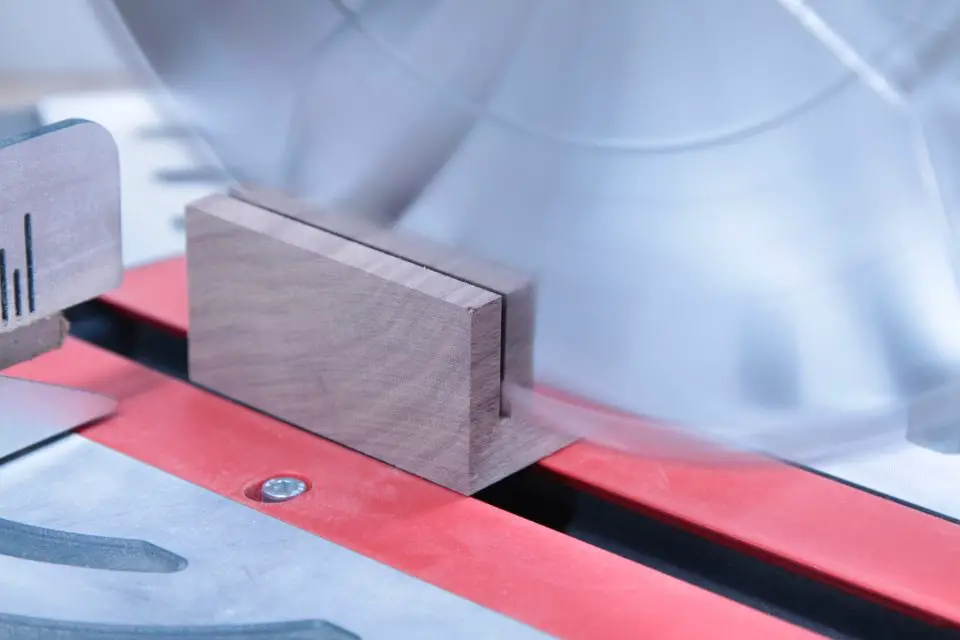
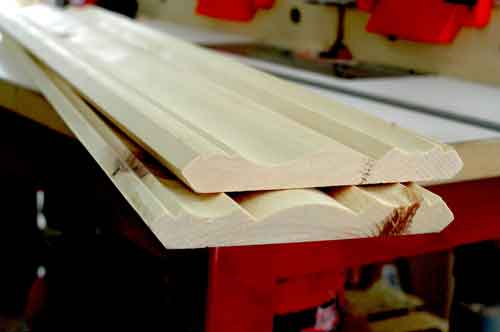
Use a stout carpenter’s pencil to mark each board in your lumber collection for specific uses. Beginning with the largest, most important ones marked about two inches longer than needed. Use this opportunity to sidestep bad knots and unstable grain. You’ll end up crosscutting project parts from here and there, with a pile of scraps that really are junk. If you’ve done things right, emerging components will look much better than the boards they came from. Do you need to edge glue boards to make wide parts? Avoid placing half knots along glue lines. It always looks second rate.
Incremental milling is next, and it’s about giving your wood time to misbehave before it matters. Rough-cut boards longer and wider than necessary, then stack them up in a dry, fully heated space, separated for ventilation. Inside the living space of your home is ideal. This strategy is especially important if you work in a sometimes-damp garage or cool basement. Projects made with wood stored and worked exclusively in places like these is sure to warp, twist and crack. It’s especially important to give newly planed lumber the time and conditions required to settle down and stabilize. Even three or four days in a fully heated space is enough to trigger wood movement. Leave yourself 1/8” to 1/4” of extra thickness as a jointing allowance so you can mill warps out later.
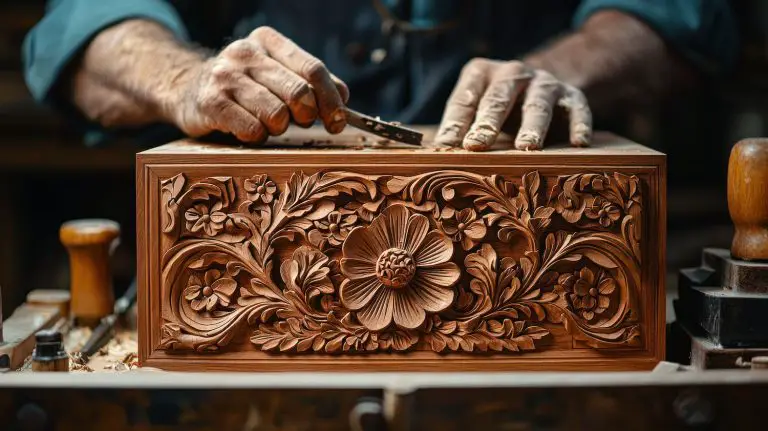
No one else is going to know you’ve taken this kind of care handling wood, but the results will speak for themselves. Aim at details like these and you’ll achieve the kind of results that probably got you interested in woodworking in the first place.


I hope you found this content useful!
Your generous support helps me produce more practical, hands-on content that I hope you’ll find useful.
Steve Maxwell