- Article reading time: 4 minutes

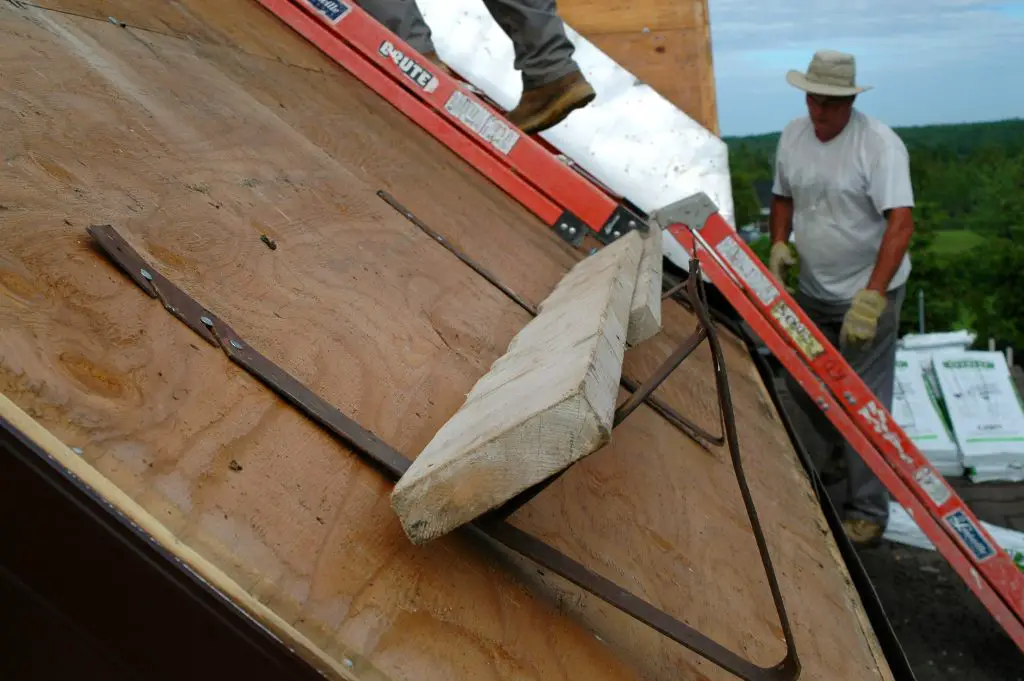
A: You’re right about the advantage of installing asphalt shingles from the top down. No one ever walks on the asphalt shingles, so they don’t get scuffed and worn by foot traffic. This is especially valuable in hot weather when shingles are soft and easily damaged. The thing is, the term “shingling from the top down” is a bit of a misnomer, since the shingles still get installed from lower to higher areas. It’s just that you tackle the job in stages, with each stage happening from higher to lower levels of the roof. The end result is no different in the final installation. I’ve shingle the regular way and the “top-down” way and I like top-down better. Besides preventing foot traffic on the shingles, top-down is better if your roof is steep enough that it requires roof jacks and boards to walk on. These jacks never have to be installed under the shingles with the top-down approach.

Asphalt Shingles From The Top Down
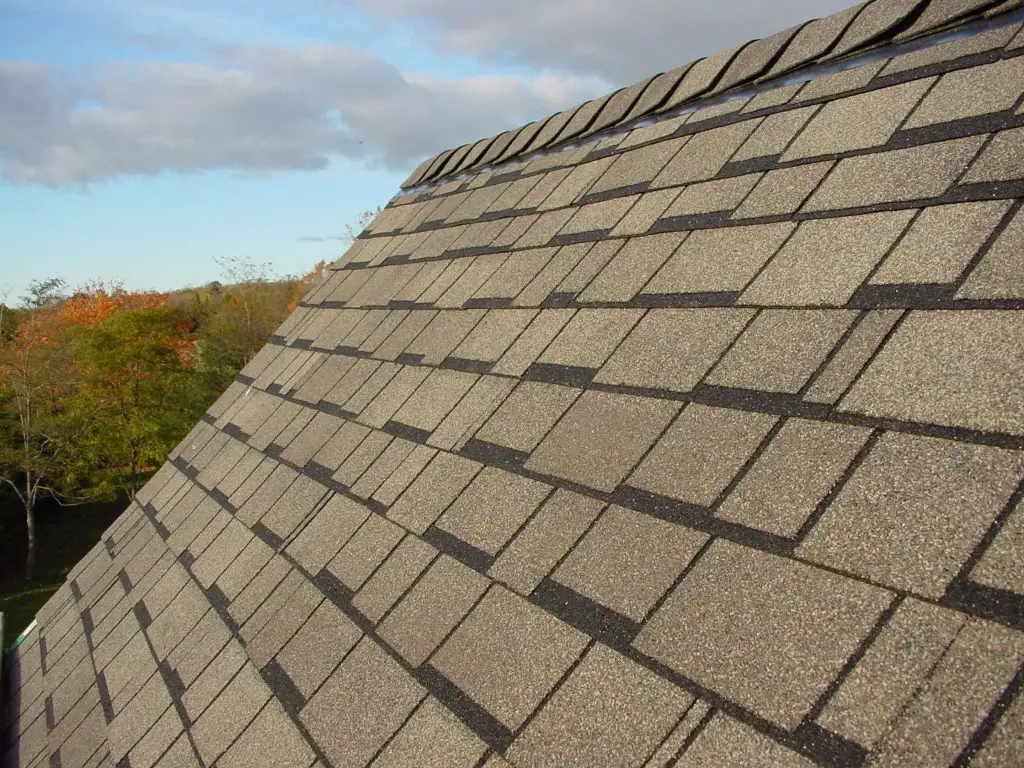
Start by measuring down some distance from the top of the roof that’s an even increment of the exposure of your shingles. Let’s say each layer of your shingles is made to have 5 inches of surface exposed after installation. You’d measure down and mark a line that’s 45-, 50 or 55 inches below the peak – whichever is comfortable for you and is a multiple of 5. Snap a chalk line at this location on the roof as a guideline, then nail down one row of asphalt shingles along this line, driving nails only along the top edge of this row for now. Add another row of shingles above this one, in the normal way, with normal nail locations. Continue shingling upwards to the peak. When you’re all done, measure down again, but this time from the bottom edge of the group of shingles you just installed. Once again, mark a line along the roof deck that’s some multiple of the exposure width of the shingles.
Start shingling up from this second line just as you did before, until you come to the row that must tuck underneath the first group of shingles you put down. Here you simply bend up the bottom row of the first group of shingles, slip the top row of the second group underneath, then nail them down. Finish up by driving nails into the middle of the first row of shingles you installed (in the usual locations), then move down the roof and continue the process. It sounds complicated, but it’s simple in practice. Just remember, shingle upwards in groups, with each group being installed lower than the previous one. If you measure correctly (and it’s easy to be correct here), one section of shingles will seamlessly mesh with the one above it.
If you’re shingling your roof, might as well do all you can to make sure the roof decking doesn’t come off in a big wind. Most catastrophic roof failures during storms happen because plywood roof sheathing gets pulled off of rafters and trusses. Special nails are made to reduce this risk. Click below to see my own roof being improved by adding these nails as part of a reshingling job I was involved with. It’s the same reshingling job the photos here came from.
 I hope you found this useful for your next roofing job. Please consider helping me cover the cost of creating and publishing content like this. Click the “buy me a coffee” button below and it’ll take you to a fast, safe and simple way to make a contribution.
– Steve Maxwell


