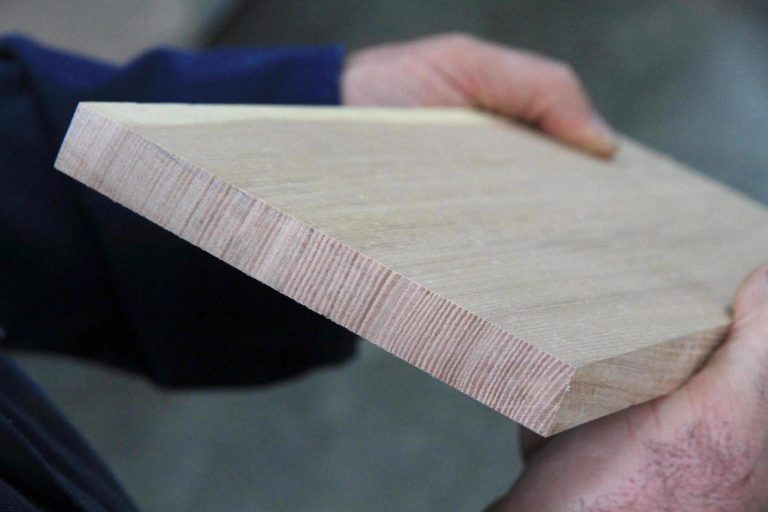
Wooden hammer and tool handles never last forever, and though replacement is inevitable, you probably won’t find a professional offering this service anywhere. That makes handle replacement a DIY job for sure, and it’s one you can probably handle easily on your own, even if you don’t think you can. The process is the same for all wooden-handled tools – long and short – and it begins by getting the old handle out, as you’ll see.
Handle Replacement Step #1: Drilling Out The Old One
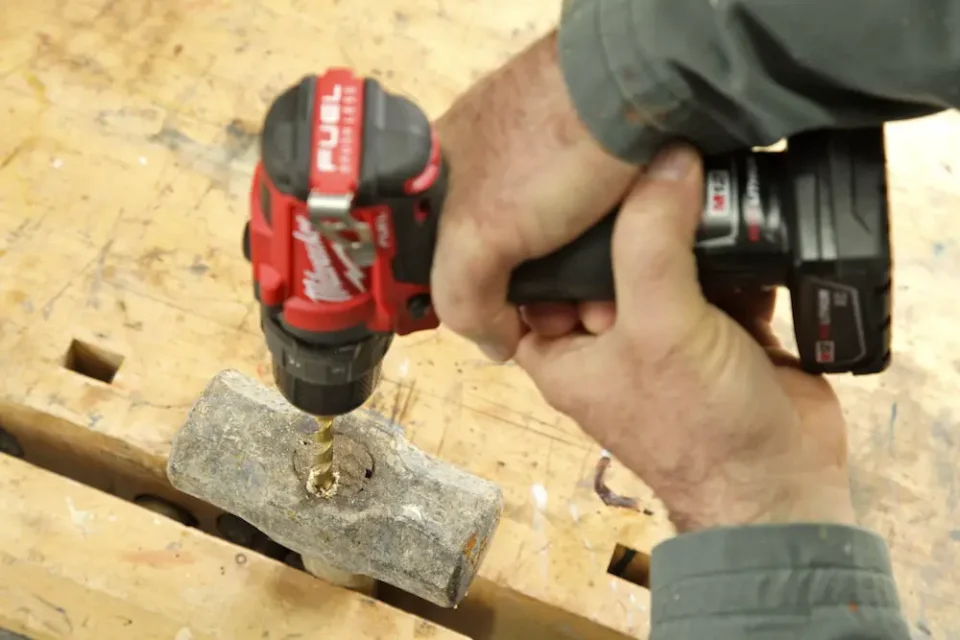
Drilling is the way to start because it makes it possible to remove the old, broken handle. Put a 5/16” to 3/8” diameter twist bit into your drill, tighten the hammer or axe head in a bench vise (with the handle pointing down), then chew out as much wood as you can from within the hole in the head. The more you drill, the easier the old handle comes out. You’ll probably find metal wedges embedded in the end of the handle somewhere (installed originally to expand the wood), but that’s no problem. Just bore holes next to them, then pry the wedges out for use later. Even after drilling, you’ll probably have to resort to a hammer and short chunk of broom handle to get all the old handle out. If pounding doesn’t work, drill more.
Handle Replacement Step #2: Fitting a New Handle
You always have to whittle down new handles to fit in hammer and axe heads, but you mustn’t remove too much wood. You want as tight a fit as you can get, and here’s how to get it.
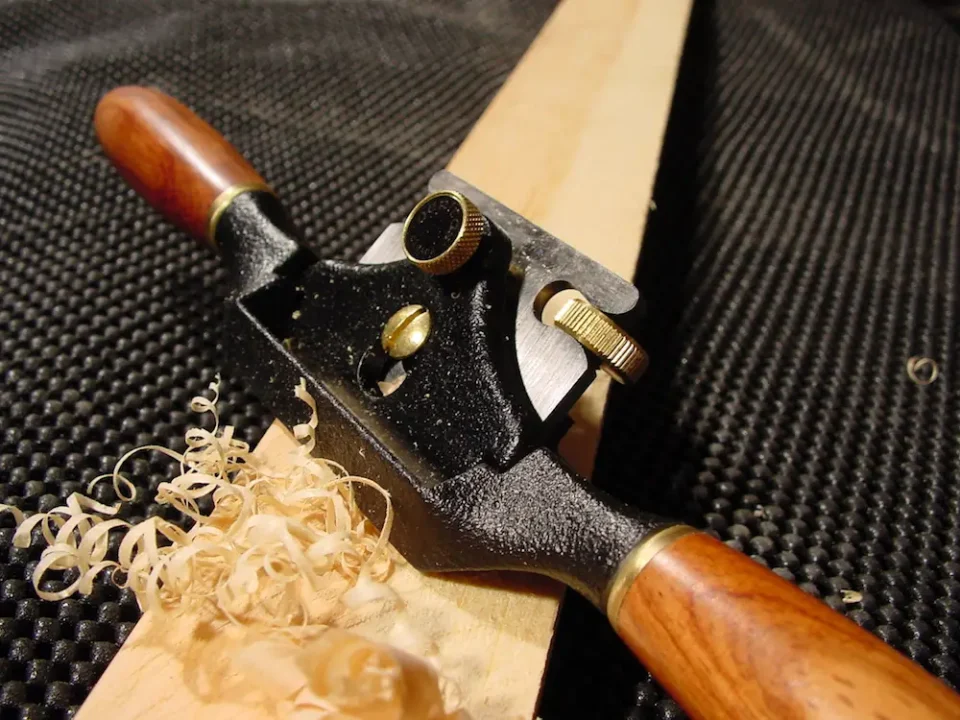
- Pounding: Hold the axe or tool head on the end of your new tool handle as it stands 6 inches off a hard floor, then pick the whole thing (head sitting on the business end of the handle) up and slam the end of the handle down on the floor with moderate muscle three or four times. This drives the head down over the end of the handle a bit, and though the head won’t get very far, it will make marks on the handle to guide you. Wiggle the head off and look at the wood. Wherever you see the end of the handle has been rubbed or compressed by the head, use a pocket knife or a spokeshave to whittle down the handle in this area. Never heard of a spokeshave? It’s a small, safe, hand-held woodworking tool that’s useful for all kinds of shaping jobs. Every time you repeat the pounding and head removal, it creates new areas of compression that shows where whittling’s necessary. You can see a spokeshave below.
- Whittling: Pound, remove the head and whittle away the excess wood. With every repeated cycle the head will go a little further down the handle before refusing to go more. Continue until the wood of the handle extends about 1/4” above the end of the tool head, then stop. Now you’re ready for the next step.
- Wedging: Use a hammer to pound a softwood wedge into the factory-cut slot in the end of the handle to expand it. You can buy these wedges in plastic packages wherever replacement tool handles are sold (or make your own). When the wedges won’t go in any further, saw all excess wood off so 1/8” of the handle extends beyond the head. Finish up by driving one or two of the metal wedges you saved into the wood at the end of the handle at a 45º angle to the wooden wedge. This expands the new handle even more, locking the head very firmly in place.

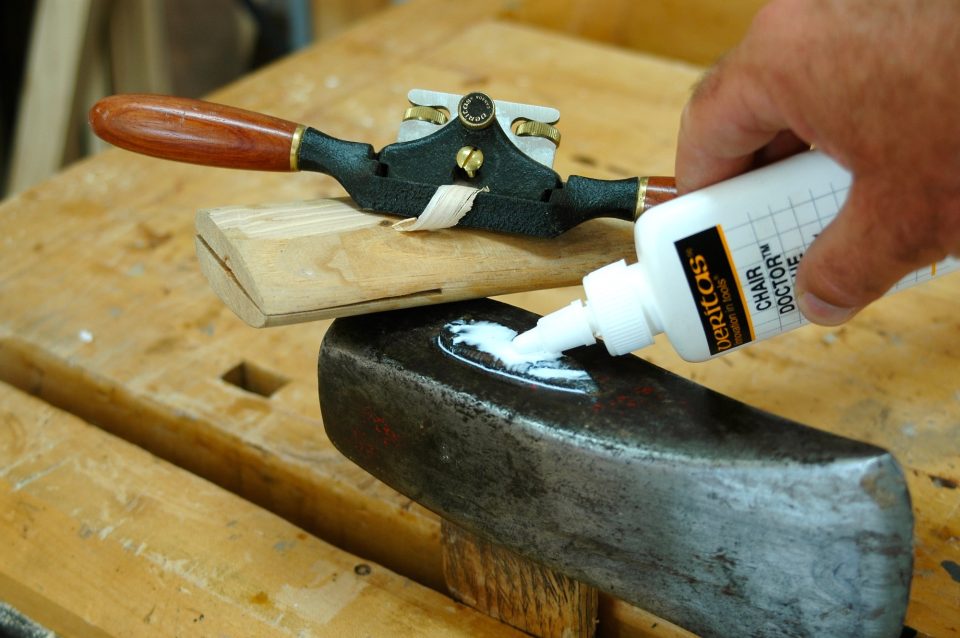
At this stage the tool is ready to work with, but I do something extra. Just to make sure the handle and head stay connected for as long as possible, I apply some wood swelling liquid to the top end of the handle. This expands the fibers, locks them this way, then seals the surface to prevent water absorption. It makes a huge difference in how long a handle stays tight.
Have you ever heard of soaking a loose tool and handle in water to make it tight? This will work – at least initially – but soaking wood handles is bad because it causes the wood to swell a lot, compressing the fibers and leaving a looser handle when the wood inevitably dries out later. Instead, at the first sign of a wooden tool handle coming loose (and even on a newly-installed handle), apply some swelling liquid and it’ll tighten right up and stay that way. I use Chair Doctor from Lee Valley Tools. As far as I know, they’re the only place that manufactures and sells anything like Chair Doctor. And of course, this stuff works great for tightening up wooden chair parts.


I hope you found this content useful!
Your generous support helps me produce more practical, hands-on content that I hope you’ll find useful.
Steve Maxwell