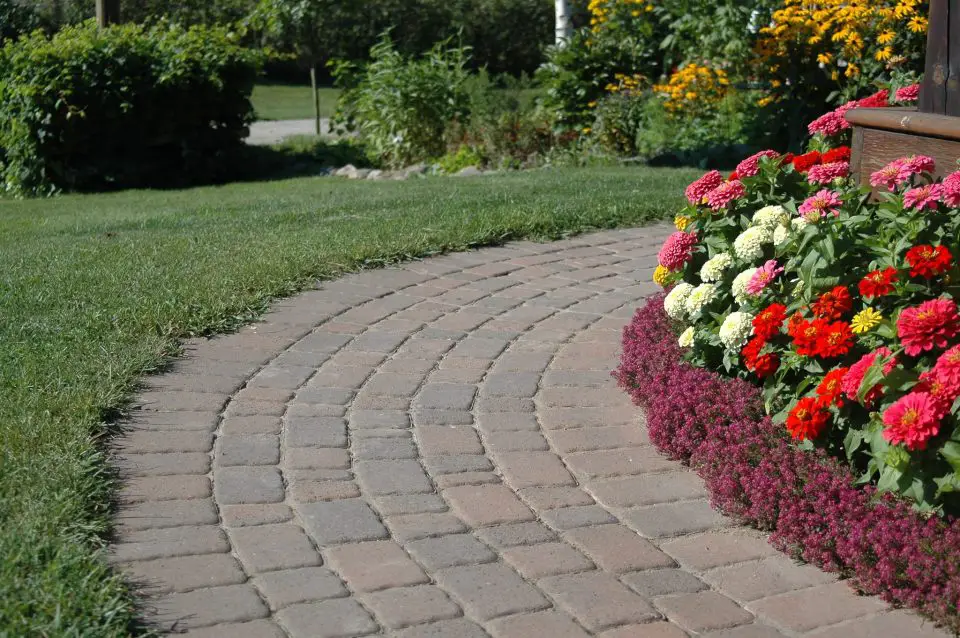
Paving bricks are a terrific way to create hard, durable driveways, pathways and patios. It’s also true that products, tools and techniques have been refined to the point where it’s now possible for a serious do-it-yourselfer to install paving bricks that can easily endure for decades. Professional installation is still an option, of course, but it’s not vital. Put the two essentials you’ll read about here in place in your own installation and it’ll last long and perform well.
Paving Bricks: Two Overlooked Essentials
- Mechanically-compacted foundation base: Don’t skip creating this step, even if you have to rent a compactor for the job.
- Hidden support strips. The very best installations have plastic side support strips installed along all pathway edges to contain bricks.
Before I get into details, let me explain a couple of reasons paving brick installations are so good. Few other masonry products can withstand years of brutal, ground-level freeze and thaw cycles without flaking, and this is one reason why brick paths and patios last so long. The other reason is the small size of each brick. If the earth beneath the installation heaves during winter and spring (and it certainly does here in Canada where I live), pavers take it all in stride. The gaps between each brick lend an inherent flexibility to the overall installation. This prevents cracking of the bricks in a way that no other masonry system can match, though there’s a catch. Paving bricks need to be installed correctly to realize their full potential, and this means doing more than may seem necessary at first glance. If you or your contractor take shortcuts in the foundation, settling and misalignment of bricks will turn all this great potential into an ugly, labour-intensive mess. This article is not a how-to on making an entire installation happen, but rather an alert for two essential details that are often missed.
Paving Brick Essential#1: A Deep, Compacted Base
Brick foot paths age gracefully on top of a 6-inch-deep layer of fine, mechanically compacted crushed stone. For a driveway or a patio that will see some vehicle traffic, you’ll need at least a 12-inch-deep compacted layer because of the extra weight involved. If your pathway ends at a driveway, consider increasing the depth of its foundation in that area. You never know when someone will drive over the end of a footpath by mistake.
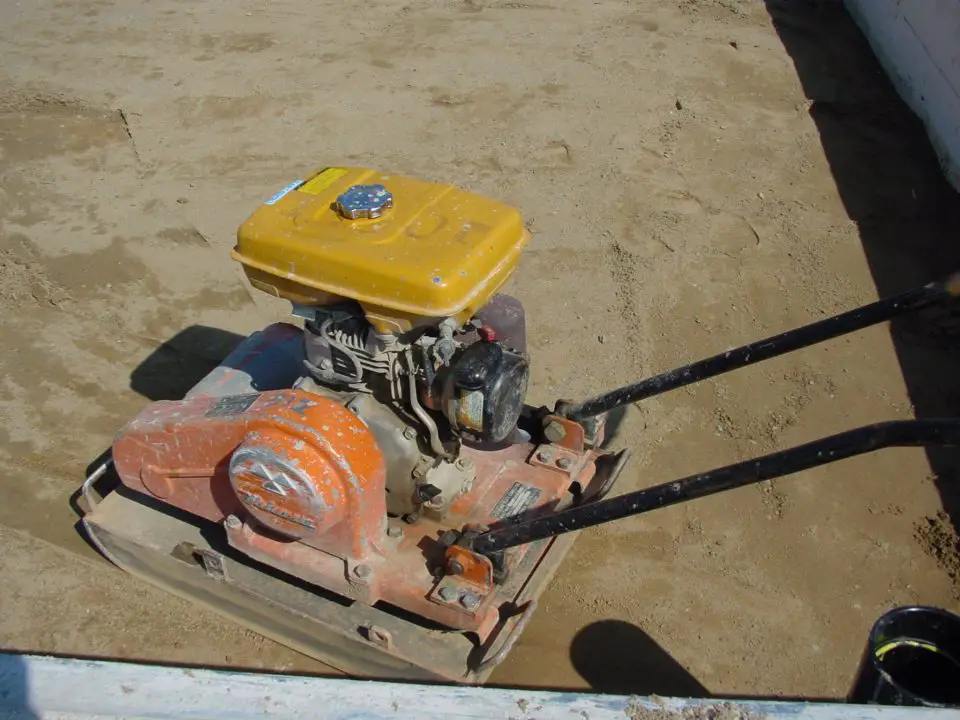
The best foundation material varies depending on where you live. In my region, limestone screenings are plentiful and cheap, so that’s what I use. This is a crushed stone product where the largest particle’s no bigger than about a quarter-inch across. Screenings also include very fine limestone dust in the mix. This ensures a rock-solid result by encouraging tight compaction. Crushed granite or sandstone might make more sense where you live, depending on the geology of the area. Coarse, pit-run sand works, too. Whatever you use, the purpose of the compacted base layer is not to get down below the frost line in cold climates and prevent heaving and frost movement. It would take at least a 3- or 4-foot-deep trench for that, and it’s not necessary. The real role of the foundation layer is to prevent settling and shifting of the bricks, and that’s why it must be mechanically compacted. This is non-negotiable. Don’t even think about installing pavers without using a powered compactor. Settling will occur for sure on any kind of fresh, uncompacted fill. Your bricks will shift and settle rapidly after installation without compaction.
Paving Brick Essential#2: Side Support Edging
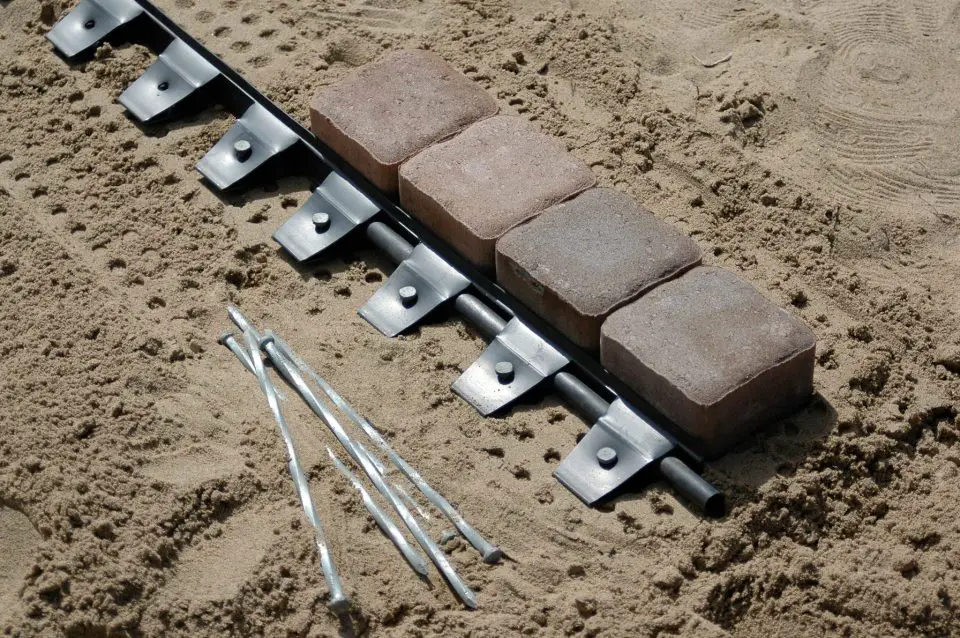
Plastic support edging of the kind you see above isn’t essential for a brick pathway, but it does offer two big benefits. Besides supporting the outer bricks invisibly after backfilling, edging also makes it very easy to accurately smooth the bedding sand evenly before setting the pavers in place. This is essential for a flat pathway that’s free of undulations. Some people install pavers without edging, but the benefits are so great and the cost so low, there’s no reason to omit them.


I hope you found this content useful!
Your generous support helps me produce more practical, hands-on content that I hope you’ll find useful.
Steve Maxwell