Power, Lighting & Plumbing Best Practices
This is one area of basement finishing that’s not a whole lot different than regular interior situations. But just the same, you need to think about power, lighting and plumbing now, planning for an optimal installation.
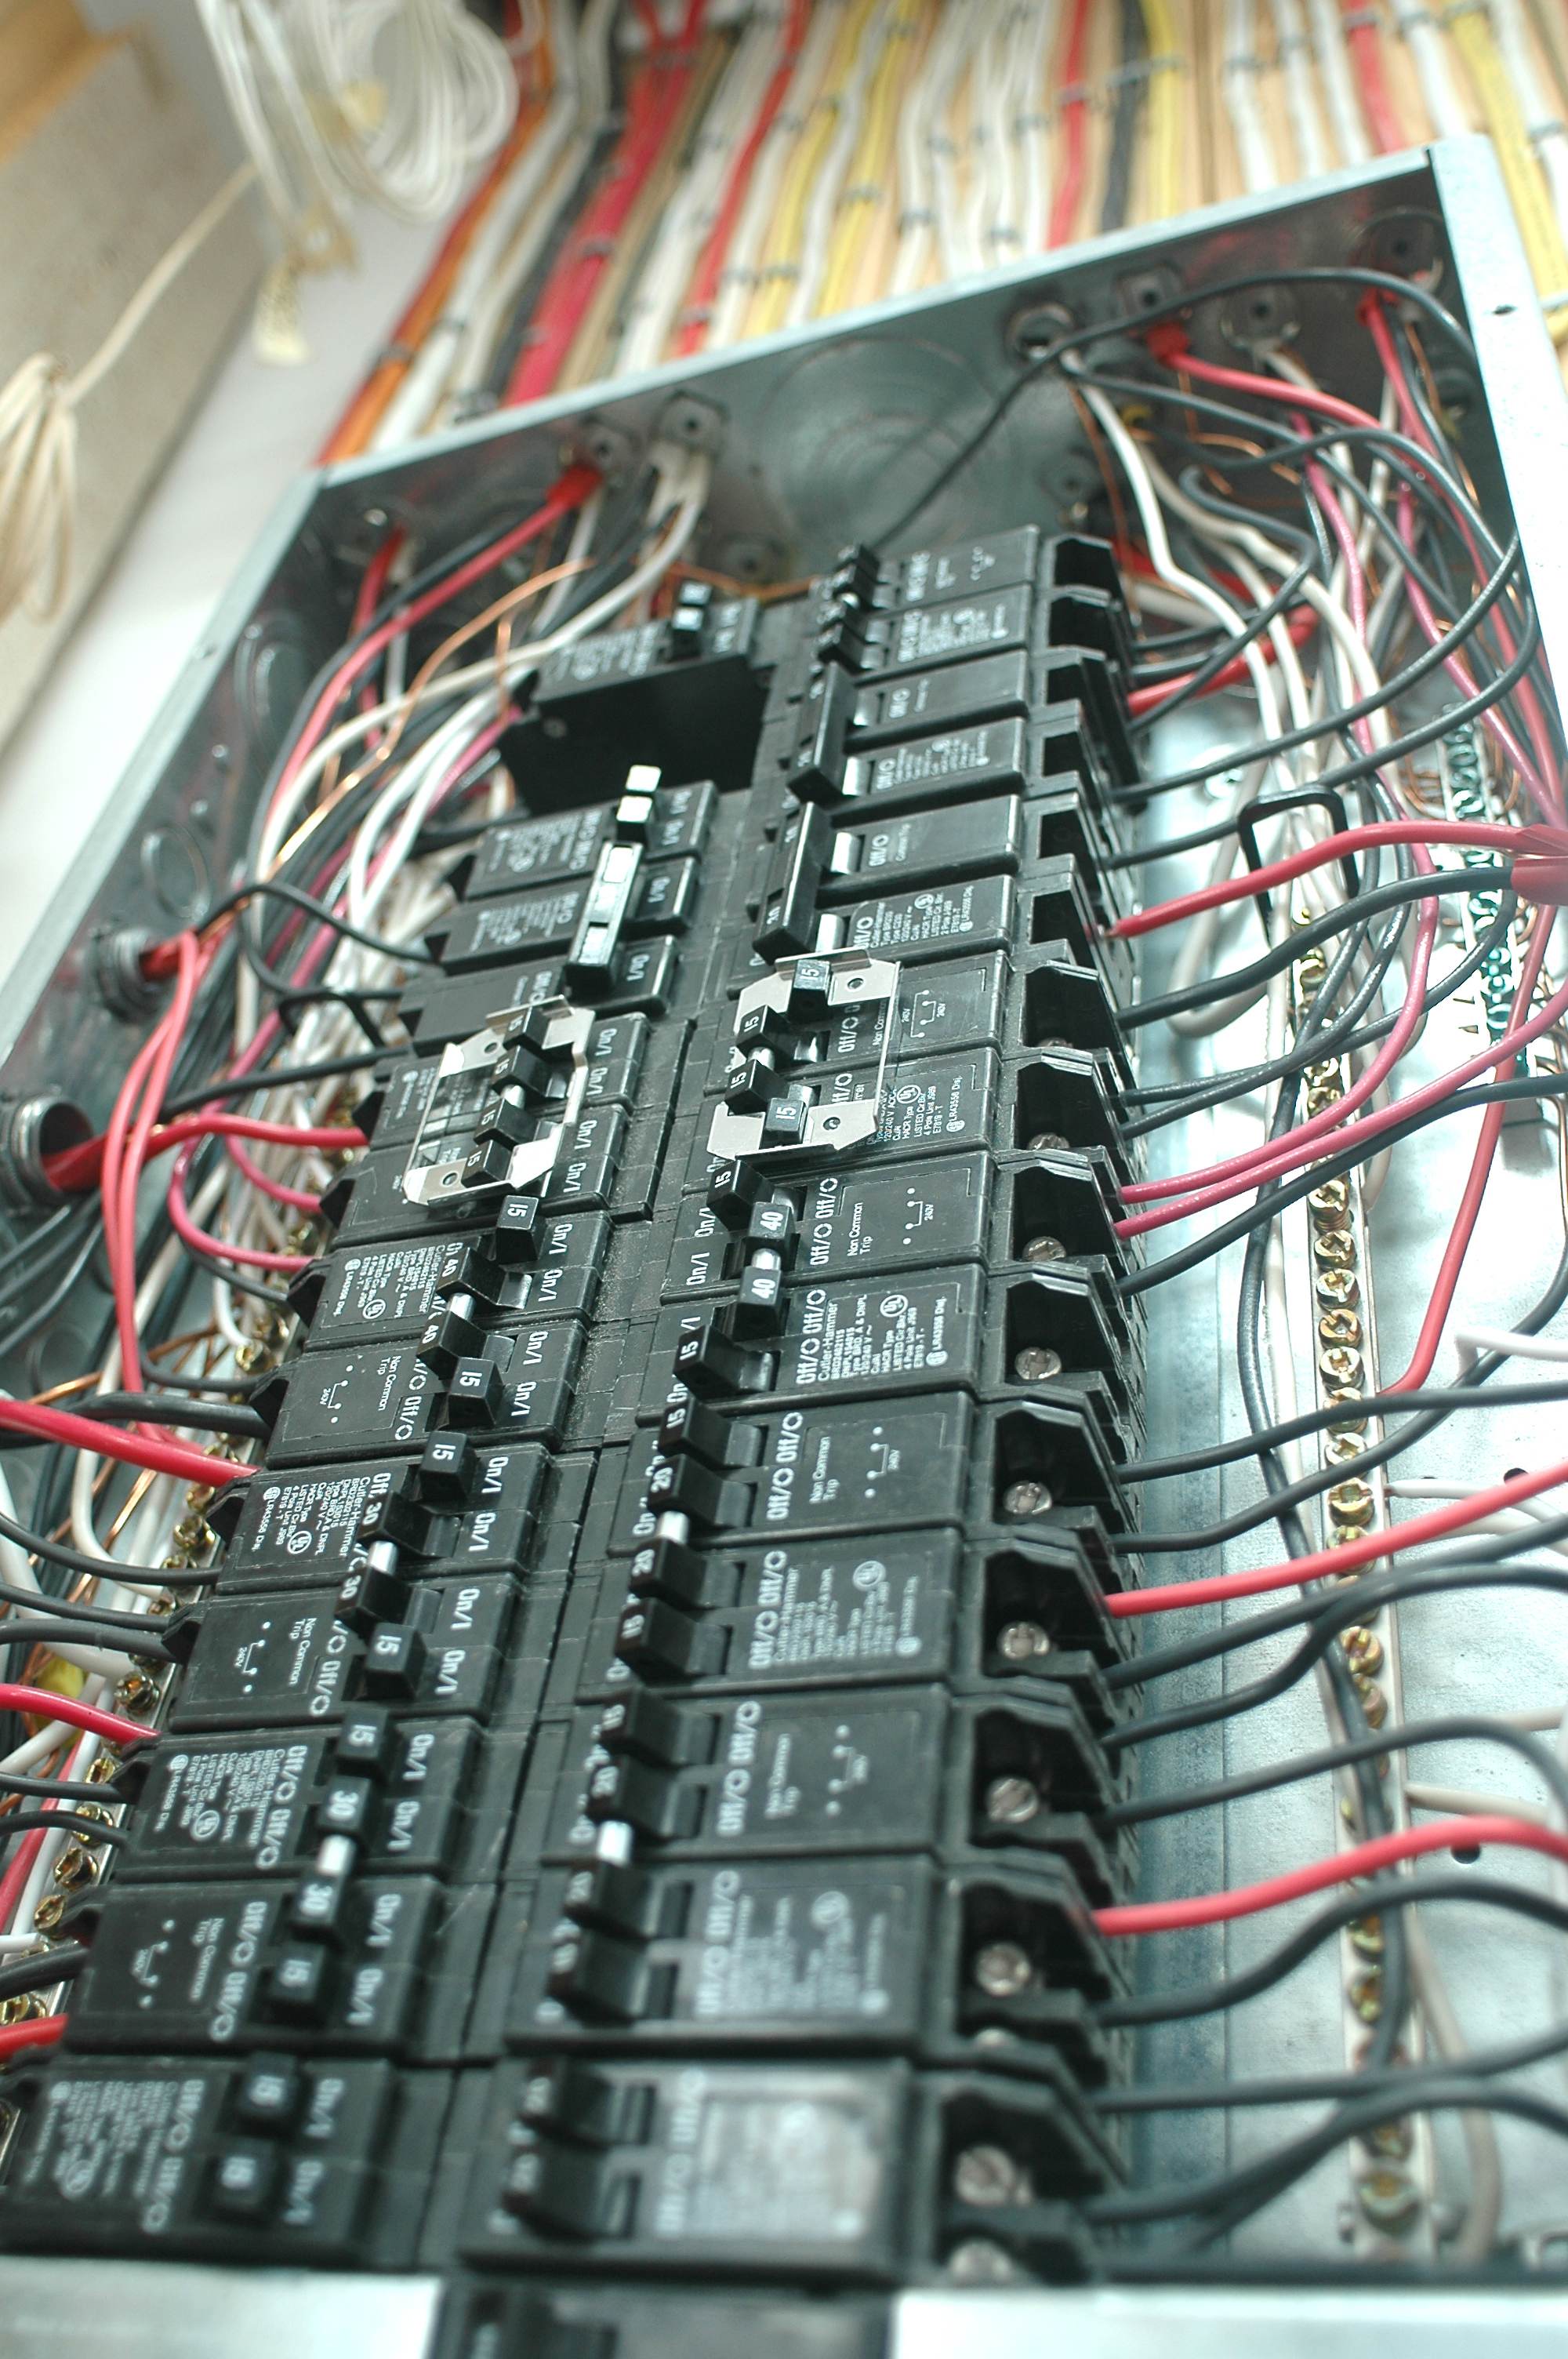
Power: There’s a good chance you’ll need to add a second electrical panel to accommodate the additional circuits your basement will require. Adding a second panel to an existing electrical service is relatively simple and inexpensive. It’s not the same as upgrading your electrical service including the main panel. If your existing service doesn’t have the capacity to handle the extra current draw of a finished basement, you’ll need to upgrade your main electrical panel and the big wires that supply it from the utility pole. This is considerably more involved and costly than just adding a second panel. Watch the video back in Section#1 for a lesson about how the electrical service in your home works and the difference between simply adding a second panel versus upgrading your entire service.
Lighting: Recessed lights in the ceiling work best in basements. Arranging fixtures in a pattern no more than 48” apart will give good light intensity. If you want a very bright space, aim to place recessed fixtures no more than 36” apart. See previous section in Lesson#2 Week#3 for details on choosing recessed light fixtures.
Electrical outlets: The exact requirements where you live will vary, but here are the general requirements.
1. Outlets in potentially wet areas must have ground fault circuit interrupter (GFCI) protection. This includes bathrooms, kitchens and outdoor outlets. This is necessary no matter where you live.
2. Outlets in bedrooms or areas where sleeping could occur must have arc fail circuit interrupter (AFCI) protection.
3. Kitchens counters must include outlets that deliver more than the usual amount of power. Two 15 amp circuits per duplex outlet maybe required (one circuit for each half of the outlet), or 20 amp circuits instead of 15 amp circuits.
QUICK DEFINITIONS: Electrical Circuit Protection
There are two main types of protection to prevent tragedies from electrical fires and electrocution. This protection can come from a single outlet or from a circuit breaker that protects the entire circuit.
GFCI: These letters stand for “ground fault circuit interruptor” and term refers to an outlet or a circuit breaker that can detect electricity flow to ground and immediately shut off power automatically. When humans experience an electrical shock, it’s almost always because they accidentally offer a pathway for electricity to travel through them to ground. GFCI outlets are designed to prevent shocks that can be damaging or fatal. This shock prevention capability is why GFCI circuits are required in any place that could be wet or damp. Kitchens, bathrooms and outdoors all require circuits protected by GFCI systems.
AFCI: These letters stand for “arc fault circuit interruptor”, and this refers to an outlet or a circuit breaker that can detect electrical arcs occurring anywhere on the circuit. Since bedroom circuits have a higher-than-usual danger of being near bedding, clothing and other materials that can catch fire, AFCI circuits are required.
Duplex: A fancy name for those ordinary wall plug outlets that allow two items to be plugged in.
Water Supply, Drains, Vents & Central Vac
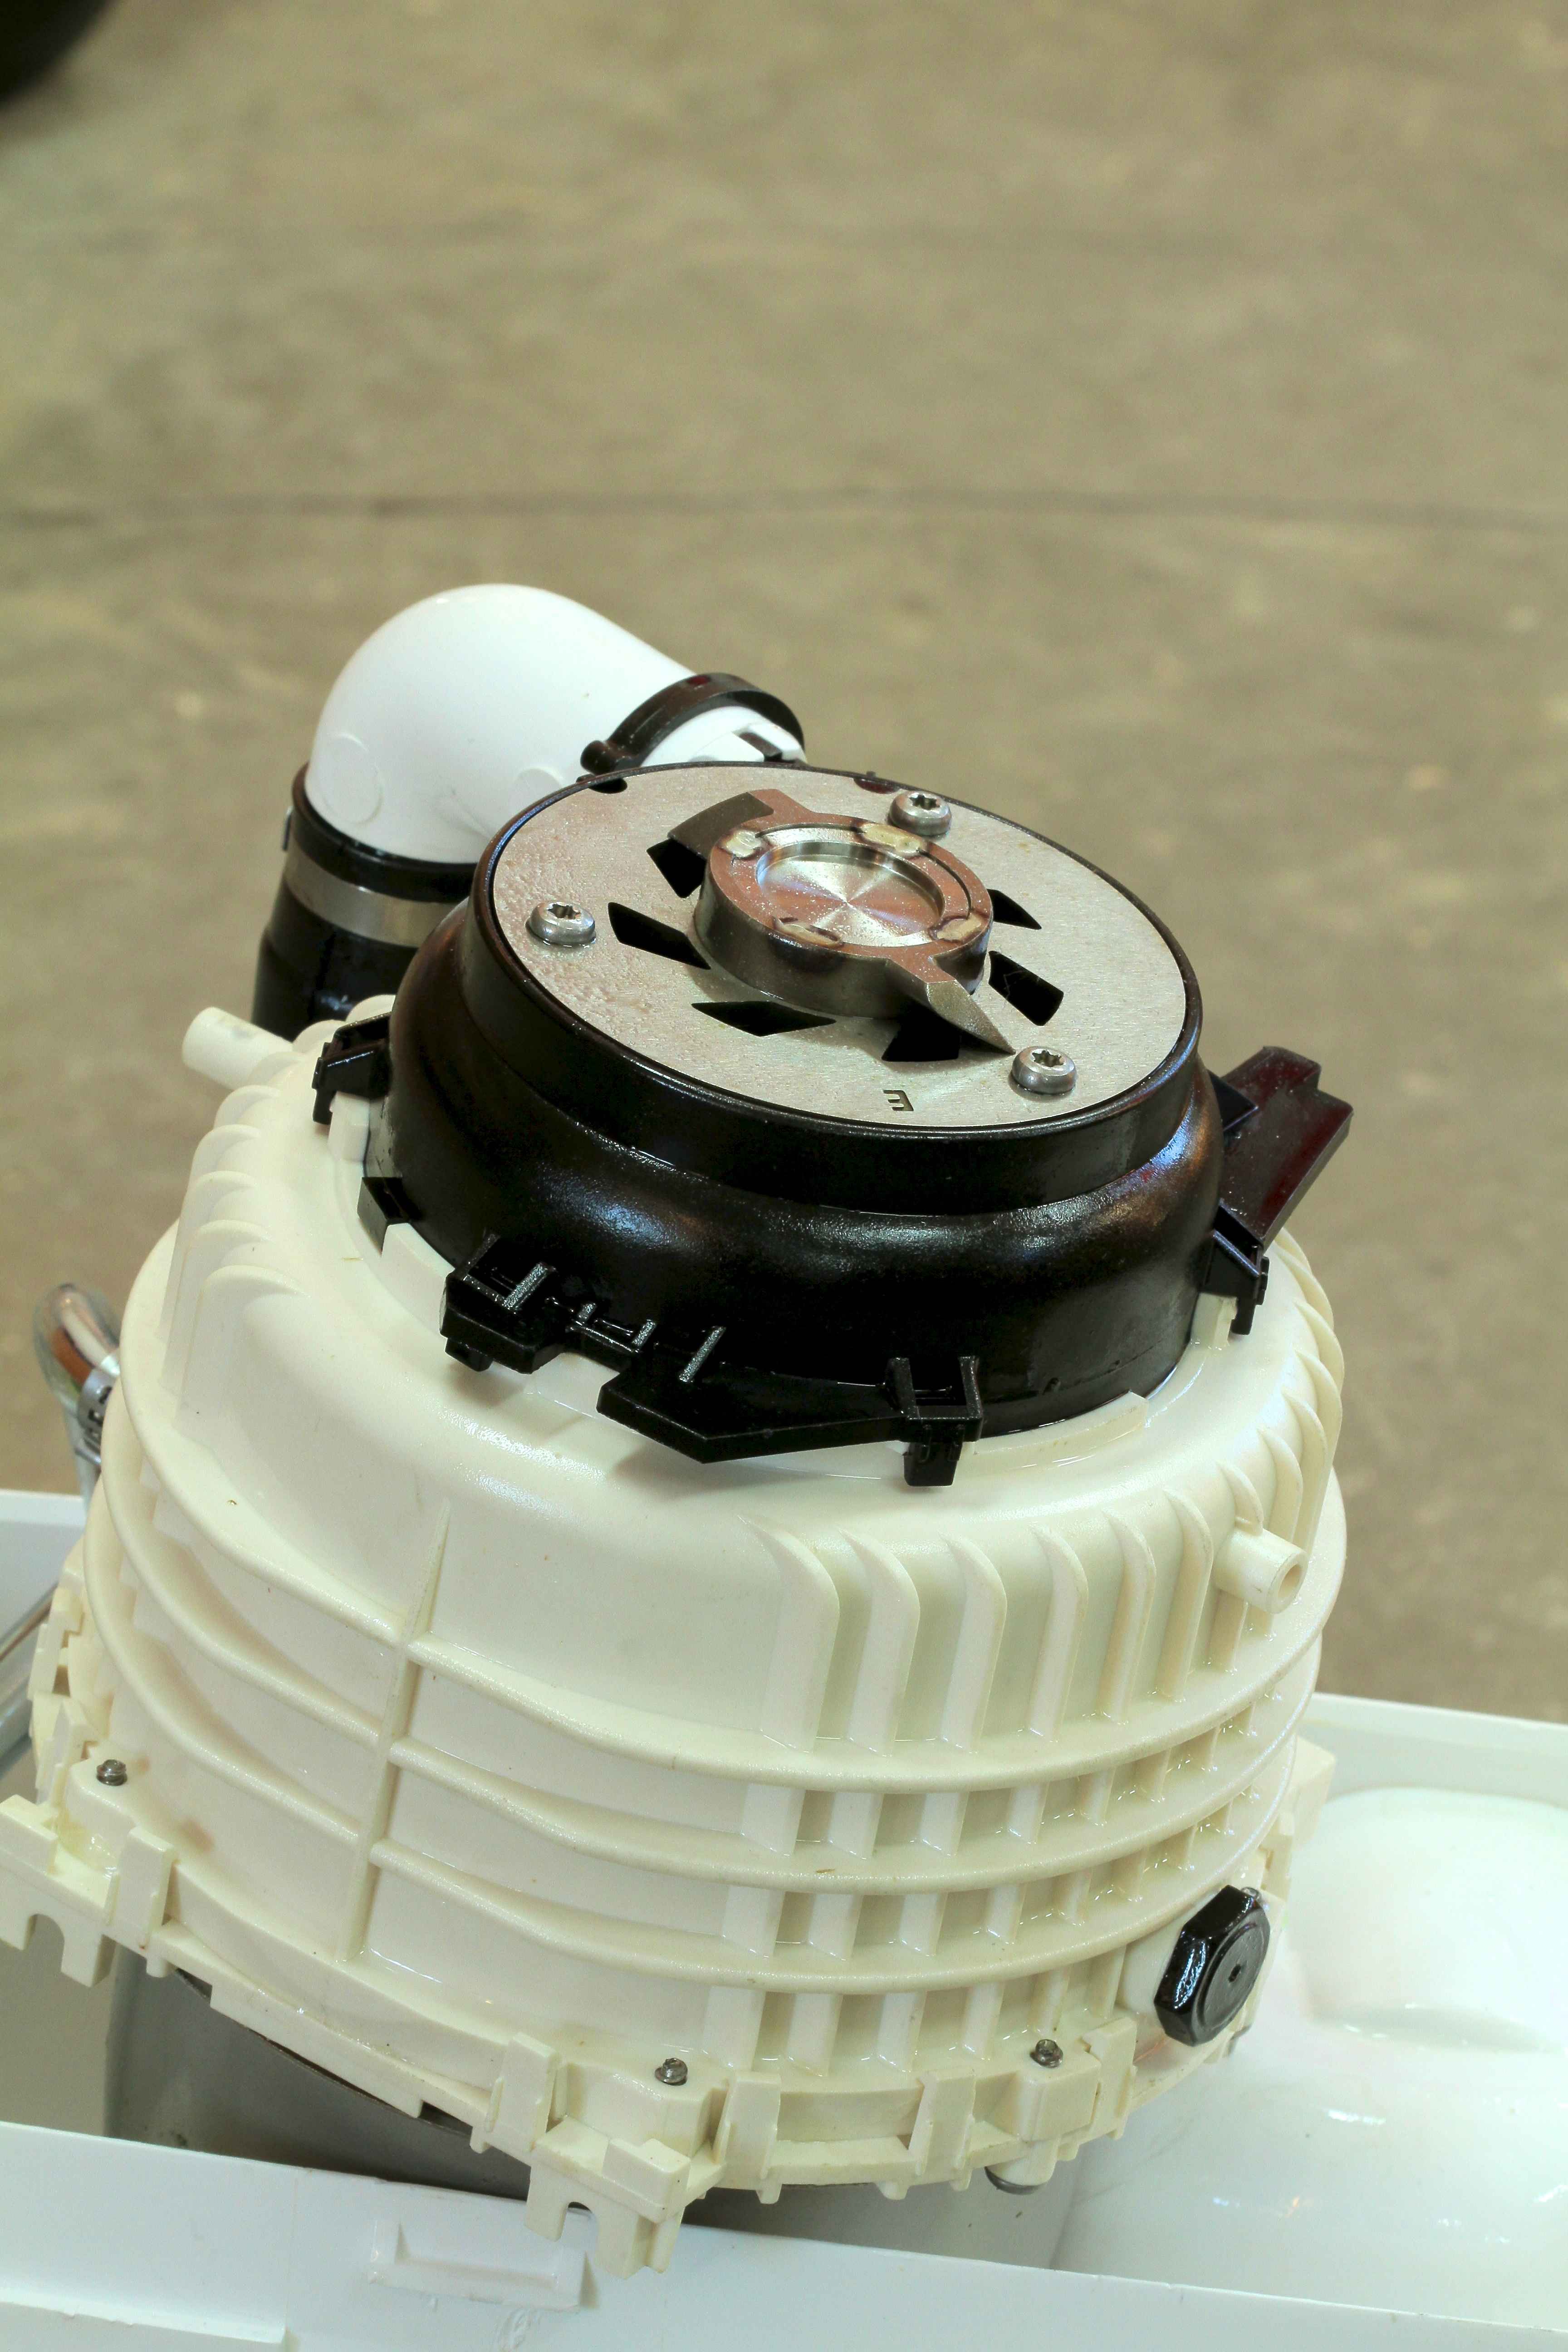
PEX pipe is the best option for supplying hot and cold water to fixtures in your basement because it’s flexible, reliable and currently in wide use. The only plumbing-related hitch you might encounter has to do with the location of the main drain leaving your house. For basements that have the main drain on the floor, you’ll need to break through the concrete floor, install pipes leading from whatever bathroom or kitchen you have planned, then re-establish the concrete. This is the usual approach and it works well. It sounds like a lot of trouble, but it’s not really a big deal at the earliest stages of work. Some basements, however, have main drains leaving the building high up on a basement wall, and this means gravity won’t help you move waste water out of the house from basement sinks and toilets. In situations like these you’ll need to install equipment to pump sewage up and into the main drain high on the wall. Saniflo is the best company I’ve seen for this kind of equipment. There’s really no other manufacturer in the world that does as good a job. They sell various kinds of basement sewage pumps for grey water, and something called a macerating toilet. Not to put too fine a point on it, macerating toilets like these grind up all the solid matter after the toilet flushes, pumping it up and out to the main drain through a 3/4” diameter pipe.
For some plumbers and home professionals there’s no such thing as an off-season to use as an opportunity to chase after fresh plumbing leads, let alone follow up with past clients and accounts. So as a home owner it’s in your best interest to find a plumber you trust and keep their phone number handy when you need one.
Watch the video up next to learn more about how to install basement wastewater drain systems. Pay particular attention to a simple trick for providing the necessary venting of drain pipes when it’s not necessarily convenient to do it in the usual way.
VIDEO: Understanding Basement Waste Water Drain Systems
Ever Thought of a Central Vacuum?
Roughing in a central vacuum system is easy to do while you’re already working with pipes and wires so you should think about it. You’ll need access to a vacuum port every 15’ or 20’ to cover the basement, but don’t forget the floor level above. Although not as easy getting vacuum pipes up there from the basement, now’s the time to do it. Watch the video below to understand how central vac works and to learn some tips for installing one yourself. It’s not difficult.