 Joining box parts is super-simple. Just lay a bead of carpenter’s glue on the joint area, then secure the connections with 2” finishing nails or 18 gauge x 2”-long power-driven brads. Feel strange about not reinforcing joints with biscuits or dowels? There’s really no need to do it. I’ve built many cabinets over the years using only finishing nails or 18 gauge brads and glue to secure the joints on foundation boxes like these. There’s been no trouble in 30 years. Not even a hint of trouble. This is especially true with plywood, since half of each “end grain” surface is actually easy-to-glue edge grain. Are you new to air nailers? Watch the video up next for the basics and an important safety warning.
VIDEO: Safe air nailing
TECH TIP: Three Advantages of Power-Driven Nails
There are three reasons why you might want to use a power nailer to fasten cabinet box parts rather than hammer-driven nails, but only one of these reasons is obvious. While it’s true that a nail gun makes for faster results than a hammer and finishing nails, you’ll also gain greater accuracy with a gun. Holding a nail and starting it with a hammer is a two-handed affair, and this makes it more challenging to hold box parts together in perfect alignment just before they’re joined. A gun requires only one hand to hold and fire, freeing your second hand to hold parts together. Power-driven nails are also much less likely to split wood than hammer driven because they travel so fast. An 18-gauge brad nailer is an excellent option for joining kitchen cabinet boxes using 2”-long brads.
You’ll find it easiest to begin assembly with one of the smaller upper cabinets. A pair of wooden hand screws clamped to one end of the top and bottom pieces lets you stand these parts upright while you fasten the first side. Add the back panels to each cabinet as it’s built, to ensure the assembly is square. As long as opposite faces of a cabinet are parallel, a square back panel ensures a square cabinet. Apply glue to the mating edges, place the right part in position, then secure the joint with 18-gauge brads.
TECH TIP: Cabinets Longer Than 8 Feet?
 If your kitchen plan calls for cabinets longer than standard 8-foot plywood, you’ve got a couple of options. You could build multiple cabinets and mount them side-by-side along the same wall. Another option is to make extra long pieces of plywood for the bottom part of lower cabinets and the bottom and top of upper cabinets. Cut the pieces of 3/4” plywood you need for the entire run of cabinets, then cut slots for #20 biscuits every 4” along mating edges. Locate the joints in places where dividing walls between sections of cabinets will exist. Before you swab glue into these biscuit slots, get some extended pipe clamps ready to pull the parts together end-to-end. Have the tail end of your pipe clamps threaded the same way the clamp ends are, and you can use pipe couplers to add as many pipes as necessary for the length of clamps you need.
 The shelves in my design are simple, effective and adjustable. They’re nothing more than 3/4”-thick pieces of plywood with solid wood edging glued to the visible edge. The plans show how the shelves fill the entire space from the back of the cabinet to the back face of the face frame, minus 1/4” for clearance to get them in and out. Cut the plywood shelves nearly as wide as they need to be, glue a 3/4” x 3/4” solid wood strip on the front edges of the shelves to hide the laminations, then trim all shelves to final width. You can finish your shelves with urethane now or later when you’re finishing the rest of the cabinets. Each shelf sits on four pins, but unlike store-bought cabinets, you don’t necessarily need to drill a whole bunch of unsightly holes. Instead, take your best guess at what height you want your shelves to be, then drill holes there. If you want to move any shelves to different heights, drill more holes then. There’s no point in riddling your cabinets with unsightly holes if you’re always nearby to drill more if you want to change shelf height. Once you get shelves installed, it’s rare that you need to change the spacing.
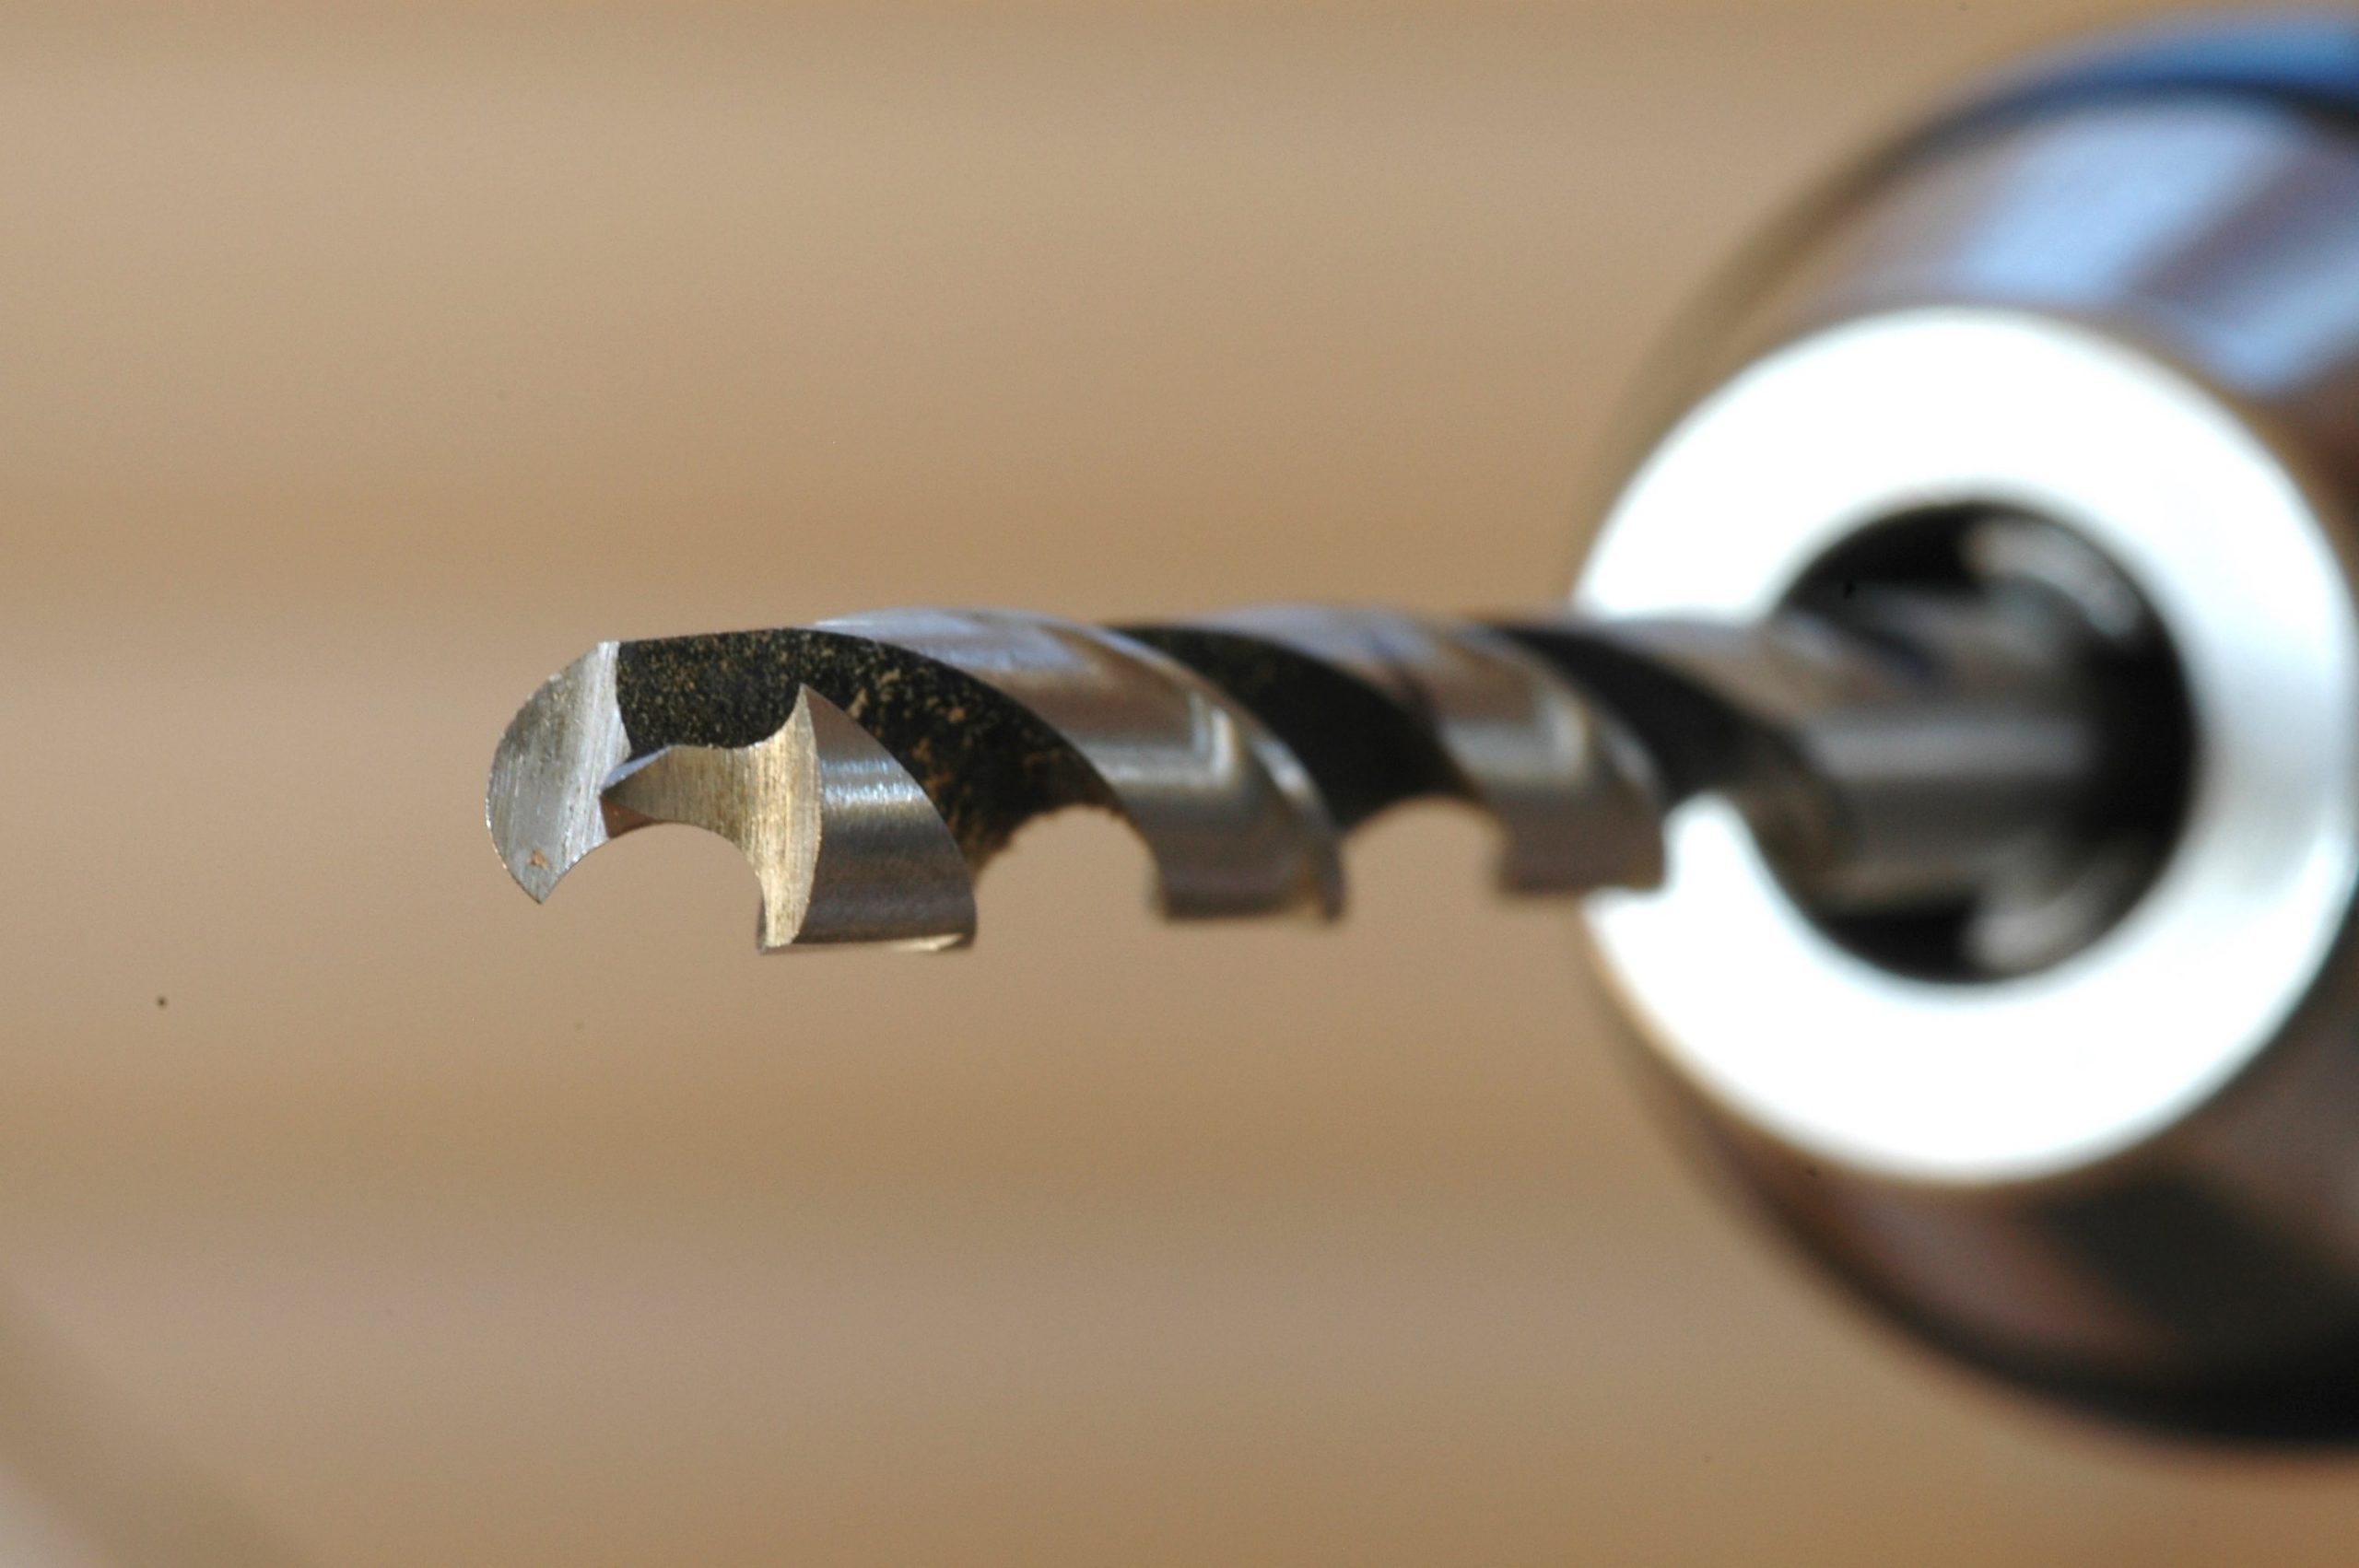 All this sounds simple, but there’s a big danger when drilling shelf pin holes. I know because the danger has turned into a pretty ugly reality for me in my early days. Even a small difference in the height of the holes from one side to the other can yield shelves that wobble. That’s why you must never measure for holes. You’ll never get them perfectly consistent. Instead, use a shop-made drilling jig. It’s just a 3/4” x 3” strip of plywood with holes drilled where you want the shelf pins to be. Use this one jig to drill all four holes for each shelf. Since the jig sits on the bottom of the cabinet, it registers the identical hole location in all four positions. Also, be sure to use a brad point bit when drilling. A bit like this gives much cleaner results than a twist bit, especially in veneer. Watch the video up next to see how to use a drilling jig after cabinet boxes are assembled.
VIDEO: Drilling Shelf Holes
At the end of this lesson you’ll have:
- all boxes and shelves for upper and lower cabinets finished inside and assembled
- 1/2”-thick back panels, or mounting strips and 1/4” ply back panels on the boxes