Fashions come and fashions go, but real beauty always comes back. Pickled wood finishes are a case in point. A combination of paint-like colour with wood grain showing through, this technique gets its name from the ancient practice of treating wood with lime to discourage insect infestations. Although forgotten for decades, pickled wood finishes have come back in a big way. These days they’re all about looks, not insects, and it’s easier than it seems to create great pickled results even if you’ve never done it before.
Learn Pickling on Test Samples
As with any wood finishing technique that’s new to you, always prepare test samples first. There are so many ways wood finishes can turn out differently than you want, so it’s vital to figure things out on samples before you tackle that wall, ceiling, wainscoting or furniture you’re working on. This is especially true with pickling since there are so many variables.
Pickling is all about applying a semi-transparent coat of paint-like finish, allowing natural wood grain to show through. But pickling doesn’t necessarily start with anything like paint. When you want the wood grain to be as prominent as possible, start by staining the wood some shade of brown before pickling. The trick is using a type of stain that dries quickly and is chemically compatible with the pickling liquid you’ll be using.

Stains for Pickling
The best stains I’ve found for enhancing the underlying wood grain base below a pickled finish are waterbased. You don’t necessarily need to stain wood a brown colour before pickling, so it all depends on the look you’re after. If you want the lightest possible results, with only a hint of wood grain showing through, no need to stain. But staining some shade of brown first adds a great, antique look to the results, so you should at least know how it works.
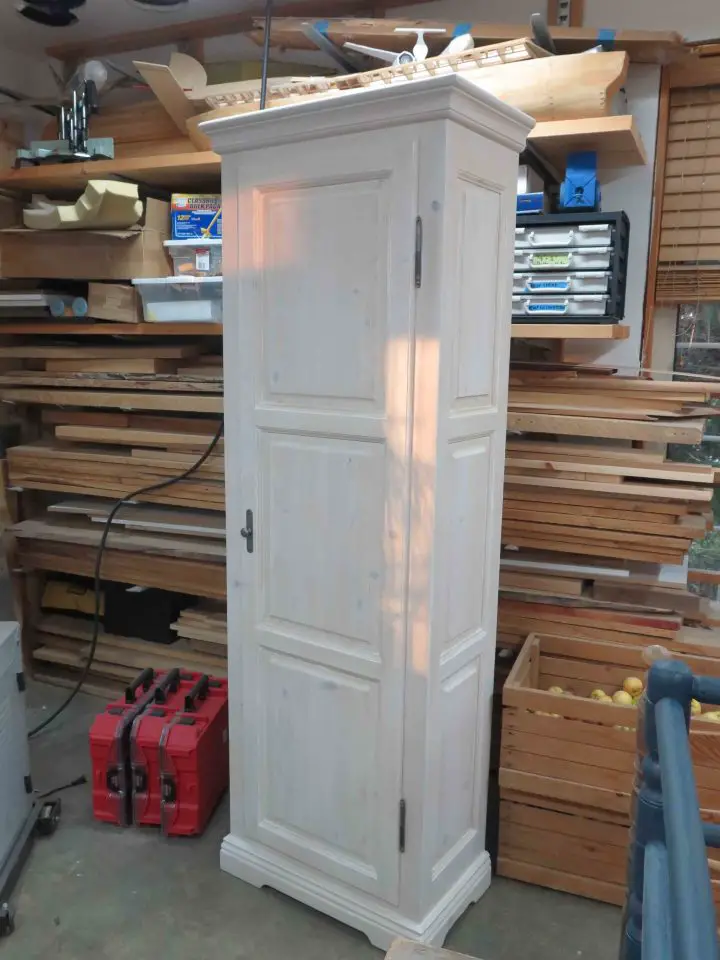
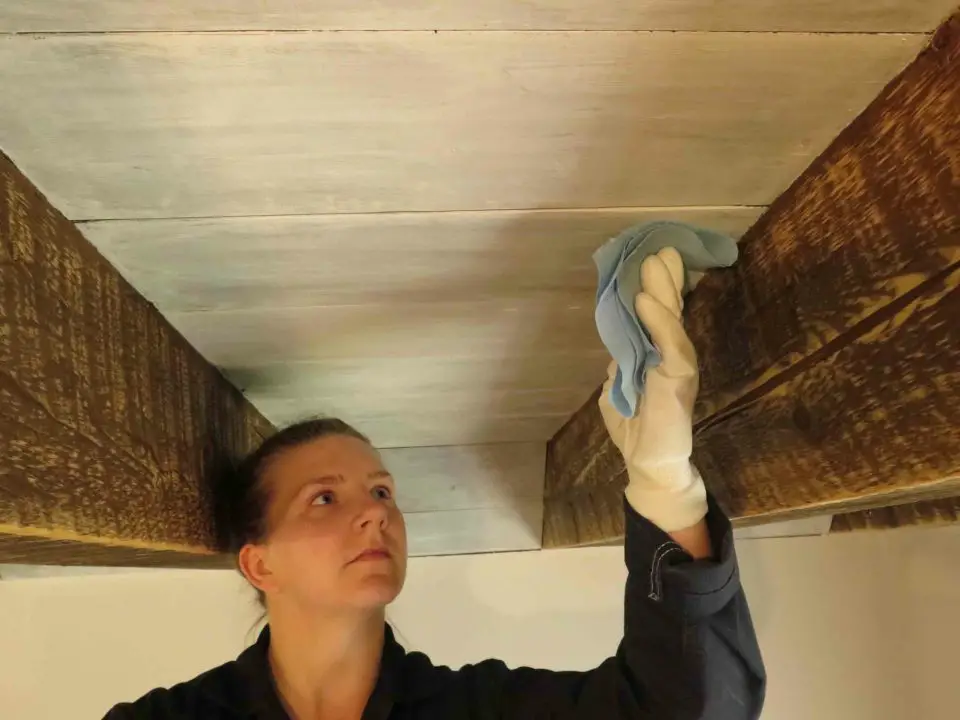
Waterbased stains are perfect as an initial step in pickling. That’s because they’re pleasant to work with, they have no harsh odours and they dry quickly. In my most recent pickling job I used Minwax Wood Finishing Cloths in the walnut colour as a first step and they worked well. Take a cloth out of the package, put on the plastic glove that comes with the product, wipe stain on the wood, then let it dry for two hours. After that it’s on to pickling, and this is where some artistry comes in. And you don’t necessarily need to go for a white look. Any other shade works well too, such as this blue colour I applied to the wall shelf I built that you can see below.
You don’t have to look far to find specialty products made for pickling wood. I used my first can of pickling stain in 1987, when pickling was an almost forgotten idea. These days pickling is more mainstream, and several companies make what you need. Minwax White Wash Pickling Stain is the most widely available that I’ve found. Ready-to-use pickling stains are easy and foolproof, but there’s a reason you might want to try something else in some cases.
Adjust Opacity of Pickling Stain
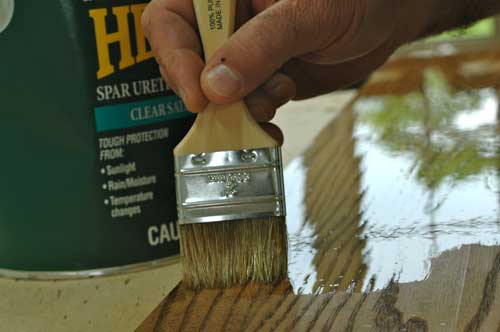
It’s helpful to be able to dial in just the right amount of transparency in your pickling efforts, and that’s where latex paint comes in. Simply add more or less water to the paint, then try the results. Diluting latex paint with 15% to 25% water usually does the trick.
With the paint watered down like this, simply brush some on the surface you’re working with, then wipe off the excess with a paper towel. The thinner your paint and the harder you wipe, the more transparent the results will be. Does this sound tricky? It’s not. Practice on some sample boards and you’ll be surprised how consistent the results look. Traditional pickling is always white, but you can pickle with different shades of colour using different colours of paint.
Pickled finishes aren’t for everyone and every situation, but it’s surprising how good they look. No wonder we keep coming back to them, centuries after they began.


I hope you found this content useful!
Your generous support helps me produce more practical, hands-on content that I hope you’ll find useful.
Steve Maxwell