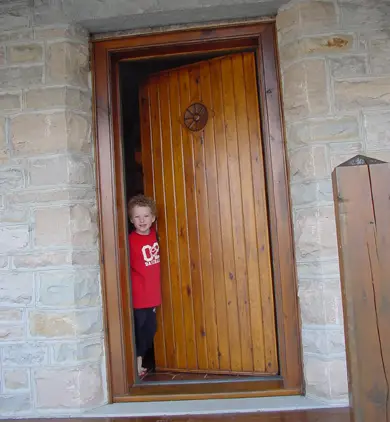
There’s a little-known fact about the beauty of stripped and refinished woodwork, and I discovered it the hard way starting with a blunder I committed in the spring of 1990. I’d just built and hung two insulated exterior red pine doors that I’d made and began applying a walnut-coloured outdoor varnish to them. That’s one of them below.
I’d never used this product before and in my haste to get the job done I let impatience rule. Instead of testing the new finish on scrap wood (as I now always tell other people to do), I went right to the finely-sanded, bright new door with brush in hand. (Click here to download plans for building an insulated door like this.) That proved to be a mistake, but with a silver lining.
The first coat looked great, lending a rich brown, antique tone to the surfaces of the door. But the second coat didn’t look so good, and the third was just plain silly. Since the product had a very dark colour, and it was designed to create a surface film, the second coat showed brush marks prominently as it built a surface film. Areas with a slightly thicker film were almost opaque. Thinner areas were lighter. All that work and the new door looked like a toddler’s first attempt at faux woodgrain finishing. As I was to find out later, the manufacturer discontinued the product I’d used a short time later, for reasons I was all too familiar with.
After a day of unsuccessfully trying to convince myself that the doors really looked okay, I admitted defeat, slathered on the paint stripper and began gently scraping off the mess. But as the sheets of soft, new finish fell to the floor, my eyes lit up. The stripped door looked fantastic, much better than new. Where the embarrassing goop used to be, I found rich, warm, old-looking wood. In a matter of just a few days I’d accidentally created the kind of golden, antique patina I’d always believed took decades to develop naturally. You can see one side of one of those doors below. I did end up sealing the surface after stripping, but the great colour was already there from before. You can see one of the doors below. This is the front door in our house.

This whole event came with the realization that there’s more than I thought to the perennial popularity of stripping and refinishing woodwork. While there’s certainly value in getting rid of old encrustations of ill-chosen paint, I know now that refinished wood looks so good because of the burnishing and polishing that inadvertently happens in the fight to remove old coatings. And knowing that fact can help you coax the most beauty from old trim, floors, moldings and furniture. If you want to retain anything like an antique patina, the main thing is to always use the gentlest stripping methods needed to get the job done.
Refinishing Old Furniture: 3 Ways To Strip The Old Stuff
There are 3 ways you can remove an old wood finish:
- Abrasion alone
- Heat and abrasion
- Chemicals and mild abrasion
Of these three methods, the third offers the best opportunity for preserving and enhancing the antique-wood look that’s so prized. And believe it or not, chemical stripping has also become the safest of options because of low-toxicity formulations that soften old coatings while keeping potentially harmful paint dust out of the air.
Methylene chloride is the active ingredient in traditional strippers and it remains available because it’s effective. But to be safe, it must also be used with levels of ventilation that are almost impossible to achieve indoors. Two less toxic, citrus-based alternatives that I’ve used are Citristrip and Organic Strip. Though both work more slowly than methylene chloride products, they continue working longer, without drying out. They also smell great. I never use methylene chloride any more.
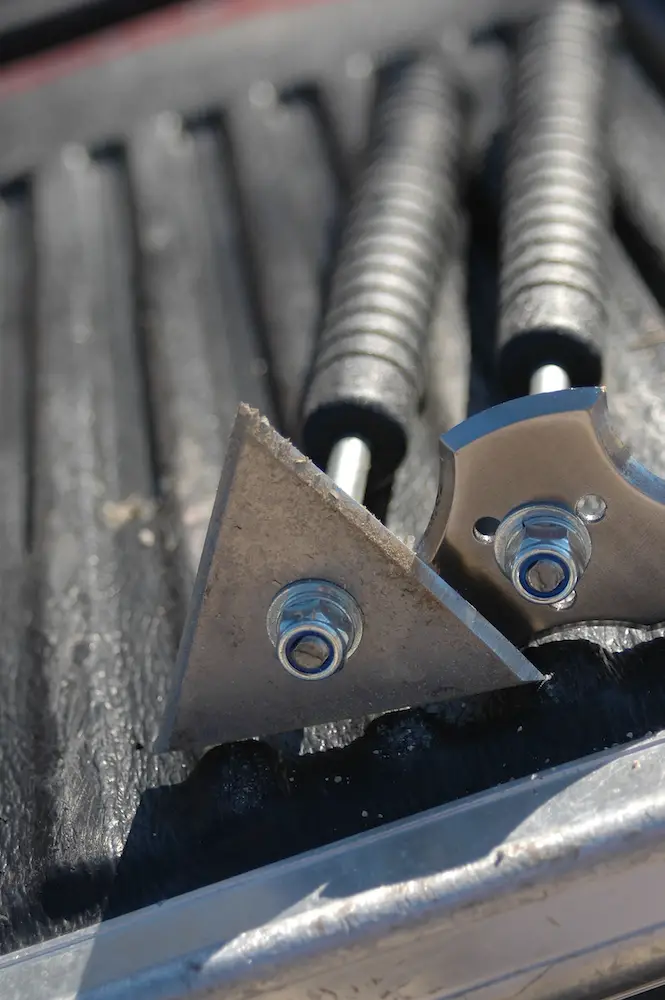
With the old finish softened, it’s time to remove the goop. And for this you need a gentle scraping action using tools more sophisticated than the dull putty knives usually brought to bear on jobs like this. Cabinetmakers have traditionally used the widest range of scrapers of all professional woodworkers, and it’s in their toolboxes that you’ll find the best scrapers for stripping curved surfaces like moldings and fancy architectural woodwork. All specialty cabinetmaking suppliers carry a wide selection of these scrapers. For stripping large, flat areas, pay the extra money for a carbide tipped, two-handled paint scraper. The reversible carbide blade stays sharp almost forever, and can be replaced inexpensively when the time comes. You can see a nice pair of scrapers of this kind below.
Open-pored woods such as oak, ash and walnut often retain paint in their pores if it was applied as the first coat of finish on the wood when new. In this case, gingerly work the area with a soft, plastic-bristled scrub-brush over a slathering of fresh stripper. If that doesn’t do the job, switch to a fine, brass-bristled brush. Just remember to scrub all areas evenly, regardless of whether or not they harbour paint. This creates the most visually-even surfaces and the best final result. As you’ll discover, the best scrapers and brushes will get you 80% to 90% of the way to bare wood. After that it’s time to switch to something more delicate for the final, prefinish clean up.
Paint Strippers Won’t Do It All
After you’ve removed all the old finish you can with chemicals and gentle scraping, there will still be bits and pieces of ugly stuff hanging around. This is especially true around moldings and surfaces with concave curves, and these are the places where mild abrasion is useful for final clean up. Just be careful. Don’t over do it. You want to clean the wood, but not remove any surface layers. That’s where the prized burnished patina is found.
The gentlest option for post-chemical cleaning of curved wood is fine steel wool. Use #000 or #0000 grades. Steel wool is especially useful here because it conforms to curved shapes willingly, almost eliminating the danger of rubbing through high spots. And one piece of steel wool goes a long way because you can turn it over and fluff it up, exposing a fresh surface for more work.
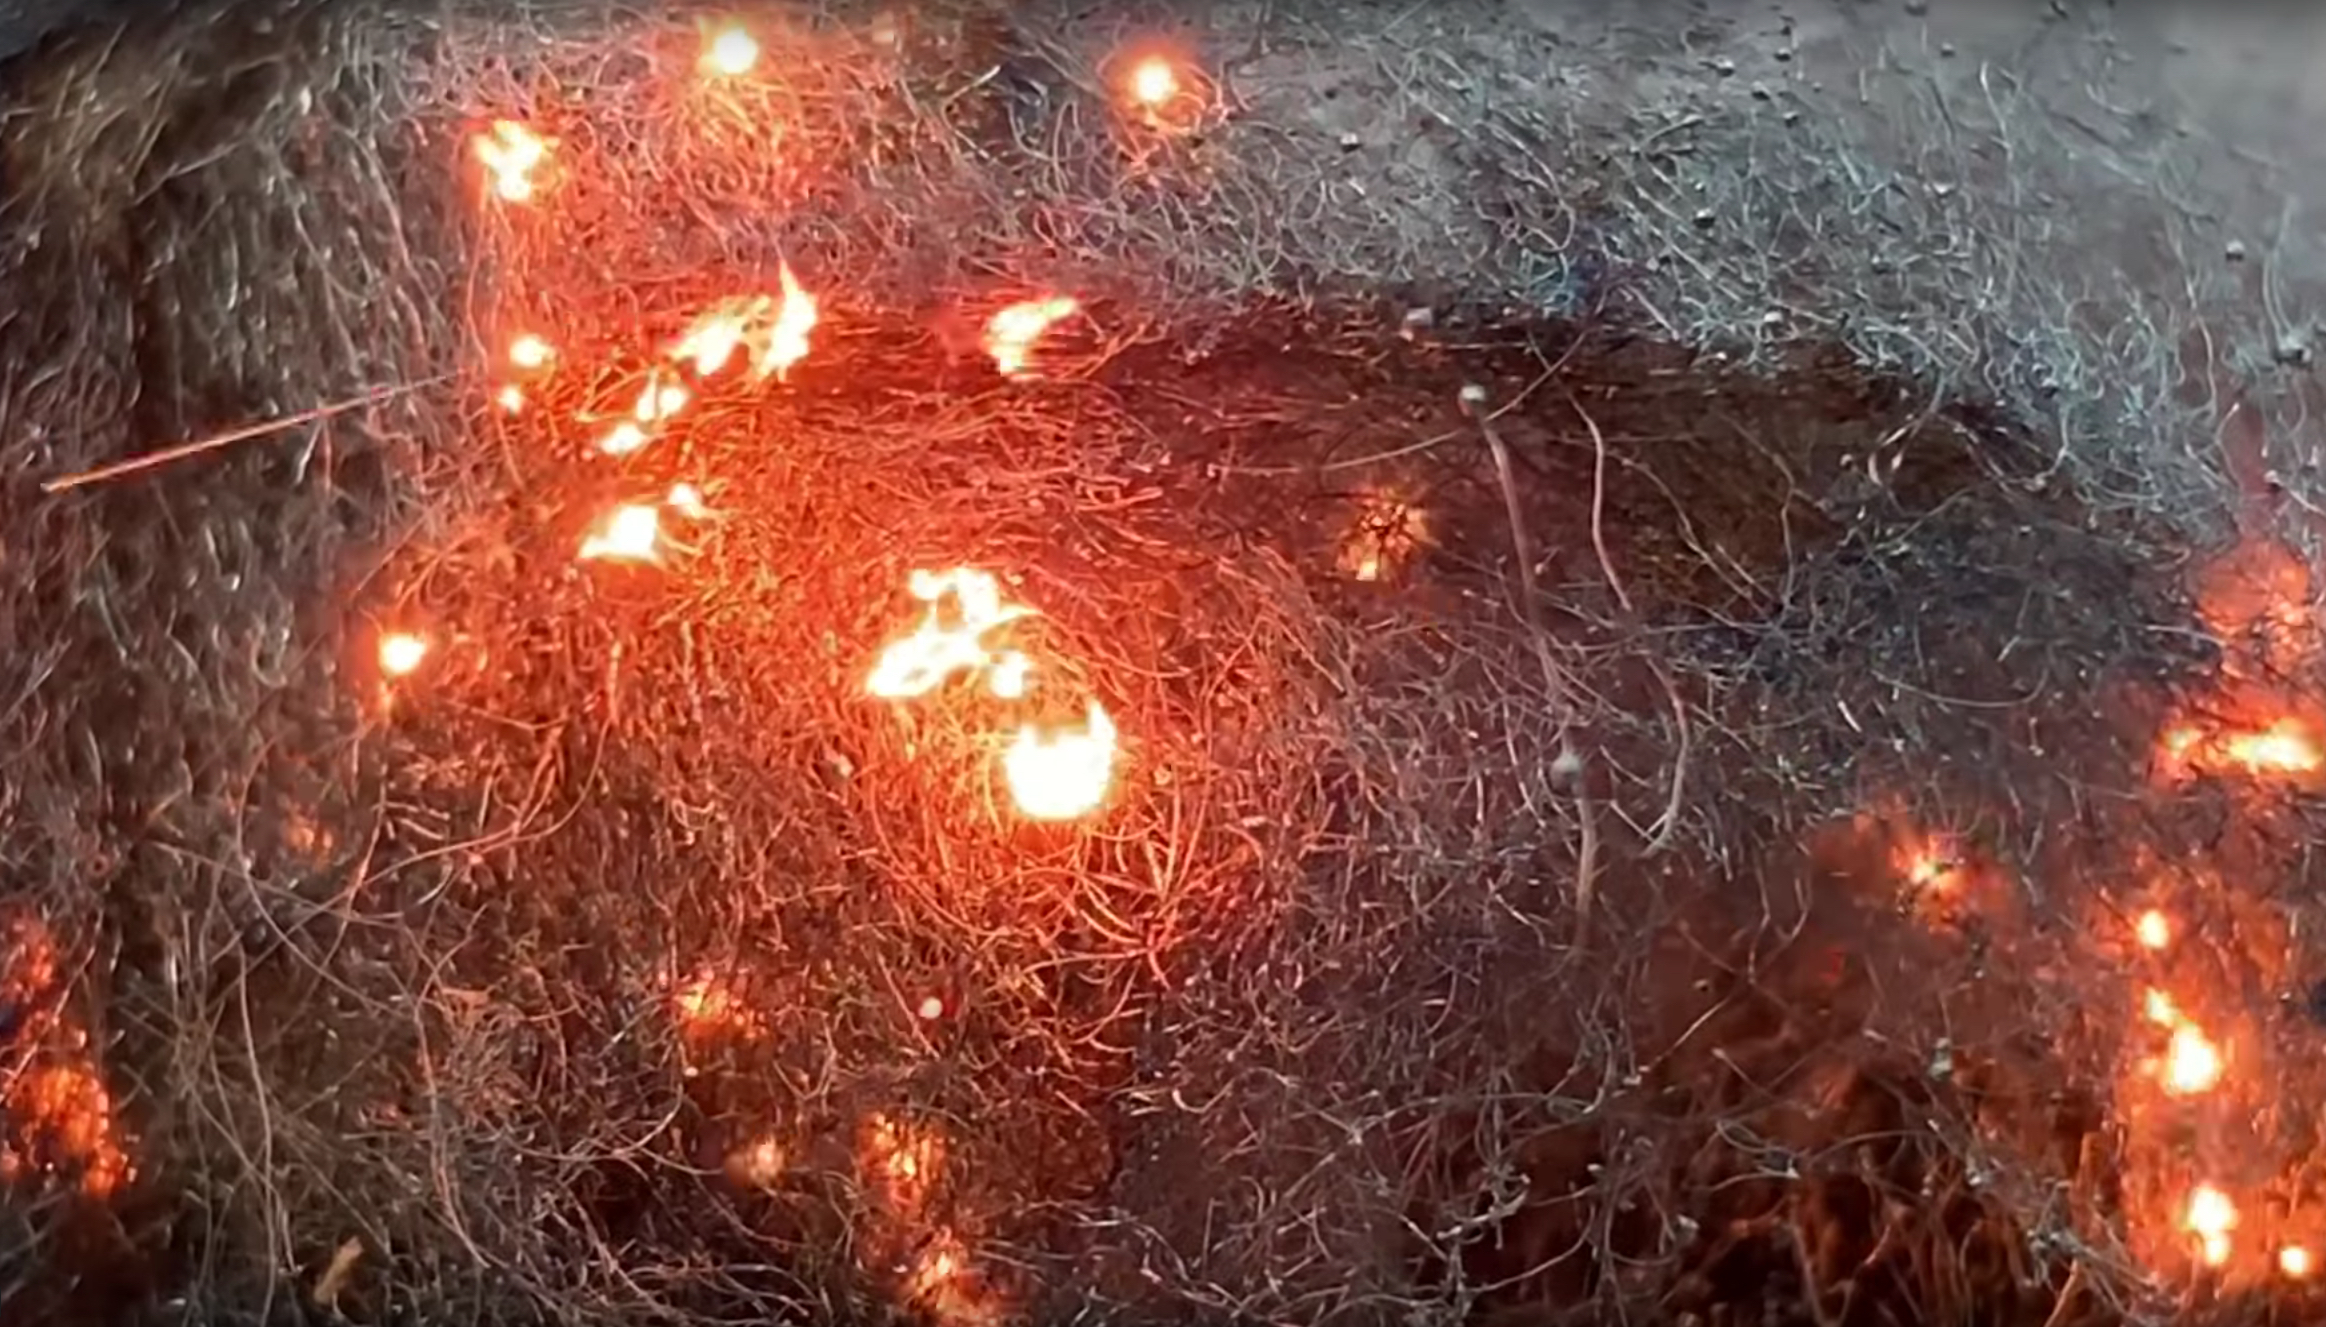
Surprisingly, steel wool this fine actually poses a fire hazard in the workshop. Take a little bit outside and put a match to it. You’ll see that it burns with glowing hot embers that race around the pad like a dynamite fuse on a road runner Loonie Tunes cartoon. That’s why it’s always safest to keep steel wool stored in air-tight metal cans. The photo below was what happened in my own shop when I put one small spark into the centre of a piece of steel wool. The small balls of steel you see on the right are bits of steel that melted and hardened.
For cleaning up flat areas of wood you’re stripping, start with sandpaper no coarser than 120-grit; 180 or even 240-grit usually makes more sense. Work gently, remembering that you’re only removing the surface residue. If you’ve got a house full of ornate trim to strip, consider a power tool like a detail sander. It’s unique in that it has many different concave, convex and angled attachments for prepping just about any shapes you’ll find. Just don’t overdo the sanding. You want to remove gunk, but not the pleasant patina.
Final Refinishing Options
Choosing a successful finishing procedure is a lot like choosing the right methods of stripping. Use the least intrusive products needed to create the required level of protection. In the case of interior trim or primitive antiques, for instance, that might mean three or four coats of penetrating oil only. If more protection is called for, consider applying cabinet wax after allowing the oil to cure for two weeks. If your stripped wood is in a high traffic area, or gets spattered with water from time to time, consider two or three coats of satin or flat urethane. That door I struggled with back in 1990 is the kind of thing that needs more than the usual amount of protection on the exterior face because of its outdoor exposure. But even under three coats of lightly-tinted, transparent sealer it still looks a whole lot better than it would have if I’d never made – and stripped – that finishing mistake in the first place.
What About Lead? Safe Stripping
It wasn’t until 1978 that the safety hazards of lead were taken seriously enough to ban lead the substance in all paint products in North America. That’s why it’s quite likely that any painted woodwork or furniture you’ll be stripping is covered in this harmful substance. And although it’s possible to strip lead-based paint safely, you must recognize the hazard and prepare yourself for it.
The biggest threat posed by lead in old coatings comes in the form of airborne dust and vapours. That’s why you must never sand old wood finishes or soften them with high heat. Tiny particles of lead-laden paint will invariably waft into the air, making their way into your lungs sooner or later. And that’s bad because lead is among the nastiest of toxins, causing everything from permanent brain and organ damage to long-term behaviour problems in children. Heating old coatings poses a similar, though invisible, threat. A torch or heat gun will vapourize lead-based compounds as it softens paint, releasing them into the air where they will be ingested through the lungs. The safest stripping tactic starts with a respirator and rubber gloves. Use stripping chemicals while realizing that the goo they create is toxic. Work on plenty of newspaper and gather it all up after each work session. Dispose of gloves and residue at a hazardous waste facility.
 I hope you found this article useful. Please consider helping me cover the cost of writing, photographing and publishing content like this. Click the “buy me a coffee” button below for a fast, safe and simple way to make a contribution.
– Steve Maxwell