If you’re planning to build a deck, dock, gazebo, swing set, mailbox post, clothesline stand or any other wooden outdoor project, I’ve got tactics of the kind you won’t find anywhere else. There are four of them, they can make any outdoor project to be better, and they’re not difficult, either. And be sure to listen to my podcast and watch my video on cordless drills for big wood down below.
Tactic#1: Cut Pyramid Ends


The top ends of posts look terrible if they’re just cut off square, and that’s why I started creating pyramid ends on 6×6 and 8×8 timbers about 20 years ago. The angle of the four cuts that create the pyramid isn’t critical, but I find that 15º from square looks ideal. Swivel the foot of your 7 1/4” circular saw to this angle, mark square lines around all four sides of a post, then follow up with four cuts from a handsaw. That’s what I’m doing there to the right. The waste won’t fall off if you’re working with 6x6s and 8x8s since standard saws don’t cut deep enough. That’s why you need to complete the cuts with a full-size handsaw (I prefer one with a Japanese tooth pattern) so the cuts meet at the pointed centre of the pyramid.

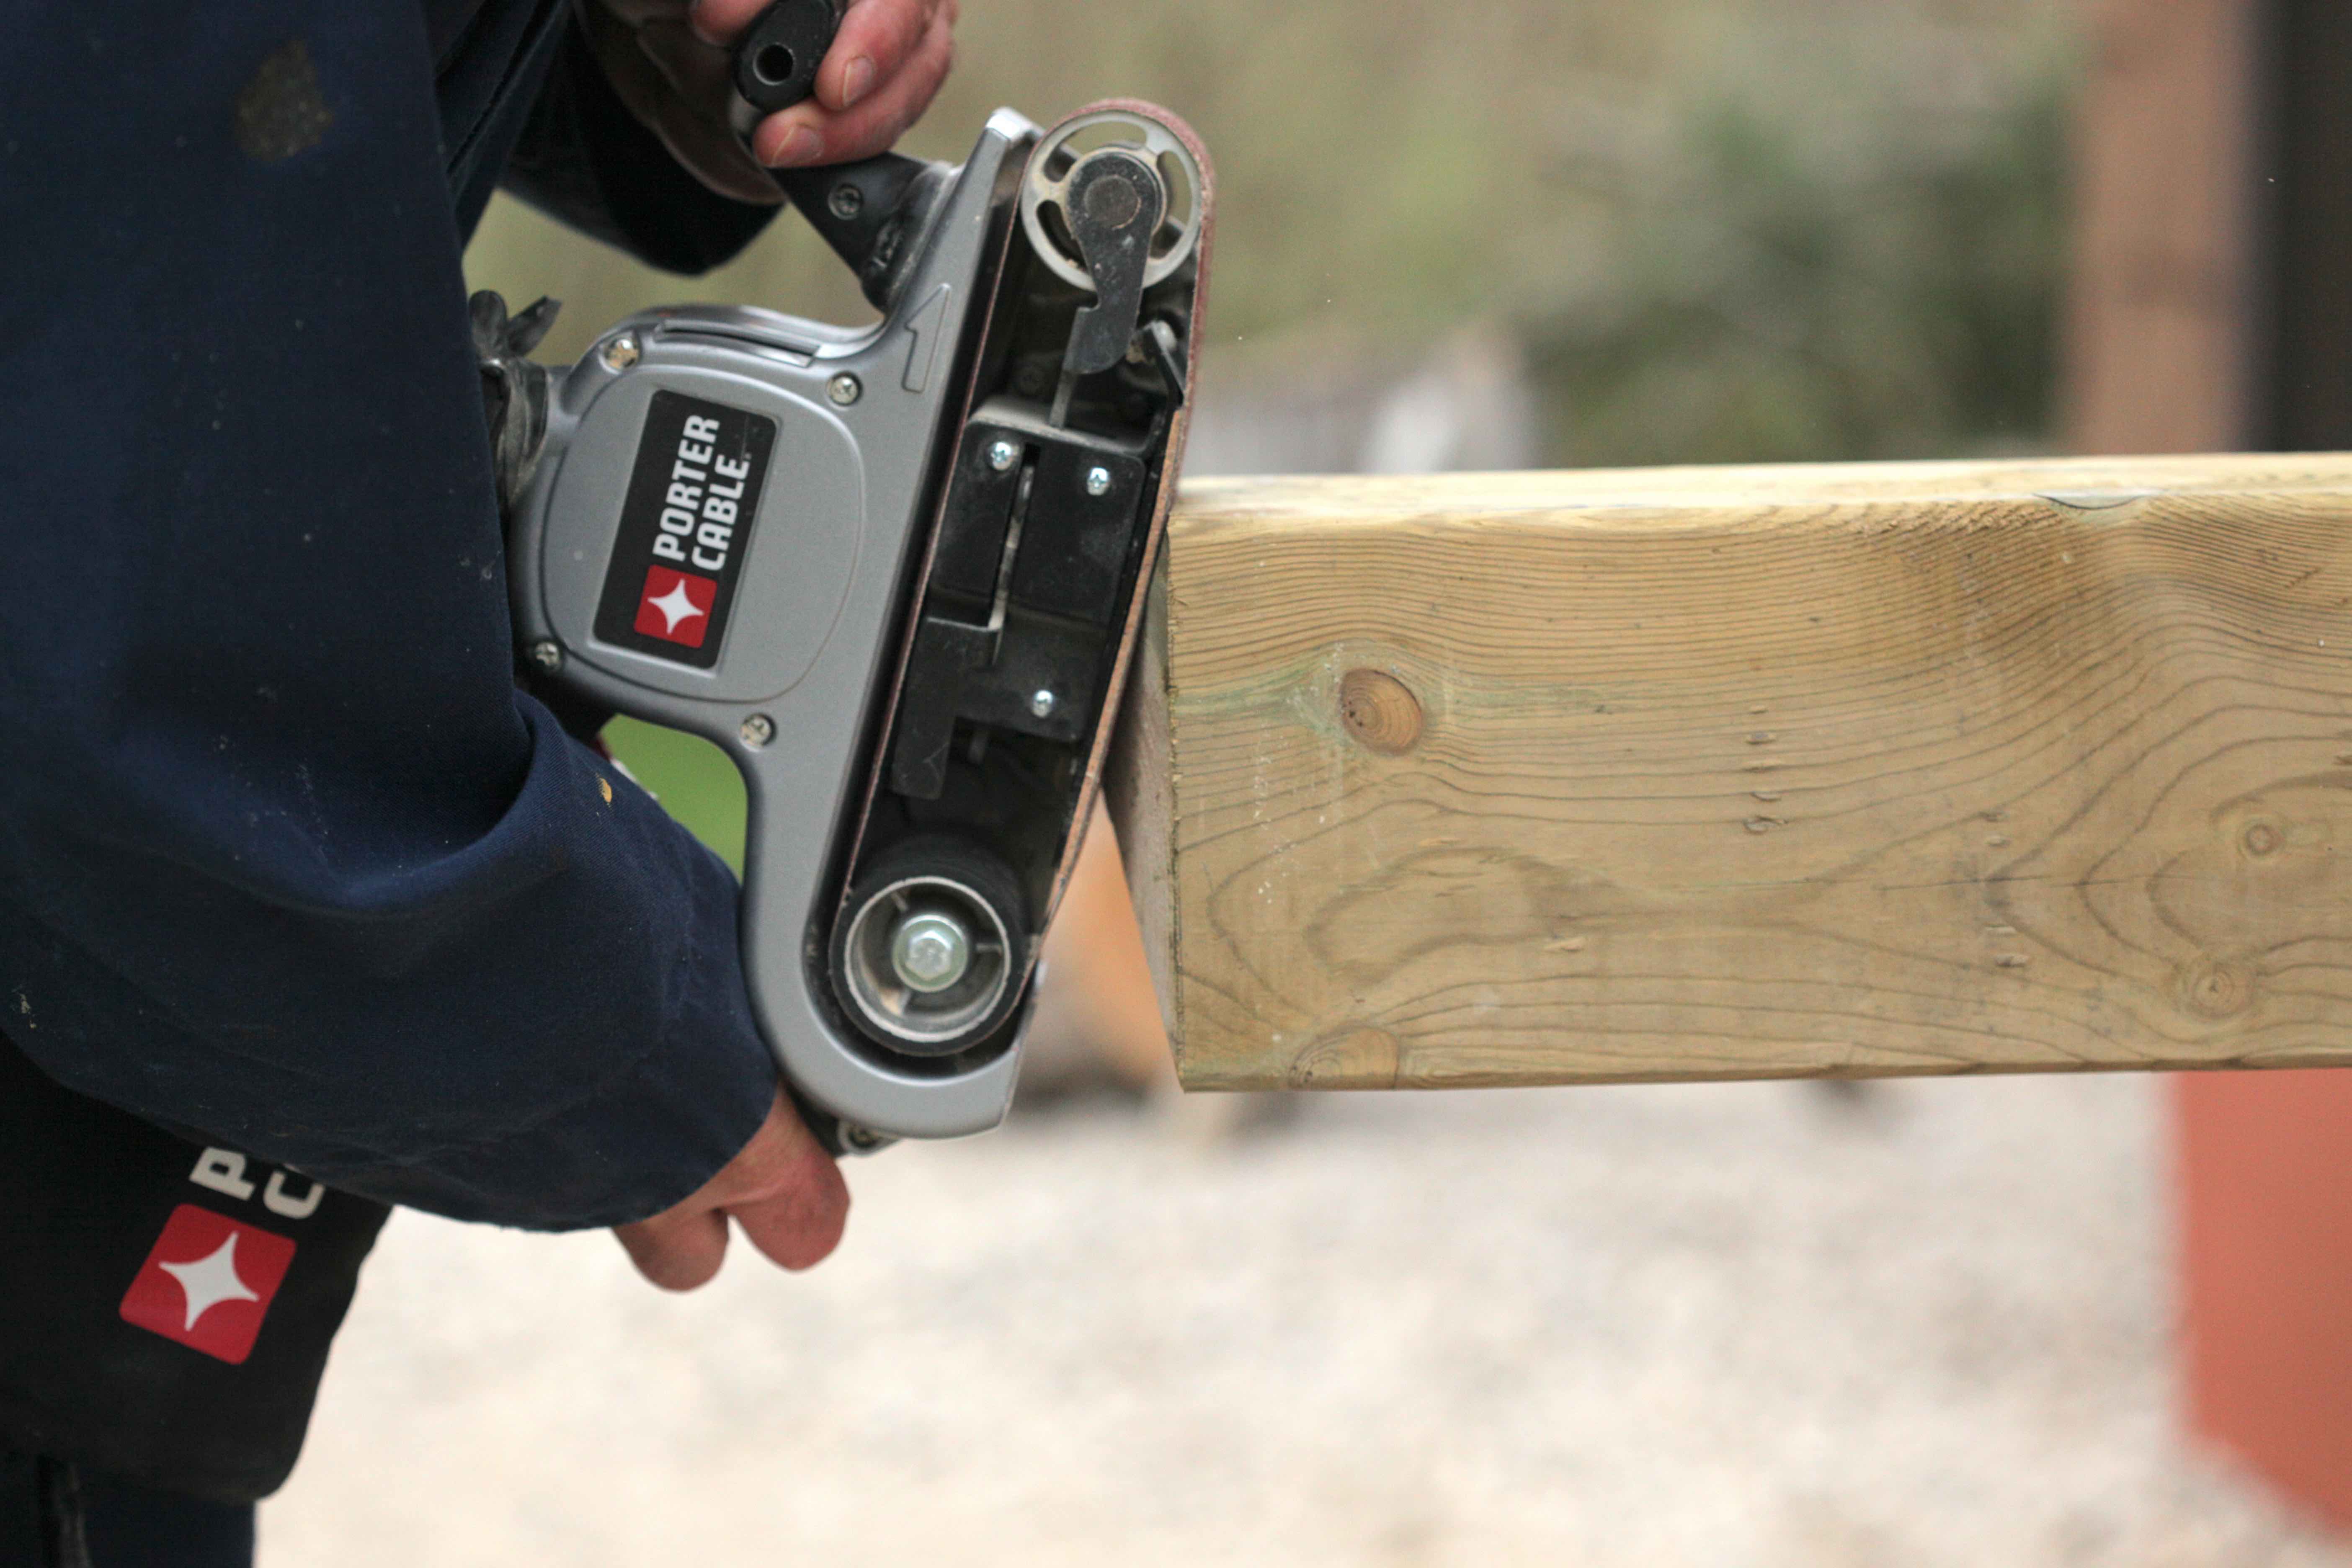
There’s no need to saw all the way through, just go to the centre of the post. The sawn facets of the pyramid look rough at this stage, but it’s easy to refine them with an 80-grit abrasive in a belt sander. That’s what I’m doing here in the photo. Precision is key. Keep the sander flat and steady, then work one facet at a time until all four are smooth and come to a single point. It’s amazing how much better the pyramid top looks after sanding. Don’t skip this step! It works on all standard post sizes, including 4×4, 6×6 and 8×8. Apply the sander belt carefully at first until you get the angle correct, then sand until the chamfer until completely smooth.
Tactic#2: Set Posts With Props

Whenever possible, it’s best to set posts directly into the ground without concrete. Bare posts in soil resist rot better than those set in concrete, and they’re less likely to heave upwards with frost. The only exception to this is when a post needs to withstand significant sideways pressures without support from neighbouring posts or structures. Railing posts at the bottom of a set of deck stairs, for instance, are one common situation where concrete is the only way to eliminate the loose, replaced soil that invariably surrounds soil-set posts. As long as the concrete is poured against undisturbed soil, it will support that post without any movement. Just be sure to dig the hole tapering slightly larger at the bottom than the top, to minimize the chance for frost movement. Also, don’t let a “muffin top” of concrete ooze out of the top of the hole, either. Frost loves to push upwards on this, moving your deck post as it does.
Whenever you’re replacing soil around the outside of a concrete-free installation, do it in stages, compacting that soil after every 6” to 8” of new stuff is added. With a post standing upright in the hole, add loose soil into the space around the post with your hands before tamping it down with the end of the sledge hammer handle. Try to keep the post plumb while you do this (or get a helper to), checking with a level after the first round of tamping is done. The little bit of soil now in place at the bottom of the hole at this stage won’t stop you from making corrections to the post orientation, so get things plumb before adding and tamping more soil. The higher you go, the less correction is possible, but that’s okay. You’ll never be far from perfectly plumb each time if you check and adjust after each tamping session. By the time you’re done, the post will be plumb.
Tactic#3: Use a Level to Get Things Square
As the size of any outdoor project gets larger, hand-held squares become less and less useful. Even a small error with a square can mean a big mistake when assembly lengths are measured in feet, not inches. This is where a level can help. Make big parts plumb or level and they’ll automatically be vertically square or parallel to each other. For parts that need to be leveled over distances longer than about 8 or 10 feet, a laser level or builders transit is more accurate. You’ll still need a square and pencil for laying out cuts and such, but levels make more sense when tasks get large.
Tactic#4: Use an Auger Bit for Big Drilling


Big, long bolts are a key part of joining many outdoor projects, and installing them involves boring big, deep holes. This is where ship’s auger bits can help. Named after shipwrights who often had to drill large holes through thick wood, the name of the tool lives on even though ships today are make with plate steel and electric welders. Although you won’t always need to drill 18”-deep holes, this is a good general purpose length to get. I use 1/2”, 3/4” and 1” bits most often for my outdoor projects. All ship’s augers are self-feeding, thanks to a steeply tapered screw at the tip. Although these bits will draw themselves into the wood without any help from you, they can be over-eager. Stop and reverse the bit after every 3” or 4” of drilling, to clear shavings from inside the hole. Also, whenever you bore holes for carriage bolts, choose a bit that’s the same size as the bolt shank – no larger. You’ll need to hammer the bolt in, but that’s okay. The friction is useful for holding the bolt as you tighten the nut over a flat washer.
Big, outdoor projects don’t require the precision of fine cabinetmaking, but they do let you extend your craftsmanship in a way that you’ll see and use most every day. And that’s certainly a good thing in my book.
Listen to my podcast on this subject to the left, and watch my test of the kind of cordless drills for outdoor work to the right.


I hope you found this content useful!
Your generous support helps me produce more practical, hands-on content that I hope you’ll find useful.
Steve Maxwell