I’m a cabinetmaker by trade, and I wrote my first magazine article about woodworking in 1988. Since then I’ve written and edited thousands of articles on woodworking, and if I boiled some of my best advice down into one article, I couldn’t do much better than the five top woodworking tips you’ll find here. If you’re aiming to develop your woodworking and home renovation skills, I know for sure that these top tips are a great place to start.
- Reading Time = 6 1/4 minutes
- Video#1 Watch Time = 4 minutes
- Video#2 Watch Time = 4 minutes
Woodworking Tip#1: Beware of Enthusiasm
If it weren’t for enthusiasm, none of us would haul ourselves off the couch and make good things happen. But enthusiasm also has a big and hidden downside. It can get the better of you in subtle ways and quickly turn into impatience, especially when things aren’t going well in the shop. That’s why you need to beware of enthusiasm.
Let’s say you run out of the ideal size of wood screws for a particular situation. Don’t let your enthusiasm to complete the project tempt you to make-do with what you’ve got on hand. Wait and get what you really need. The same advice applies when the glue bottle runs out, a board splits annoyingly, or you realize that you’ve got to go back and change things in a design that’s partially built. While enthusiasm is useful, don’t let it be your ultimate driving force. It’s not steady enough. The pursuit of quality is much more important and enduring. Learn to stop, back up, wait, then move forward. This is an essential craftsmanship skill. Good things will start happening in your workshop, home and yard if you make this discipline part of your life.
Woodworking Tip#2: Invest in Tools Long-Term
Choosing tools and gear successfully is a lot like hitting someone with a snowball as they’re running. Unless you aim way ahead, you’ll always miss. The tools and gear you need tomorrow will almost always be more than you need now, especially if you’re a beginner. That’s why you should always buy better than you think you need. My only tool regrets have come when my snowball fell way behind the results I was aiming at. You need to buy for the ultimate woodworker you want to become, not the woodworker you are now or expect to be tomorrow. Also – and this is crucial – always let actual needs guide your tool investments, not imagined needs. Struggle for a while with a process or situation that’s less than ideal. Make-do without a tool that you think would make things easy, then use the insights you gain to invest in gear that actually meets the needs you face. You’ll buy smarter if you let yourself struggle a little first.
Woodworking Tip#3: Master Your Sharpening Skills
My first article for Canadian Home Workshop magazine back in 1988 was on sharpening tools using a buffing wheel, and this same topic continues to be popular with my subscribers because sharpening is such an important skill. Nothing good happens with chisels, planes and carving tools unless they’re razor sharp. The challenge is getting them this sharp without spending a whole lot of time doing it. Razor sharp tools in two minutes or less is what the buffing wheel approach is all about. Instead of rubbing chisels and plane blades back and forth on an abrasive stone by hand, the buffing process involves holding tools steady against a spinning hard felt wheel that’s charged with a fine abrasive. It only takes a minute or two to transform a dull but properly ground tool into an astonishingly sharp implement. Quickly creating cutting edges that are sharper than new razor blades is still a fundamental skill for doing the best work with wood, and the buffing wheel lets it happen in minimal time.
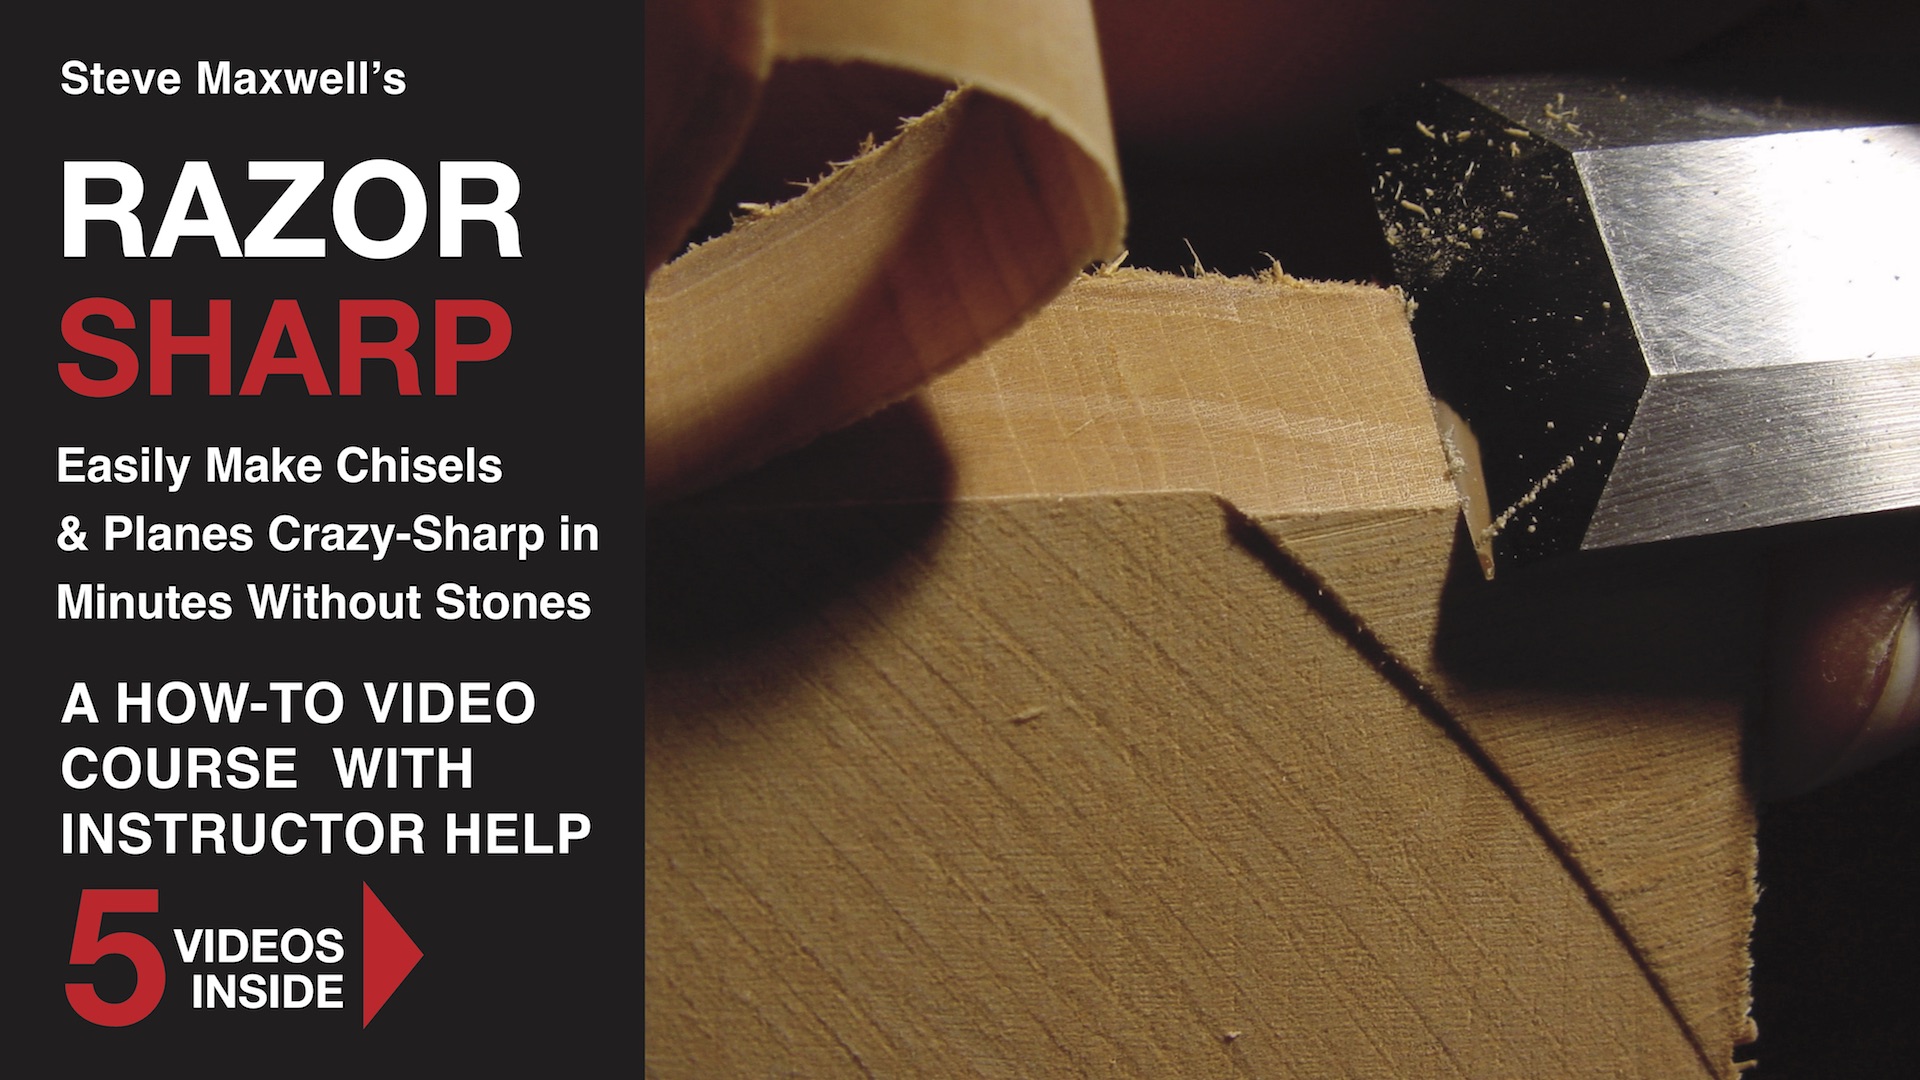
So, how do you know when an edge really is sharp enough? I use two ways to test. If I can shave hair cleanly off my arm, then I’m good to go. Another test is to try and slice end grain of a board – especially the end grain of soft wood. If a chisel, knife or plane iron can slice this kind of wood cleanly, without crushing or tearing the grain, then you’ve got a truly sharp tool.
Woodworking Tip#4: Slow Down and Sand Wood in Order
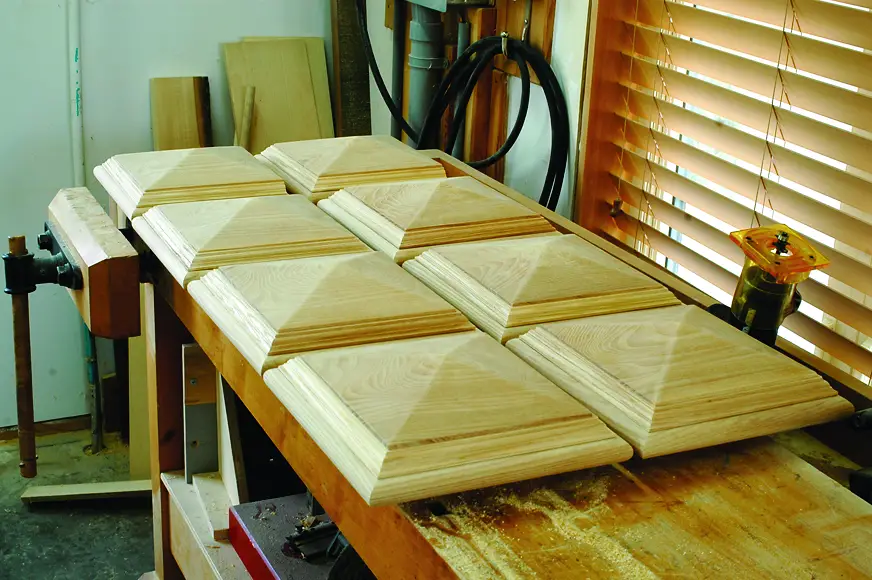
Woodworking success is mostly about doing the right things, in the right order, in the right way, and this applies particularly to sanding wood. If you can see marks left behind on your wood by the planer (look closely), begin sanding with a 100- or 120-grit abrasive in a belt sander. If your wood is already smooth to the eye before sanding (or if you’ve completed sanding with the belt sander), move on to some 120-grit sandpaper in a half-sheet sander. I much prefer this kind of tool to the very common 5″ random orbit sander. Random orbits work quickly, but often leave unsightly swirl marks. A quarter-sheet finishing sander with a 180-grit abrasive is the next best step. It gets you almost all the way. Finish up with a final hand sanding in the direction of grain using 220-grit paper before finishing. This ordered, multi-step approach to sanding really works.

Woodworking Tip#5: Learn to Tweak Your Tools
Every successful woodworker needs to be part mechanic. Just try coaxing a hand plane to cut properly without a little tweaking and you’ll see what I mean. Getting your jointer fence square to the bed or setting the 90º angle stop on your tablesaw so it’s accurate is 100% mechanical work. Tweaking your mitre gauge or crosscut sled so it cuts absolutely square is essential to good woodworking results. Waxing the bed of your thickness planer (that’s what I’m doing below) is key to wood that feeds through smoothly. Adjusting your chopsaw so it cuts 90º in both mitre and bevel directions isn’t something you need to do all the time, but it is essential.

Check out the videos below on tuning two woodworking machines: the planer and the jointer. I think you’ll find them useful.
 Did you find this article and videos helpful? I hope so. Please consider clicking the “buy me a coffee” button below. You’ll find a safe, fast and easy way to help me cover the cost of producing and publishing articles and videos like the ones you see here. A big thank you to everyone who helps out regularly.
– Steve Maxwell