Back in the summer, my wife, Mary, ventured into a backwoods antique shop near our home on Manitoulin Island. It’s run by a woman named Shelagh Saul and it’s filled from floor to ceiling with furniture, Persian carpets and collectibles of all kinds. It’s a remarkable collection.
Out of all this stuff, Mary spotted a cabinet that caught her eye. Tall, classic and made entirely of unfinished pine, she thought it might find a place in our home. Would I come and take a look and see if I liked it?
The cabinet was one of a kind, made by someone who knew what they were doing. It held a lot of promise. We loaded it up, brought it to our workshop and I fixed the little things that were wrong or rough. Putting a finish on the bare wood took up most of our time and we did it together, in what I call our “workshop date nights”.
Like regular dates, workshop dates involve special clothing. But instead of fancy outfits, you put on overalls for this kind of date. And instead of wine and candlelight, you share sandpaper, brushes, a can of stain and some urethane. Sounds homely, but it’s more fun than you might think. You should try it some time.
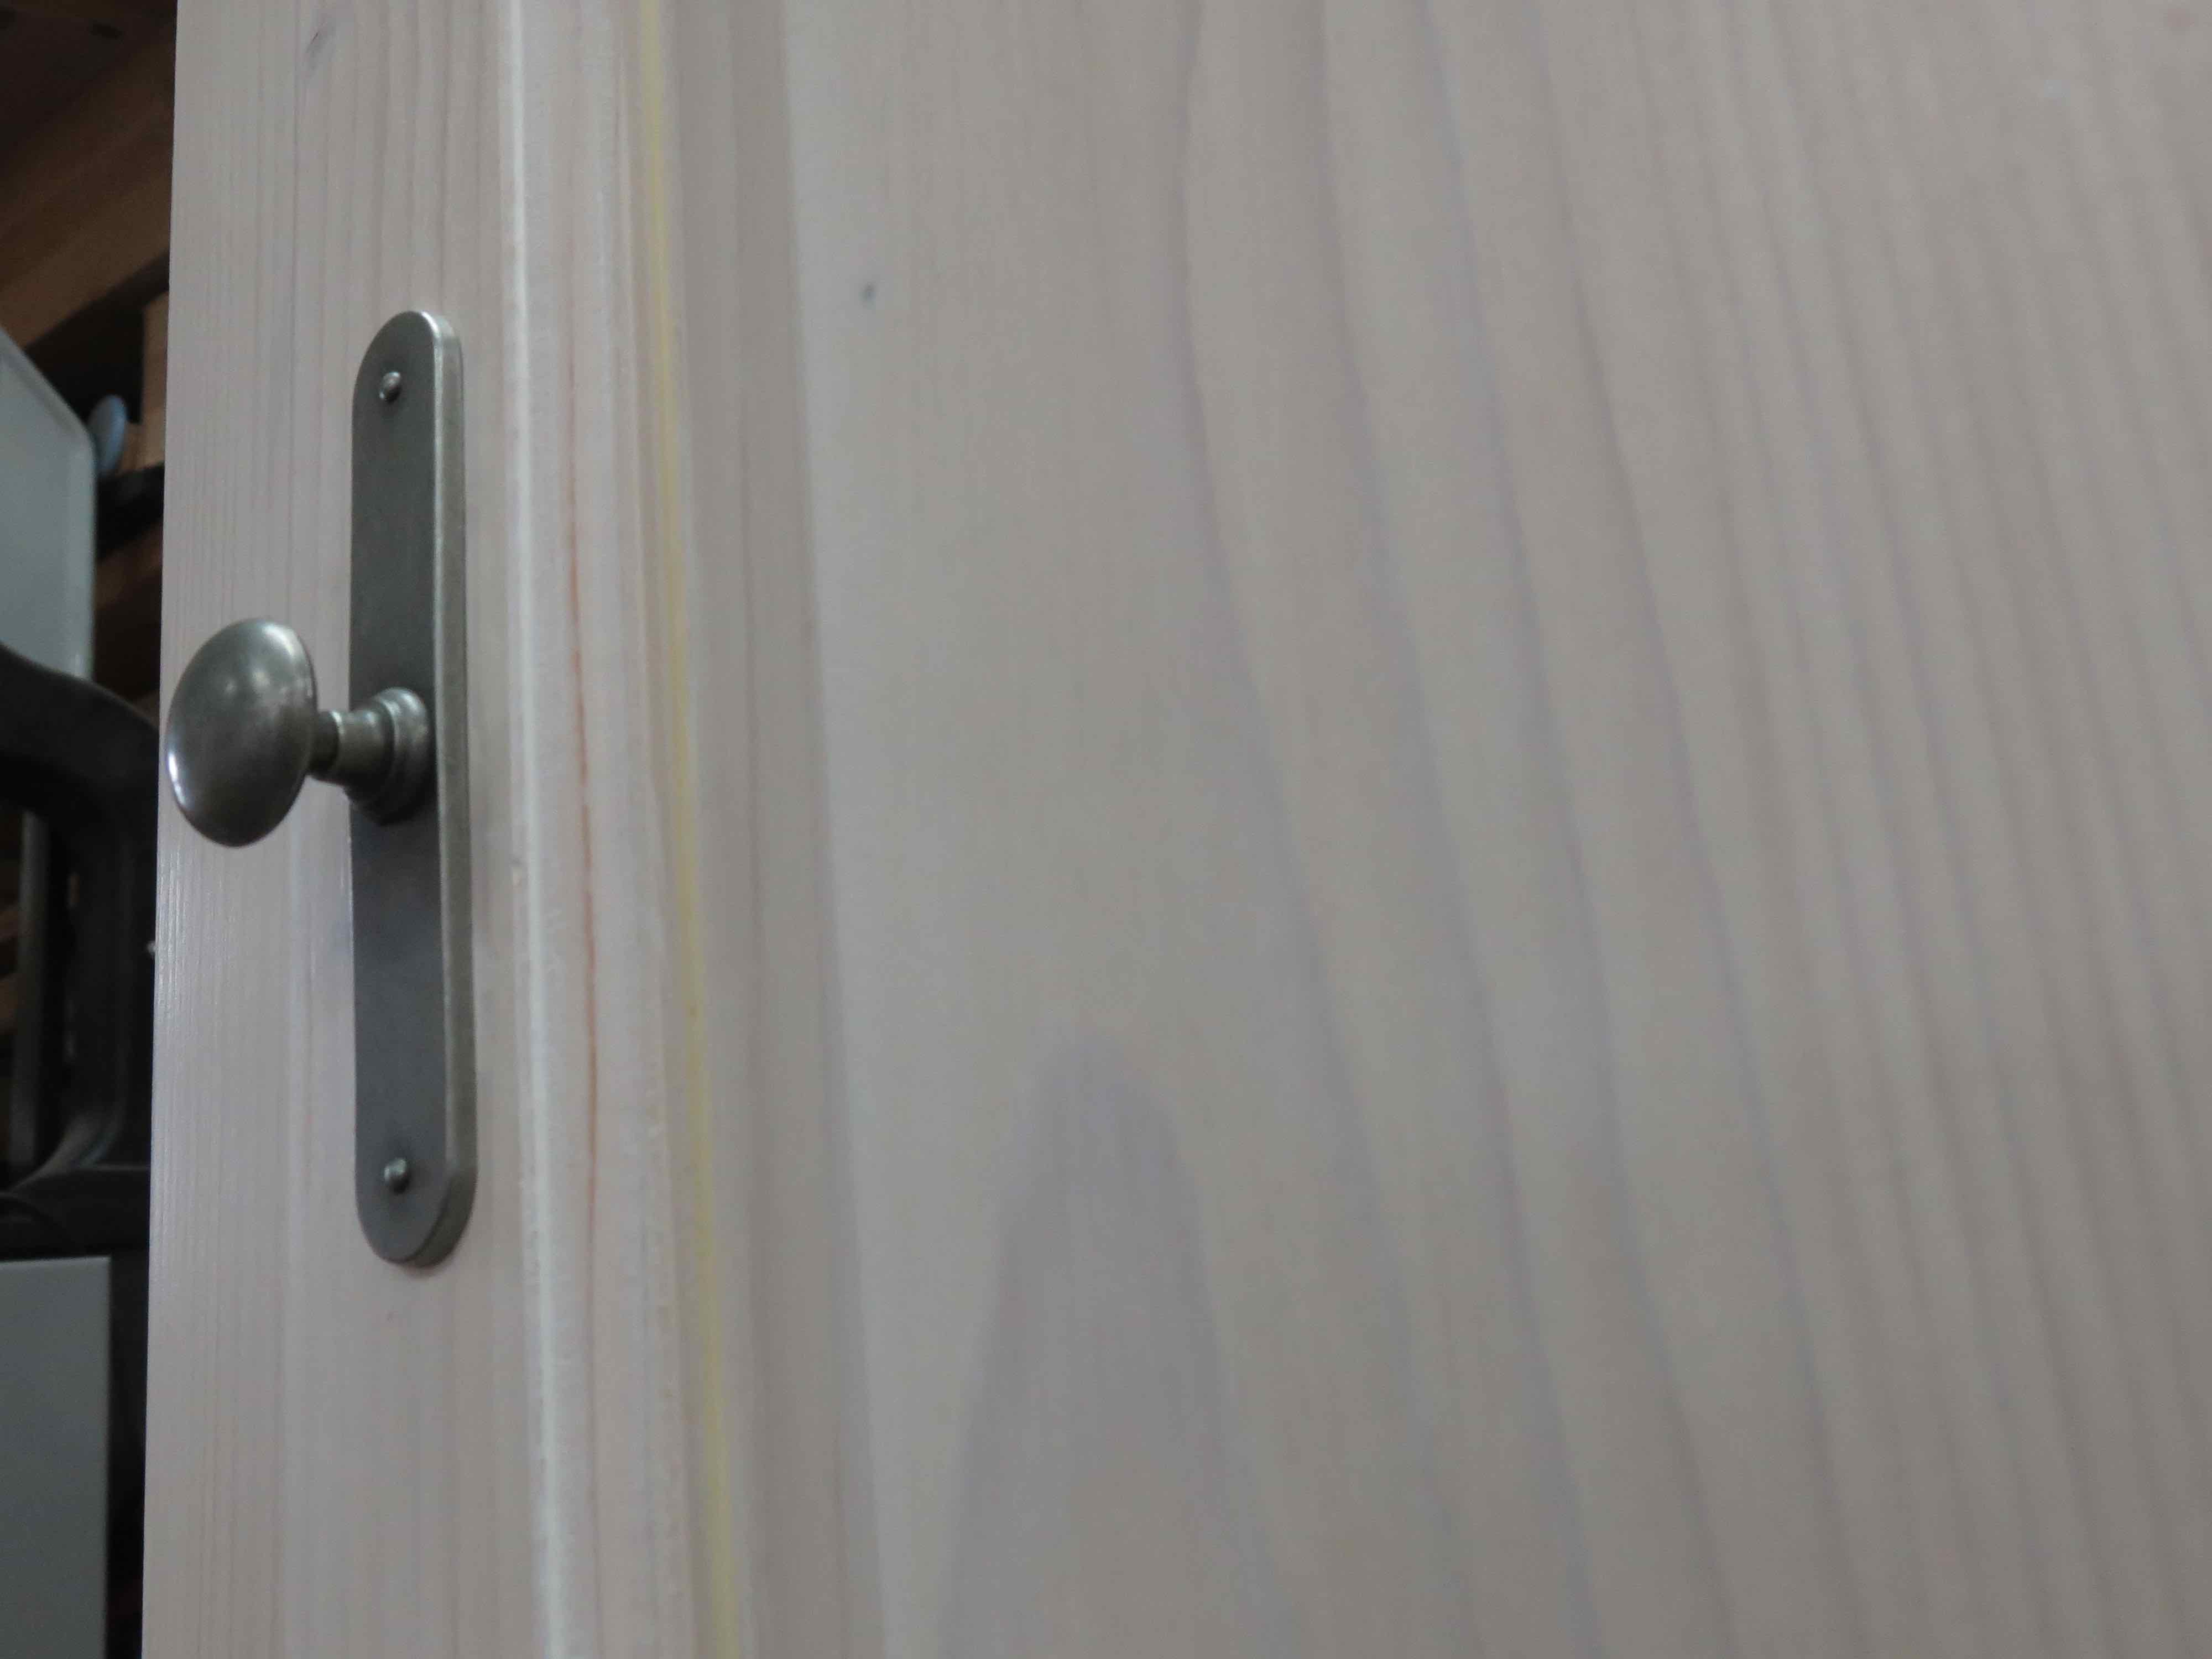
 In the end, the cabinet turned out to be a true diamond in the rough. Even though I didn’t build it from scratch (as I did all the other furniture in our house), I like this cabinet almost as much as anything I’ve made. Part of the attraction is a transparent white stain we used on the wood. It lets the wood grain show through, while giving the cabinet a brighter, whiter look. Here’s how we did it:
Step#1: Sand the entire cabinet with 150-grit sandpaper to remove all roughness. Always sand in the direction of the wood grain.
Step#2: Brush on and wipe off a coat of white “pickling” stain. On our workshop date I brushed on and Mary wiped off. It’s important to leave on only the stain that actually soaks into the wood. Nothing must remain on the surface or you’ll get a muddy and messy look. The word pickling here might seem strange, but it comes from a very old technique involving the use of acid to create this transparent white look. These days pickling stains are very easy and pleasant to use – water based and no fumes. We used one from Minwax and it worked really well.
Step#3: Repeat stain application and wiping to get a deeper and whiter look.
Step#4: Seal the surface with one coat of waterbased urethane. I applied urethane using a great little sprayer I just bought from Lee Valley Tools. It’s called the “Critter” and it’s exceptional. I’ve used many sprayers over the years, but this one is by far the best for use in an ordinary workshop with no spray booth. I’ll tell you about it more another day.
Step#5: Sand and buff the surface to remove roughness caused by the drying of the urethane. 220-grit sandpaper and a fine 3M rubbing pad do an excellent job.
 All that remains now is to line the cabinet with aromatic cedar, put some felts on the bottom to protect the floor, then bring it into the house. We’ll end up with a great piece of furniture at a very low price, and about a week’s worth of workshop date nights together to boot. All in all, better than buying something from a furniture store in my book.
Our workshop date nights continue, too. We’re refinishing some ladder back chairs right now, using a distressed milk paint technique before re-caning. Mary spotted these diamonds in the rough at a yard sale. More on our chair project later.