During a live home improvement question and answer forum I hosted at a public trade show, 75% of the questions were about basements. I’m amazed and glad that people are this curious because a successful finished basement depends on fundamentals that are unique to working below grade. Unique but not always obvious. Basements can (and often do) go bad in big ways if they’re finished the same way as above-ground spaces. And this issue always comes back to moisture and how it affects the materials involved.
First of all, never, ever finish a basement unless it’s proven to be absolutely dry. Give the matter several years of observation, if possible. Don’t let hope or enthusiasm prompt you to move ahead prematurely because water on carpet, drywall and furniture is an unmitigated disaster. Even with a reliably dry basement, you need to build as if a leak were still possible. That’s because it always is.
Instead of wood or metal wall stud frames filled with batt insulation on exterior walls, I recommend sheets of extruded polystyrene foam. Besides being easier to install than stud frames, extruded poly is more or less impervious to water – both liquid and vapour. If batt-insulated stud-frame basement walls get wet, for instance, it’s like having sopping beach towels stuffed into a plastic bag inside your rec room walls. Who wants that? By contrast, the right kind of foam doesn’t fester, and it also delivers more effective insulation properties because it forms an unbroken insulating layer.
If you’re interested in saving money with a DIY basement insulation strategy, look for 24” x 96” rigid sheets of foam with grooved edges. Wallmate is one leading product (Google “Dow Wallmate” for info). These panels are made especially for finishing basement walls. Position them vertically, long-edge to long-edge against your foundation, nestle wood strapping into the grooves formed by neighbouring sheets, then fasten the wood to the masonry wall using masonry screws sunk into predrilled holes. The wood holds the foam to the wall and also provides an anchoring surface for drywall that comes later.
One troublesome basement location that’s almost always insulated poorly is the place where floor joists meet exterior walls at basement ceilings. Standard practice involves stuffing this space between floor joists with insulation batts, then attempting an ill-fated plan to seal the insulation behind poly vapour barrier. It never works. Air leakage and cold weather condensation typically fosters mold growth within the batts. It’s almost universal. Check for yourself. If your basement’s got this kind of arrangement, pull back some insulation and brace yourself. That grey or black stuff on the back face is mold.
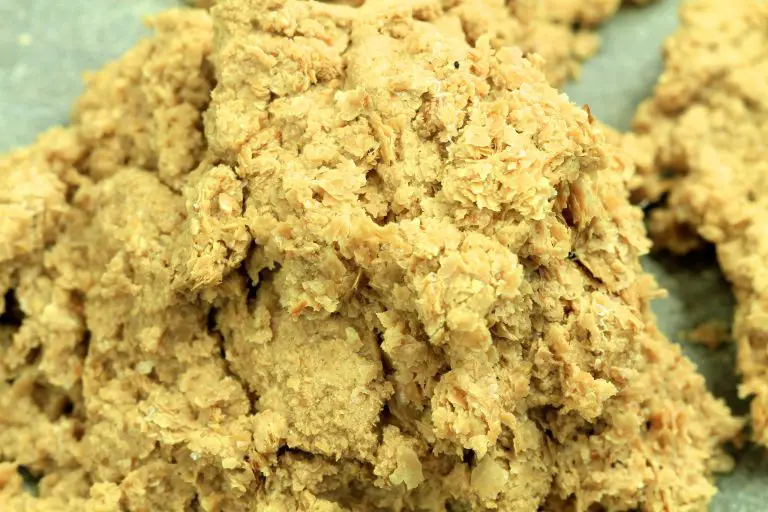
Professionally-applied spray foam insulation works exceptionally well where floor joists meet outside walls, though you don’t necessarily need to call in a contractor to enjoy the same benefits. A mold-proof, DIY-friendly approach involves spraying foam on the area yourself. One option uses a product called Tiger Foam. I’ve used it and it works very well.
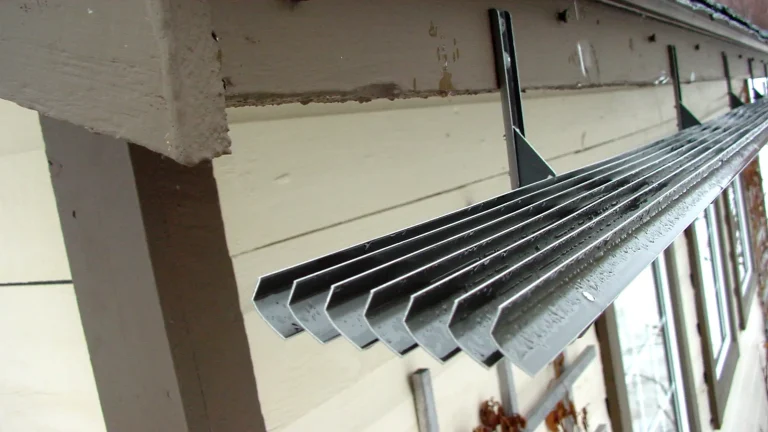
Boosting sound insulation is another thing you should consider while finishing basement space, and there are two ways to make it happen. Resilient channel is one. It’s lengths of sheet metal strips that screw to the ceiling joists, while also offering a surface that accepts screws anchoring drywall for the ceiling. Resilient channel breaks most of the physical connection between drywall and the floor frame above, reducing sound transmission upstairs noticeably.
You can apply resilient channel to partition wall frames, too, but I prefer staggered 2×4 wall studs on a 2×6 wall plate. With a layer of fiberboard sheathing on partition walls underneath 5/8” drywall, you’ve got a solid wall that’s easy to anchor things to, and surprisingly quiet.
These are just a few of the factors behind a good finished basement, but they’re worth thinking about because they’re often overlooked. Finishing your basement is the easiest way to increase the living space in your house. Do it right, and you’ll enjoy a warm and comfortable new zone that’s fresh, pleasant and inviting.


I hope you found this content useful!
Your generous support helps me produce more practical, hands-on content that I hope you’ll find useful.
Steve Maxwell