A brass pinned woodworking joint (sometimes called a brass pin joint or wood joint pinning technique) is a decorative and reinforcing method for joining wood that combines classic aesthetics with practical strength.
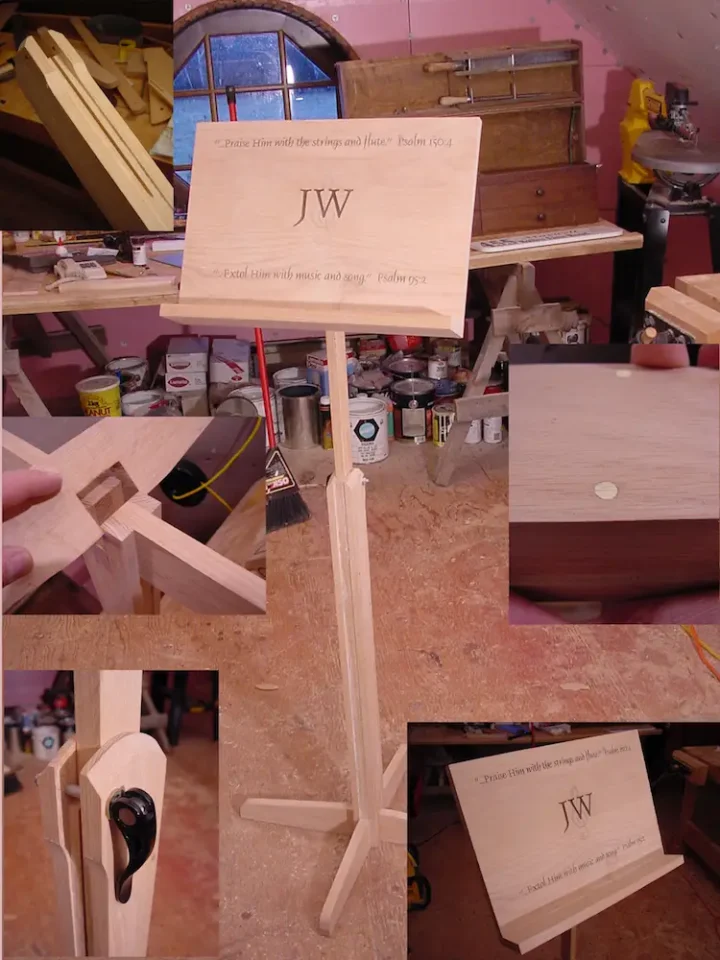
There are many ways to join pieces of wood, but most woodworkers haven’t used the brass pin joint before. In fact, I’ve never seen anyone use it in modern times (except me), though some version of brass pin joints were more common years ago. Despite the lack of popularity, they still offer a fabulous option that combines ease of installation with classic beauty. You can use the brass pin approach with any kind of wood, though it looks particularly striking against a dark species of hardwood. The wood it’s used in above is red oak. Not dark, but still nice. It’s part of a music stand I made for a friend. You can see it further down in the article.
What Is a Brass-Pinned Woodworking Joint
Although brass pin joints look exotic, they’re easy to make. The metal itself is nothing more than an ordinary flathead brass screw with the head sanded flush to the surrounding wood after installation. Start by drilling a pilot hole in any kind of butt joint, such that the screw threads bite into the wood without anything more than moderate friction. Brass screws are a lot softer than steel, and they’ll break if you stress them. I know because I’ve learned this the hard way. Trust me, you don’t want a broken screw messing up your project parts.

Are you working with softwood? In this case, there’s no need for anything other than ordinary pilot holes. If you’re working in hardwood, countersink the edges of the hole slightly for reasons that become obvious later.
How to Make a Brass Pinned Joint
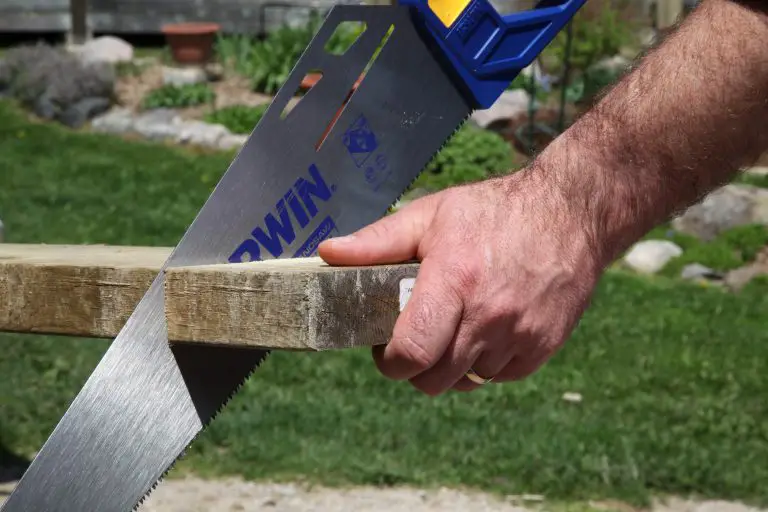
With pilot holes drilled, install flathead brass wood screws – one screw every two or three inches, along with a little glue on the joint. You’ll find #8 or #10 x 1 1/2” brass screws work best. Tighten them as far as you can with a hand driver (as you can see below), then grab your belt sander and get ready to make things look pretty.

Sanding and Finishing Brass Pins Flush with Wood
Carefully work the metal heads with an 80-grit belt on a belt sander until they’re flush with the wood, allowing the screws to cool after every five or ten seconds of sanding. Ignore this time limit and heat build-up in the screws will char the surrounding wood. Brass really gets hot when sanded. Soft wood compresses enough to allow a small amount of the angled, countersunk screw head to pull down below the wood surface automatically while tightening, leaving behind a tiny lip that holds the joint together after the sanding is done. Hardwood doesn’t compress enough for this to happen without a slight countersinking before screw installation.

Complete some practice joints before tackling a brass pinned joint that matters. I think you’ll find many ways to let this technique add beauty to your woodworking projects. Below you can see the music stand I mentioned earlier.


I hope you found this content useful!
Your generous support helps me produce more practical, hands-on content that I hope you’ll find useful.
Steve Maxwell