If you’ve never built furniture before, I want to do three things for you. First, I want to tell you that special training or experience isn’t required for success. Second, I hope to convince you that converting spare time into something valuable is a worthwhile way to make use of evenings and weekends. And third, I’d like to suggest that building your own furniture offers the kind of productive fun that’s much less common these days than it should be. I know all this is true because home-built furniture is the way I started my career as a cabinetmaker in the mid-1980s. It didn’t take more than a few hundred dollars worth of simple, quiet hand tools to build my first project, and this eventually led to a very satisfying career.
Building a Bookshelf, the Best Way to Begin
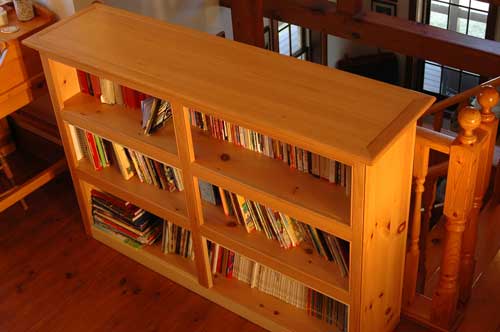 My first project was a bookcase, and it’s a great thing for anyone to start with. The best way to begin is with ideas from your life, not ready-made plans. That’s because optimal designs can be tailored to fit specific spaces and specific collections of books.
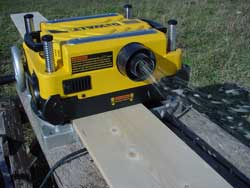
Start by considering how much effort and money you want to invest in your bookcase. This affects your choice of materials and joinery, which are the next things you need to think about. Medium density fiberboard (MDF) is an inexpensive sheet material that works well for small to medium-size bookcases built on a budget and destined to be painted. Hardwood veneered plywood offers elegant good looks and more strength. Pine lumber makes great shelves, too. All three materials can be cut with a handsaw or hand-held electric circular saw.
Regardless of what your shelves are made of, determining the proportions of your bookcase is something that needs to happen right up front. The best full-size cases I’ve built have 11 1/2″ of usable, front-to-back shelf width. You can safely go down to a 9″ width for smaller designs meant for tiny spaces. Allowing 12″ of vertical headroom between largest shelves handles most big books, with 10″ and 8″ spacings further up for smaller ones. Measure your book collection and adjust shelf spacing from these numbers.
4 Options for Supporting Shelves
You’ve got four main choices when it comes to supporting shelves on bookcase sides: grooves, ready-made biscuits, adjustable shelf pins and butt joints held together with decorative screws.
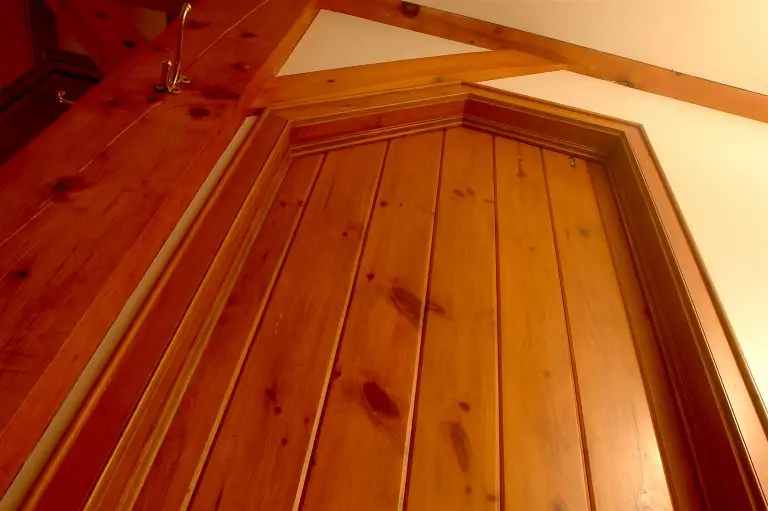
- Grooves: Grooves that support the ends of shelves (called dados) are the traditional choice for bookcases, and though I used them for my first bookshelf, they are slow and challenging to cut with hand tools.
- Biscuits: Biscuits are small ovals of factory-cut hardwood that support shelves well when installed into grooves cut using a biscuit joiner – a hand-held power tool made especially for the job. Three #20 biscuits applied across the 12” width of bookcase shelves are plenty strong.
- Shelf Pins: Adjustable shelf pins offer the easiest option of all. They’re metal pins that fit into holes drilled into the inside face of bookcase sides. Four pins support each shelf, two on each end. I prefer to install shelf pins
 only in those places where I actually want a shelf to be, at least at first. Even if I do need to move the shelf to another height later, I can always drill another set of four holes.
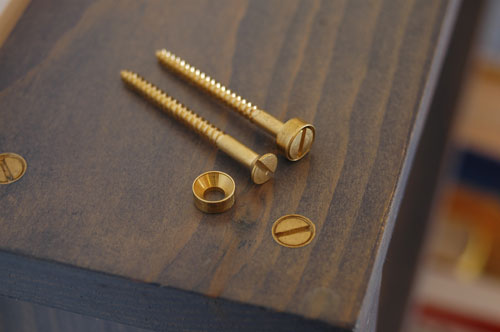
 - Screws: Wood screws are a simple way to join a book shelf. They’re strong and they look great when coupled with something called cup washers. These small circles of metal make ordinary screw heads look fantastic.
No article can ever explain everything about building a bookshelf or any other kind of furniture, so don’t expect to have all the know-how before you begin. Your real education happens when you plunge into the work not knowing all the answers, run into challenges, then struggle your way past. A couple of projects later, you’ll realize that doing – however flawed your efforts may be initially – is a great path to learning.


I hope you found this content useful!
Your generous support helps me produce more practical, hands-on content that I hope you’ll find useful.
Steve Maxwell