In this autobody repair video, see . . .
- An ugly hole in a modern, plastic bumper
- How to use construction adhesive to form the backing of an autobody repair
- The best way to shape autobody repair filler
- The application and sanding of the primer coat
- Painting, clear coating and buffing coming in part 2
Click below to watch:
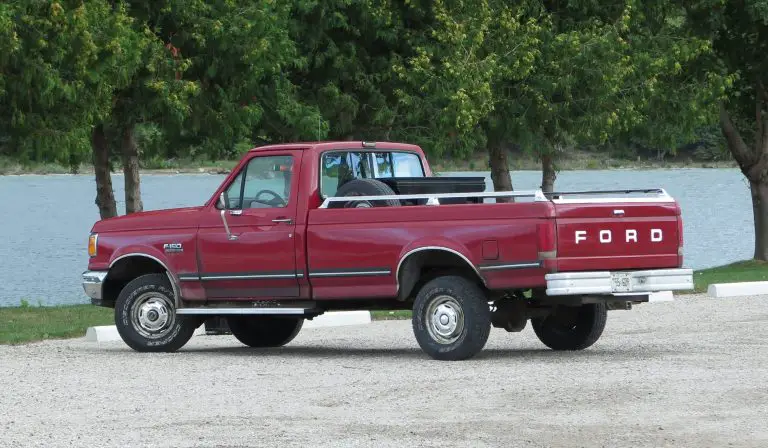
The video here is part 1 of 2 on repairing a hole in a plastic bumper, but the techniques can be used for all kinds of autobody repair. In this case, the tip of a tractor bucket hit the bumper and peeled off a big flap of the plastic bumper. The regular way to fix this is to just change the whole bumper, and I looked at that option initially. In the end, when it was all said and done, the “proper” repair was going to cost $1,000. Two different shops gave me that same estimate. A $1,000 touch seemed a bit much for a vehicle that’s 15 years old, so I figured I might as well give a driveway repair a try. In the end the repair took a couple of hours to do, and it cost only $30 in materials, as you’ll see. A pretty good hourly rate, right?
Autobody Repair Step#1: Prep the Area
As you can see in the video, I trimmed off the flap of plastic, and squirted some expanding polyurethane foam inside the hole because a bump like this is entirely hollow. On top of the foam, to make a more solid base, I put in some of my favorite construction adhesive. That sounds crazy, but it’s really quite a unique product that works well in this application. It comes in caulking tubes and is normally used for gluing lumber, subfloors and other construction-type things. But not just any construction adhesive will do for this application. As I’ve mentioned in other articles, I really like PL Premium. It’s a polyurethane formulation so airborne moisture actually helps it cure rock solid. The video lesson above also shows how I scuffed up the area where I expect the auto body filler’s going to have to feather out.
Repair Step#2: Mixing and Applying the Filler
For this repair I’m using standard auto body filler, lightweight with no reinforcing fibers. This stuff is often used for rust repair, but I don’t really like it for that application because it seems to promote rust around the patch. My preferred option is to fill rust holes with metal. I like to use solder for that . . . either just solder on its own for small holes or soldering in a patch of sheet steel. The solder is soft enough that it can be shaped and sanded before painting. Click here for a tutorial on using solder for patching autobody holes in metal.
The autobody repair filler I’m using in the video comes as a paste. You mix in a little hardener cream and the paste gets rubber, then hard. How do you know how much harder to add? It’s non-critical. There are instructions on every can, but the more hardener the faster the paste hardens.
Initially filling involves troweling the putty into the hole. In the video I use a scrap of wood to start because the work makes a mess of putty knives and things. You don’t have to be too neat at this stage, just get the autobody filler in there but remember a trick.
Autobody Repair Step#3: Initial Shaping
The autobody filler isn’t going to get hard all of a sudden. It firms up by getting rubbery first. This is what I call the “cheese stage” and it’s easy to shape with a tool called a micro plane. It’s quite sharp. You’d have a hard time cutting your finger on one, but you could if you tried. The video shows the shavings of half-hard autobody filler just peeling off easily.
How long before the filler hardens fully? That depends on how much hardener you put in, but in a few hours it’ll be much too hard to use the micro plane on. For initial sanding of a raw patch I like to use a detail sander since I don’t want to extend my sanding much beyond the work area here.
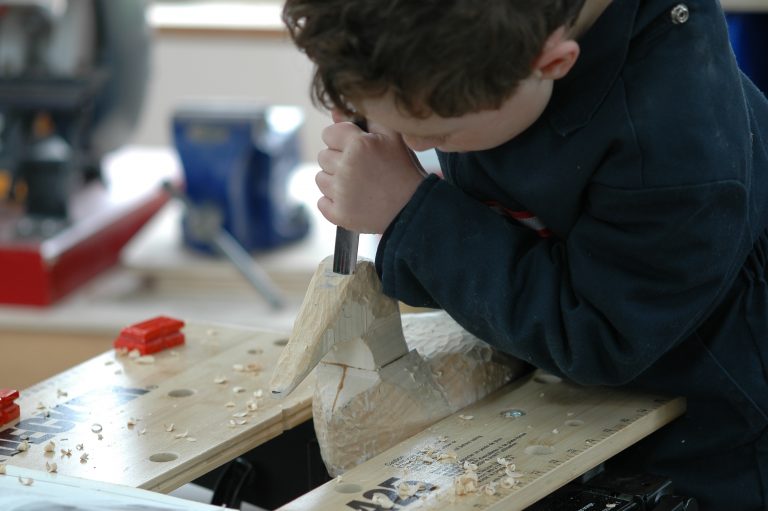
When it comes to assessing the smoothness of a surface you’re working on, your fingertips are better than your eyes. You can feel things with your fingers that your eyes just can’t see as well. The surface needs to feel perfectly smooth with no undulations before the primer and paint goes on.
At this stage you’ll run into two common defects. First, there are obvious pockmarks here and there in the surface. Then there are also larger low areas in some places. Both these places are where you need more filler. You keep adding autobody filler, then sanding and smoothening until you get to the point where you can run your fingers over the repair zone and don’t feel any difference in the texture or the profile. It could take three or four attempts.
When you’ve got your repair area feeling pretty good to your fingers, I like to switch to using a quarter-sheet finishing sander. Since it has a larger flat surface than a detail sander it’s going to impose more flatness onto the patched area.
Repair Step#4: Finer Filler
The next stage of filling uses a one-part filler called “spot putty”. It’s usually red and comes in a tube. No mixing is required and it dries in the air. Apply some to all the little surface holes and any low spots around the edges of the patch.
When it comes time to smooth the spot putty, you’ll need some sand paper. Start with 100 grit, which is about perfect for this application. You could use it by hand, but that could cause or accentuate undulations in the surface. You need something to give more stability to the sand paper and a sanding block works well. It’s firm, but it’s also got a little give to it. A chunk of foam insulation works well, too.
The idea is to go back and forth, filling, letting it dry, sanding, then adding more filler as needed. This might seem like a big deal, but it actually goes pretty quick, especially when you don’t have to stop and shoot video scenes all the time! When everything feels perfect to your fingers, it’s time to apply primer.
Autobody Repair Step#5: Spray on Primer
The video shows how I applied masking tape and newspaper to keep primer off unpainted areas of the bumper, but you can’t apply masking to to the painted areas around the patch zone. The reason is that when primer and paint is stopped by a masking tape, it leaves a little ridge. The paint layer has a thickness to it. When you peel off the tape, you’re going to have that little step and that transition would look terrible.
A better approach is to just let the sprayed area peter out around the patch zone. There’s going to be some over-spray, and it’s going to get bumpy because the small particles on the edge of the spray stream are going to harden partially before they land on the surface. Don’t be concerned though, since the process of wet sanding will take care of that.
The best kind of automotive primers are sandable. Some 400-grit wet-dry sandpaper usually works really well for applications like this. Wet the area with plenty of water, then start sanding. If the primer is the right kind, and its dry enough, the water will turn milky as you sand. That’s the particles of dust coming off and mixing with water. With just a few strokes the surface will get incredibly smooth. Feather the edges of the repair zone especially, removing all that pebbly overspray of primer.
Automotive primer has some thickness to it, so it actually fills small pores and defects. Complete the wet sanding, let the area dry completely, then examine it more closely and apply another coat if you detect any tiny defects.
At this stage, when you have the primer sanded, it’s going to feel great. It’s going to feel ready to coat, but you’re in danger of making a big mistake, even though the primer feels completely dry. The danger is off gassing from the primer. As I’ve learned from harsh experience, if you put the paint coat on top of the primer while it’s still some off-gassing you can get all kinds of trouble with the paint. Most commonly it goes crinkly and wonky as it dries. Strange things can happen if you paint a surface too soon after priming. That’s why I let areas like this sit for a week before painting. Come back next time and I’ll continue the lesson with tips on paint application, clear coat application, and the all-important buffing stage.


I hope you found this content useful!
Your generous support helps me produce more practical, hands-on content that I hope you’ll find useful.
Steve Maxwell