 UPDATED 13Sep2019: I was finishing an acacia wood table top in my shop earlier this year and it got me using a wood finish again that I have a love-hate relationship with. It’s called Tried and True Varnish Oil, I buy it from Lee Valley Tools, and I discovered it in 2013. I love this stuff because it creates one of the most beautiful effects I’ve ever seen on hardwoods, especially dark hardwoods and tabletops. This oil also yields a very durable and water-resistant finish that’s easily renewed. It’s amazing how durable it is. The finish even stands up well on kitchen tables that see hard use with multiple damp wipings each day. I have this stuff on the cherry kitchen table at our place and it’s an amazing thing. It provides deep-down protection to the wood, protecting against water and grease without any kind of noticeable surface film. And unlike urethane or lacquer, you simply apply more varnish oil when the wood is starting to look dry or scratched after a couple of years use. It took four years of hard use before I needed to apply a renewal coat. I rubbed the surface down with a medium 3M rubbing pad, applied a very thin coat of oil with a rag, then left the table alone for 48 hours. People love this kind of thing because its beautiful and repairability, but there’s a challenge.
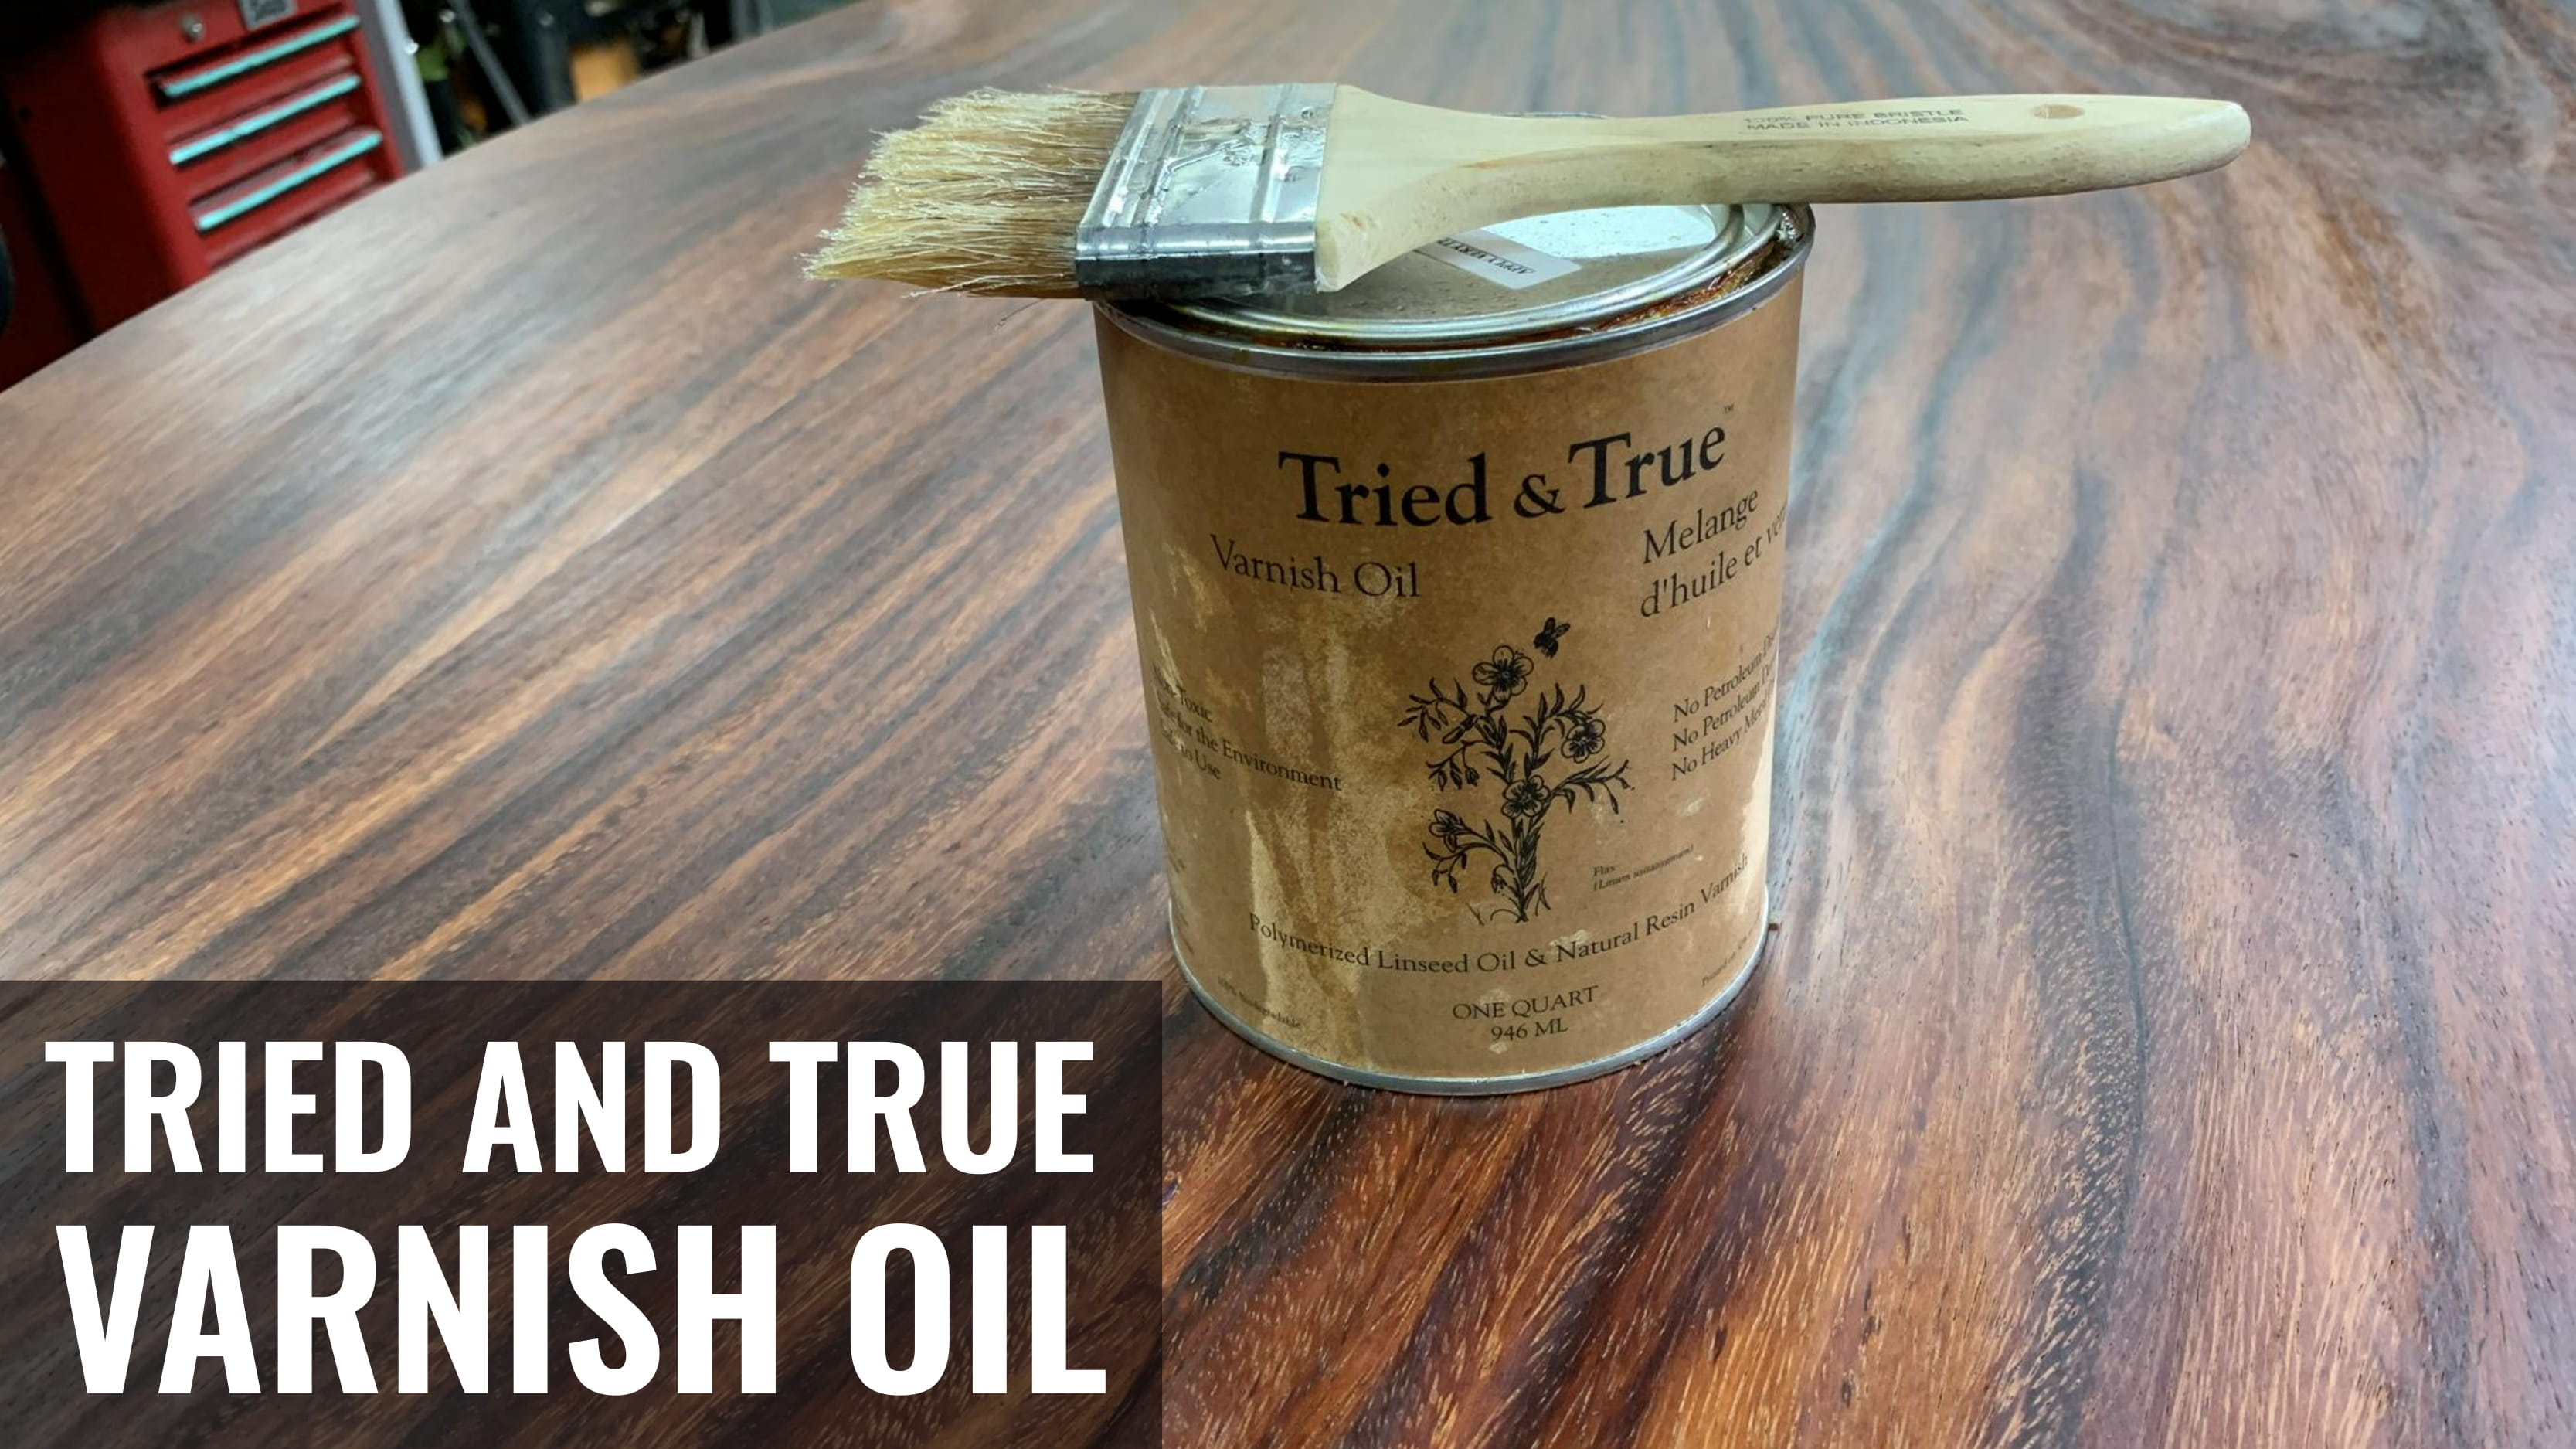
Tried and True Varnish oil is more of a pain to use than typical clear film forming finishes or wipe-on poly, and the problem stems from thick viscosity and long drying time. You really do need to allow 3 or 4 days between coats for best results, not one day for each coat as the label says. The product is fairly thick, too. Flood the wood with the oil, wait an hour or so, then wipe the surface dry. It’s not all that easy to wipe off because it’s so thick, but I find heavy-duty paper shop towels work best. Four or five coats over two weeks does the trick for an initial finish on bare wood. I buy mine from Lee Valley Tools, and at $45 for 946 ml, price is another reason to hate this stuff. But like most love-hate relationships, I keep coming back for more.
Click below to watch me sanding and finish a table top using good old Tried and True. Watch the video below this one for a detailed tutorial on buffing an oil finish like this.
Click below to see buffing in action. It makes all the difference to the look and feel of the completed table top.


I hope you found this content useful!
Your generous support helps me produce more practical, hands-on content that I hope you’ll find useful.
Steve Maxwell