“Be sure to check out the Deck Stain Q&A section at the end of the last page of this post. All questions come from real people looking for real answers.” – Steve from BaileyLineRoad.com
If you’re looking to apply deck stain to a new deck or you want to refinish an old deck so the results last, you’ve come to the right place.
You’ve arrived at what I call Love Your Deck. It’s the world’s most complete, in-depth and up-to-date source of wooden deck staining and deck finishing information on the internet that I’m aware of. I began compiling this information in 1990 and it’s been growing ever since. If you really want to know everything about deck stain to get the best possible deck staining results with the least amount of effort, you won’t find anything better than this free deck stain course. It’s not created by deck stain manufacturers, like so many of the deck finishing web pages out there now. The information here also applies to most outdoor wood situations, including fences and gazebos. Love Your Deck is just good, solid, field proven advice based on many years of my personal experience and field testing. I made Love Your Deck to answer a simple question I’ve been getting from homeowners for 30 years:
“How do I keep my deck looking great without spending hours and hours each year on my hands and knees with deck stain?”

My name is Steve Maxwell, I’m an award-winning, home improvement authority, a carpenter, cabinetmaker, stone mason, farmer and owner of the website you’re on now: BaileyLineRoad.com. Feel free to contact me any time at [email protected].
I’ve built, wired, plumbed and finished a number of houses in my time, and I’ve been coaching people with their home improvement challenges since 1988. Deck stain is something of a specialty of mine. One reason is because I know that keeping decks finished properly is the single biggest source of trouble for many home owners. If you have a wooden deck at your place, you know that they don’t stay beautiful automatically.
Love Your Deck shows you the 5 essentials you need to know to stain your wooden deck as efficiently and durably as possible. I feel strange calling these ideas “essentials” since none of them are complicated or mysterious. But you’d be surprised how few people understand the basics of deck stain and deck refinishing. And it’s amazing how much grief this lack of understanding causes. This applies to staining pressure treated wood, staining cedar and applying deck stain while refining decks that are older.
Love Your Deck is all about preventing your wasted efforts and wasted materials. Notice I didn’t say a great looking wooden deck will necessarily come easily. Keeping a deck stained and looking good involves work no matter what you do. What I do promise is that the advice here will protect you from the kind of catastrophic and premature failure of so many deck stain jobs. Think of the information here like marriage counseling for you and your deck. Keeping things looking good won’t necessarily be a breeze, but I can guarantee that you won’t waste any efforts if you follow what you’ll learn here.
Just want the bottom line? Don’t want to know all the details? Here’s the Quick Start guide immediately below. Click on each “essential” for the full story:
By the time you’re finished this online course you will:
- Understand the different finishing options and the maintenance responsibilities you’ll inherit with each.
- Know how to prepare wood so a new or renewed finishing lasts 50% to 100% longer than it normally would.
- Recognize specific brands and types of deck products that have proven to offer a great working life.
- Get educated about the latest and best non-wood deck materials that need no finishing at all, ever.
Before you go further, a couple of things . . .
First, Love Your Deck is a companion to another free online course of mine called Long Life Deck: How to Build Any Design So It Lasts Twice as Long. If you’ve got an old deck to refinish, the Love Your Deck course right here is all you need. But if you’re looking to build a new deck (or have one built for you), don’t do anything until you’ve looked at the information in Long Life Deck. Click here to get the see version for free. The design ideas you’ll find in Long Life Deck deliver a structure that lasts at least twice as long as decks most professional builders put up the ordinary way. No matter what size, shape, style or materials you use, Long Life Deck can double deck life without costing a whole lot more, either.
It can be challenging to find specific information in an online course this large. That’s why you’ll find a list of the “secrets” throughout this course. You’re never far away from a place to click and go immediately to whichever section you want.
Remember You’re Not Alone
Most of us live our lives in just enough isolation that we don’t realize how common our personal troubles are. This is certainly the case with owners of wooden decks, and this sense of isolation often makes homeowners blame themselves when deck finishes turn ugly too soon.
“What did I do wrong?” is a common question I hear people ask as they wonder to me about a moldy, peeling, grey deck that looked great last year and looks crummy now. And my answer to this question is almost always the same. “Probably nothing, except perhaps choosing the wrong deck stain or following poor application procedures.”
It’s strange to me how often people blame themselves for bad deck finishes, never thinking for a moment that the deck stain itself is to blame. But the fact is, many deck stains are destined to fail as soon as they leave the factory. I know because I’ve tested them. It’s actually quite rare to find a deck stain that has the potential to endure as long as 3 seasons or more. Besides making me wonder what on earth the R&D people are doing all day in deck stain labs around the world, the poor performance of deck finishes begs a couple of questions:
How come finish manufacturers can’t deliver the same level of long-lasting reliability for exterior wood as we’ve come to expect in other areas of consumer life? And more importantly, what can you do to spend the least amount of time and effort applying the best, longest-lasting finish to your wooden deck given the products we’ve got to work with today?”
To be fair, wooden deck finishes have it pretty hard. Sunlight, moisture, temperature swings, foot traffic, mold attack – it all adds up to a very tough assignment for deck finishes. Tough, but not impossible. The good new is that you’ll spend the least possible time and effort making a beautiful deck happen if you follow the information you get here.
Click the box to the left to hear a few of the many true stories of deck finish failure I’ve heard over the years.
Deck Stain Secret#1: Sanding is Key for Longest Deck Finish Life
Surface preparation is key for any deck finish that you want to last. You hear this all the time, but what does it really mean? At least one organization has done key research on the matter and I’ve found their findings absolutely true. A five-year-long field trial held across North America by Akzo Nobel Coatings – the world’s largest finish manufacturer – set out to determine exactly which surface preparation technique maximized the all-important stain absorbency of outdoor wood. Absorbency is key to long finish life because any finishing liquid needs to get a good grip on wood fibres if it’s going to endure. And the strange thing is, wood – especially new wood – isn’t very absorbent. Fixing this deficiency is the first order of business.
In the Akzo-Nobel tests, chemical deck washes and dedicated mill-glaze removers were pitted against pressure-washing regimes using plain water and water-plus-cleaning agents. The results of sanding alone were analyzed, too. Bottom-line results? Here they are:
- new wood sanded with a 60- or 80-grit abrasive developed the greatest absorbency and most durable final deck finish of all prep options.
- chemicals for removing mill glaze and specialty pre-stain deck washes didn’t compare with sanding. Sanding was king in this test. It boosted absorbency most.
The trick is how to making sanding efficient, and for that you need the right equipment.
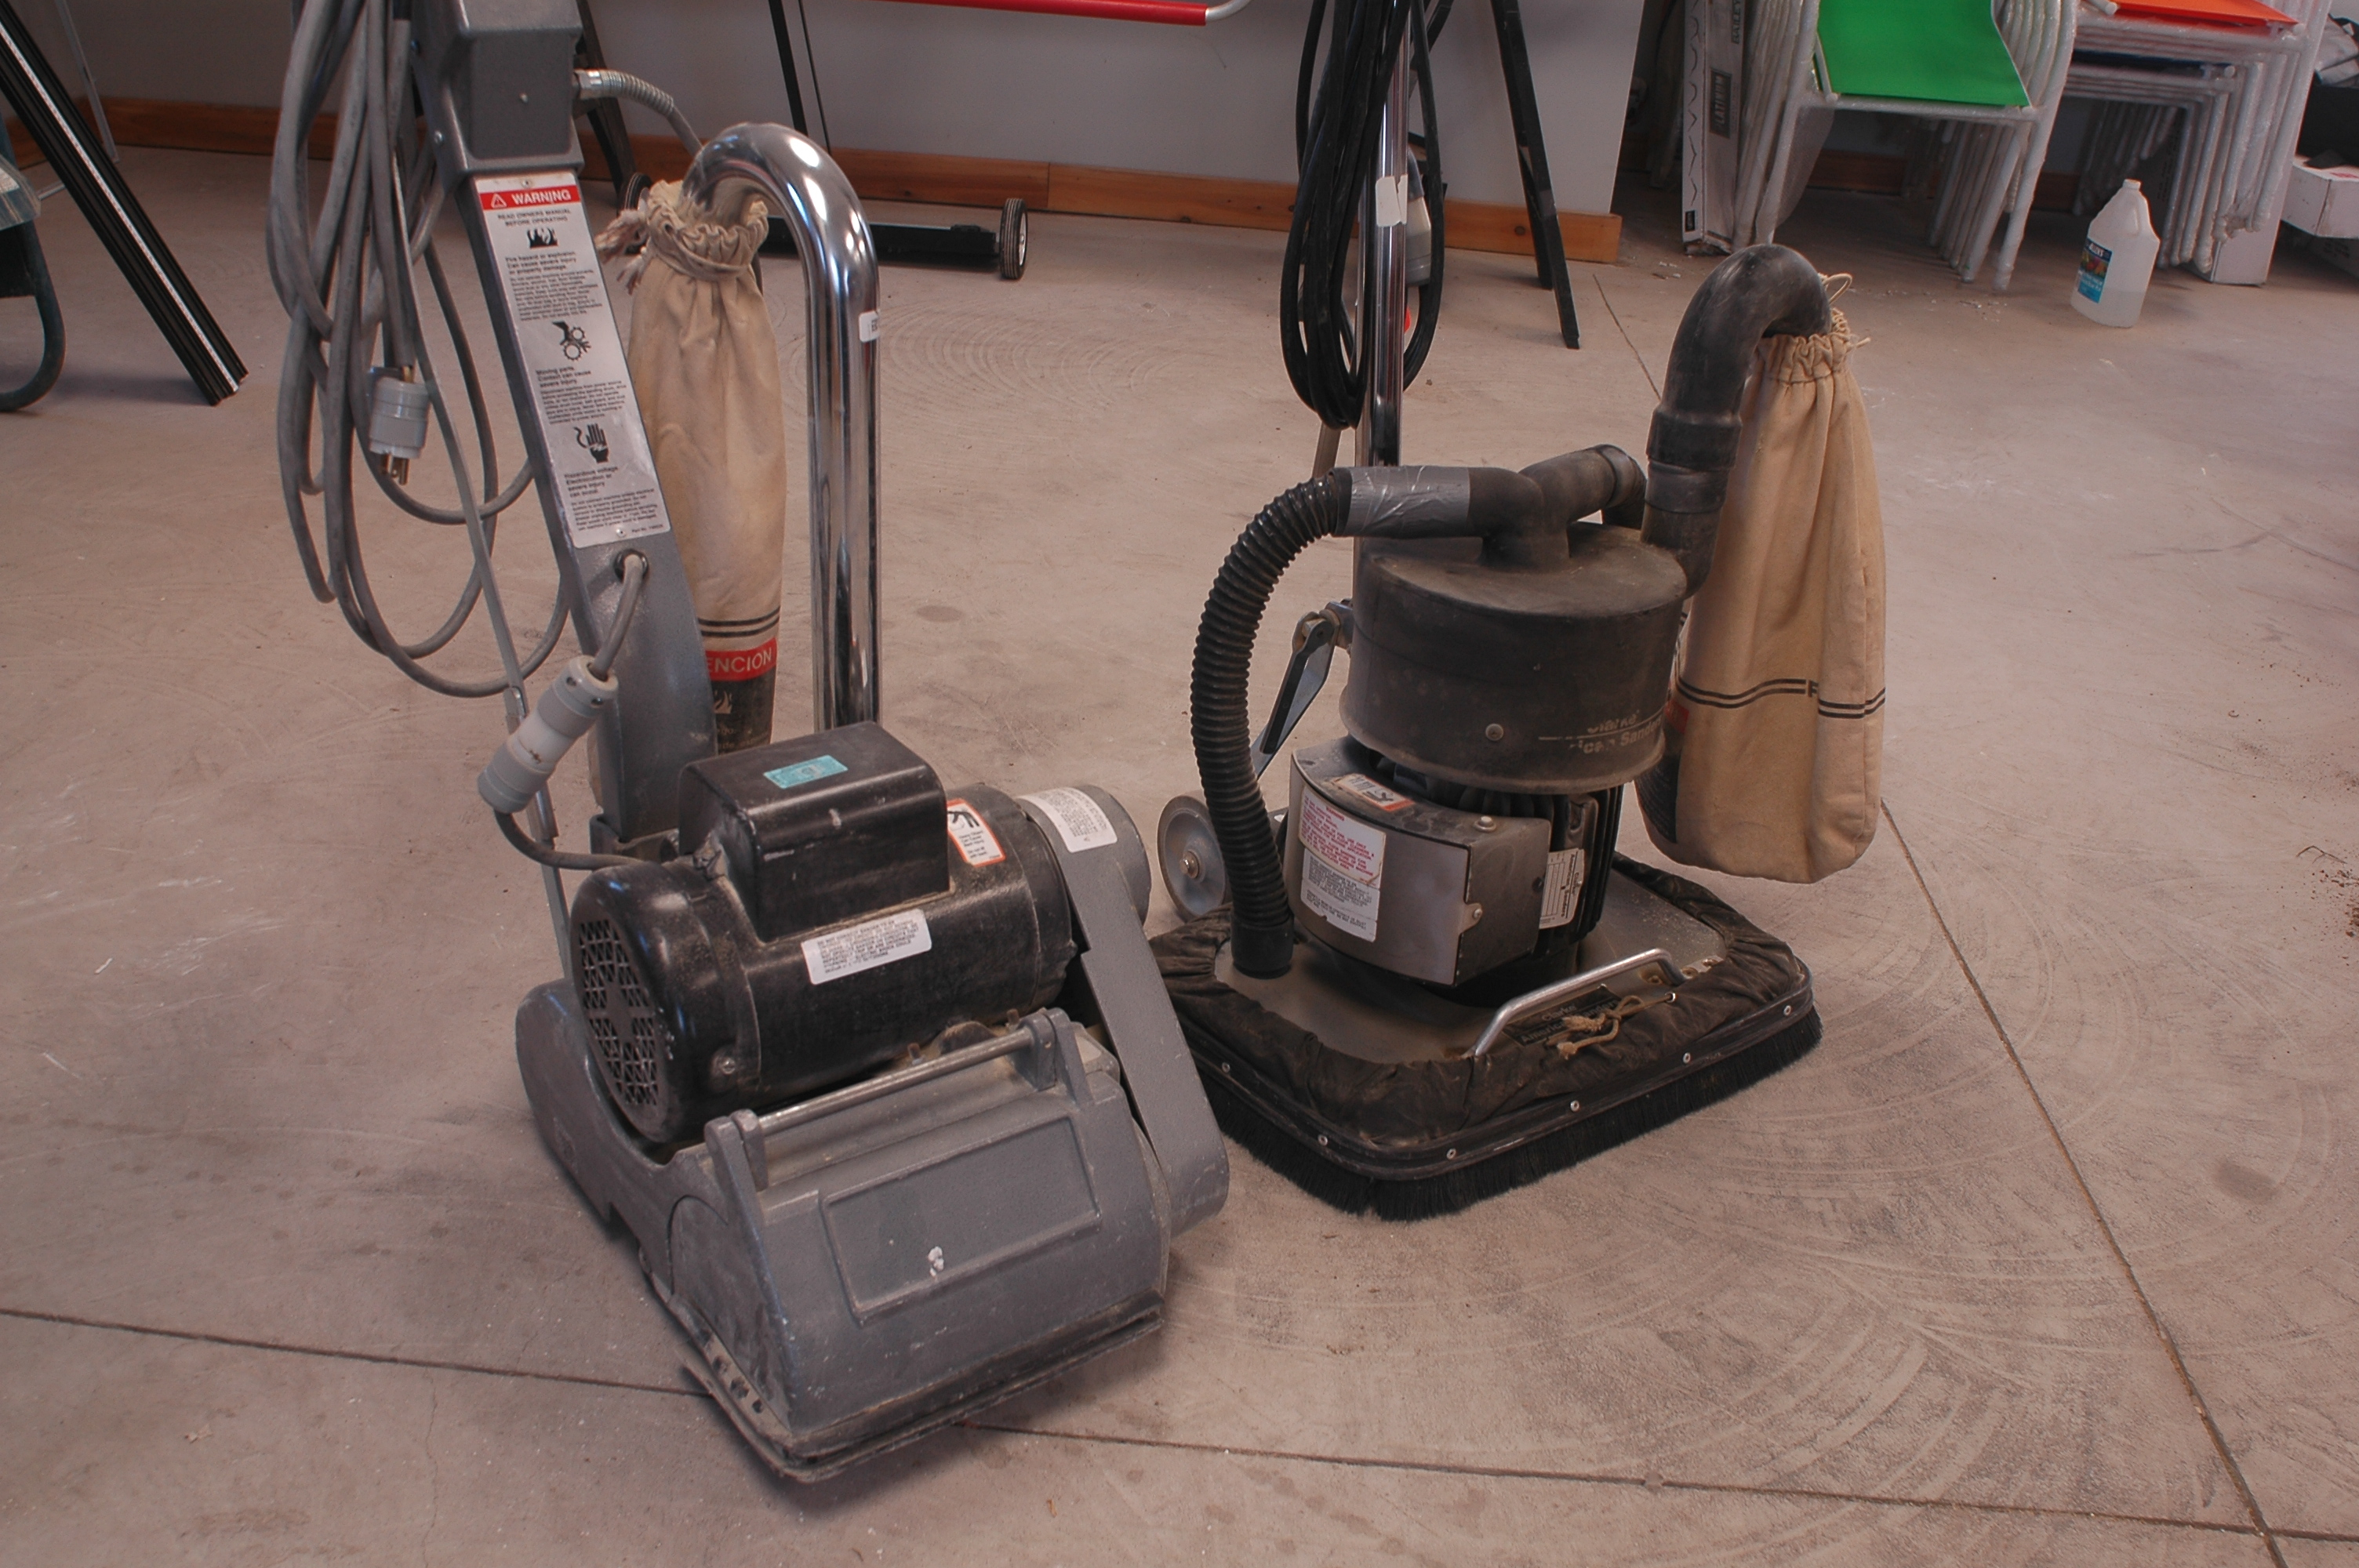
If your deck is big, a walk-behind, vibrating floor sander (right) or a drum sander (left) makes quick work of large, flat deck surfaces. You don’t need to rent one of these if you’d rather not haul the machine back and forth to the rental outlet, but it does keep you off your knees. Of course, a big sander like this is no good in corners and on railings. For these areas a 6” random-orbit sander is the tool of choice. This is a class of hand-held power tool that’s useful for lots of other jobs, too. You could certainly use any of these to sand your whole deck if you’d rather not rent something big for the open areas. To be honest, I usually forget the big sanders and just go straight to the 6″ random orbit. The closest rental shop to where I live is a 25 mile round trip.

My favourite models of random-orbit sanders for deck duty are the Bosch 1250DEVS (middle) and the Porter-Cable 7336 (right). Both these models have a 6-inch diameter disc, lots of power and are durable. After more than 20 years of hard use, my good old Porter-Cable 7336 is still going strong. Sanding a whole won’t be easy no matter what kind of machine you use, but it’s still the quickest route to the longest lasting deck finish.
Note: There’s a common class of random orbit sander that has 5″ diameter pads, but 6″ models are way better for decks. Why? Besides the larger pad size, 6″ models have much more power. You can probably sand twice as fast with a 6″ as you can with a 5″. It’s definitely worth the trouble to get your hands of a 6″ model.
No matter what kind of wood your deck is made of – cedar, tropical hardwood or pressure-treated lumber, wear a dust mask while sanding. This is important. Dust is bad for you.
While sanding is the foundation for a long lasting finish on a wooden deck, the way you go about sanding varies depending on the situation you’ve got. You might not need to sand all the way back to bare wood if your deck has an existing finish, or you might save sanding time with a supplemental technique.
Deck Stain Secret#2: Prep New Wood Differently Than Old Wood
Sanding outdoor wood isn’t something most people do before they finish a new deck, precisely because it seems like so much work. Pre-application pressure-washing is much more common because it’s easier. And while pressure washing new wood won’t give you the absorbency you need, I have found it to be a labour-saving option when used in combination with sanding. That said, pressure washing does have dangers you need to be aware of.
The main risk is the danger of frazzling the surface of the wood. Pressure-washers typically deliver a stream of water at 1500 to 4000 psi — more than enough to loosen surface fibres, especially with soft deck woods such as cedar and pressure-treated pine. Fuzzy surface fibres may be absorbent, but they’re also weak. A new deck finish can simply peel off as these fuzzy fibers let go. This is why it’s best combined with sanding in a way that can also save you time and effort.
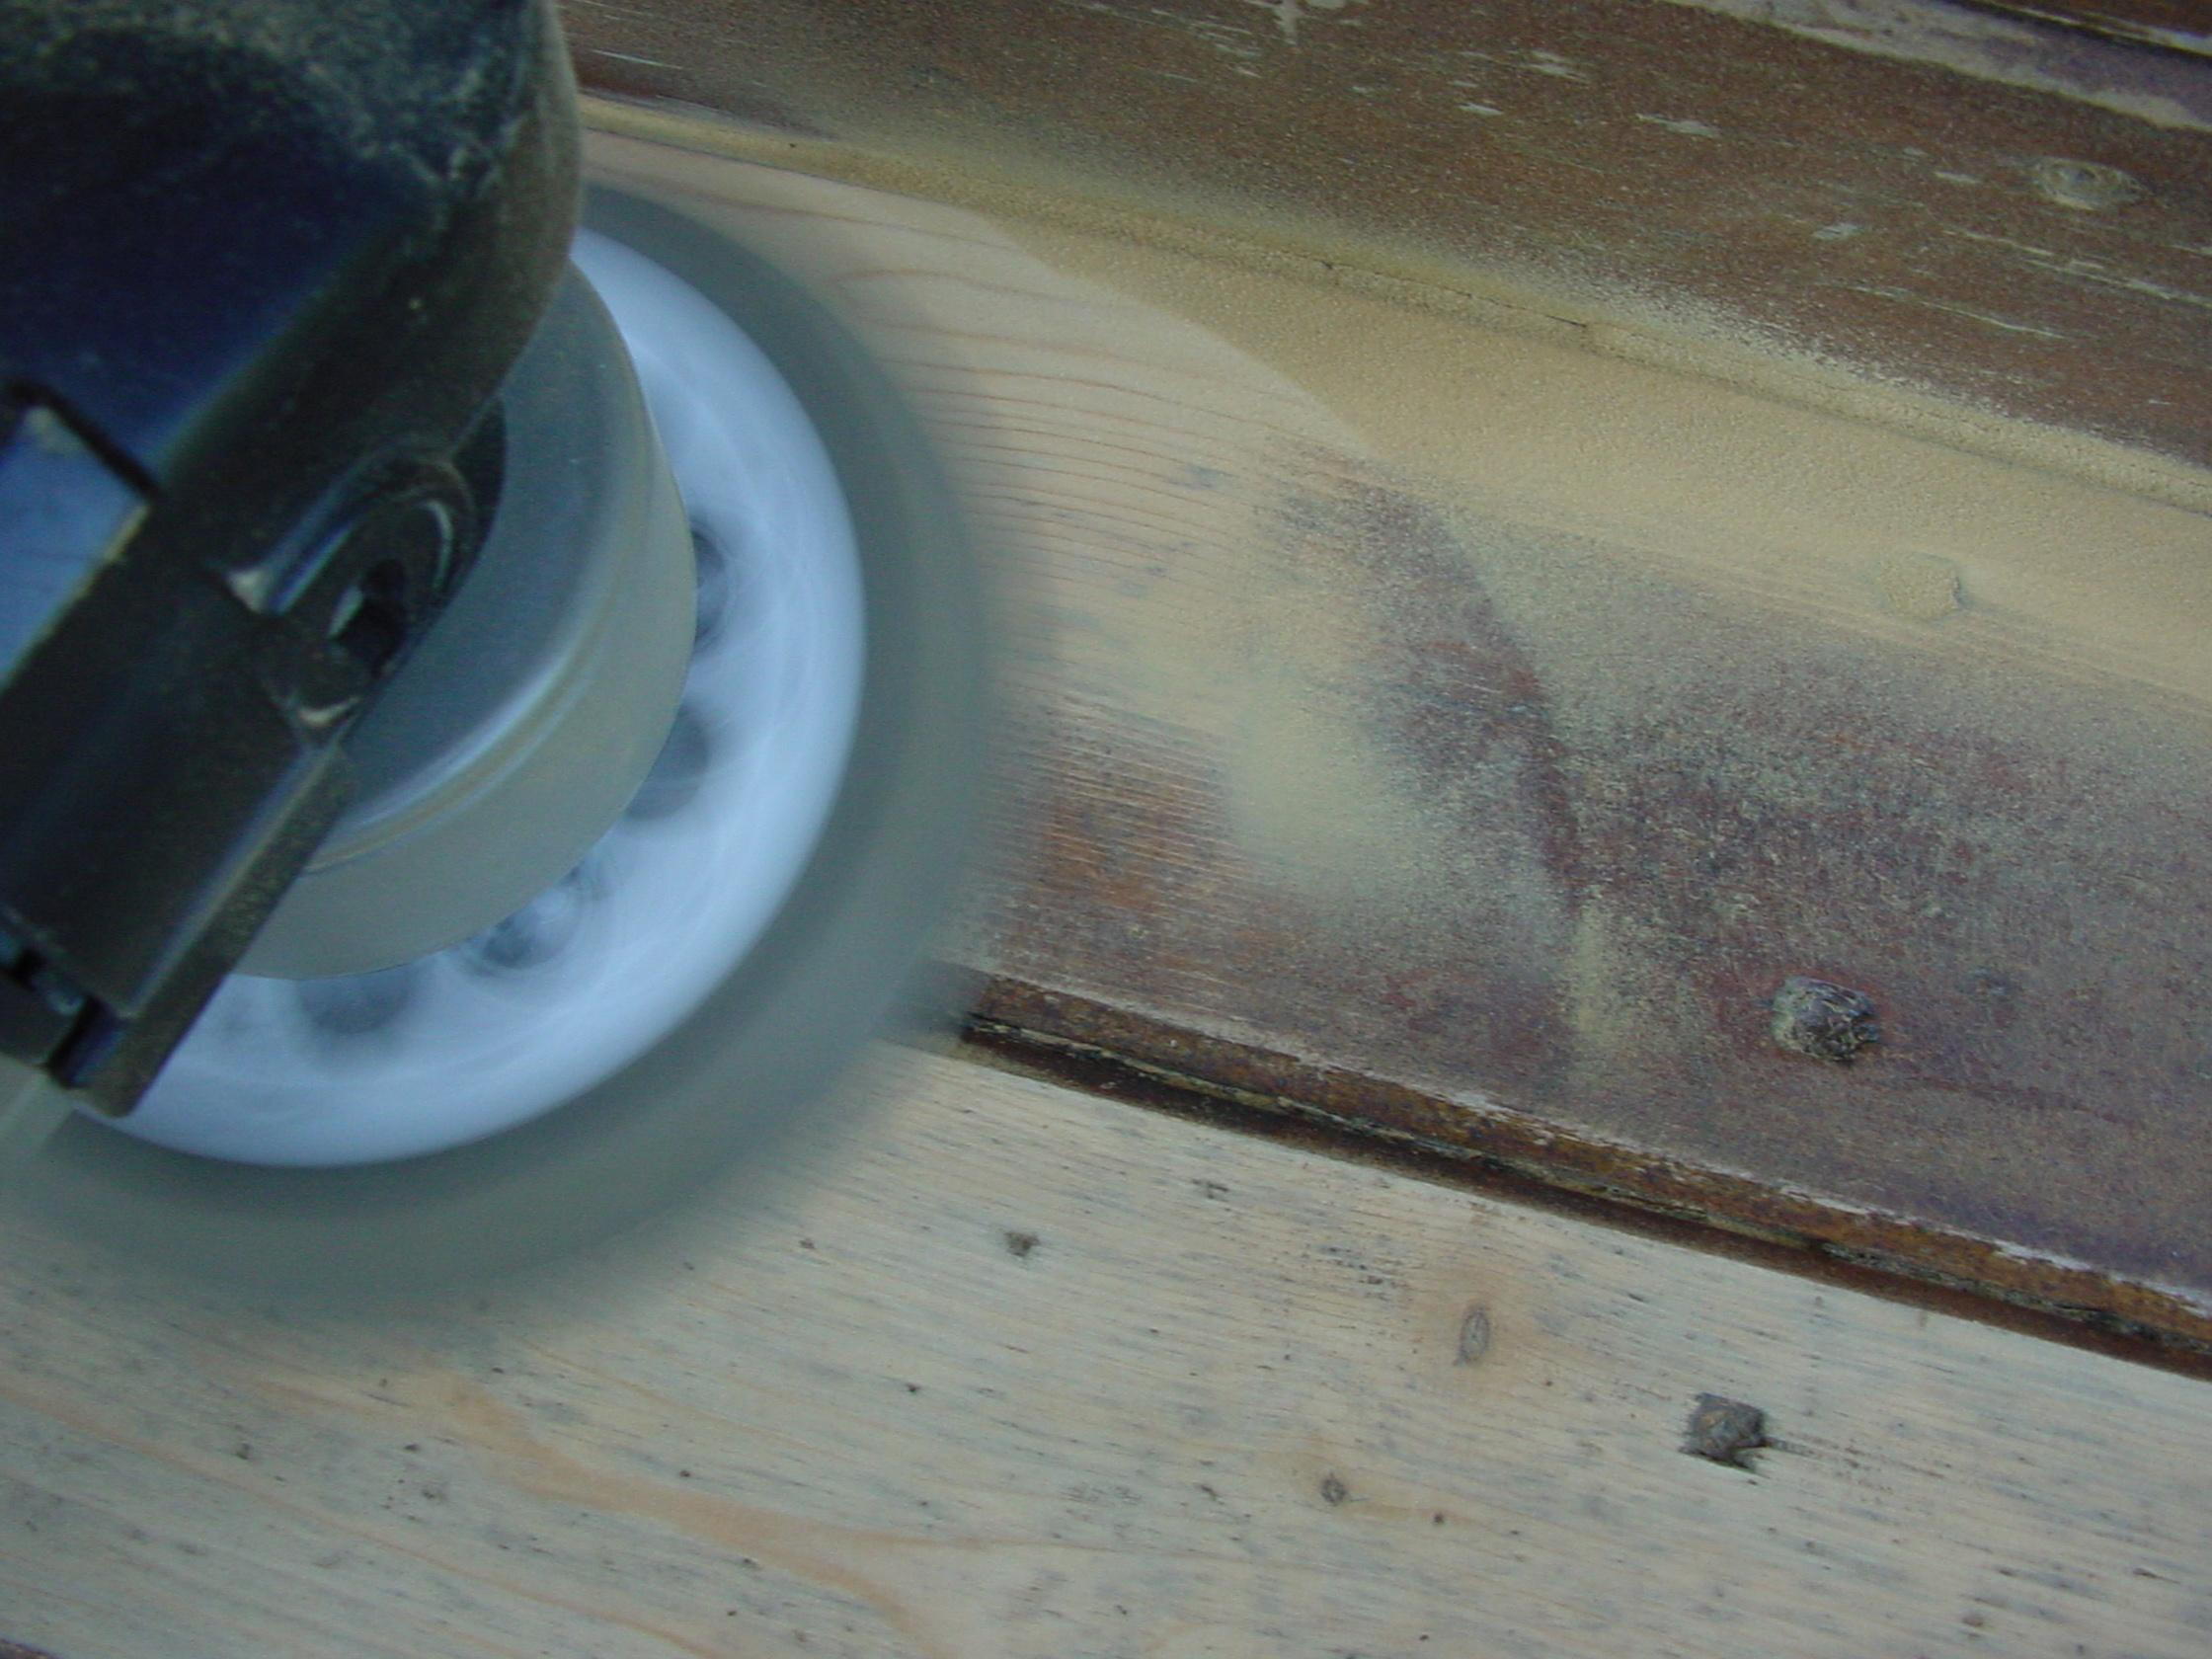
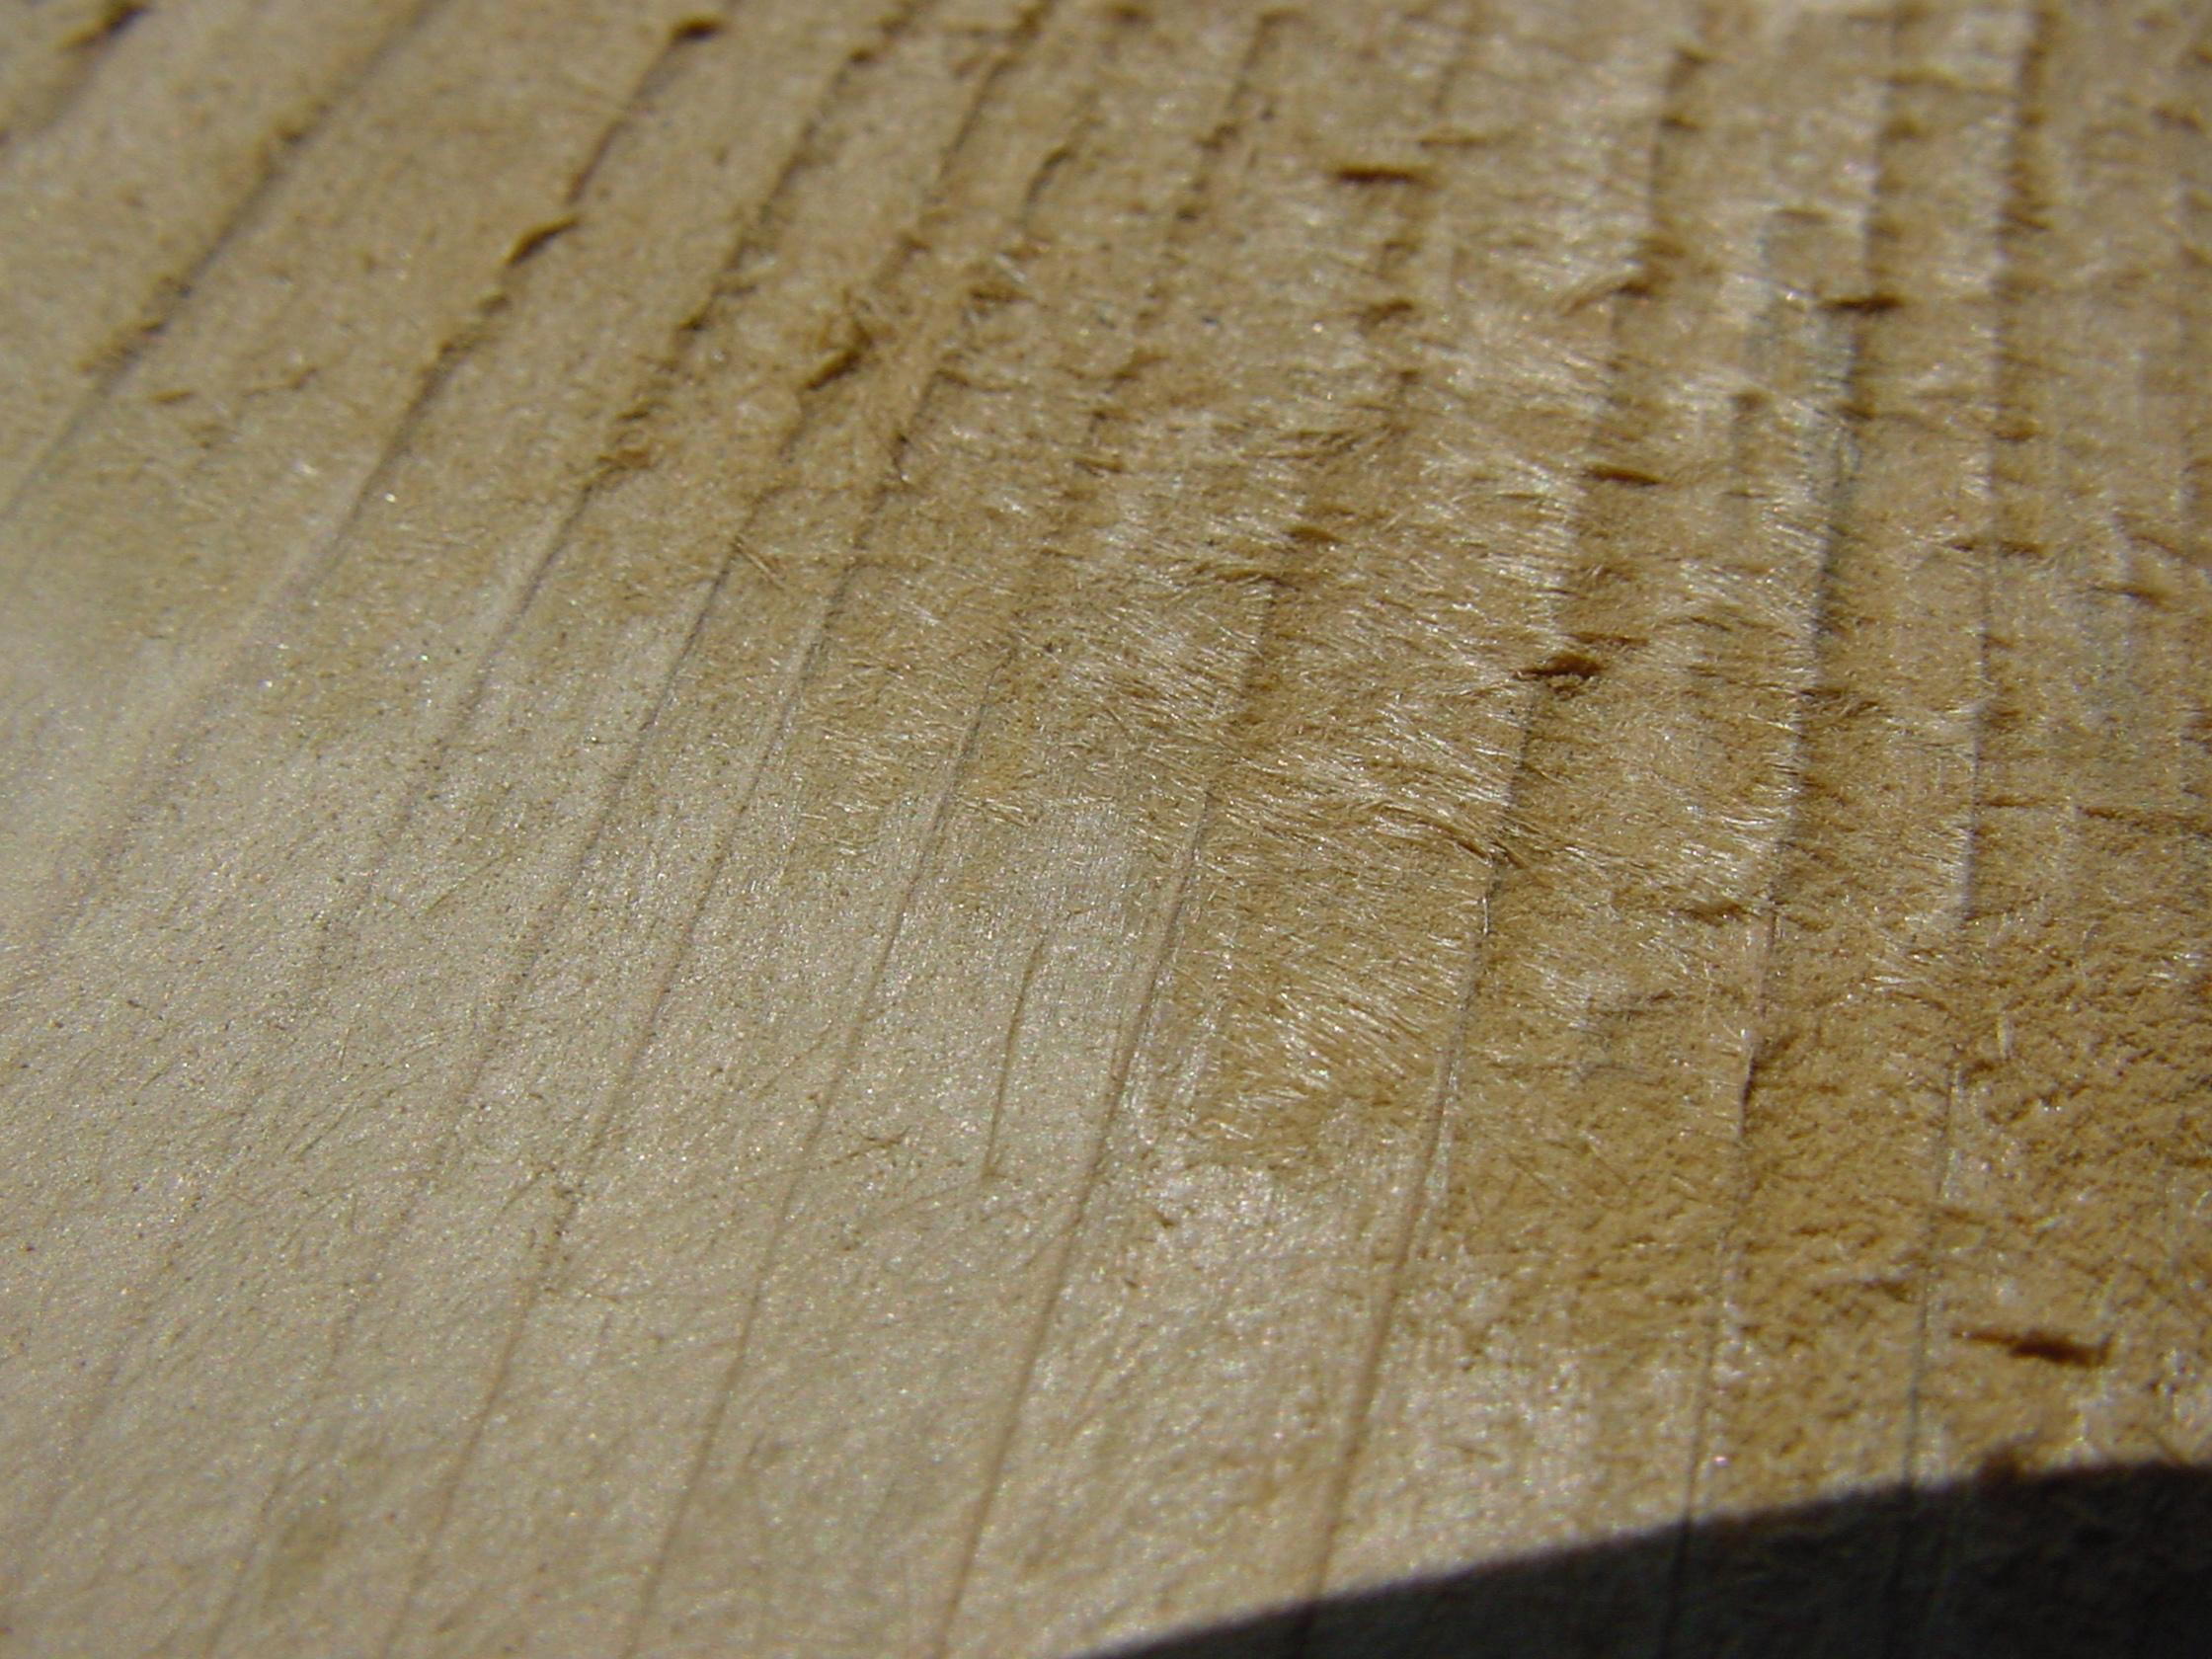
By beginning your prep campaign by pressure washing, you’ll remove some mill glaze from your new deck quickly. Not all, but some. Be sure to blast into all nooks and crannies, though keep the wand tip far enough away to avoid tearing up the wood. Let the deck dry for a couple of warm days, then run your sander quickly over the surface to remove fuzz like you see here to the left. These fibres come off easily with just one or two passes of the sander, leaving a very solid and absorbent surface behind. The fuzzy area on the top of the photo is after pressure washing and drying. The lower left part of the photo is after a very quick sanding. You’ll find it much easier to sand a new deck after pressure washing than before. The wood will then be in great shape to accept a finish.
Surface Prep of an Old Deck
Refinishing an old deck is similar to finishing a new one, though there are important differences you need to recognize before settling on a strategy. The first is the condition of your existing finish. How bad is it? What kind of old finish are you dealing with? What type of new finishing do you have in mind? Is the wood weathered and cracked? Depending on your answers, you’ll want to follow one of the two following courses of action.
Finish just starting to fail?
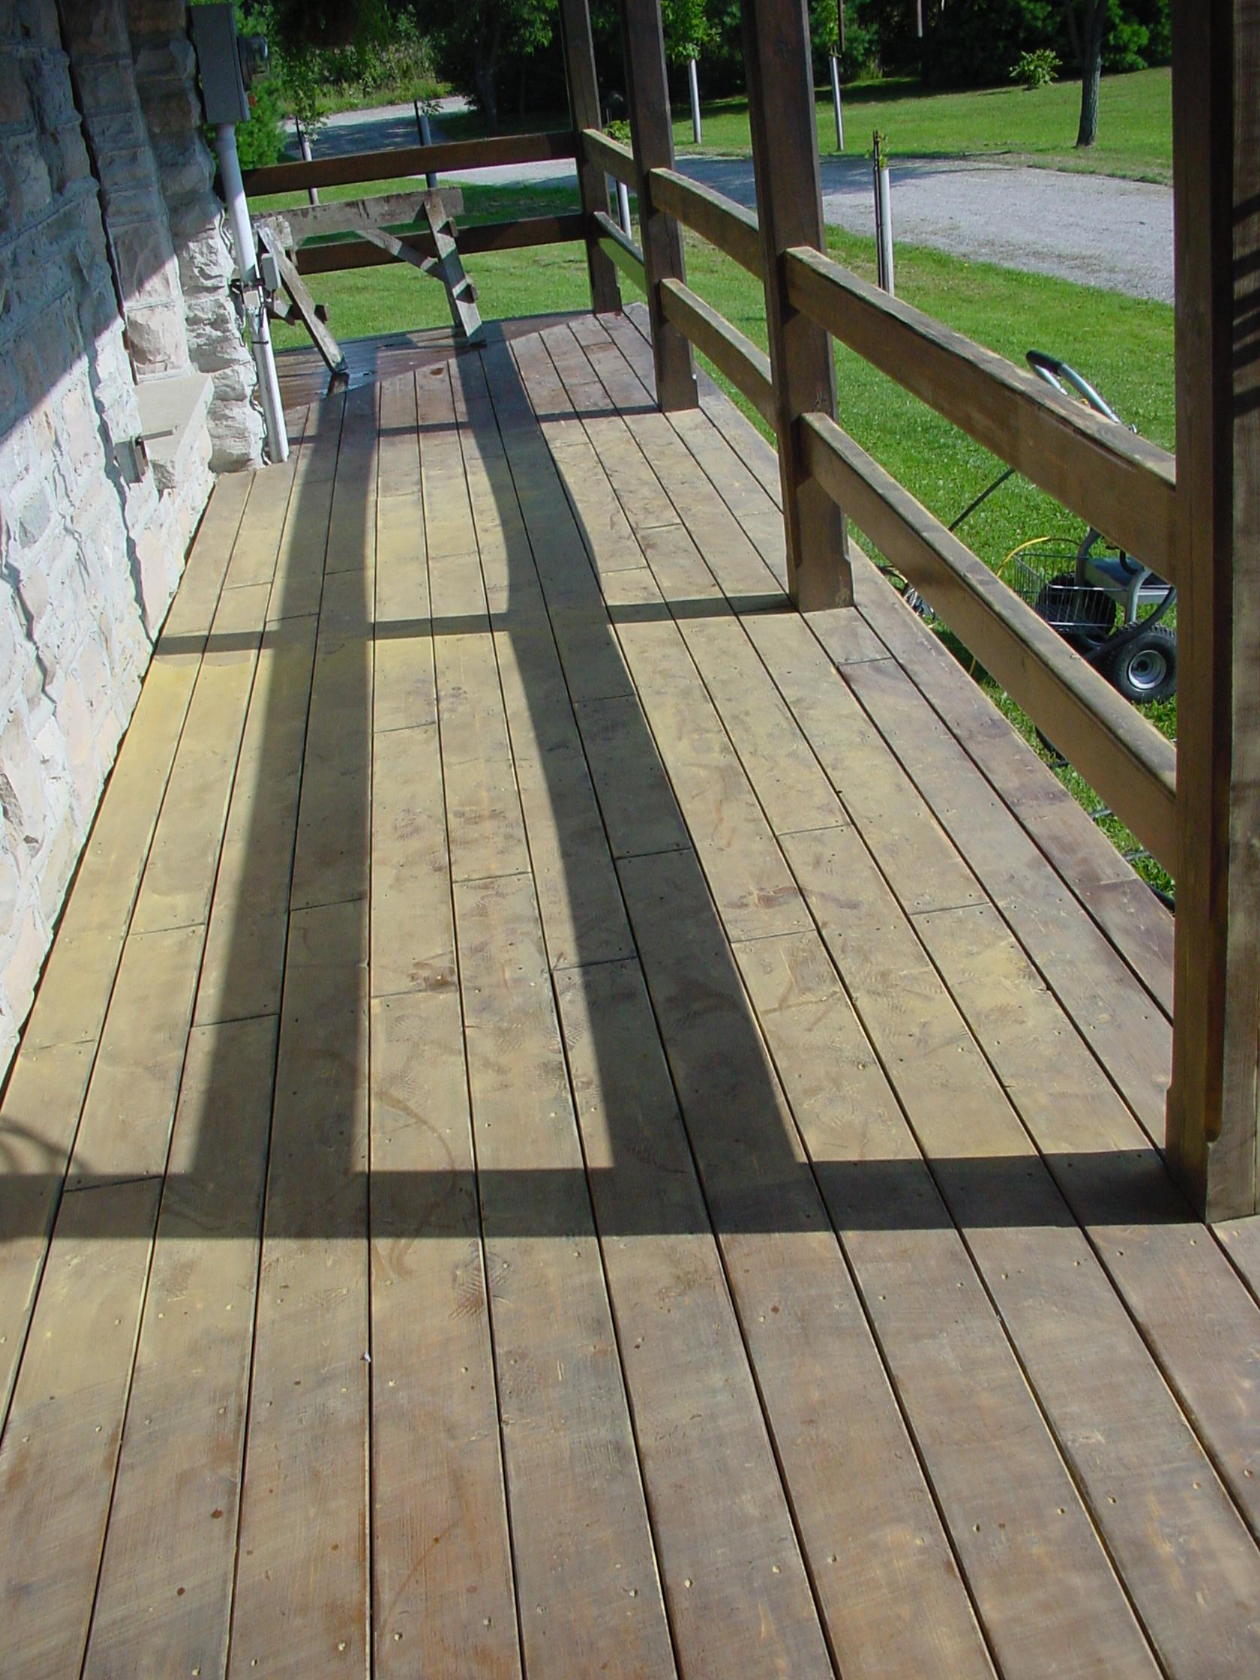
If your deck finish is only beginning to fail, and the finish has lasted decently over the last couple of years, then there’s no need to strip back to bare wood. In this case, you can save yourself lots of time by simply sanding the surface lightly in preparation for a new top coat of whatever you used before. What does lightly mean? A 120- or 180-grit abrasive in a random-orbit sander works well. In this case, even a 5″ sander will do fine. Don’t sand through the finish, just scuff the surface of the solid-but-failing finish so it accepts and holds a new finish. That’s the kind of prep you can see happening in the photo to the left.
In those small areas where the surface has peeled down to bare wood (usually around knots), sand off any loose frazzles of finish. Nothing can be left loose. Use a workshop vac to remove dust, then recoat with the original product used previously. Apply only one coat if the finish is still mostly good; two coats if more than 20% of the surface is bare wood. Don’t coat more than twice since too much deck finish can encourage peeling by trapping moisture in the wood. Over coating is a common cause for deck finish failure.
Complete Finish Failure?
This is the situation most deck owners face by the time they get serious about refinishing. Making your wooden deck look good again depends on removing all traces of the old finish and grey wood. There is no salvaging. After that, follow my finishing instructions for dealing with new lumber. Exactly how you strip depends on the size of the deck and the equipment you have available. You could simply sand to remove the old finish, but the fastest approach usually involves a water-soluble chemical deck stripper brushed or rolled on, then cleaned off with a pressure washer. You’ll still need to finish up with sanding, and the end result should look pretty much like a deck made of new lumber. The only difference might be if you have deep cracks caused by weather. You could use a traditional deck brightener if the grey colour runs deep and persists after sanding. There are many on the market that work well.
A Few Words About Pressure Washers
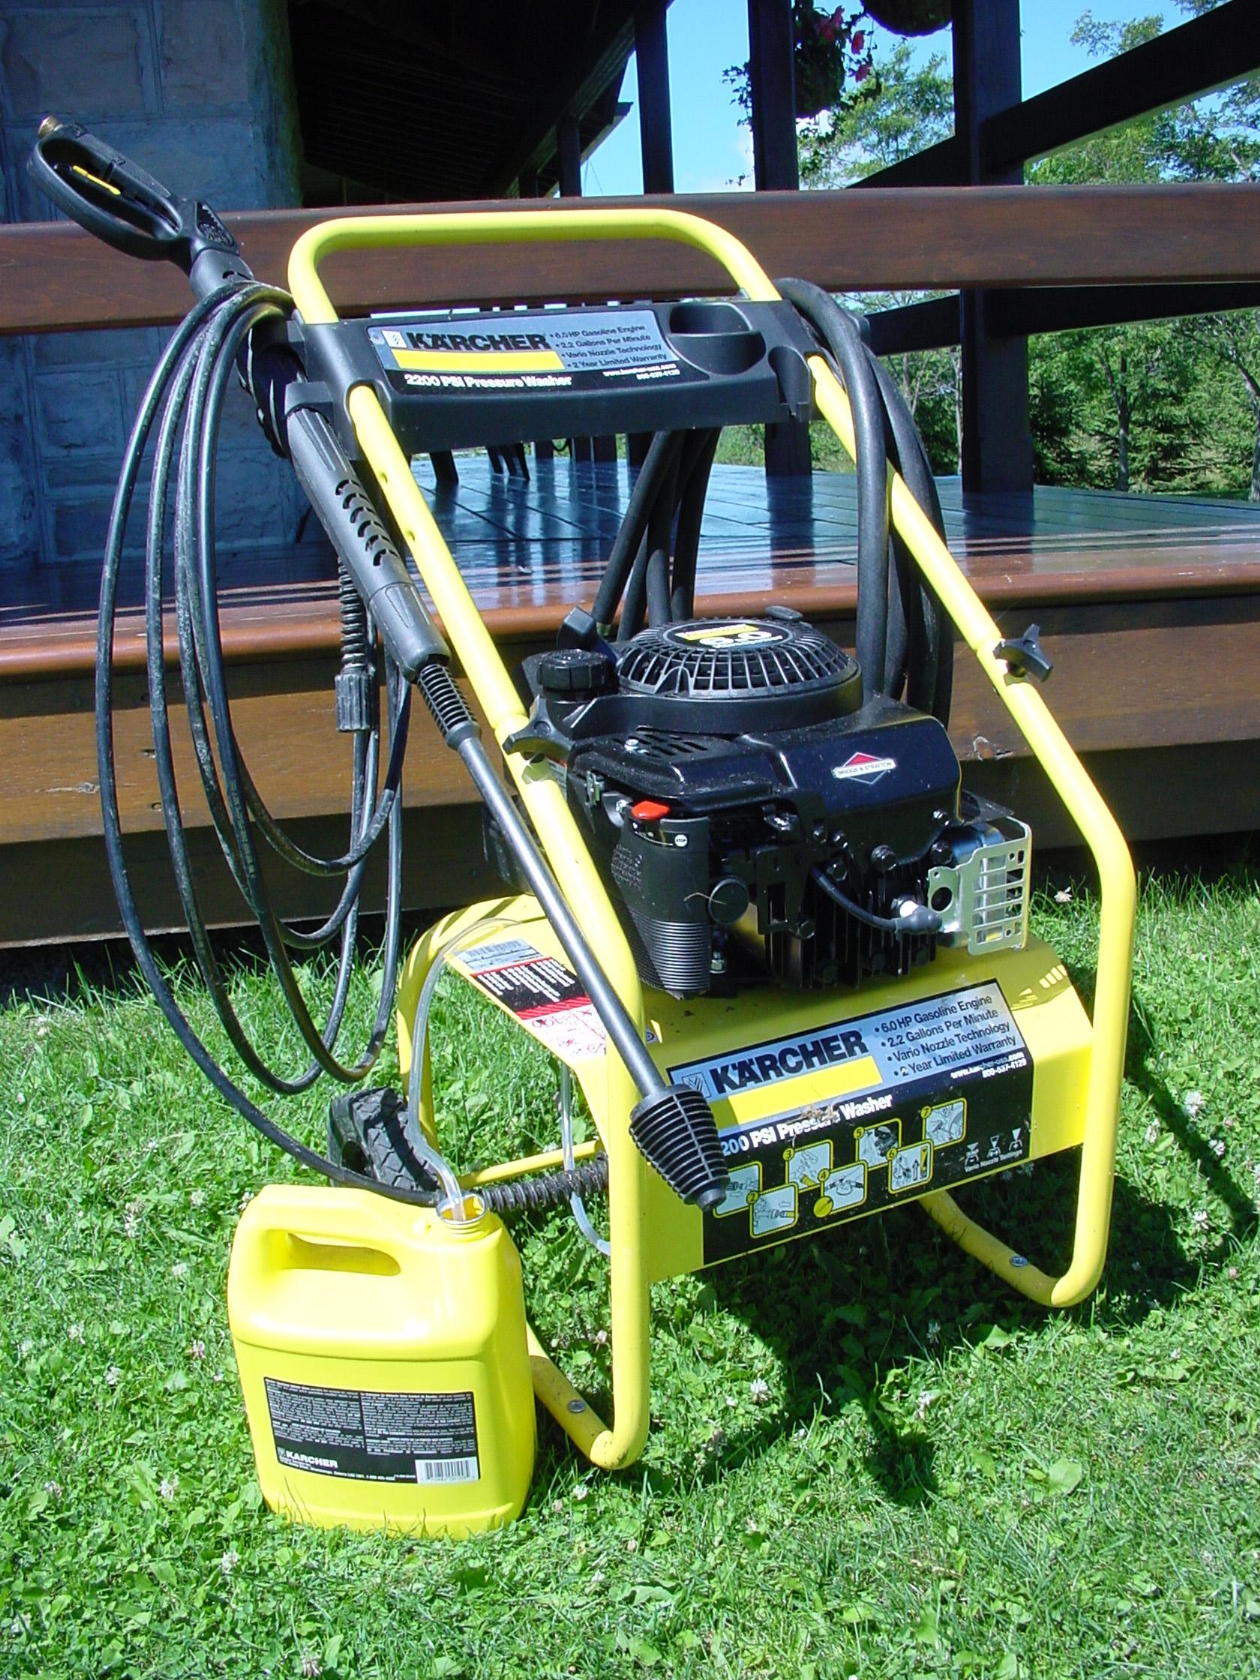
A pressure washer is a nice tool to have for preparing a new deck for finishing, but it’s virtually mandatory for stripping an old deck finish. Gasoline-powered versions speed up the work considerably because they deliver a greater volume of water at considerably higher pressures than electric models. You’ll find that pressure washers putting out at least 2,000 pounds per square inch (psi) of pressure work best; 3,000 to 4,000 psi units are even better. Just be careful. Pressure washers can easily damage your deck if you let the tip come too close to the wood.
Start by connecting your garden hose to the pressure washer, turn on the water, then pull the trigger on the wand while the motor is not running and the spray nozzle temporarily removed. It’s always good to purge the system like this to eliminate any sediment or dirt in the washer. If you purge with the spray nozzle installed, a tiny bit of dirt can clog it. It’s an avoidable pain.
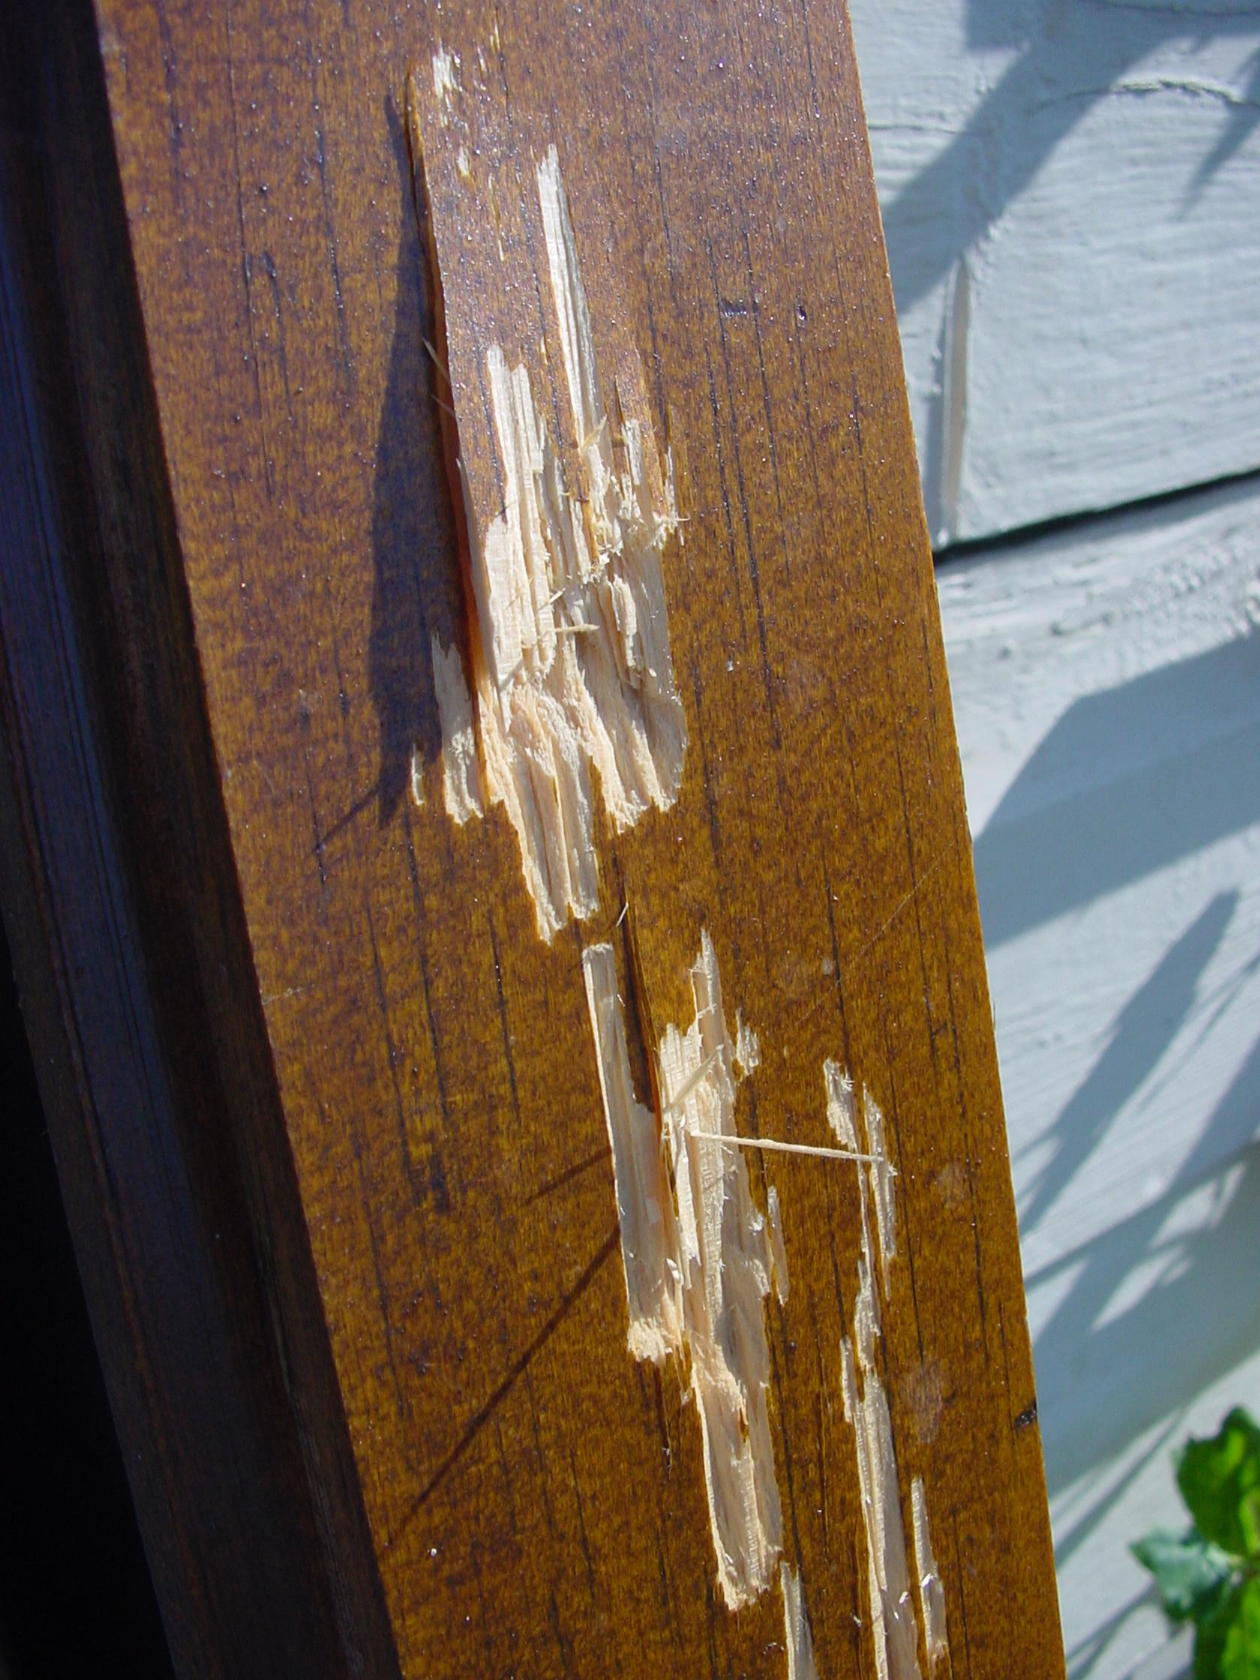
When all air has escaped from the system, reinstall the spray nozzle, start the engine and begin work. Some pressure washer engines won’t start against the back pressure of water in the hose, so try pulling the trigger on the wand to let water flow out while you’re starting the motor. When the machine is running, waft the wand back and forth about 18” away from your deck initially, then move closer as you gain a feel for the job and how aggressive the water is. High pressure water can cause a lot of damage, as you can see above. This tearing of the wood was caused by nothing more than a pressure washer nozzle held too close to the surface.
Click below to hear me explain the need to get your hands on tools that are truly up to the job of prepping a deck. The bigger your deck, the better the tools you need.
Deck Stain Secret#3: Never Trust an Untested Deck Stain
Deck stain selection is where many homeowners mess up big-time when it comes to finishing their deck. They go to the store and choose whatever product has the most compelling label or the most widespread advertising, or the biggest discount, or the most familiar name, hoping things will turn out well. Unfortunately, they usually don’t. Like I said before, most deck finishes I’ve tested work exceptionally poorly. Never rely on hope as the basis for a durable deck finish. There’s just too much work and too much money involved to justify this risk. Listen to my comments by clicking below before you go further with the course.
Fact is, you can wear out your knees doing all the right deck prep work, but if you choose a weak finishing product, your deck will look bad in a year or less. I know because I’ve seen it happen many times and I hear from discouraged homeowners frequently. Later in this lesson I’ll tell you specifically which finishes work best, along with their strengths and weaknesses.
There’s something else you need to understand right up front. All else being equal, finish life is directly proportional to how opaque a coating is. Many people would love to maintain the “new wood look” on their decks, so they favor clear, film-free water repellents. That’s fine, but understand that even the best of these need to be reapplied at least every year. And even then, after 4 or 5 or 6 years, weathering of the wood will eventually take away that bright new look anyway. At the other end of the spectrum are the deck finishes that look like paint. They completely hide wood grain (which isn’t what most of us want), though the best formulations are still looking pretty good after four years exposure to the elements. Some even look great after six years. Let me show you how I decide which deck finishes are good and which are not:
In 1990 I began monitoring samples of deck lumber finished with what I believed to be the best products available at that time, and I’ve been watching and testing new products as they come out ever since. I also monitor other deck finishing trials that have been going on for more than a decade to round out my recommendations. Summarizing these sources of info, you’ll find my current list of the best deck finishes below. There may be better products out there than these, but I need to verify them personally before I feel right about recommending them to you. But remember, even these top products have both pros and cons, and even the best of them only perform to their full potential on wood that’s been properly prepared.
Opaque Class: longest lasting of all, but no grain visible. Looks like paint.
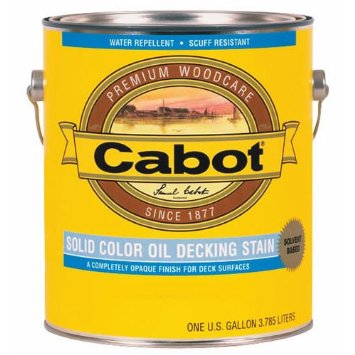
Cabot Solid Color Oil Decking Stain
The oil-based formulation of this product is a long-standing recommendation of mine, but tightening government regulations have restricted availability to the central states in the US. According to Cabot their oil-based Decking Stain is no longer available in Canada, though you can get the acrylic version across North America. Either way, this product is an opaque formulation and you can expect 3 years of decent appearance from this product before stripping and refinishing is required. Some people get 5 or 6 years. The only drawback for some folks is that they don’t want to hide wood grain. This product is like paint. No wood grain appearance shows through.
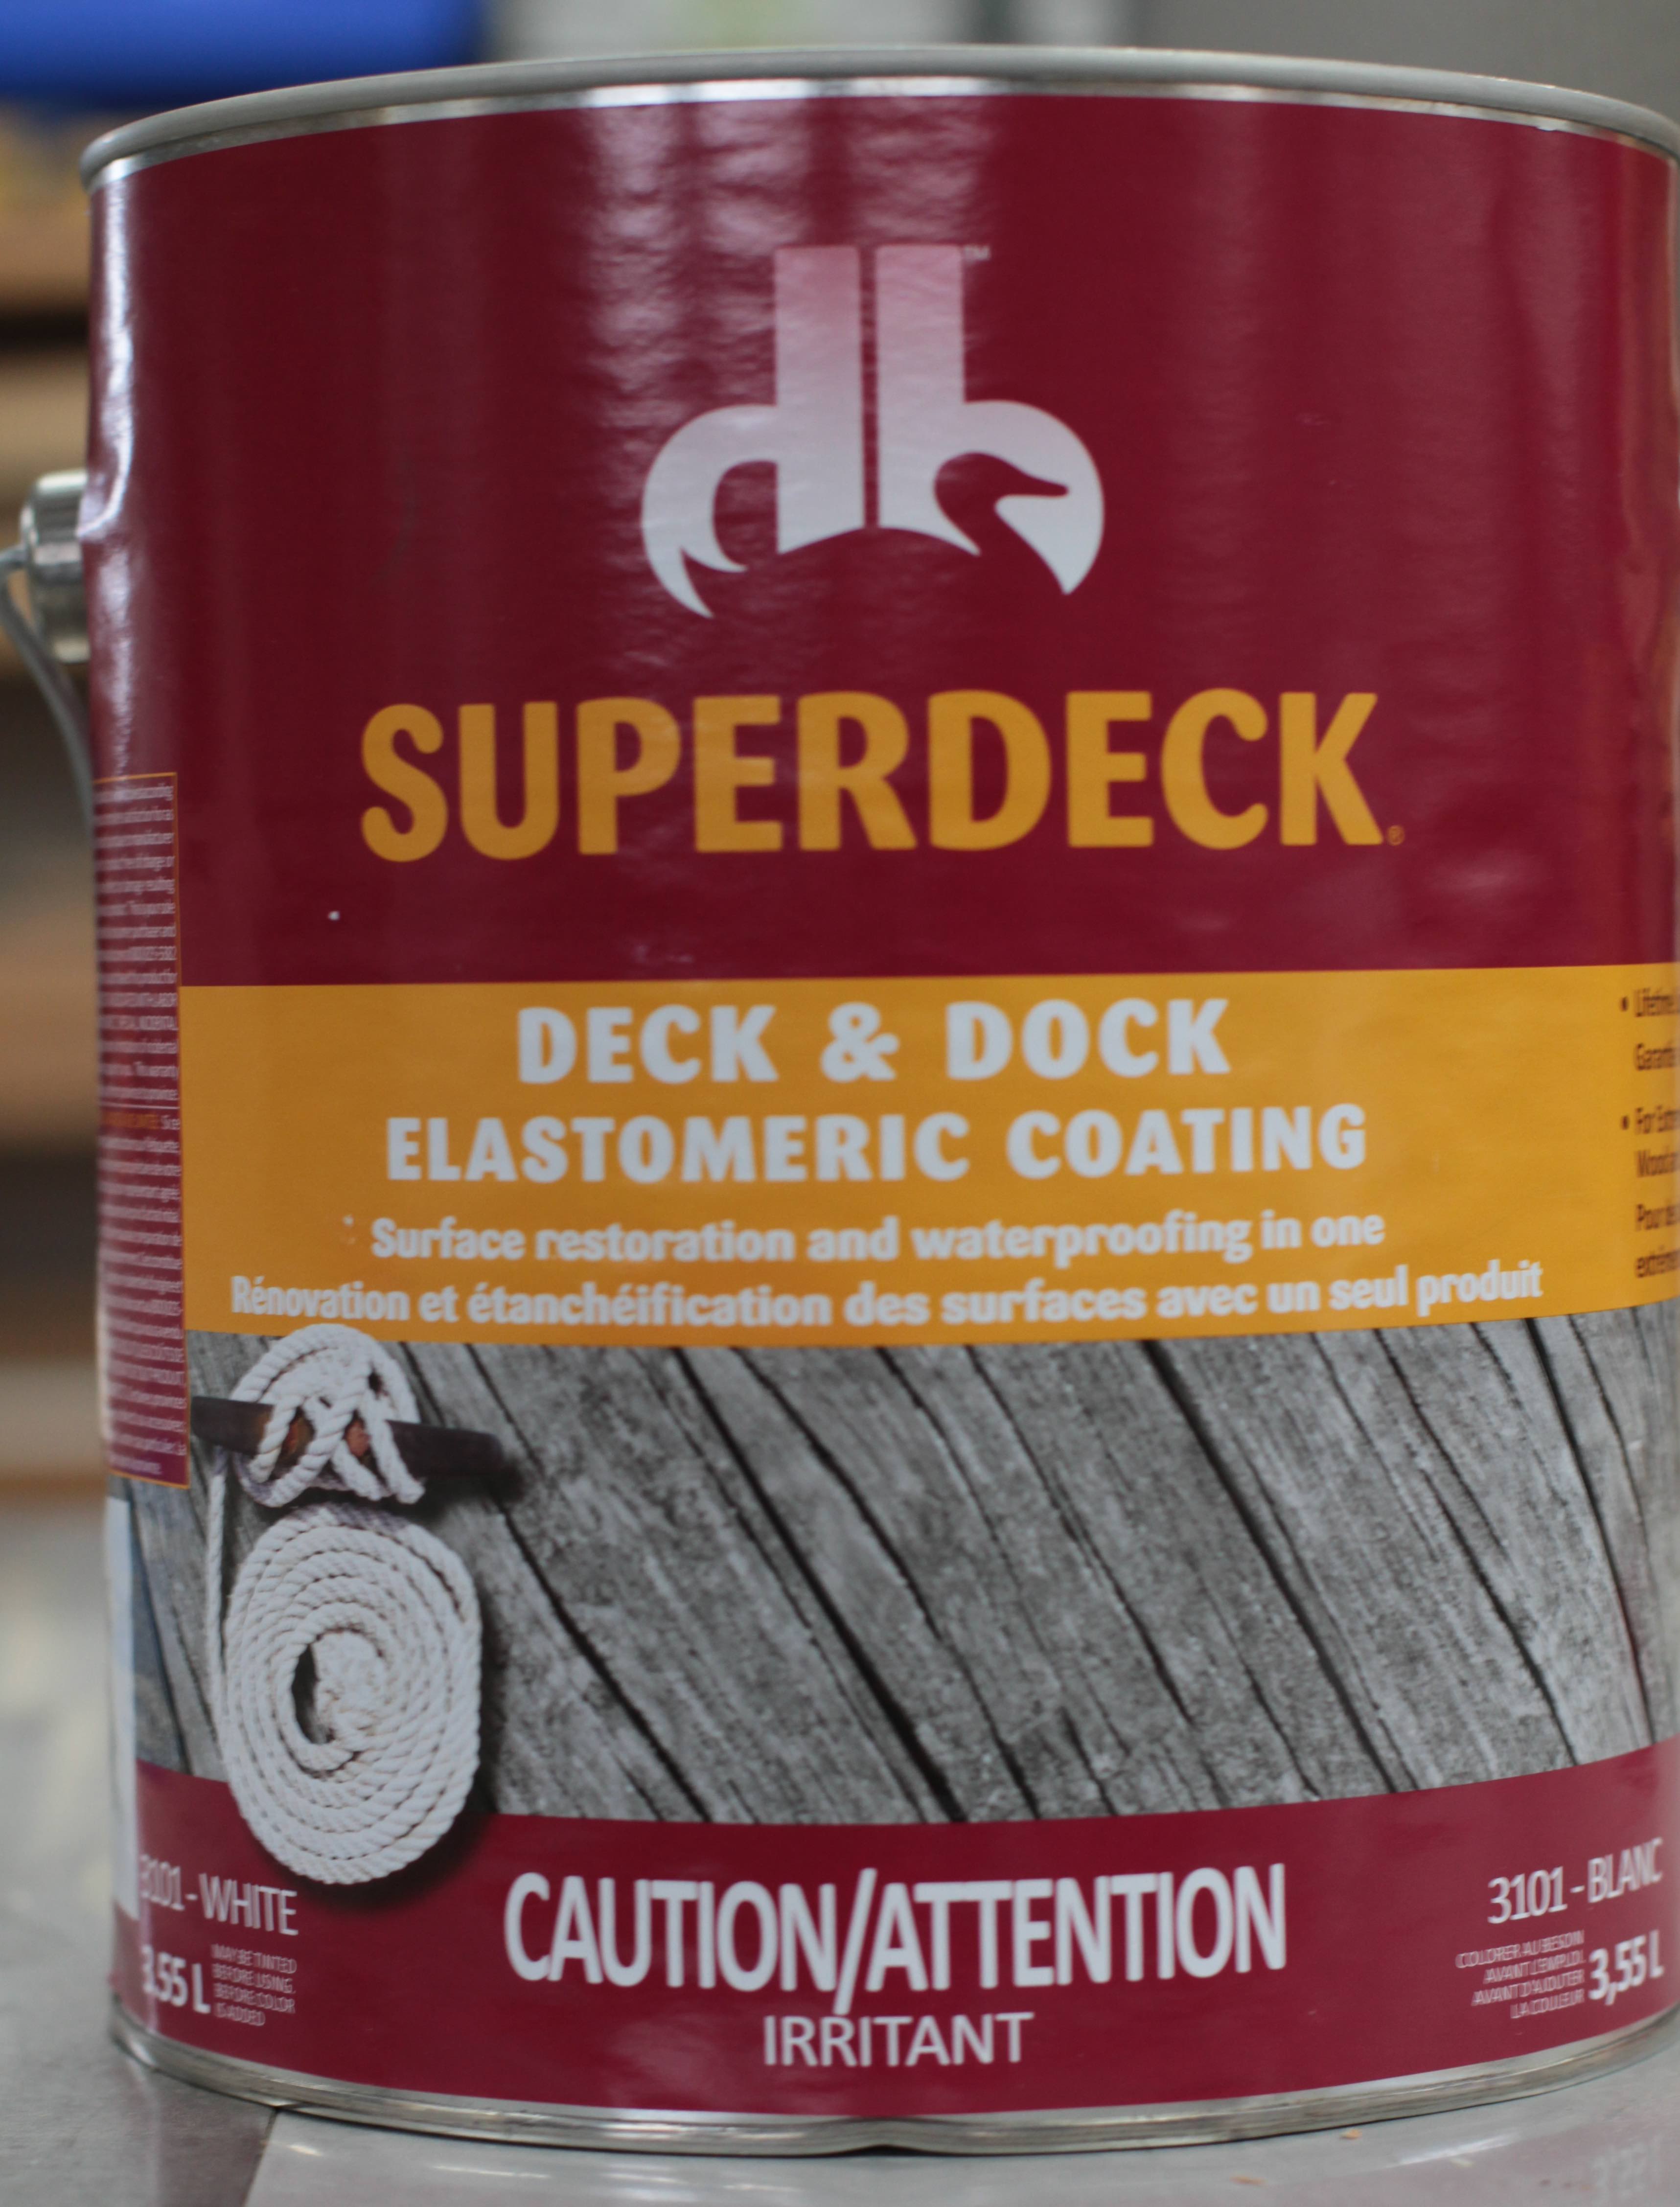
Duckback Superdeck Elastomeric Coating
This is THE stuff for coating old wood that’s highly weathered and cracked. It’s thick in consistency (very thick), so it has the ability to span gaps and cracks, making old wood look surprisingly younger. If Bob Barker were a deck, this is what he’d coat himself with. Superdeck also works well on new wood. The one caution I’d offer with this product is that the wood needs to be completely dry before application. Any moisture on the surface (even a little) and Superdeck will peel. This is a relatively new product in my trial line up, but it looks the same today as when I applied it to outdoor wood in May 2015. Sand the wood first to boost adhesion and to remove high spots and ridges that may have formed on highly weathered wood.
Translucent Class – moderate working life, wood grain shows through colour
Sikkens Cetol DEK Finish
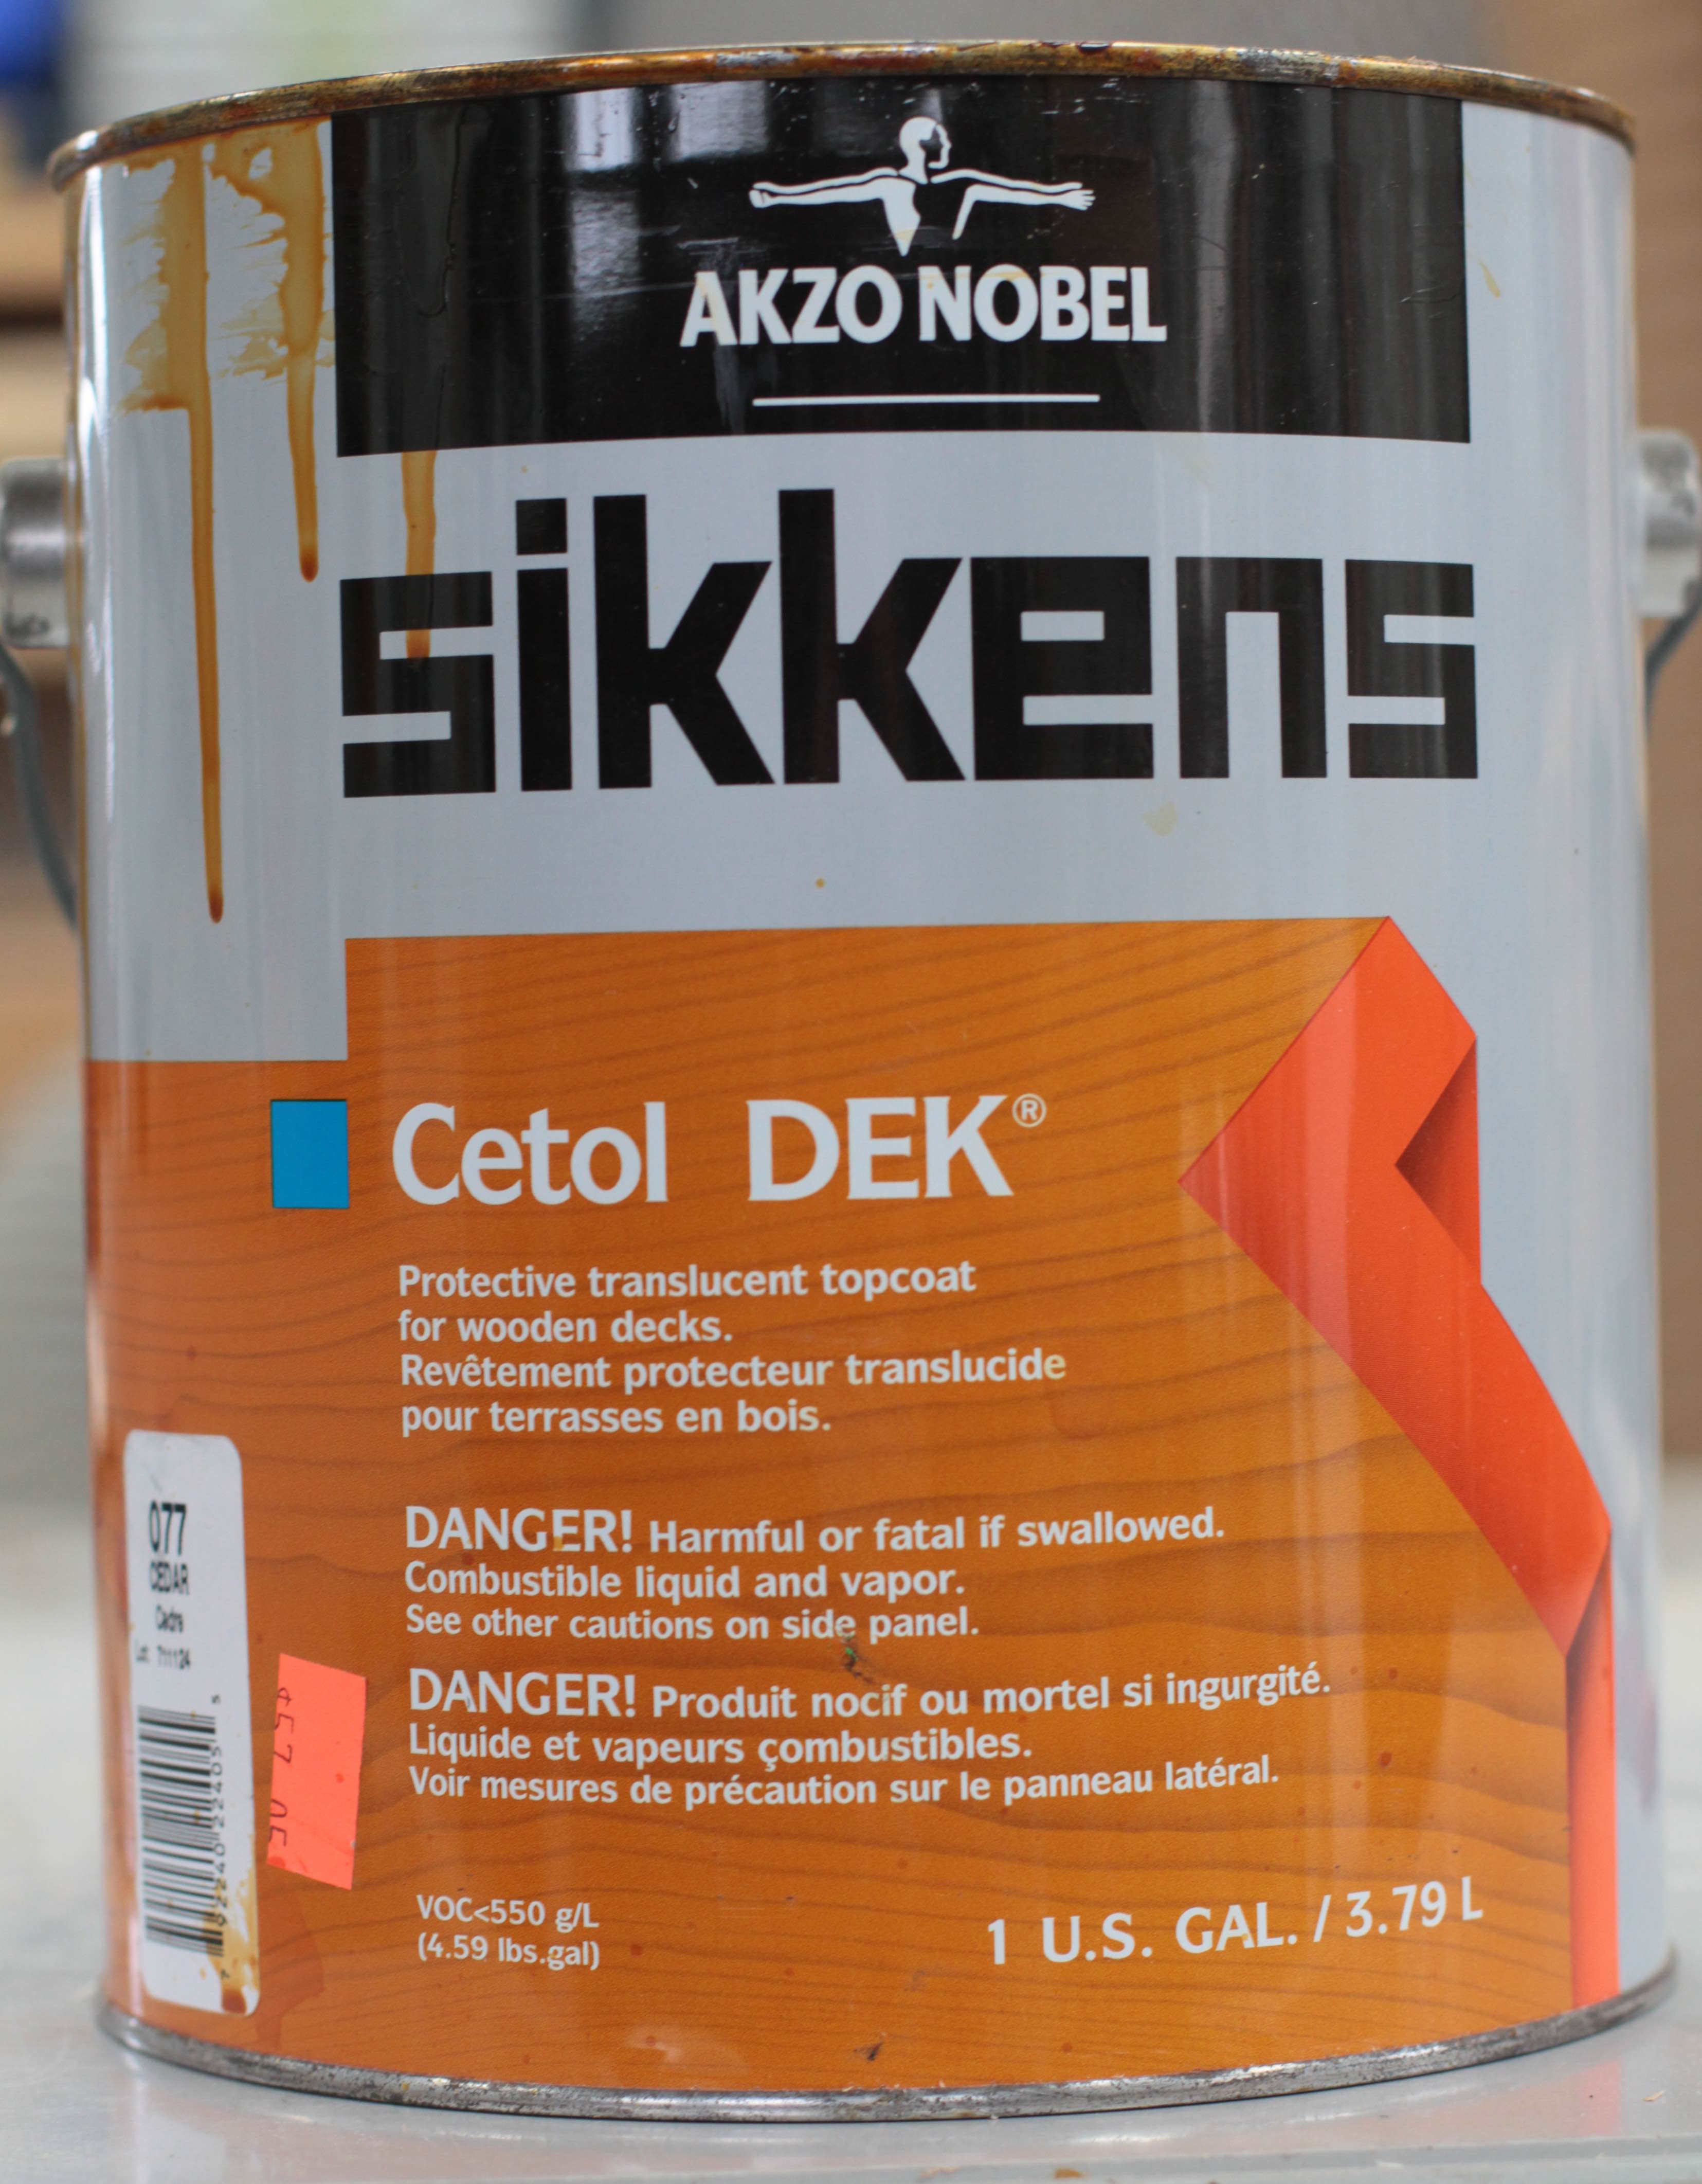
This product tints wood, while letting some grain show through. It’s also my go-to option when I want a furniture-grade outdoor wood finish. Apply the first coat in “dark oak” and second coat in “cedar” colors yields a stunning cinnamon-brown shade. I’ve had trouble with brush marks created by multiple coats of dark colour with this product. Using a dark colour as the first coat only followed by a lighter coat for the second and third coats solves this problem. Some people love Sikkens deck finishing products (like me) and other people hate them because it peeled for them. The difference is almost always the surface prep that was put in ahead of time. You’ve simply got to sand before application for reasonable working life with Sikkens. No sanding, no peel resistance. You can expect 2 to 4 years in full sunlight from DEK before stripping and refinishing is required. An easier option is a quick, light sanding after three years followed by a single renewal coat.
Sikken Cetol SRD

This is a one-coat product that offers less protection than Sikkens Cetol DEK, but with easier application. Sikkens recommends one coat only, but you can add a second coat as a top-up option for maintaining an existing finish. A second coat is also an option of you can to combine a dark colour initially, followed by a light coat afterwards to enhance the richness of the results. Working life on a deck is less than DEK (typically 2 years depending on foot traffic), but application is simpler.
Transparent Class: shortest life, most natural appearance
Olympic Wood Protector Clear Waterproofing Sealant
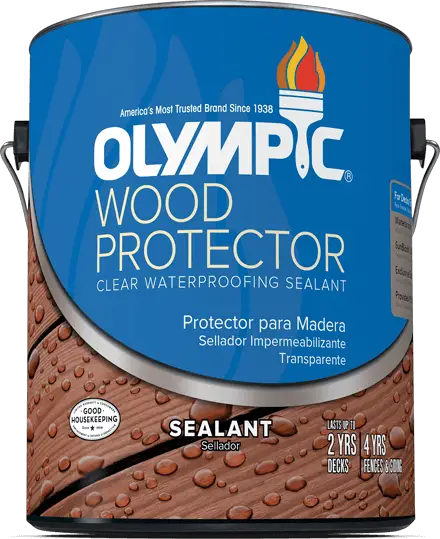
This stuff is like sunscreen for your deck. It works better than almost any other clear repellent I know of, but you still can’t expect a long working life. There is no deck finish on the market that’s both clear and long-lived. At least nothing I’ve been able to find. You need to take your pick. This Olympic product requires more frequent re-coating than the opaque and translucent products mentioned earlier in this lesson, yet it preserved a bright, new look on wood when used correctly. You can expect 12 to 18 months of life before your deck will need to be brightened and recoated. You’ll most likely get grey areas showing up in high traffic zones, and these will need to be lightened chemically and sanded before reapplication. A combination of wood brightener (like the Concrobium Mold Stain Eraser I talked about earlier) followed by sanding really is your best bet before reapplication.
Minwax Teak Oil
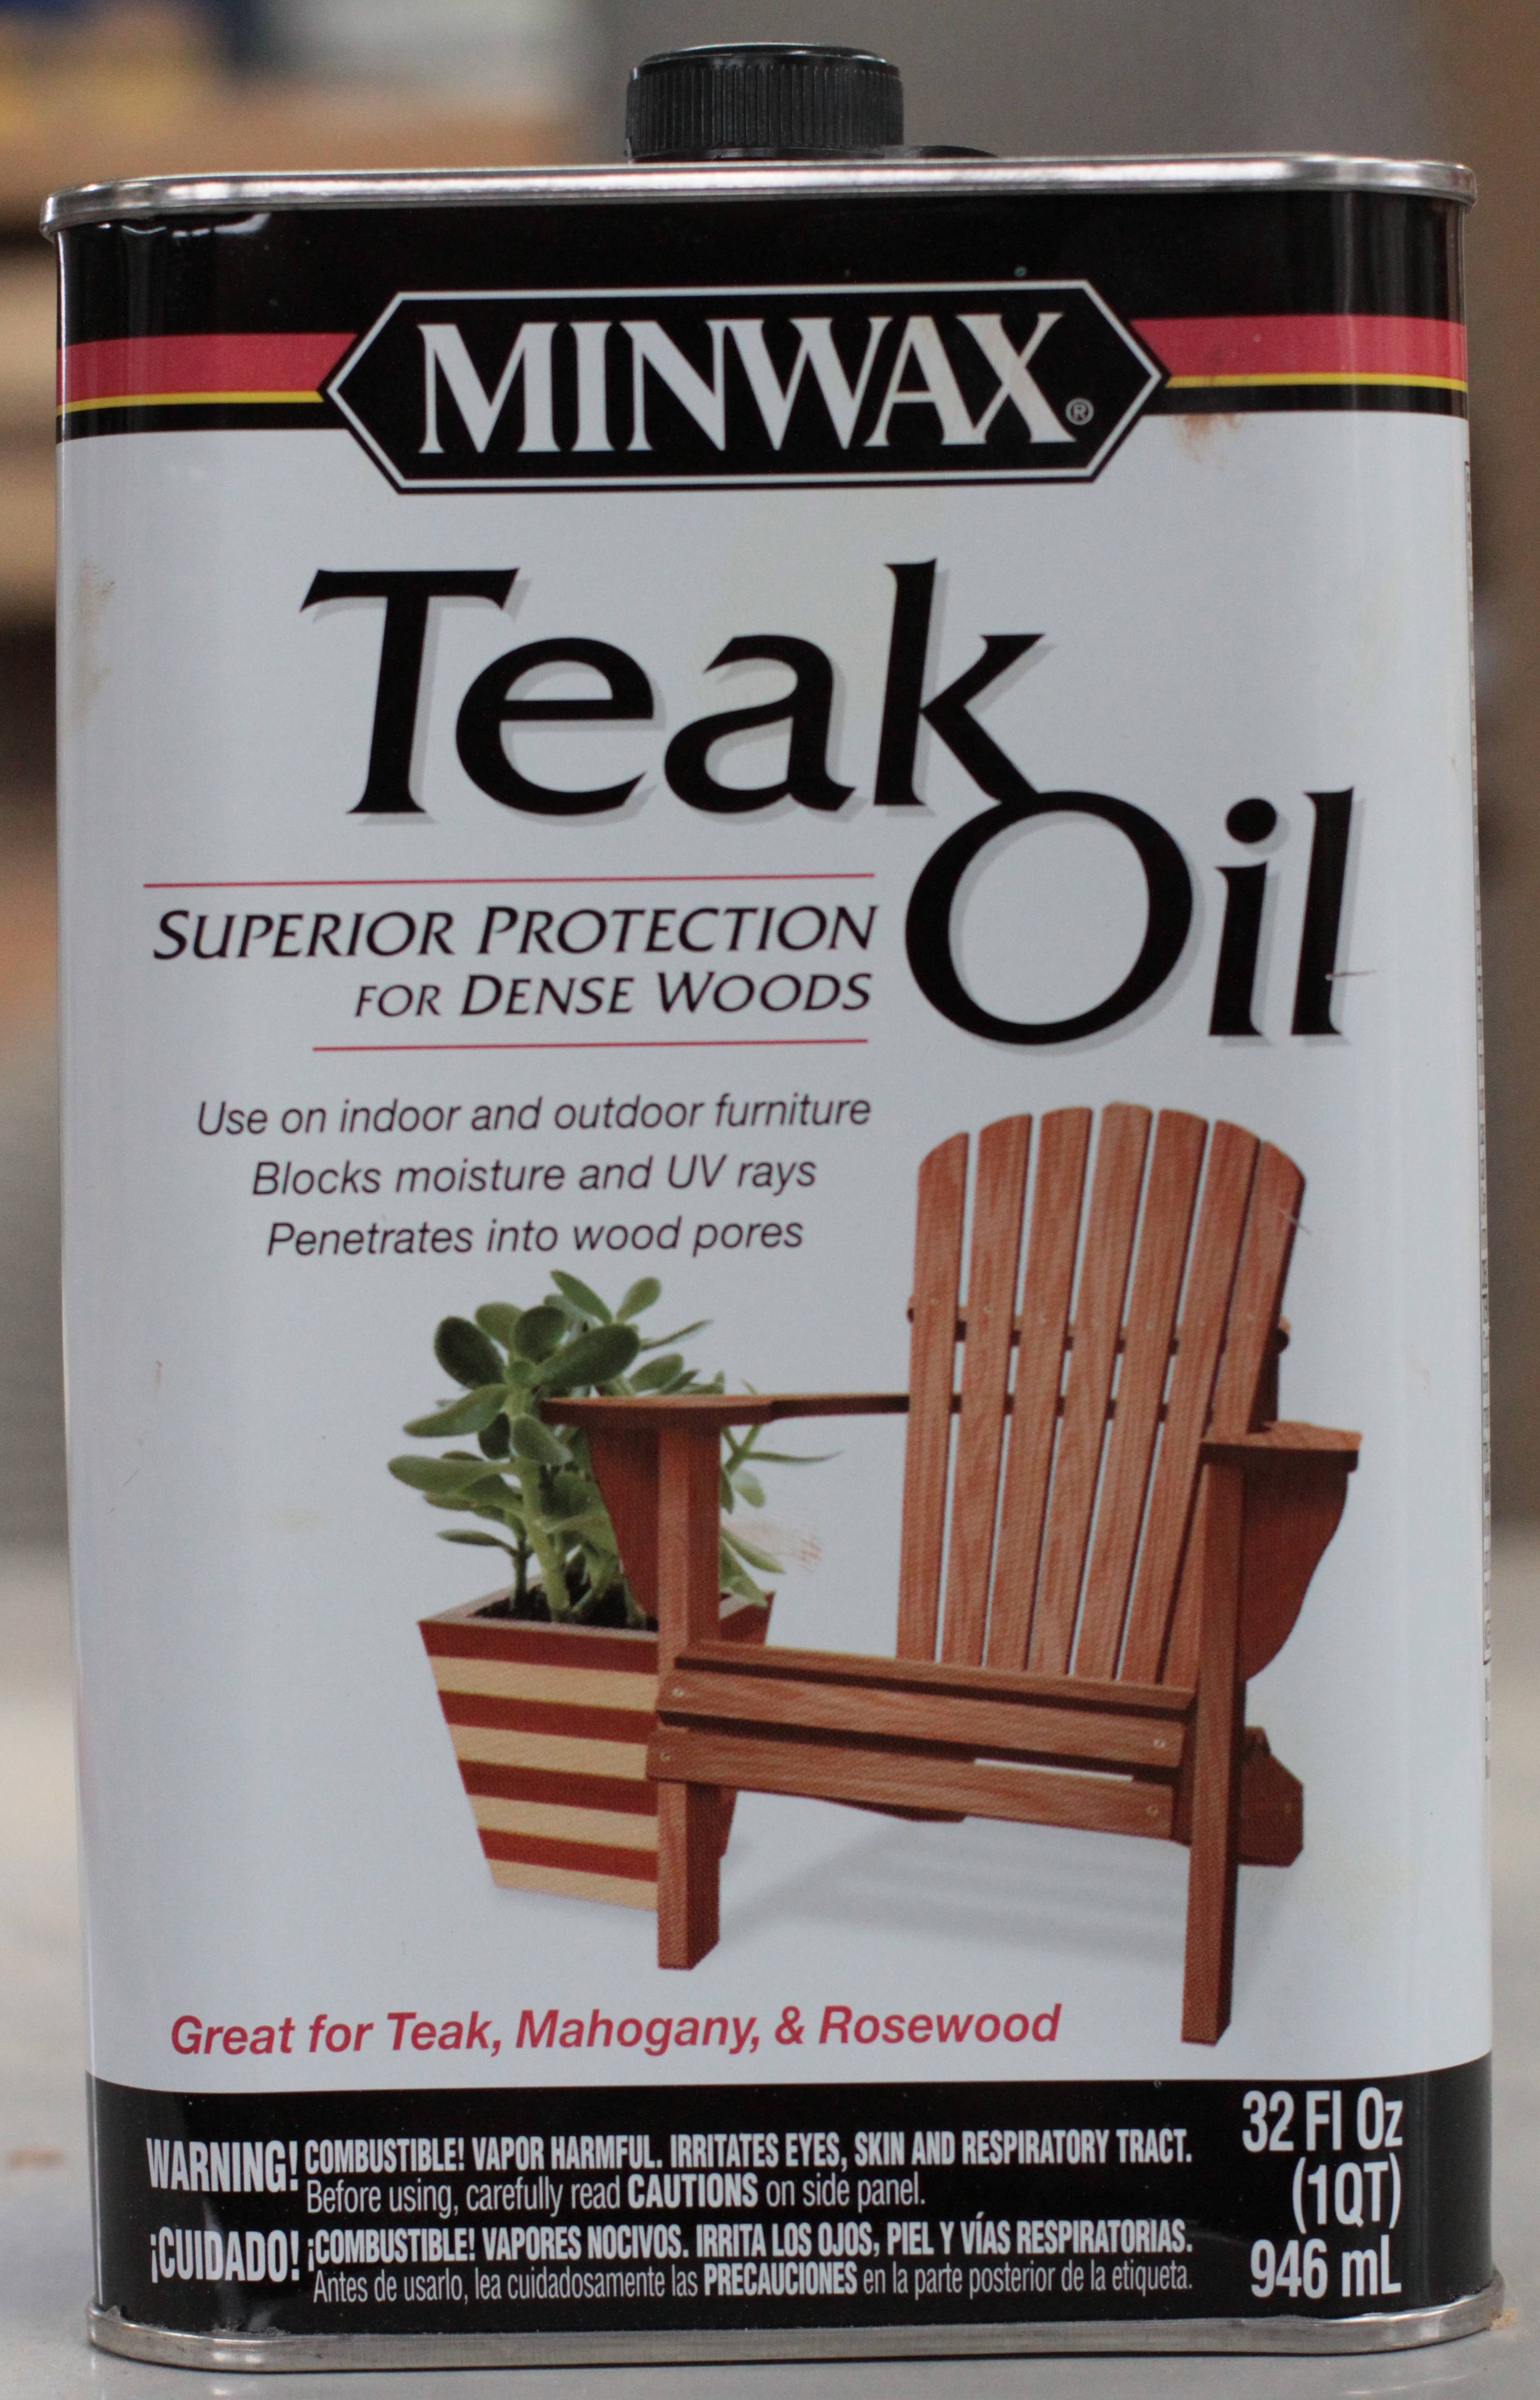
Technically speaking, this isn’t a deck finish, but I find it works pretty well on all outdoor wood of all kinds. It’s especially effective on outdoor wood furniture where all the nooks and crannies between parts mean that it’s impossible to remove an old finish that’s peeling. Since this stuff is an oil, it soaks into the wood and protects it from weather and sun. And as I said, the big bonus is that it doesn’t peel. It can’t because it creates no surface film. Reapplication is simply a matter of sloshing on more oil. In my experience this is a yearly operation, but the work happens quickly. There’s no chance for runs and you can even apply Teak Oil with a sprayer for fast results.
One-Time Deck Finish
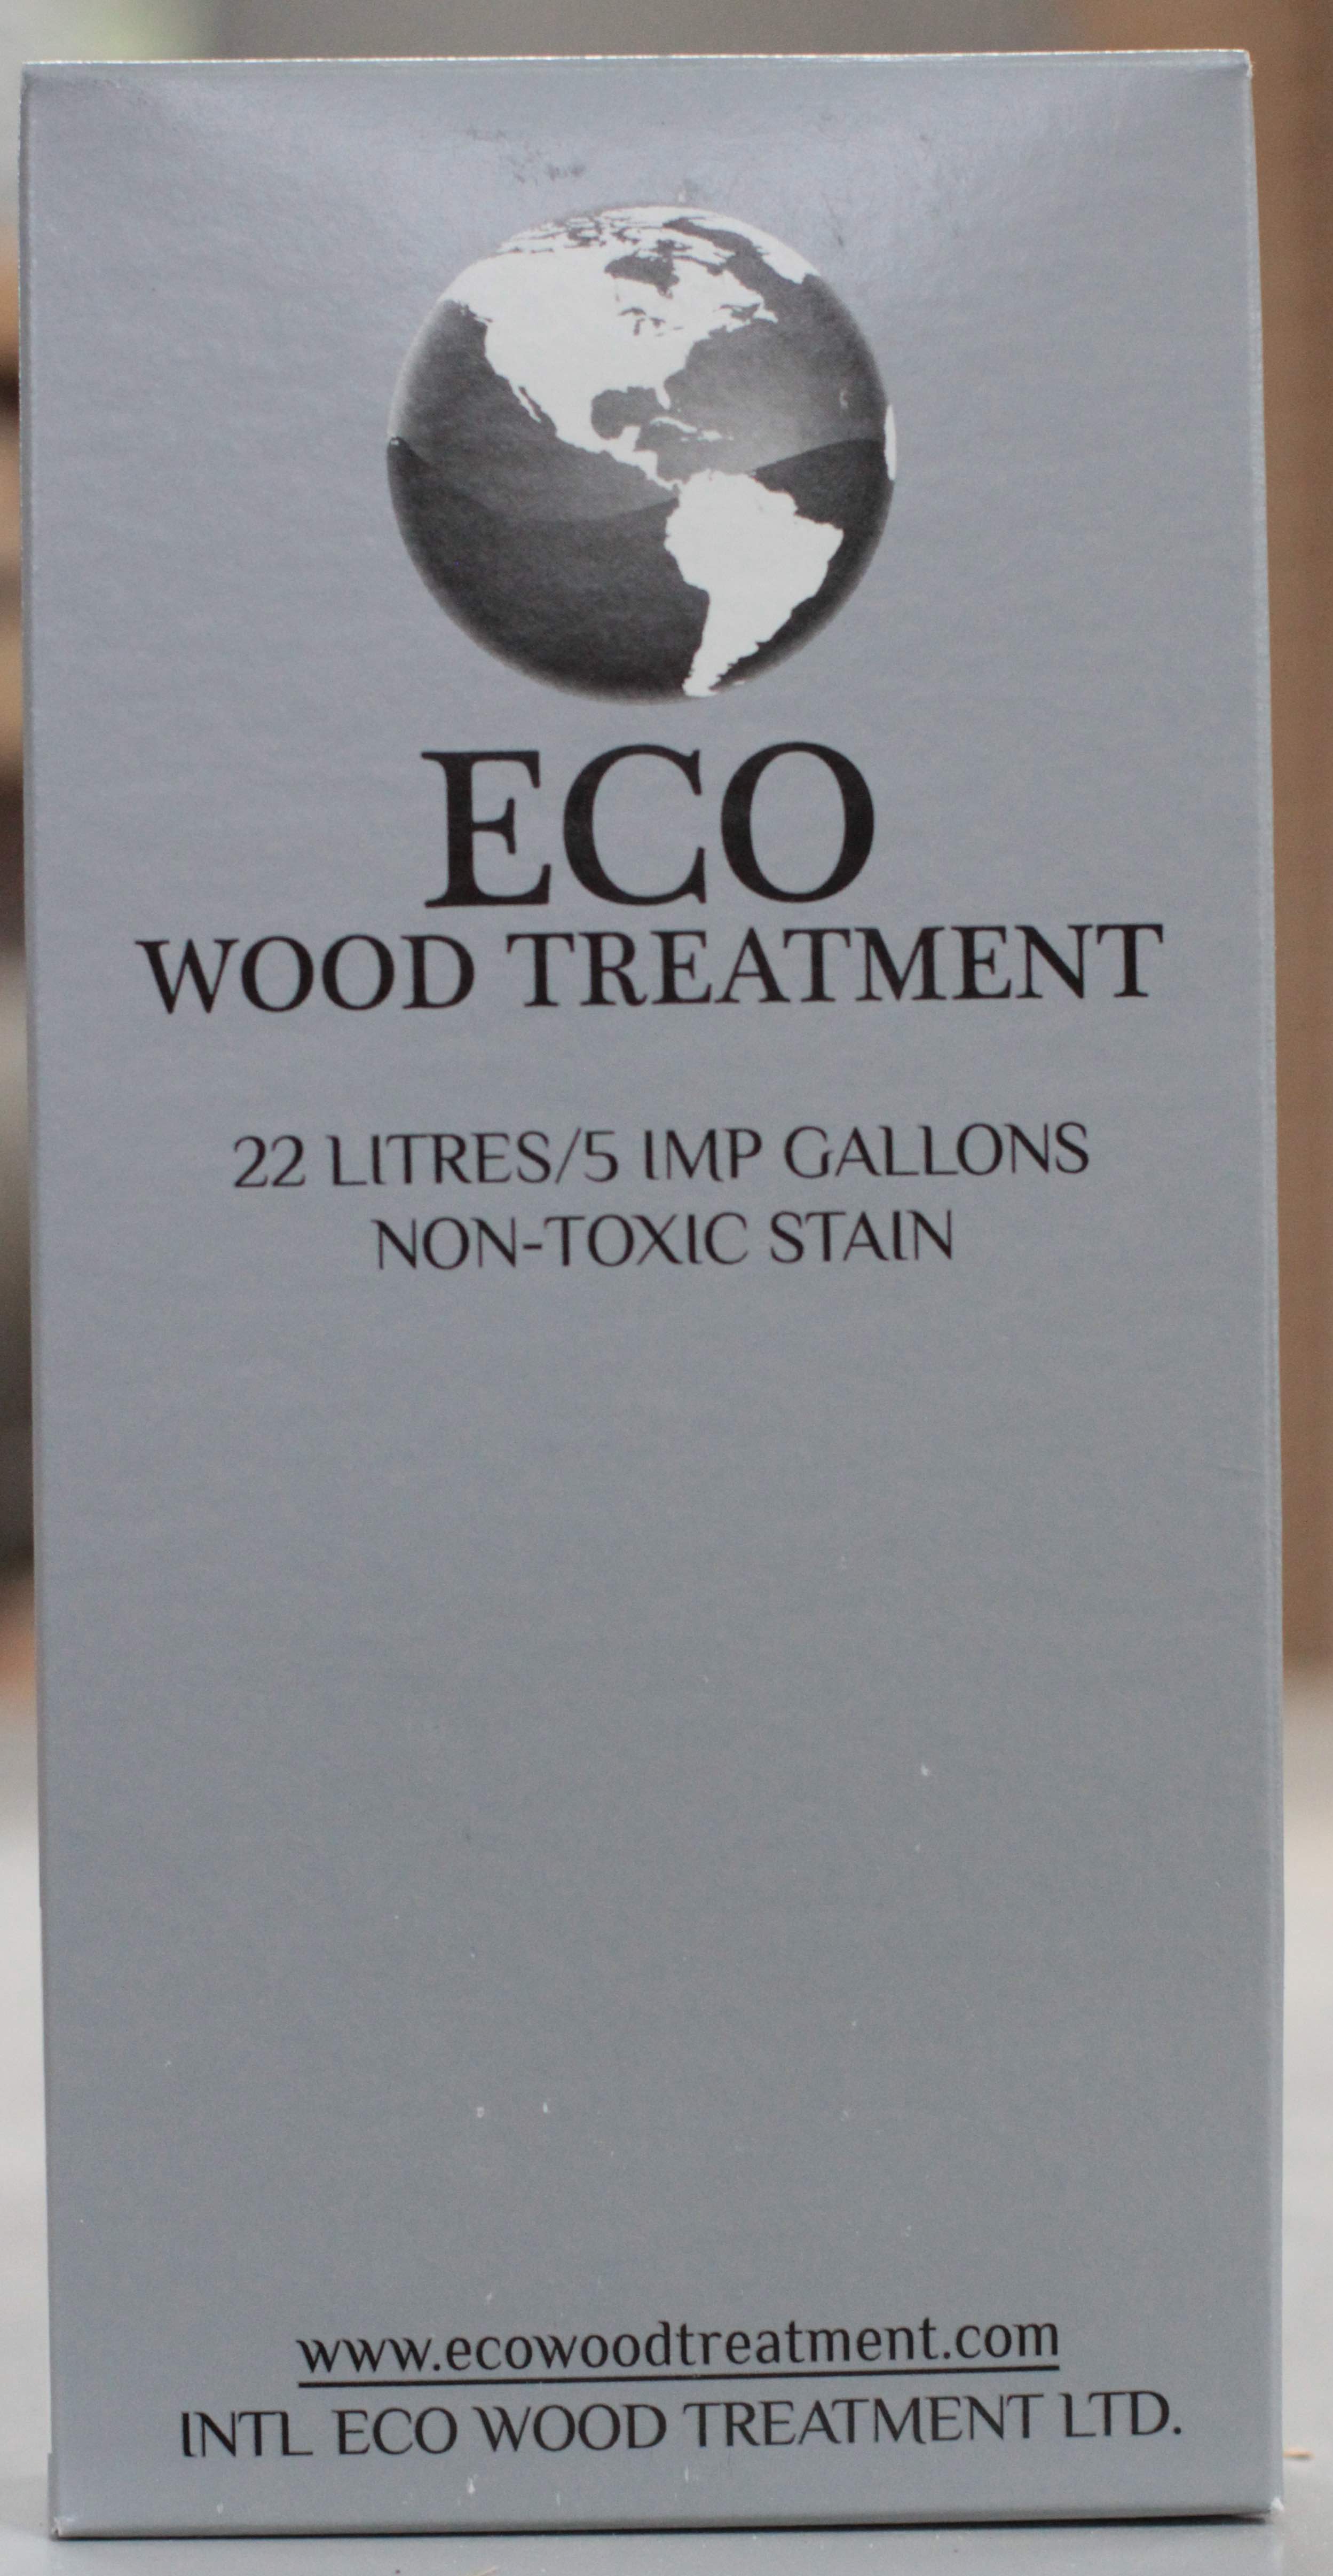
If you’ve finished and refinished your deck a few times, you might be getting tired of the routine. One non-toxic alternative to recurring finishing work is called Eco Wood Treatment (www.ecowoodtreatment.com). It’s a powder you mix with water, then apply to wood only once. It imparts an even, weathered grey tone (like barn board) that never fades. Not everyone likes this casual look, but it is easy to apply. It’s also much nicer than the uneven look that natural weathering creates. This product is the only finish I know of where sanding new wood ahead of time offers no benefit. When I apply it to large areas I use a pump-up weed sprayer specially reserved for this work. The main issue to understand is that Eco Wood Treatment works via chemical reaction, not as a coating. This means that it needs to wet the actual wood fibres, not just sit on top of any old finish residue. Either apply Eco Wood Treatment to brand new lumber, or to previously finished lumber that has had ALL the old finish removed. Another issue is pressure-treated lumber. Depending on the treatment that was applied at the factory, it may have affected the ability for Eco Wood Treatment to actually wet the wood surface. Before buying and applying the product, sprinkle water on the new pressure-treated wood as a test. If the water beads up, then there’s too much water repellency for Eco Wood Treatment to work. Either pressure wash and sand the surface, or wait until natural weathering breaks down the water repellent action.
The people at Eco Wood have come out with a coloured version now, too. It’s based on the same powder that you mix with water, but it comes with a bottle of dye you mix with the solution. I’ve used it and it looks great, though I still need to see how well the colouring lasts long term. The coloured version is not supposed to be used on surfaces you walk on, but it can be used on all other outdoor wood.
This product is unusual and most people know nothing about it. That’s why I made an application video. Click below to watch me applying Eco Wood Treatment to a new building clad with cedar shakes.
Deck Stain Secret#4: Don’t Abuse Your Deck Stain
The prep work you do to your deck before you apply a finish is vital. And the deck stain you choose to put on your deck matters big-time, too. But success doesn’t end there.How you apply deck finish matters as well. For most products there are three crucial things to keep in mind: temperature, sunlight and application technique. I’ll explain exceptions later, but generally these are the rules:
- For maximum life, apply a finish as close to normal room temperature as possible. Anything colder than about 55ºF or 12ºC prevents proper drying. Temps hotter than 80ºF or 27ºC evaporate crucial, volatile ingredients before the finish has cured.
- Avoid applying deck stain in direct sunlight if at all possible. Sunshine can heat deck surfaces far beyond air temperature, boiling off those vital ingredients. Work during shady times of the day or cloudy weather.
- Maintain a wet edge as you work if you’re applying any sort of finish that forms a surface film. The prevents brush marks and lap marks where one area meets another. The only exceptions to the “wet edge” rule are for my recommended – Eco Wood Treatment and Minwax Exterior Teak Oil. Both can be applied in full sun. Temperature doesn’t matter much and there’s no need to maintain a wet edge.
Deck Stain Secret#5: Non-Wood Decking Options Are Worth Considering
All this talk about surface prep, deck stain finishing choice and regular maintenance might have you thinking that there’s no way to get out of the work of keeping your backyard deck looking nice. And in one way you’d be right. Even optimal deck finishing and refinishing does require ongoing effort. This is why “finish-free” deck materials are gaining in popularity.
These are the so-called “composite” or “plastic” lumber options. That’s what you see to the left. They promise a nearly maintenance-free homeowner experience, and that’s a good thing. Plastic and composites are also rot-proof and offer good footing, even when wet . Most composites are also made from post-consumer, recycled materials – another bonus.
Let’s say you’re tired of finishing and refinishing your existing deck. Are composites or plastics an option even if you don’t plan to build a new deck? Yes, they are.
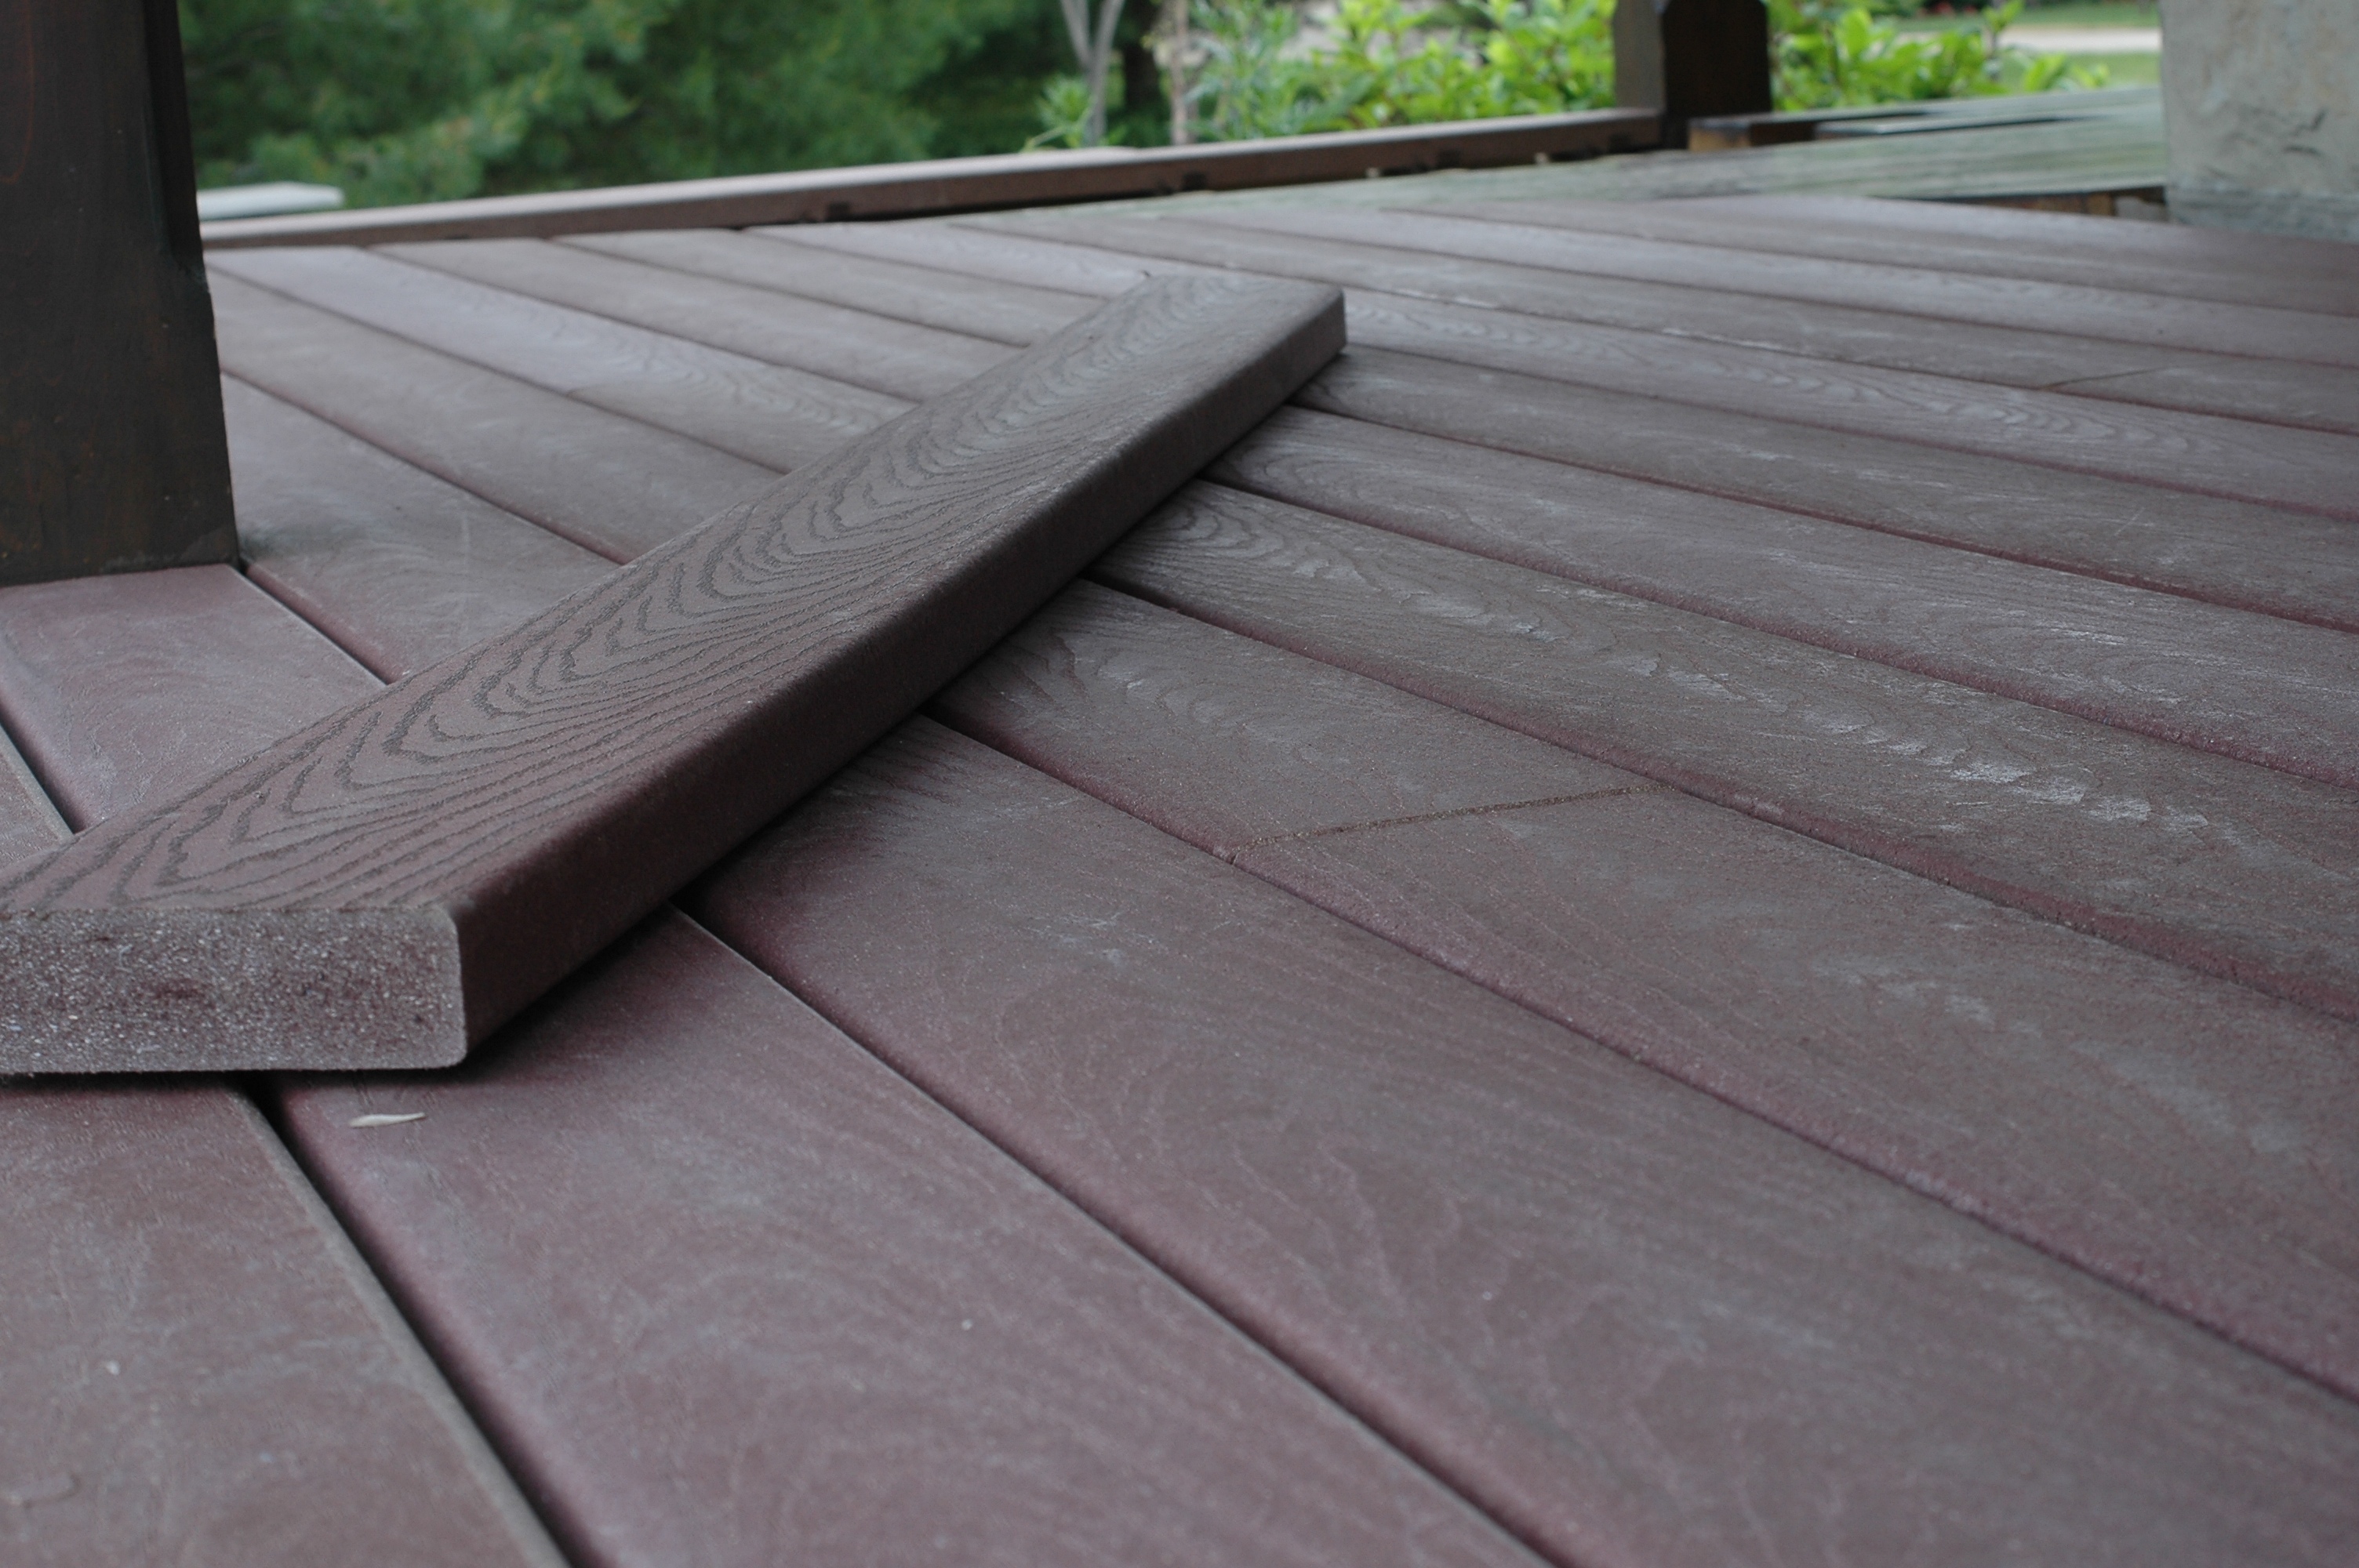
My own experiences with wood decking prompted me to replace the cedar deck boards on the wrap-around verandah of my own house with composite lumber. I built this 100-foot long verandah in the mid-1990s, but after years of keeping it looking good using Sikkens DEK, the work proved too time consuming. The cedar was still in excellent shape, so I removed it carefully, gave it away to a friend building an unfinished deck at a lakeside cottage, then replaced this wood with a composite called TREX. To be honest, the TREX doesn’t look as good as the cedar did when it was freshly finished with DEK, but TREX never changes. All we need to do it keep it clean. Here are a few things to consider if you’re thinking about a “deck surface transplant” For simplicity, from here on in I’ll use the word “composite” when referring to both composite deck lumber (a blend of wood fibers and plastic), and 100% plastic lumber.
- There are two kinds of composites: solid and hollow. Solid composites are heavy and cost more than wood, but their edges can be routed just like wood, without the need for mechanical looking end caps to hide the hollowness along edges. My current favourite composite is TREX. Their Accents line features a surprisingly attractive embossed wood grain. This product is made mostly from old shopping bags and shipping pallets.
- Regardless of what you choose, composites aren’t strong enough to use for the support structure of a deck. At the moment, we still need wood for joists, beams and foundation posts. Also, composites and plastic deck lumber aren’t completely impervious to surface growth of mold and mildew. Depending on how wet and shady your deck location is, you might have to scrub the deck free of superficial growths every so often. There won’t ever be any rot, but you probably won’t get off the maintenance bandwagon completely. You’ll still need to keep your deck clean.
- Composites are costly. Many homeowners are scared away by the price of composites compared with wood when building a new deck. What’s easy to miss, however, is how the price of composites includes the value of all the finishing labor and materials you’ll ever have to invest over the entire life of a wooden deck. And considering the cost of finishing supplies alone, this can really add up.
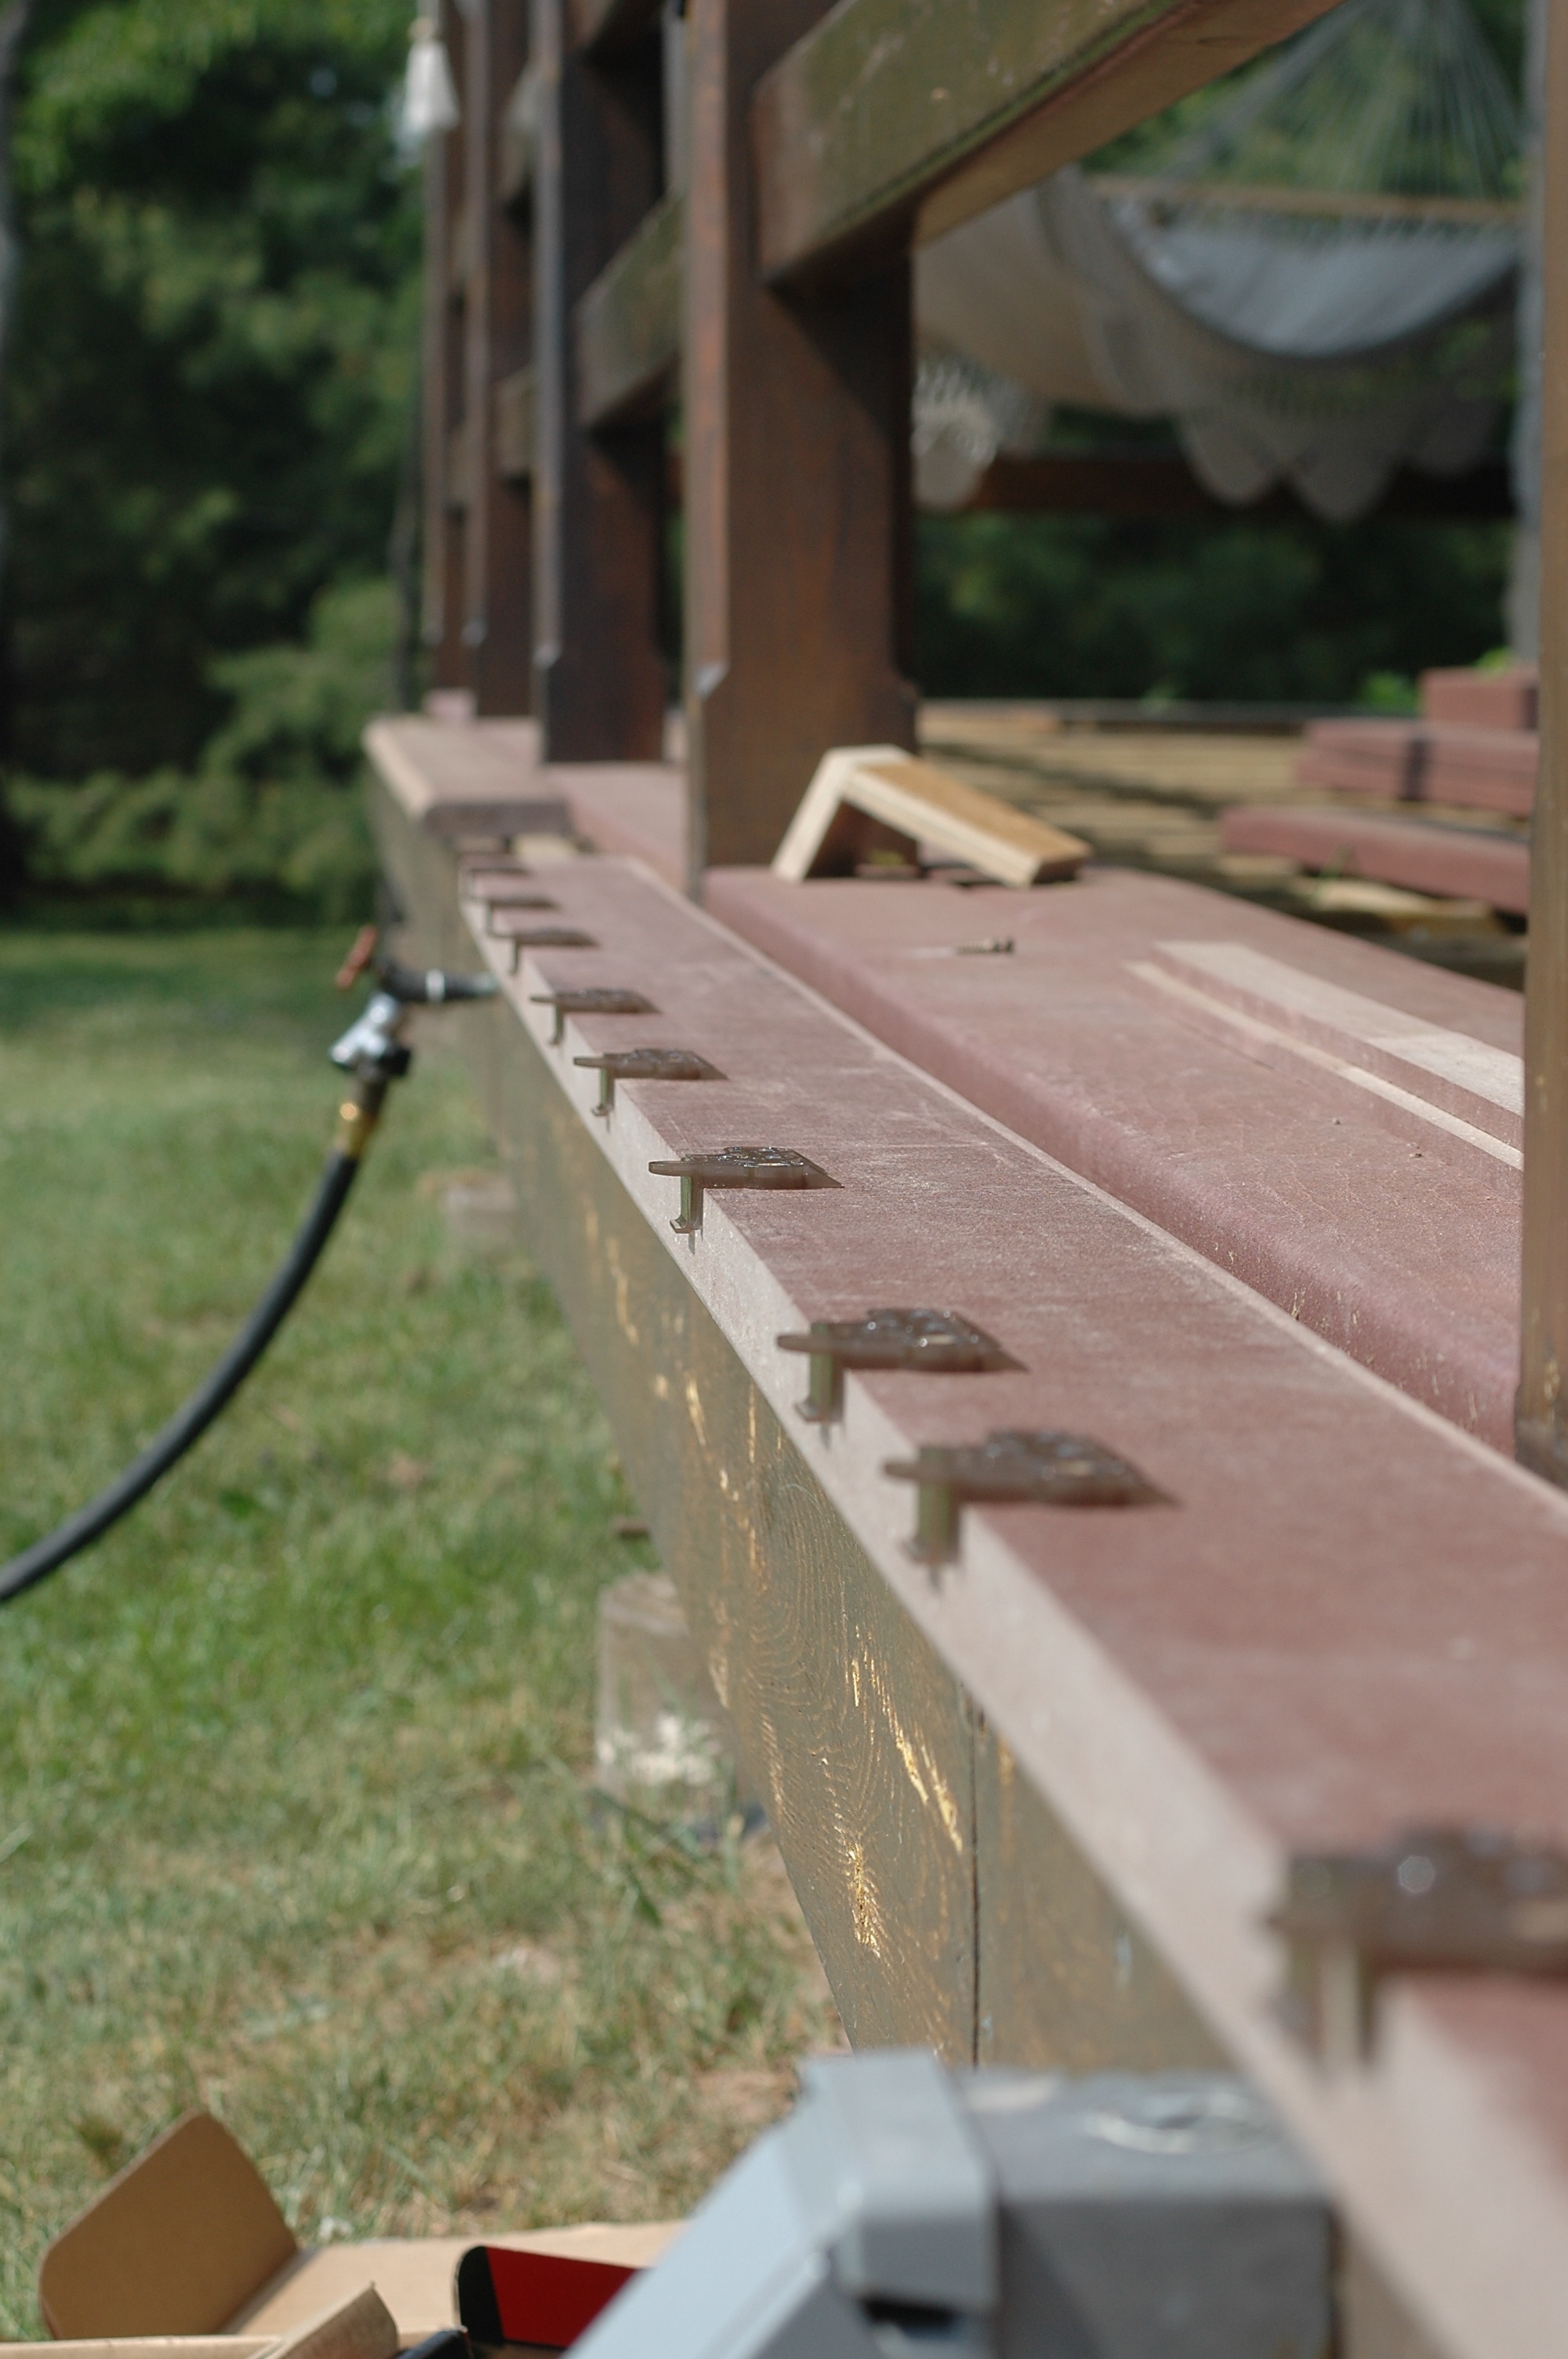
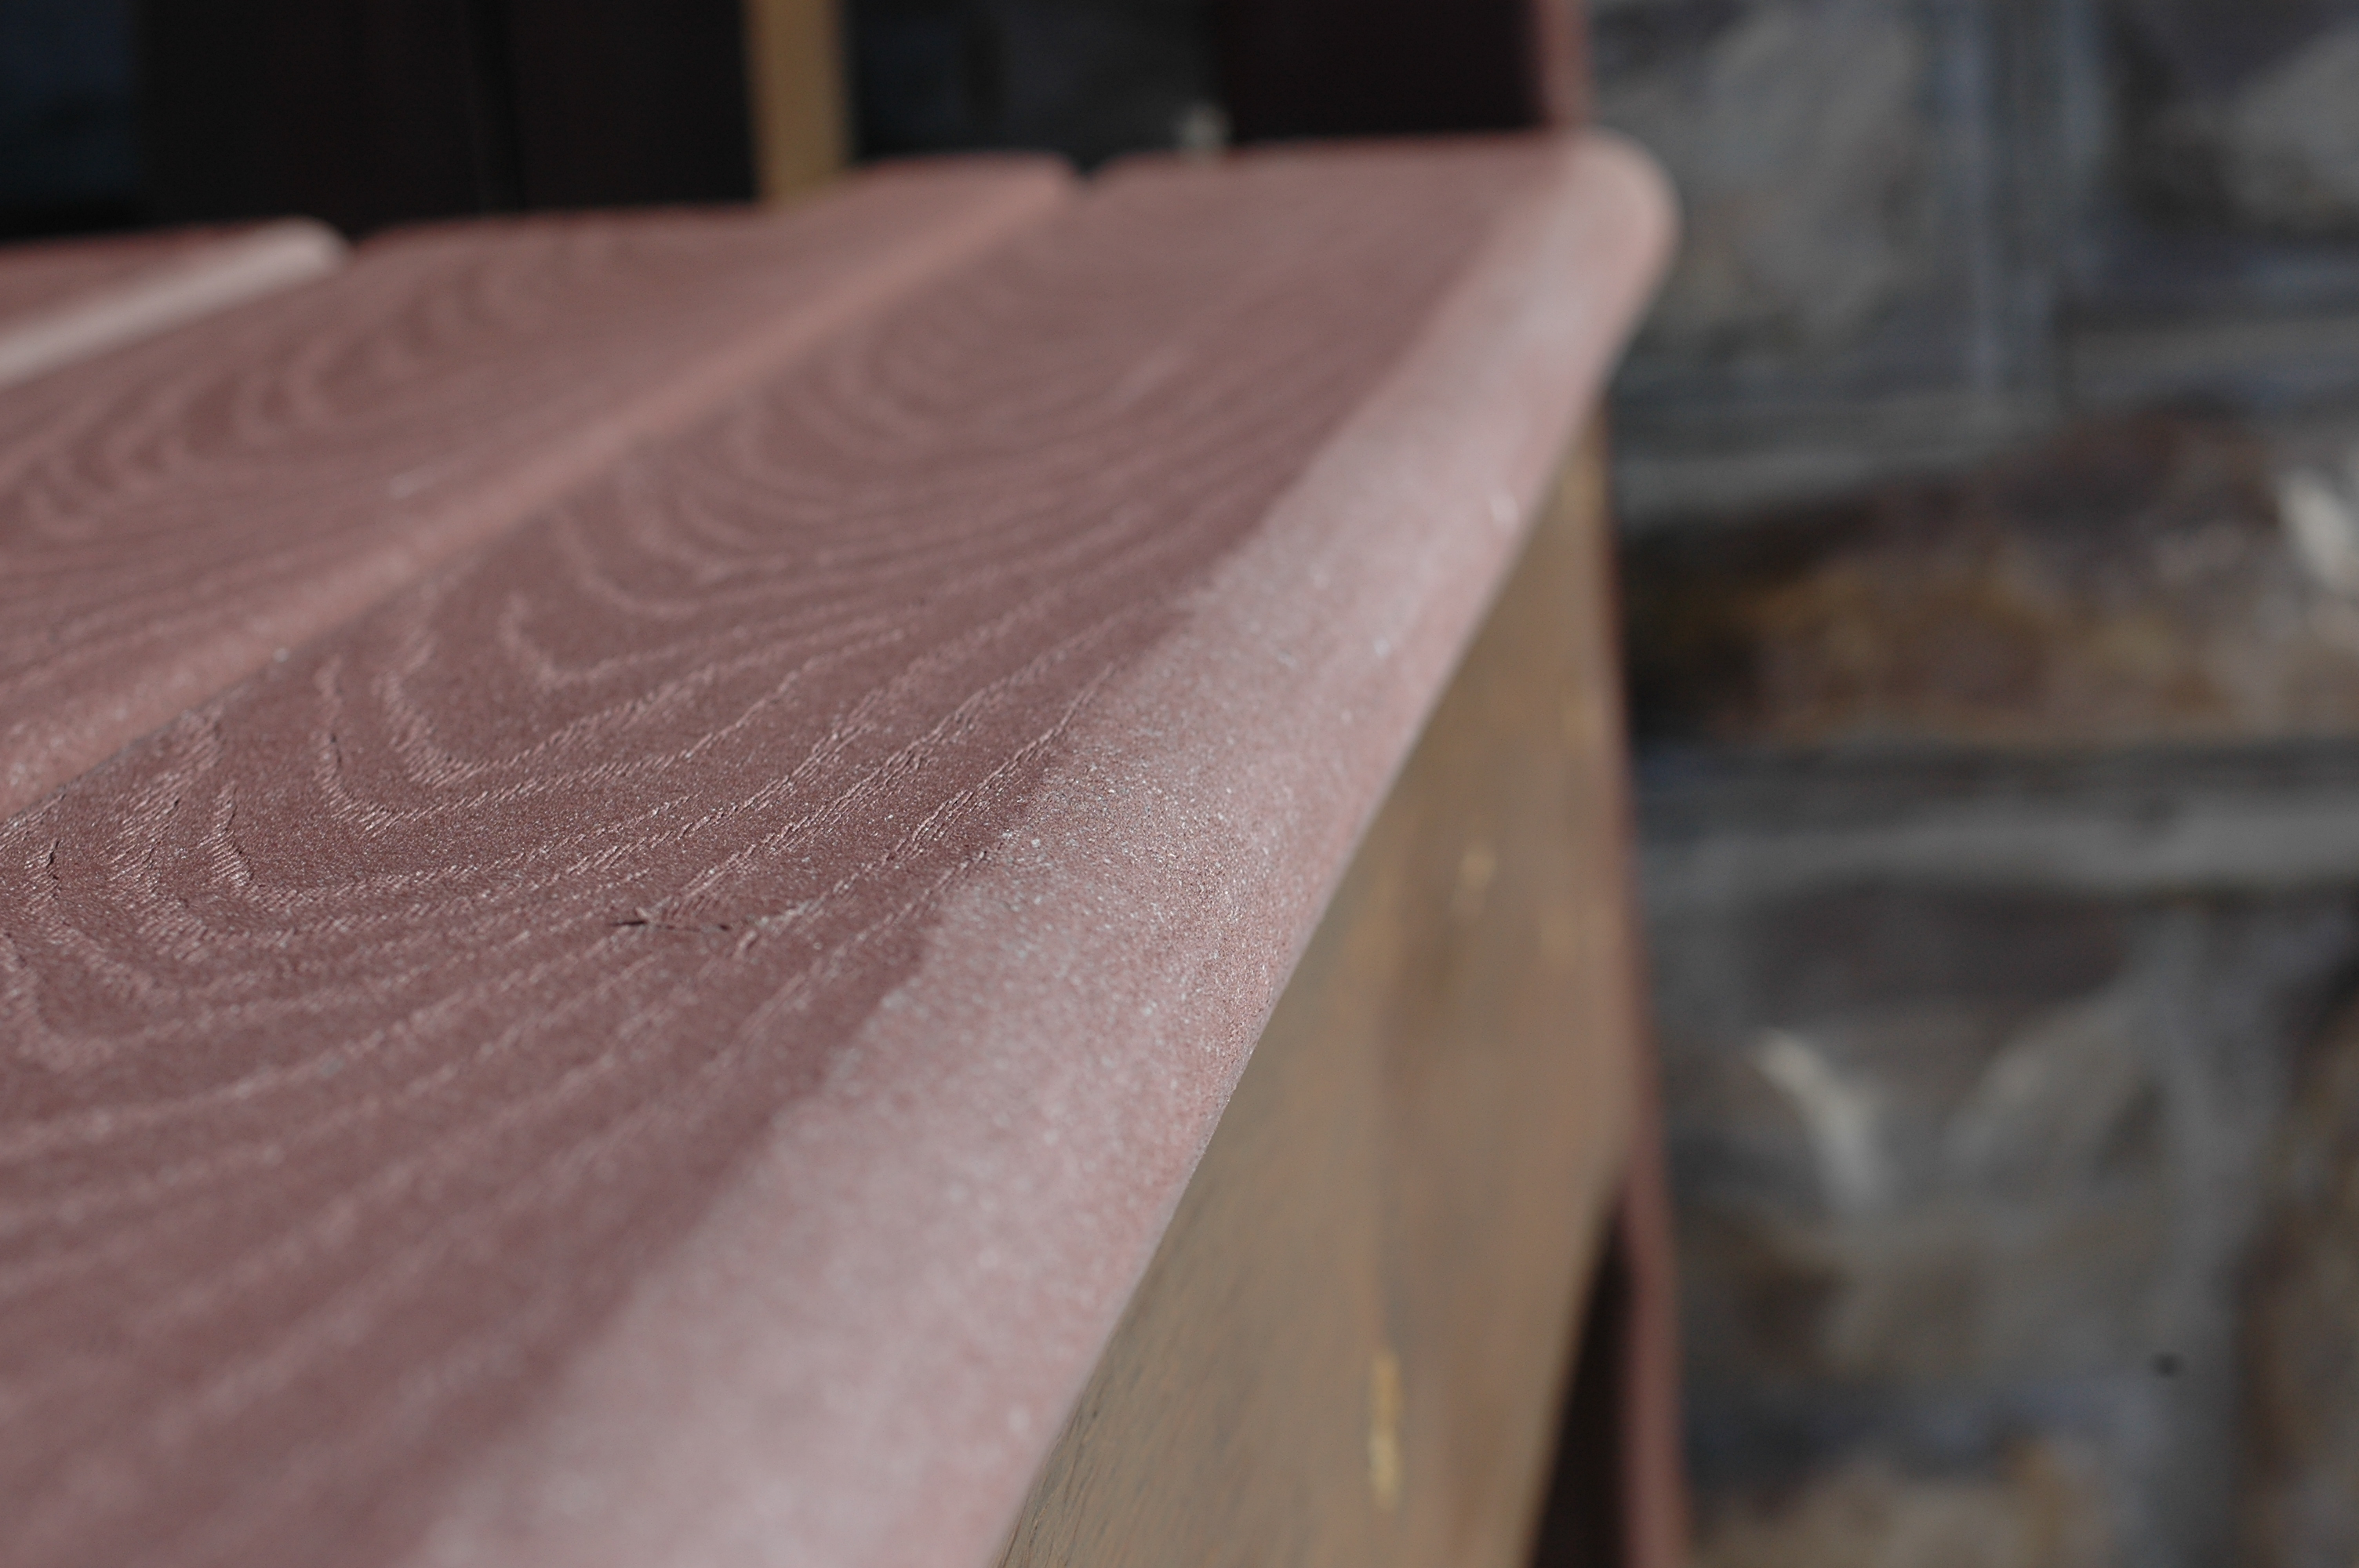
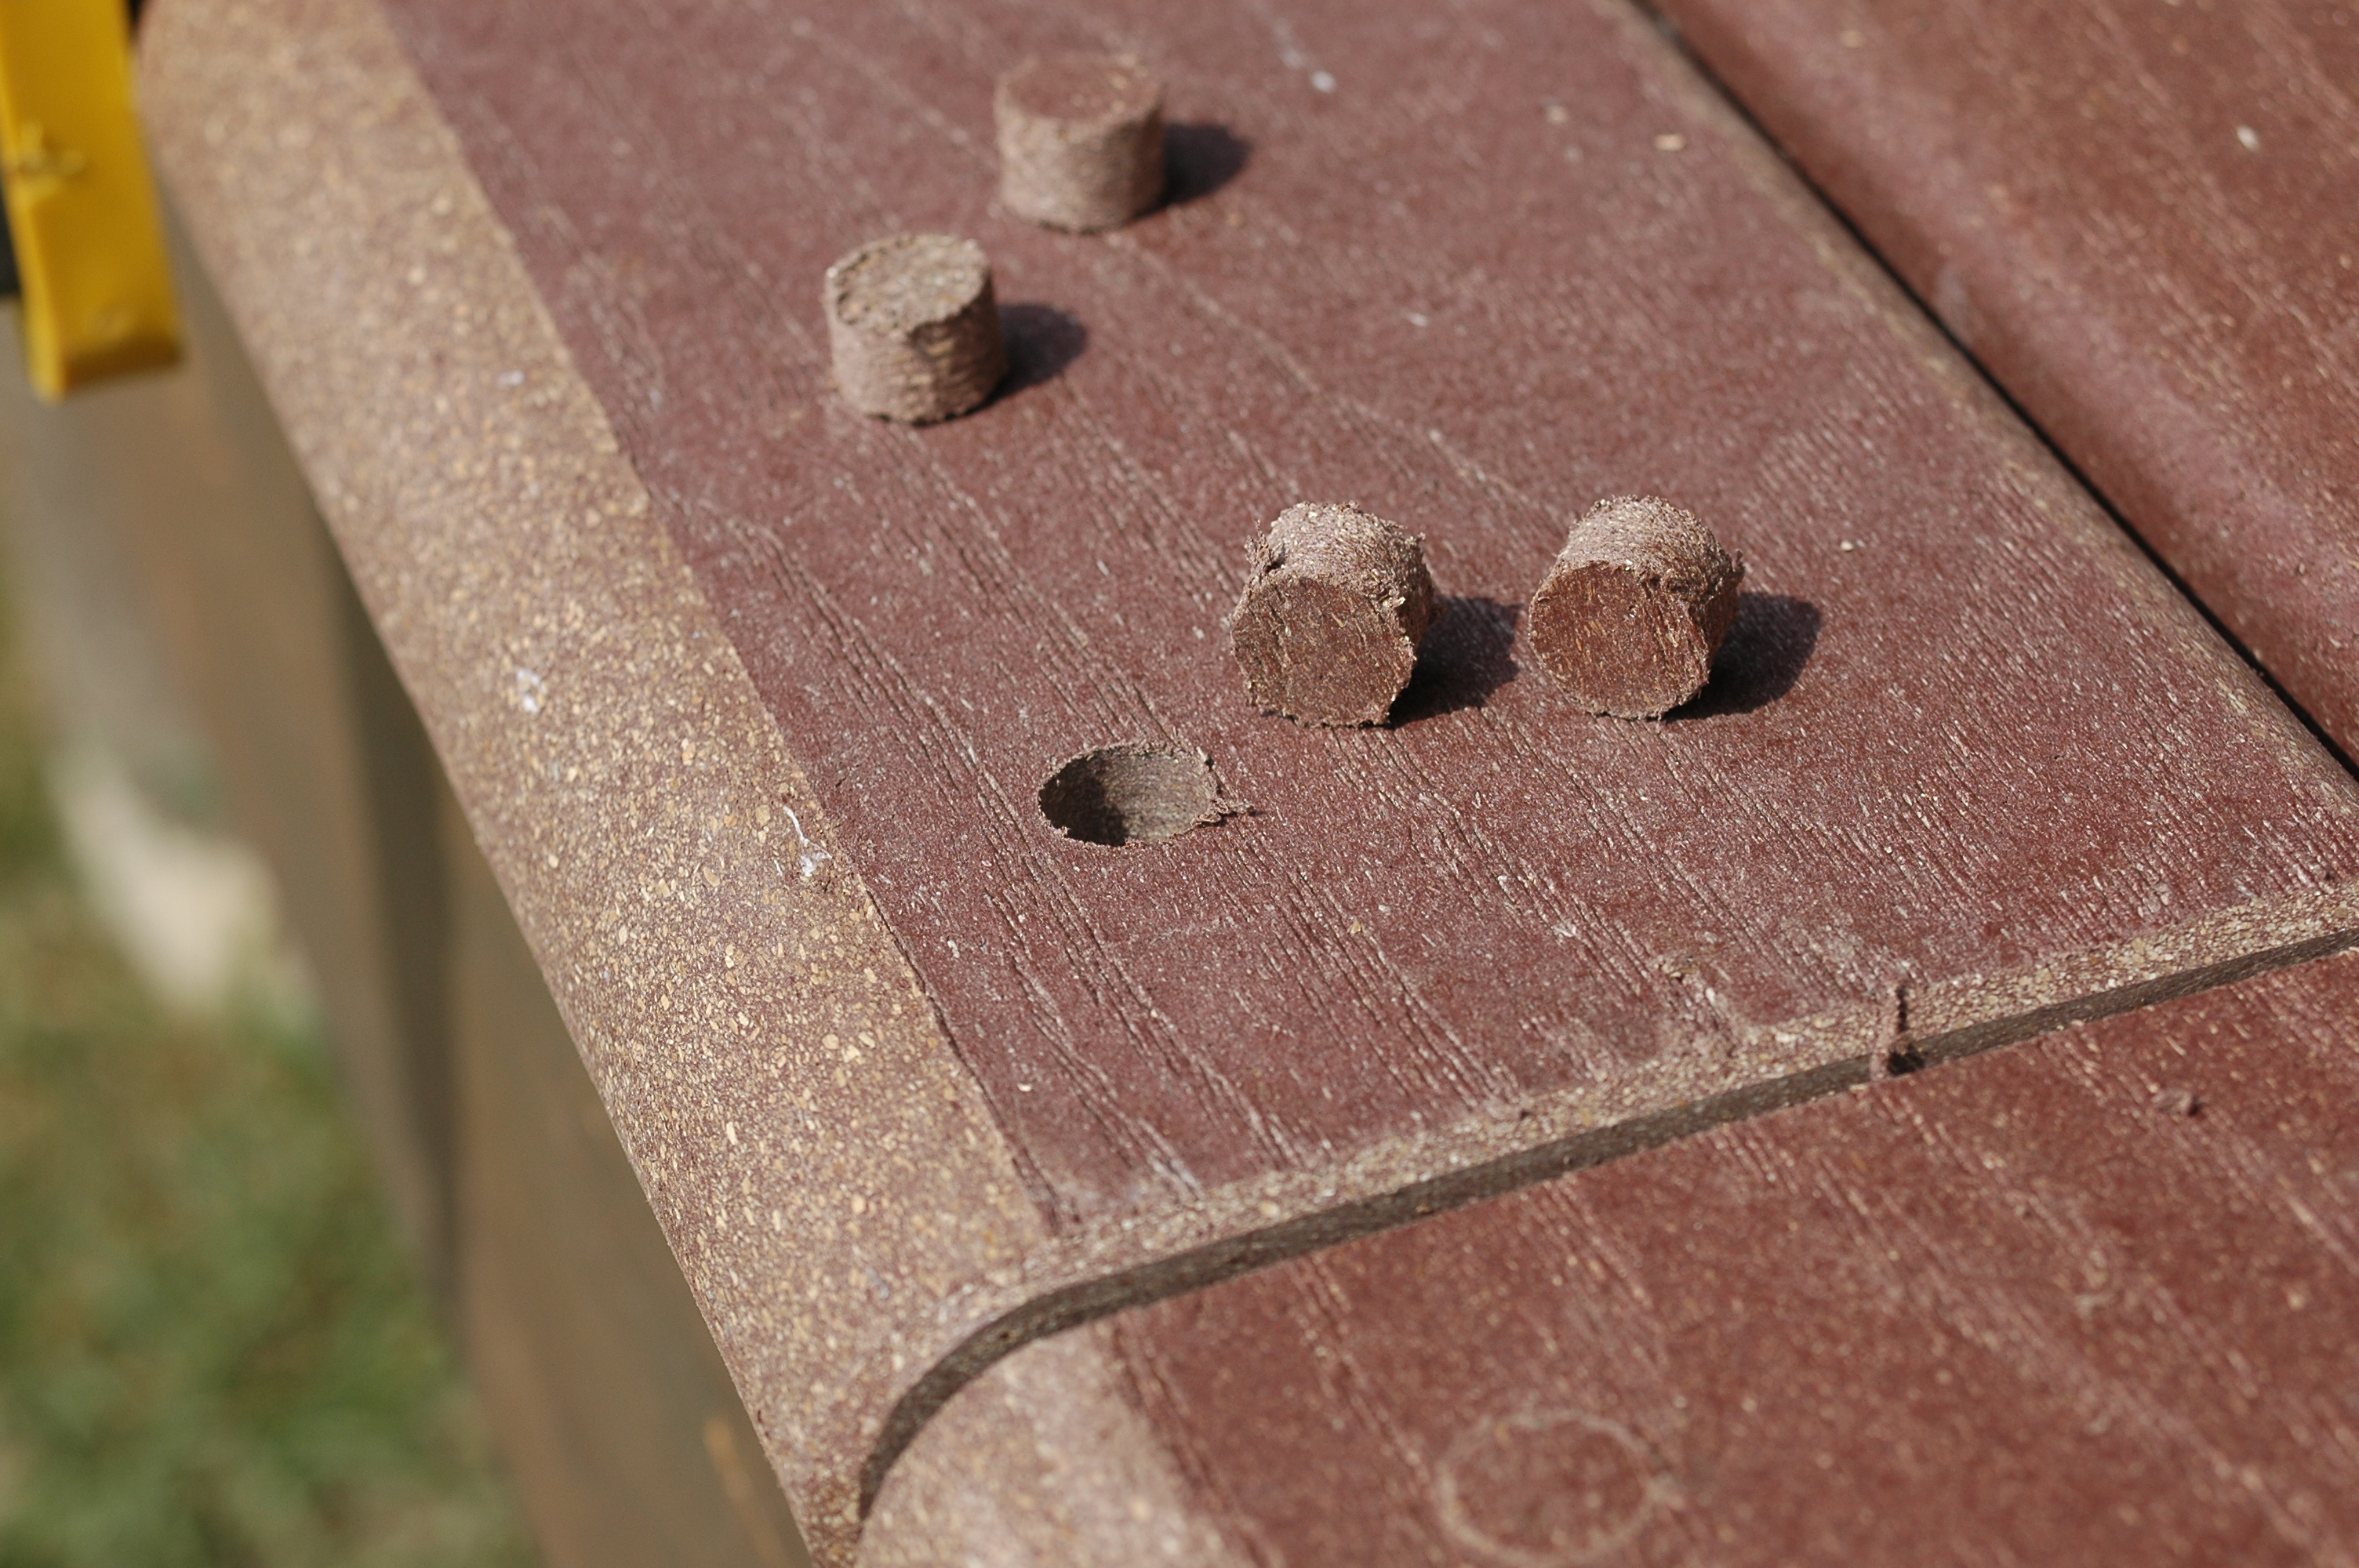
- Composites look WAY better when installed with an invisible fastening system. This means that no visible screws are present in the installation. I can’t stress this enough. If you go to the expense of a composite deck surface, be sure to go with invisible fasteners. Also, if you do go with a solid composite, take full advantage of the ability to shape the edges. The images below a composite deck transplant job with invisible fasteners and edge details applied to the boards. Some boards can’t be secured with fasteners from below, and that’s what the photo with plugs and top screw holes are all about.
Finishing Up
Has this deck finishing, staining and refinishing course helped you? I hope so. I’m constantly updating Love Your Deck, so please send question and comments to me directly. I’ll do my best to answer you personally and to work addition information into the course whenever appropriate. My email is [email protected]
All the best while you enjoy your deck!
Steve Maxwell – 18 April 2017
***********************
Deck Stain Q&A
Sanders for Deck Prep
Q: When sanding a deck is a hand-held rectangular sander okay, or is it worth my time to rent a circular sander?
A: That’s a great question because a lot of people choose sanders poorly when it comes to prepping decks for finishing. Since decks are large, you want to get the job done as efficiently as possible. A square or rectangular hand-held sander like the kind you described doesn’t have the horsepower to get you through the work quickly. Not even close. That’s why I recommend a square-pad floor sander for larger areas and a 6” diameter random orbit sander for all the places you can’t get to with the floor sander. This combination will get you through the work most quickly. Don’t settle for a 5″ random orbit sander unless your deck is really small. 6″ is much more powerful.
Teak Oil for Deck Finishing
Q: Will Teak Oil keep my new cedar deck looking new?
A: Technically speaking, Minwax Teak Oil isn’t made for decks, but I have found it works pretty well in this application. That said, of all the options for finishing a deck, keeping cedar looking new and fresh involves the most ongoing work no matter what you use. Teak Oil will darken the wood somewhat at first, and weather will darken it more in time. Annual reapplications of the oil will be necessary, and even then you’ll need to brighten the deck every few years if you want to keep it looking new. I’m testing Australian Timber Oil to see how it compares to the Minwax Teak Oil. So far I’d choose the Australian Timber Oil.
Want more info? I’ve created hundreds of articles and videos you can get for free. Click on the magnifying glass near the top right side of this page, type in a topic to search for, then hit enter. You’ll get a list of all kinds of good stuff.


I hope you found this content useful!
Your generous support helps me produce more practical, hands-on content that I hope you’ll find useful.
Steve Maxwell