- Video Watch Time: 15 1/2 minutes
Watch the video above (one of my most popular), for a detailed tutorial on how to make pocket joints part of your work, then read on for more details.
What Is Pocket Joinery?
Pocket joinery uses screws driven into angled holes to connect pieces of wood, and when I first discovered pocket joinery, I thought it was a lazy, modern and second-rate way to join wood. Now I feel differently. I’ve come to realize that it may be the single best example of how woodworking innovation makes it significantly easier for beginners to succeed. Used in the right way and in the right places, pocket joinery can be a great addition to anyone’s woodworking tricks, no matter how much experience you have. Let me show you here.
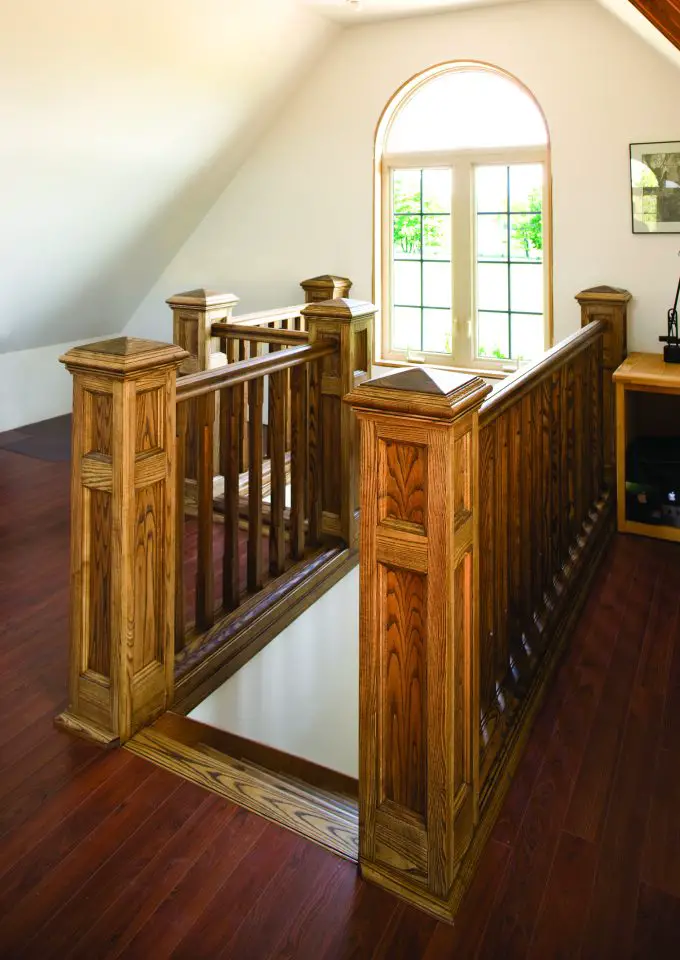
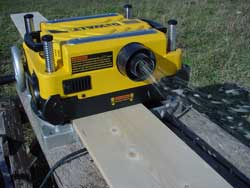
Recent versions of pocket joinery tools make it all very affordable. The box newel stair railing I made in the photo above is held together with dozens of completely hidden pocket screw joints. These screws hold the panel frames together from the inside, as well as the main parts of the newel caps. For many years I held a prejudice against pocket screw joinery, but now I see that I wasn’t entirely right in that. While it’s true that pocket screws can be over-used in ugly ways, they do an excellent job where hidden joinery needs to be strong.
Pocket Screws 101
Imagine a woodscrew driven into the back face of a simple joint at a shallow angle, connecting the two pieces of wood. This is what pocket joinery is all about. Here’s how it works in more detail:
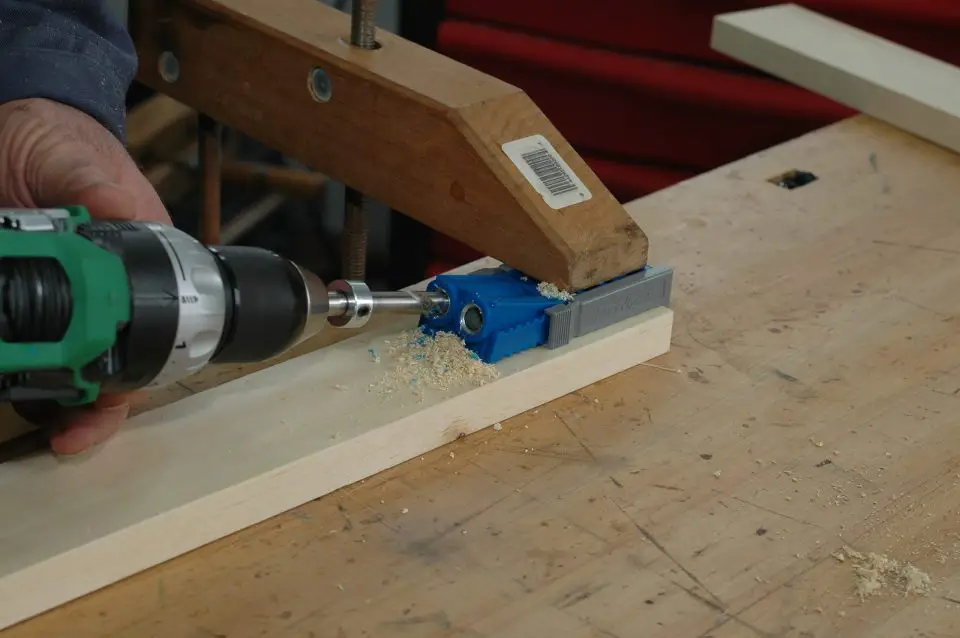
- Predrill an angled hole for each screw using a special jig.
- Bring the parts together under a clamp that aligns both parts.
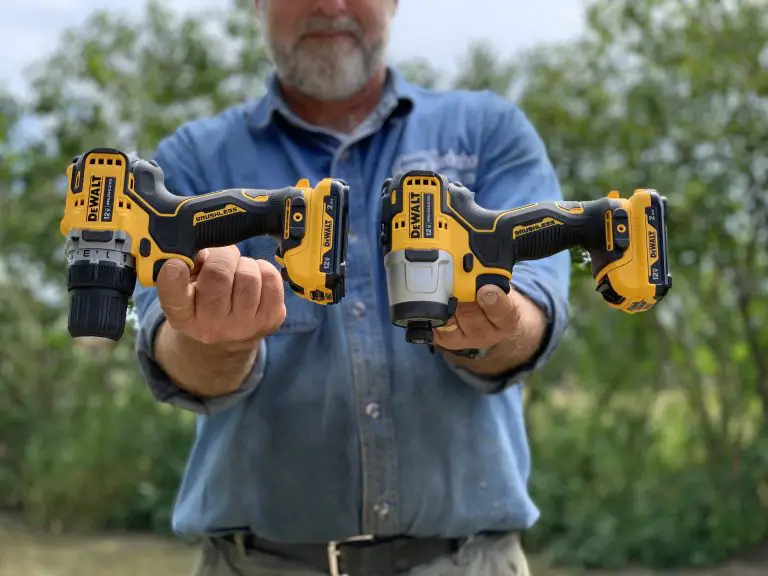
- Drive the pocket screws home with an electric drill.
- The joint is instant, surprisingly strong and requires no clamps.
- The screws themselves draw the parts together tightly.
Craig Sommerfeld popularized modern pocket joinery back in 1986, and the company he started – Kreg Tool — has been continually refining the technology ever since. Other firms have copied the pocket joint concept, but I doubt any other manufacturer can seriously claim that they’re better than Kreg. I’ve certainly never seen any that could.
For less than $50 you can get their newest and simplest jig. For twice that you get a model that conveniently handles anything you’ll encounter building furniture in your home workshop. There are even professional-grade pocket hole systems for trim carpenters.
Pocket Screws & Face Frames
Where do pocket joints make sense? If you’re building a cabinet, bookcase, set of kitchen cupboards or a wall’s worth of frame-and-panel wainscoting, your design will probably include face frames. These are horizontal and vertical pieces of wood joined together in rectangular shapes. Face frames usually define a door or shelf opening, and assembling them is the perfect application for pocket screws driven in from the back, where they won’t be seen.
Pocket screws are also first-rate for building wainscoting, fireplace mantels and other architectural details where the back face of the wood is permanently hidden. You can even use pocket screws to join table legs and aprons on small and medium-sized designs.
Pocket Screws & Joint Assembly
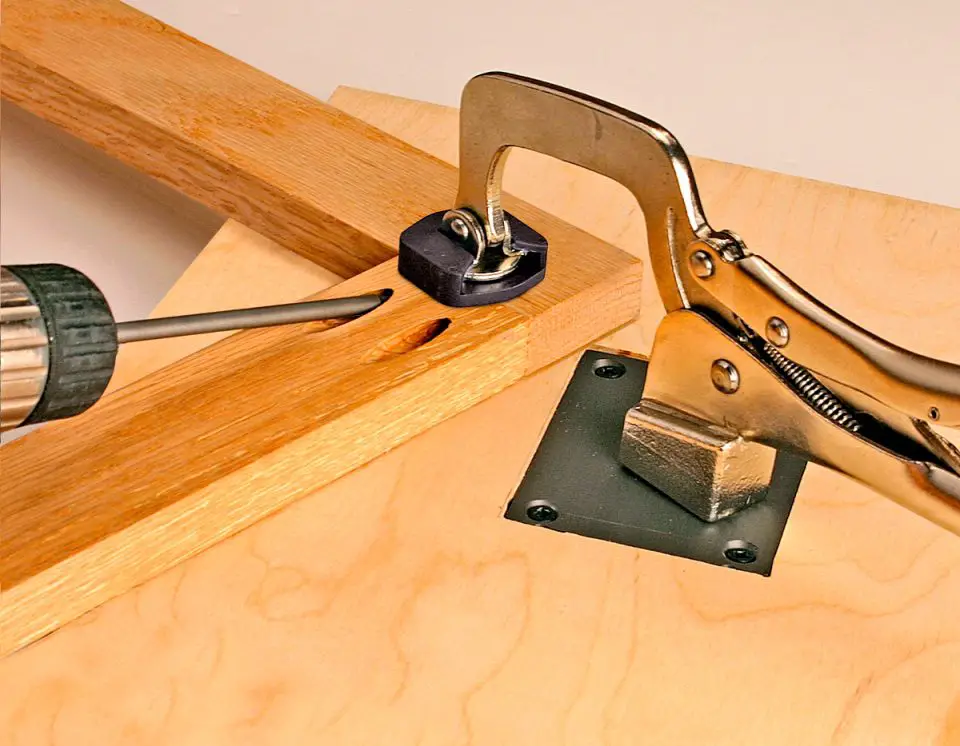
Since holes for pocket screws are drilled on one side of the joint only, evening up mating pieces of wood before assembly isn’t restricted in any way. Just push the parts together the way you want. Align them perfectly with your fingertips, then temporarily clamp them down to a workbench as a pair to immobilize them with special Vise-Grip pliers. That’s what you see in the photo above. Drive the screws home and release the clamp. That’s it. Instant joint assembly without the need to wait for glue to dry. In fact, you don’t even need glue at all, though you can go ahead and put it on if it makes you feel better.
Pocket Screws & Locking Pliers
As I mentioned, the best way to clamp pocket joints during assembly is with a modified pair of locking pliers made especially for the job. Large, round swiveling jaw faces prevent damage to the wood while also aligning parts before completing the joint. You can make pocket joints without a tool like this, but it makes the job so much easier.
Pocket Screws & Unsightly Angled Holes

The angled holes that are an unavoidable part of pocket screw joinery are pretty ugly. Aesthetically ghastly, in fact. If these are located on the hidden back face of joints, that’s no problem. You can buy angled dowels made especially to plug these holes if they’re visible, but the results still don’t look as clean and classic as traditional wood joints. Those are some plastic and wooden plugs shown above. Whenever you can, restrict the use of pocket joints to areas where the holes won’t be seen after assembly.
Woodworking has a long history of traditional techniques that I love. But innovations are worthy of praise sometimes, too. Pocket screws empower you to produce excellent, durable and beautiful woodwork in a fraction of the time and cost that the old favorites require. A little wood, a few ideas and you’re ready to make good things happen in your home and workshop.


I hope you found this content useful!
Your generous support helps me produce more practical, hands-on content that I hope you’ll find useful.
Steve Maxwell