If you’re into woodworking or home improvements, your life will be better if you understand how innovation has made sandpapers and abrasives better. There’s been quite an improvement. Alongside cheap, old-school sandpapers you’ll now find advanced abrasives that boost productivity and improve results beyond their higher costs. If you care about quality, these high-end products are well worth looking for. Be sure to watch the video further down in this article.
Regardless of whether you’re smoothening wood for finishing, patching drywall, prepping a wood floor or knocking dust bumps and painted-on dog hair off an old wall before repainting, there are new abrasive products that can make your life easier and better. The best new stuff doesn’t always look that much different from ordinary abrasives as it sits on store shelves, and that’s why it pays to keep three facts in mind as you’re planning your abrasives game.
Sandpaper Fact#1: Expensive abrasives pay off better than cheap
Most people like to save money, but there’s also truth in the old saying “penny wise and pound foolish”. You might save yourself money at the hardware store buying cheap, no-name carborundum sand paper, but you’ll end up using more of it and take longer getting the job done. The results won’t be optimal, either. Where’s the economy in that?
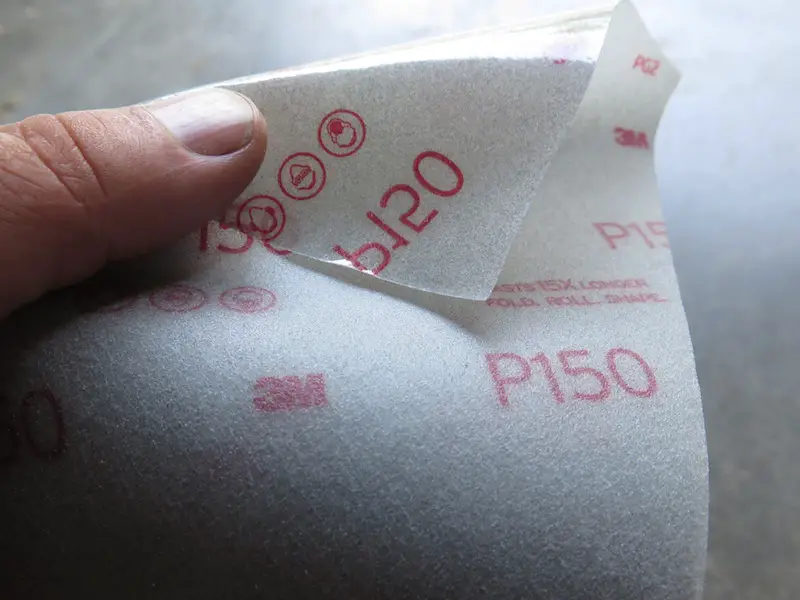
So what constitutes “the good stuff” when it comes to sandpapers? You can get complicated, looking at abrasive compositions and clog-resistant coatings, but top brand names are the simplest way to find good sandpapers. 3M, Mirka, Norton, Klingspor are all top-end lines. They cost quite a bit more per sheet than the cheap stuff, but my field trials show that their longer life more than makes up for the higher cost. 3M, for instance, has a unique plastic, flex-backed paper that’s much better at smoothening curved surfaces than paper-backed sandpapers. It’s a powerful little game changer in my experience. You can see a piece of it below.
Sandpaper Fact#2: Storing Properly Makes Sense
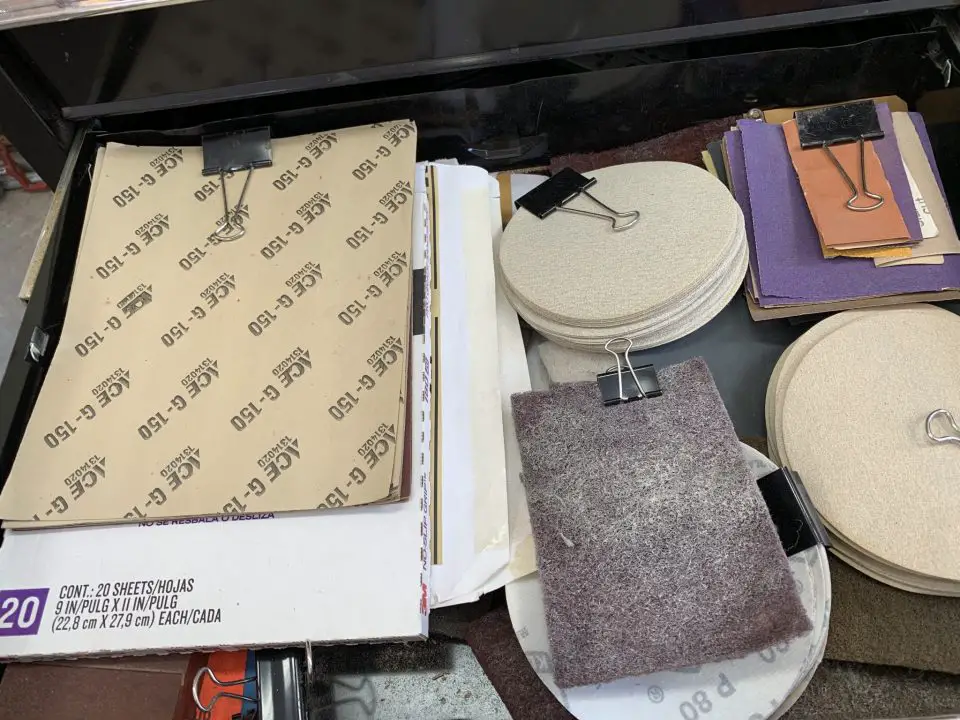
Good sandpaper costs good money, and that’s why you should get intentional about stocking and storing abrasives properly. You don’t want any to go to waste. Folding paper clamps are excellent for keeping stacks of sandpaper organized. Same goes for sanding disks. The sliding drawer of a tool cabinet makes a perfect sandpaper vault. That’s mine you see below.
Sandpaper Fact#3: Synthetic abrasive wools and pads are ideal for waterbased finishes
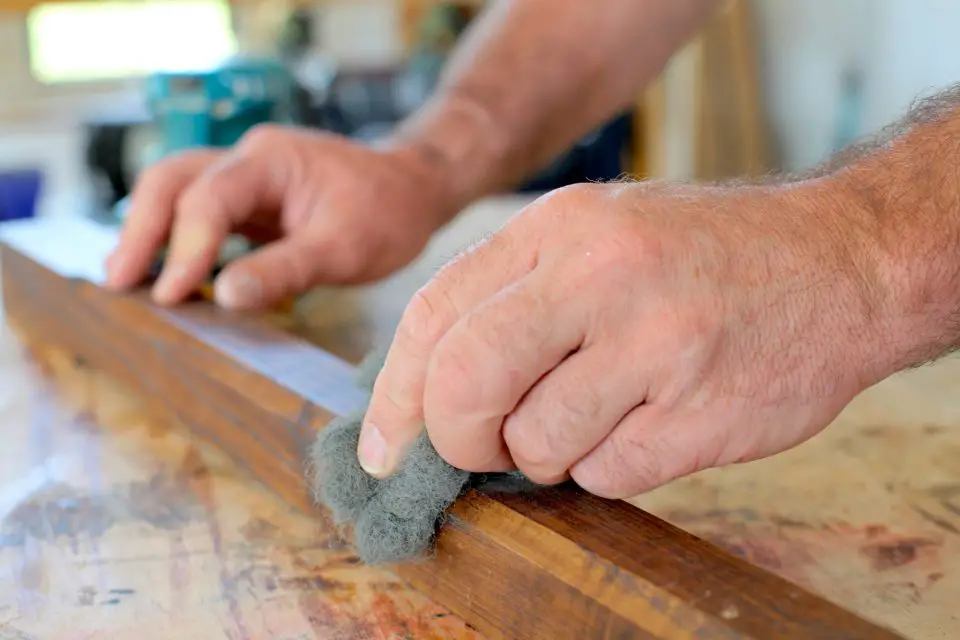
Traditional steel wool has always been a great product and it still is today. The thing is, steel rusts like crazy. Even the slightest bit of steel wool fiber left behind after rubbing down contoured trim or woodworking blossoms into an ugly and troublesome rusty patch under any kind of waterbased finish. The proliferation of waterbased products created the need for non-rusting wool-type abrasives and they’re better than steel wool in several ways. Synthetics last longer, they don’t break into fine particles like steel wool does, and synthetics come in a wider variety of abrasion levels than steel wool. That’s me below, rubbing an ash wood stair spindle using a synthetic abrasive called Sia Wool.
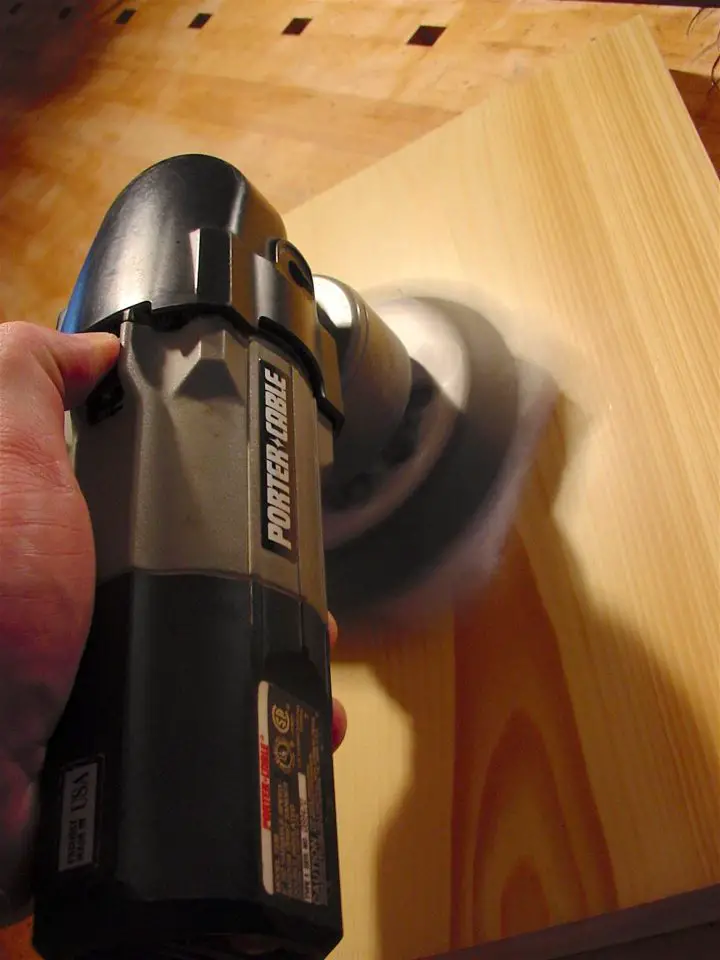
One of the most impressive uses for synthetic abrasive pads is for rubbing down a finish to create glass-smooth results. This will make you look like a genius when you do. After the final coat of paint, urethane or lacquer, run a piece of partially used 240- or 320-grit paper over the surface to knock off dust bumps and level the finish. Wrap the paper around a piece of foam to create a resilient sanding block. Just a little of this abrasion is needed to make the surface feel really smooth. Your job isn’t to remove any significant amount of finish at this stage, nor does this preliminary sanding take much time. It’s just a quick rub of the surface to level it, then on to the next step, buffing. That’s what I’m doing in the photo below.
One of my most popular videos below shows how buffing works in practice. Most people are surprised how well this technique works.
- Video Watch Time = 5 1/2 minutes
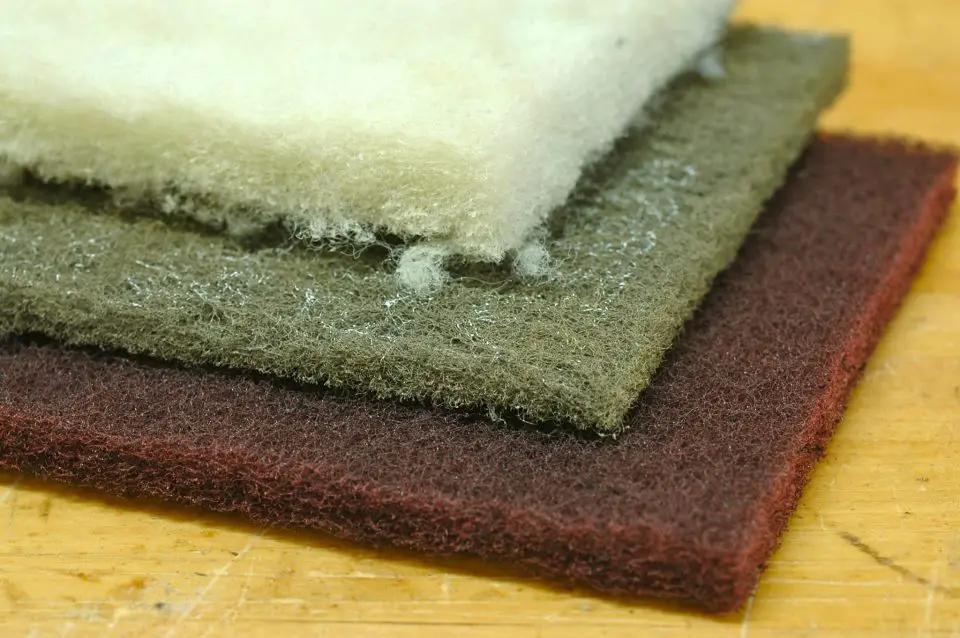
Finish up by buffing the surface with a fine rubbing pad (grey in colour) to create a uniform matte finish. Continue with a super-fine pad (white in colour) to bring out a gloss. You’ll have to do this by hand on contoured surfaces, but a random orbit sander is ideal for speeding progress on flat surfaces. Put a square piece of rubbing pad on the surface, then rest the random orbit down on top (no sandpaper in place on the sander) before switching on. Buff with shallow light reflecting off the surface to highlight areas you’ve missed. Norton currently offers the best rubbing pads for this application.
Here’s the pad for initial buffing for a matte finish:
https://www.nortonabrasives.com/en-us/product/bear-tex-gray-non-woven-synthetic-steel-wool
And here’s the pad for buffing up to a gloss as a second buffing step:
https://www.nortonabrasives.com/en-us/product/bear-tex-456-white-non-woven-synthetic-steel-wool-0
Sandpaper Fact#4: Random orbit sandpapers (and sanders) are getting better
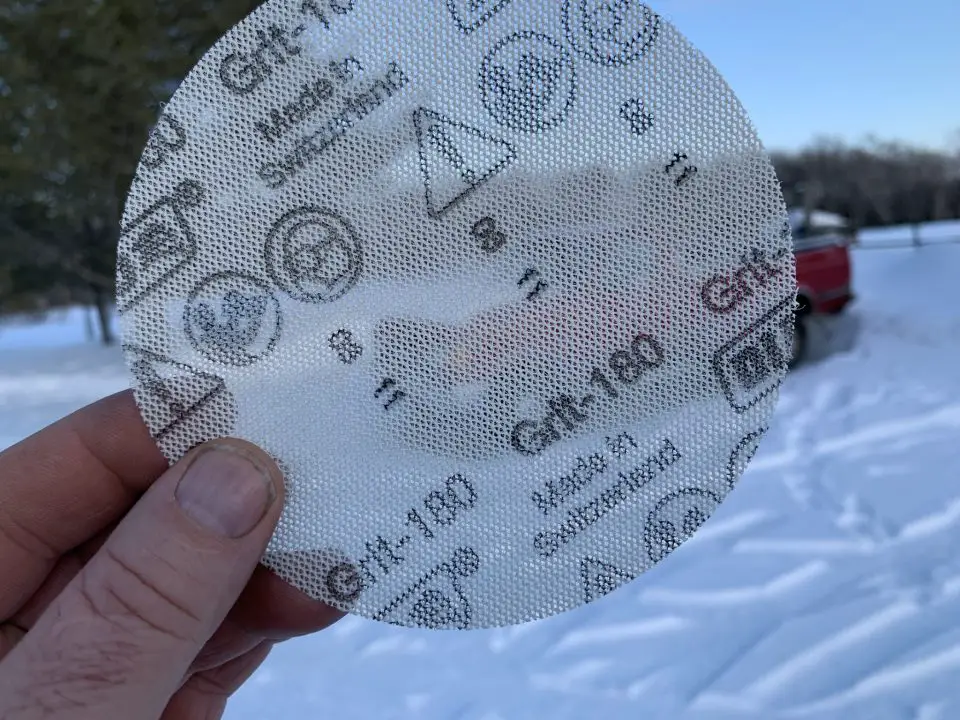
Random orbit sanders remind me of reciprocating saws. For years after recip saws hit the building and renovation scene, you could only buy ho-hum blades for them. Blade quality was mediocre at best and that became the limiting factor for recip saws. These days recip blades are skyrocketing in quality, so the saws are now more useful even though they haven’t changed in a while. Random orbit sanders are similar. They’ve always been great prep tools, but they’ve gotten a lot better lately because leading-edge sanding disks are so improved. Sharper, longer lasting abrasive particles and better self-cleaning action are the big advantages of today’s best random orbit disks. This is especially true with mesh-type disks like the one you see below. Instead of big holes here and there in the disk to allow for dust collection by the sander, mesh disks allow air flow and particle cleaning over the whole disk area. Most dust shakes out so there’s less to clog the surface.
It’s taken tool companies a while to make cordless random orbit sanders but they’re now emerging as mainstream. Advances in lithium-ion battery technology have led the cordless revolution that’s happen in all power tools, but sanders have been rather late to get the upgrade. There’s little reason to trip over power cords any more or to have to haul extension cords up ladders and scaffolding for outdoor prep.
Caution! Steel Wool Burns
0000 steel wool is about as fine as it gets and useful for rubbing down fine finishes. The thing is, steel wool like this burns like crazy. And all it takes is a small spark to set it off. Try it for yourself outdoors and see. Always store fine steel wool in a sealed metal container (a cookie tin works well) and treat it like the flammable material that it is. The photo below shows some burning steel wool outside my own shop.

Extending Sandpaper Life
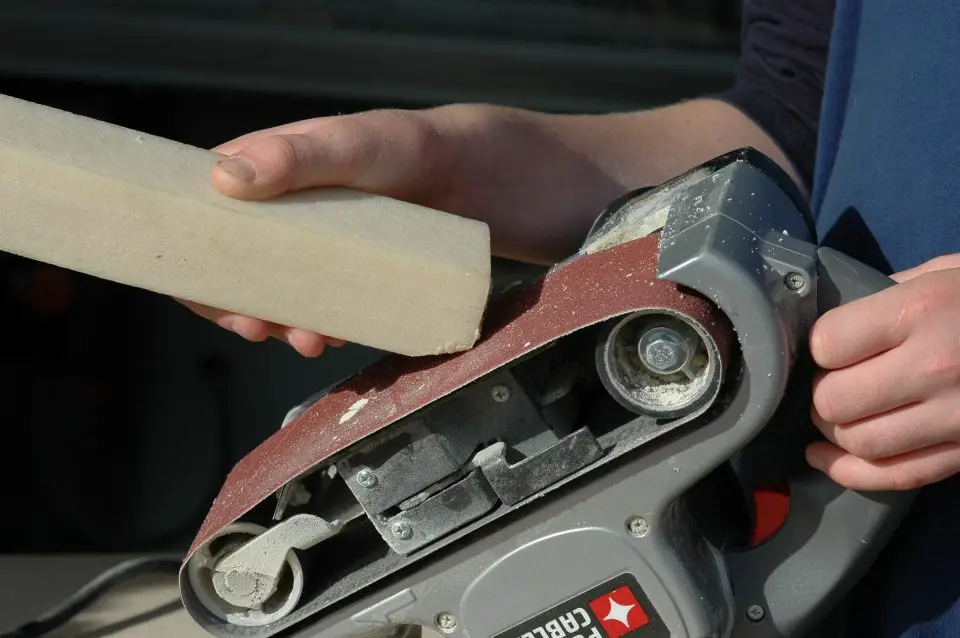
Good abrasives for power sanders aren’t cheap, and even the best clog prematurely if you’re removing an old finish that’s sticky in any way. Crepe rubber blocks offer the best way to extend the life of the most expensive kind of abrasives – sanding belts and disks. Hold the end of the crepe block against the spinning or rotating abrasive with moderate pressure. As little bits of rubber get worn off the block in small balls, it also lifts most resins and gummy deposits off the abrasive surface. It’s not an exaggeration to say that a crepe block can extend the life of belts and disks 3x to 5x compared with abrasives that aren’t cleaned. That’s a crepe block in action below.
Sanding Trim Before Installation
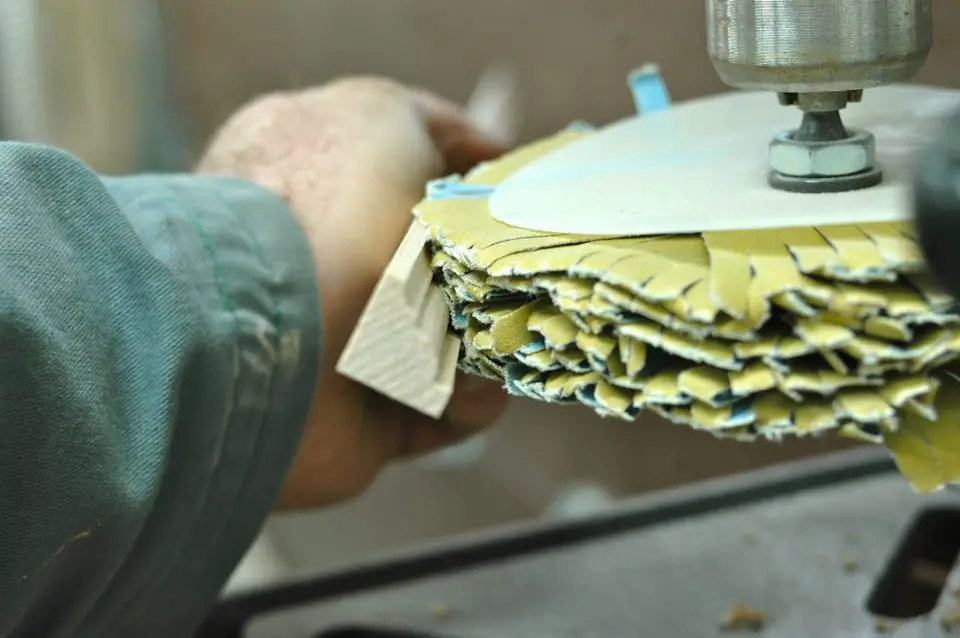
The highest quality wood trim is always sanded before priming or staining to boost finish adhesion and eliminate mill marks, but hand sanding is slow and often incomplete. Something called a sanding mop is the best way to sand trim more efficiently and thoroughly than anything else. If you’re prepping door and window trim, baseboard, crown and quarter-round, for example, the sanding mop succeeds at a very unlikely job. It smooths trim and removes mill marks from profiled surfaces while also preserving the crisp corners and edges that make wood trim more beautiful. It doesn’t seem possible but it’s true. A Canadian invention, the sanding mop, can be used in a drill press or hand-held drill. Simply slide contoured wood surfaces over the edge of the spinning wheel and the wood gets smooth and free of mill marks. Light pressure is all that’s needed to do the job and sanding mops last a long time.
