- Video Watch Time = 3 minutes
I’ve been sanding wood as a cabinetmaker and carpenter for 35+ years, and I can tell you all kinds of ways to waste your time sanding trim, furniture, cabinets and architectural millwork badly. I can also show you one particular approach to sanding that works perfectly every time, and it doesn’t even take all that long, nor does it call for a whole lot of skill. You just need to put a few essentials into practice.
Ideally, when you’re dealing with flat surfaces, sanding successfully involves three machines and four steps. You can make do with fewer sanders, but the steps should be the same:
- Begin with a belt sander.
- Refine the surface using a half-sheet vibrating pad sander.
- Create an ultra smooth surface using a quarter-sheet palm sander.
- Complete the job by slightly rounding corners and edges with a piece of hand-held sand paper.
Don’t make the mistake of thinking that all these steps take a long time. They don’t. In fact, using three different machines in the right order actually speeds the process considerably. As we go through this article I’ll explain options for sanding with few power tools, too.
All Wood Needs Sanding
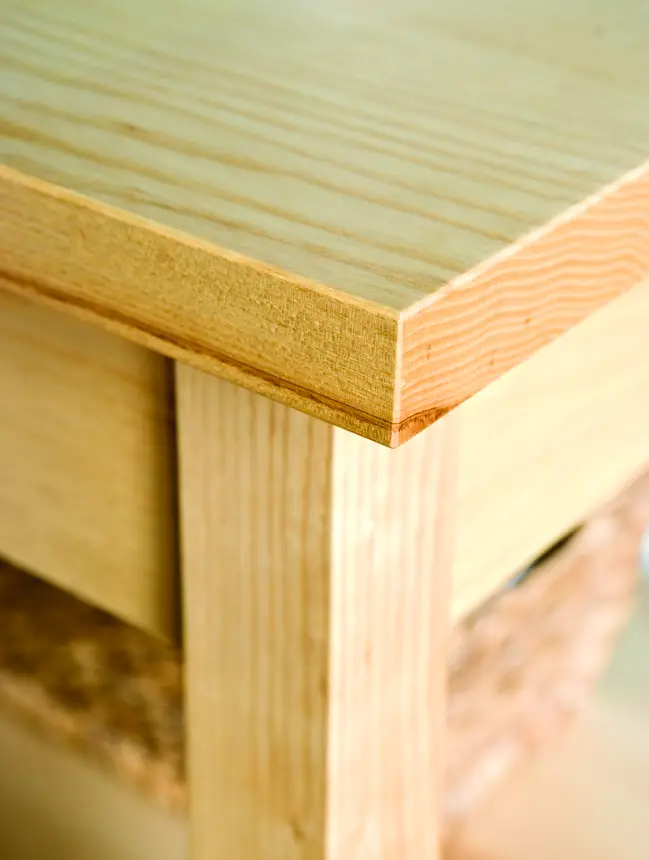
The first thing to understand is that no piece of wood is smooth enough for stain and finishing as it comes from the lumber yard — no matter how well planed it seems to be. That’s because the planing process done at the mill always leaves behind subtle (and sometimes not so subtle) undulations in the surface of lumber. These can be hard to see until a finish goes on, but stain always brings these flaws into clear focus. The results of no sanding (or bad sanding) are especially ugly after staining light wood a dark colour.
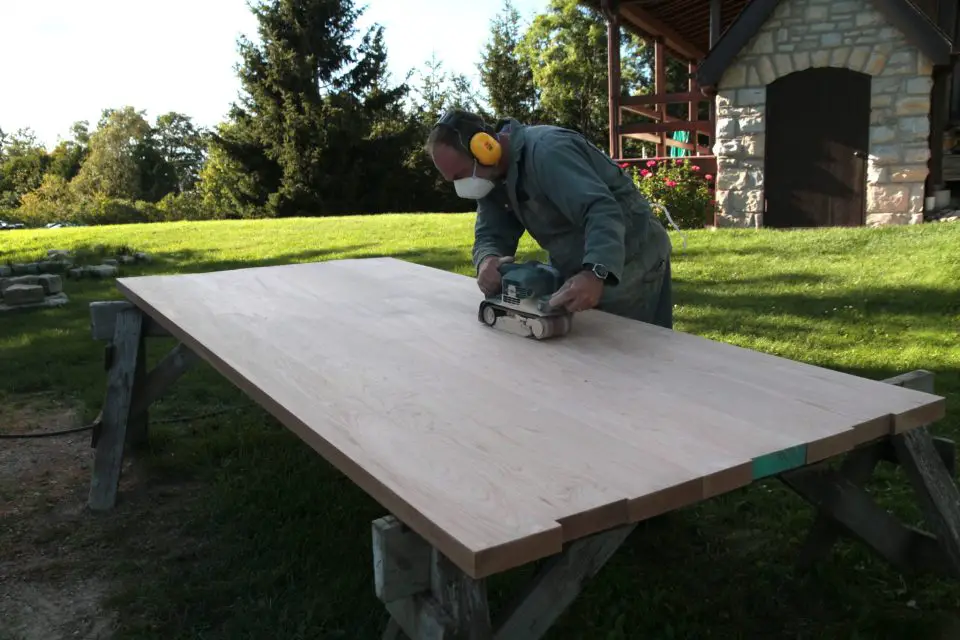
All this is why I begin sanding every flat wood surface with a belt sander spinning a 100-grit belt. If I had to buy just one power sander, a belt sander would be it. This Makita is an excellent machine that’s been used professionally for decades. Metabo makes a great unit, too. My favorite machine for most jobs is a 3” x 21” belt sander — light enough to use all day, but powerful enough to be productive. If I have a lot of sanding to do on large surfaces I prefer a 4” x 24” belt sander. I used to start with an 80-grit belt and then move to 120-grit, but eventually I figured out this two-step process wastes time. One kind of sanding belt — the 100-grit — is all I keep in my shop and my travelling tool kit.
The thing about any belt sander is that its aggressive. This machine removes a lot of wood quickly, which is great in some ways, though it also means two particular hazards. The first is gouging.
Keeping a belt sander flat and level with the surface of the wood is key to avoid gouging. If you’re not paying attention as you work and you let the tool tilt left or right, one edge of the belt will grind a groove in the wood that’s hard to remove. Light pressure while maintaining an even keel is essential.
A belt sander must also be used parallel to the grain, at least before moving on to the half sheet vibrating pad sander that comes next. That said, it’s legitimate to use a belt sander cross grain for a while if you’ve got slightly mismatched edge-glued boards to level up, or you’ve got solid wood edging to even out on a veneered plywood shelf. Cross-grain sanding is fastest, and that’s why it’s so useful for levelling, though the practice also leaves behind nasty scratches. That’s no problem, as long as you eliminate these scratches completely by sanding parallel to the grain before setting the belt sander aside. Just be sure your sander really is completely parallel to the grain for these final steps. It’s easy to angle off a little bit and cause scratching.
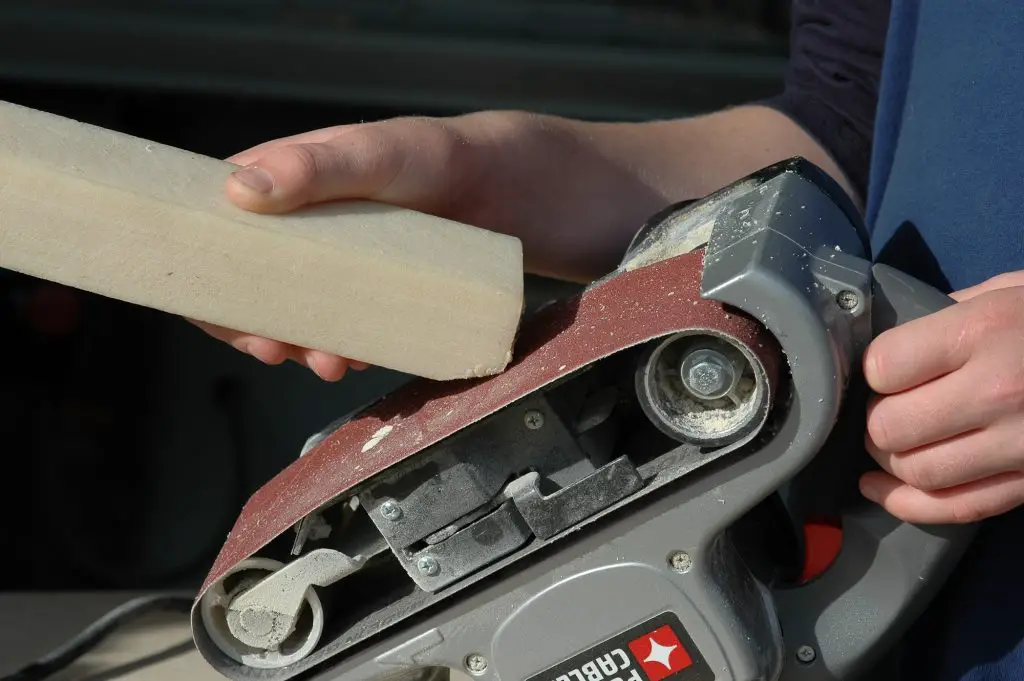
You know you’re finished with a belt sander when a spotlight shining off the wood at a shallow angle shows an even surface with no remaining mill marks or blemishes. You’ll get longest belt life if you clean off sawdust and resin using a crepe rubber block held against the spinning belt. That’s what you see above.
Half-Sheet Sander is Next
The half-sheet sander is my tool of choice for the second sanding, intermediate sanding stage because it’s fast yet fine. This machine is not essential, but it makes sense to understand how it can help you. I typically use my half-sheet sander with 120-grit sandpaper. If you’ve left behind any small flaws caused by the belt sander, the half sheet machine makes quick work of removing them. You can do the same thing with sandpaper wielded by hand, though of course it will take longer. This Makita works very well, and this Bosch is an exceptionally nice tool.
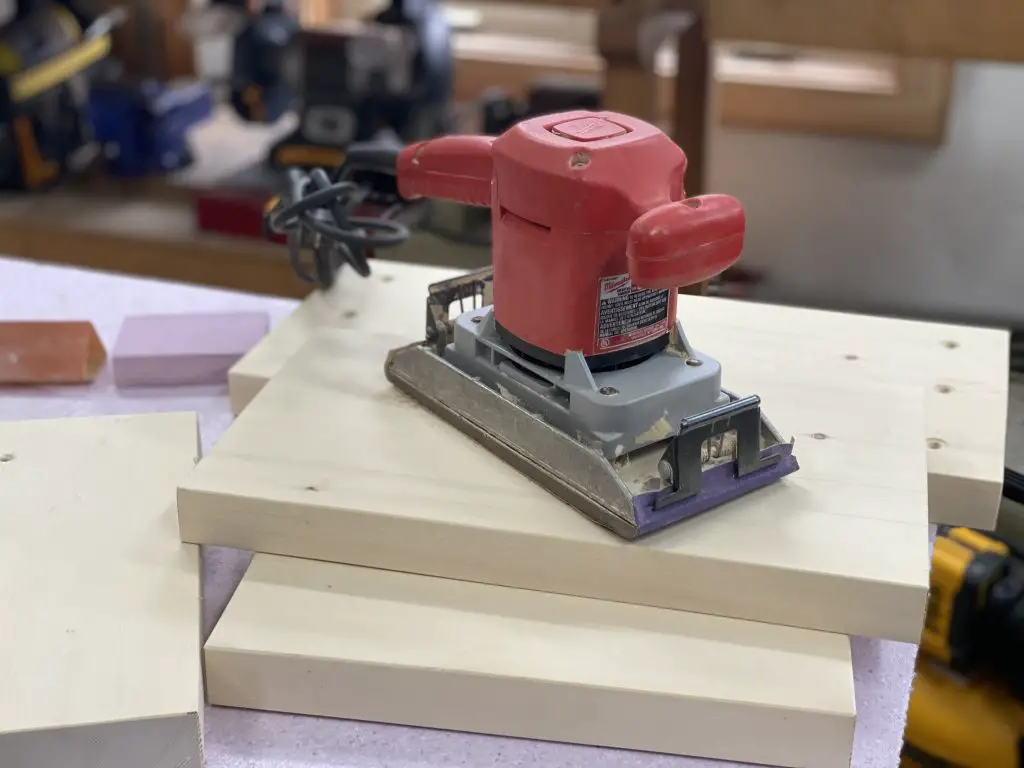
Finish Up With a Finishing Sander
The final stage of power sanding works best with a quarter-sheet finishing sander loaded with 220-grit paper. Go over all surfaces with a light hand keeping the machine level. One reason for using three different sanders like this is that it saves you time putting on and taking off different grits of paper. Just grab the machine you need, use it, then put it down and pick up another for the next stage. The 1/4-sheet finishing sander is the second kind of sander you should buy if you’re finishing interior wood. Once again, Makita makes a great quarter-sheet finishing sander. You’ll like this DEWALT model, too.
Smooth sanding results don’t require any particular genius, and you don’t have to be a workaholic. But since it’s always good to look like a genius workaholic even when you’re not one, just keep quiet about how easy it really is to make wood smooth.
Click below to watch a video tutorial on sanding wood with fine power tools. Lots of detail here.


I hope you found this content useful!
Your generous support helps me produce more practical, hands-on content that I hope you’ll find useful.
Steve Maxwell