- Video watch time = 8 minutes
Got unwanted noise spilling over from one room to the next in your home? Peace, quiet and solitude is something we all expect from our homes, but many don’t deliver. This is especially true if you’ve got a workshop in your basement (or noisy teenagers). This article will help you understand how to boost the sound resistance of walls and floors in your home, including practical tips on how to make effective sound resistance happen. Read the article, then watch the video below.
Understanding Sound Basics
Engineers measure sound intensity in decibels (dB). The lower the number, the quieter the sound. Most power tools put out 85 to 100 db of sound during use — about the same as a noisy factory or an unmuffled truck. Ear muffs or foam ear plugs tame this sound for people actually working with the tools, but more is needed for everyone else, especially when a basement workshop is involved.

There are two things to consider in soundproofing your home: the elimination of all cracks – even tiny ones – leading out of the work space is key. Beefing up the sound resistance of walls and ceilings is also vital. It’s hard to beat the performance of drywall as a wall and ceiling covering on both these counts. Its ability to absorb sound is considerable, thanks to its high density. Drywall tape and joint compound also seal board-to-board cracks very well. My favourite type of drywall for workshop applications is 5/8”-thick “firecode” material, the kind of drywall required for commercial applications. Besides being thicker than usual, the gypsum core includes glass fibers for extra strength. Firecode drywall costs about 20% more than regular 1/2”-thick stuff, but it fares much better in the rough-and-tumble workshop environment. So, if drywall is so good at blocking sound, how come every noisy house already has drywall? That’s because it’s just a start.
Drywall and More
Installing drywall with flexible acoustic caulking under joint areas improves performance a lot by preventing noise leaks. But to get really good sound performance, you need to know more about how sound resistance is measured.
Sound resistance is often measured on a scale called the Sound Transmission Class (STC). This rates the minimum sound resistance of a floor or ceiling at all frequencies. The greater the STC, the more effective the blocking of sound. A 2×4 wall covered in 1/2” drywall, for instance, has a measly STC of about 30 – not even enough to prevent loud speech from being understood from a neighbouring room, and certainly not enough to preserve domestic bliss in a home with a workshop in the basement. The standard type of open basement ceiling, with exposed joists and subfloor is even worse. You might as well be woodworking underneath an amplified bongo drum.
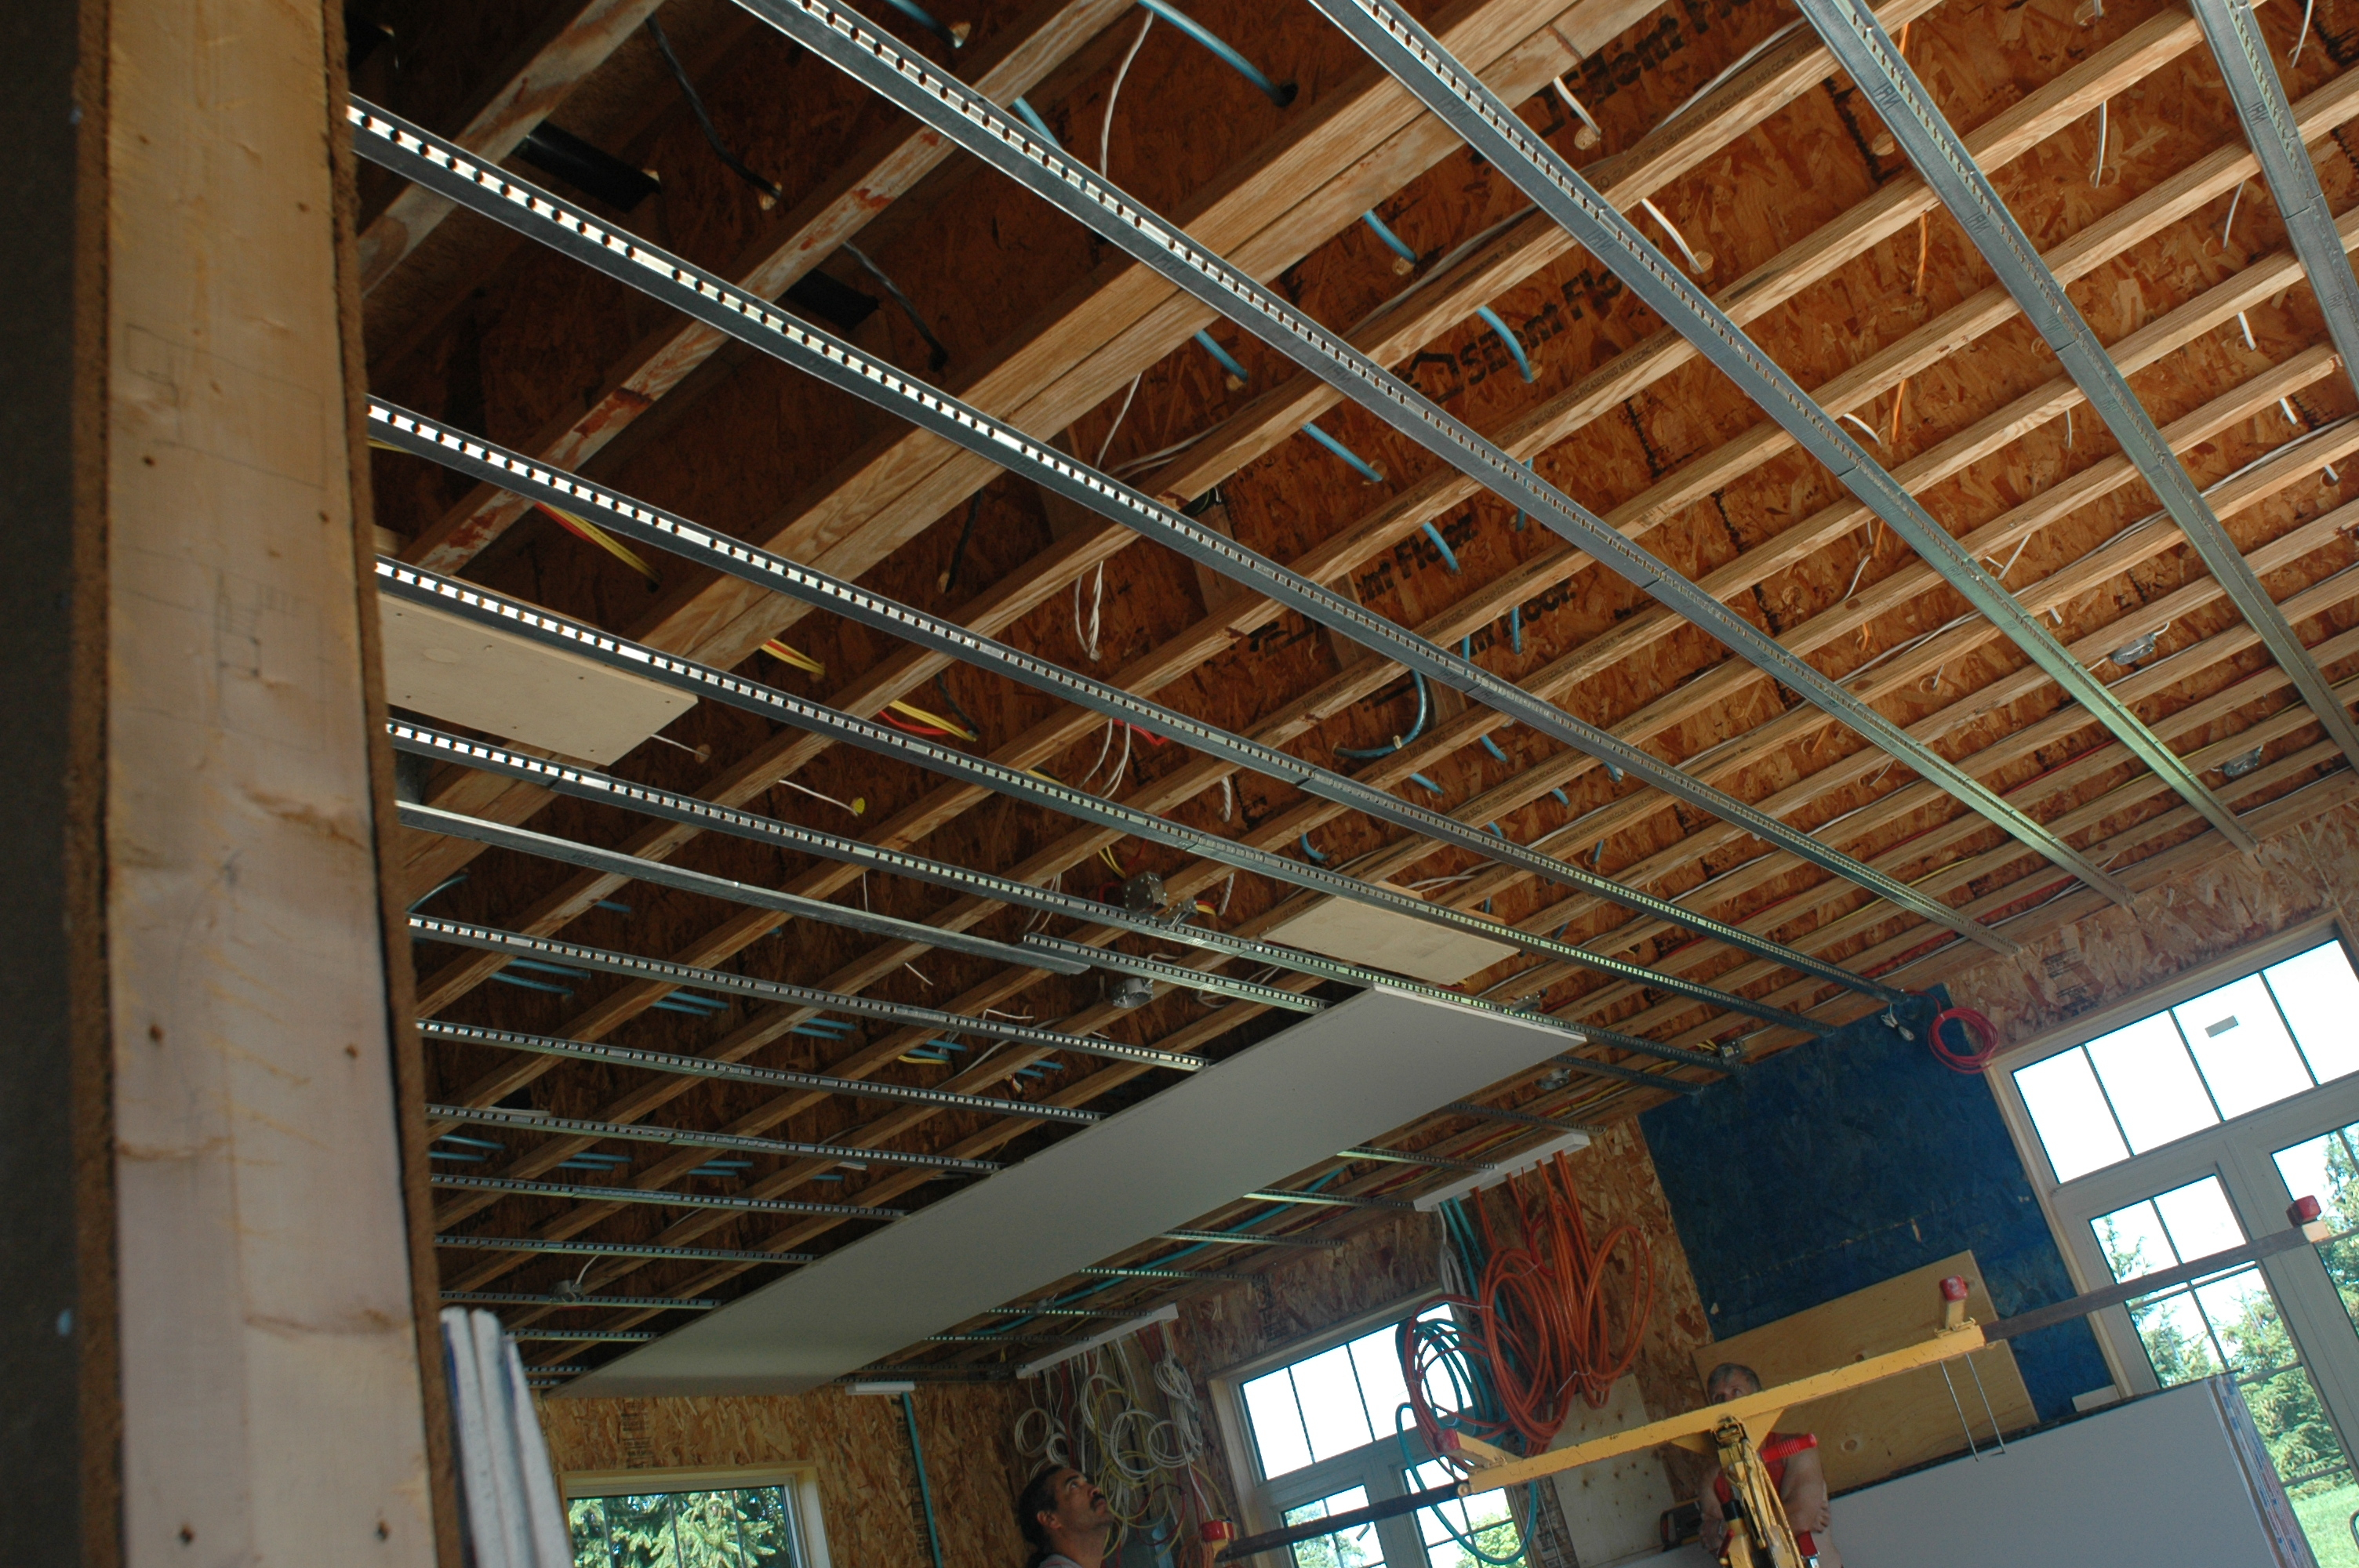
Since most noise that travels up from a basement shop comes through the floor, it makes sense to focus resources there, at least initially. And as you’d guess, simply putting 1/2” drywall on the underside of floor joists boosts the STC of the whole floor structure to only about 36 – better than nothing but not nearly enough to make it worthwhile. A better option is to install 5/8” drywall over sheet metal strips call resilient channel. These fasten to the underside of the floor joists, separating the drywall from wood and blocking sound transmission much more effectively. Adding fiberglass batts between joists before drywall installation boosts the entire floor to a pleasant STC of over 50.
Sound-Resistant Partition Walls
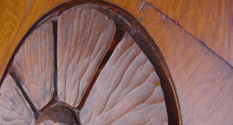
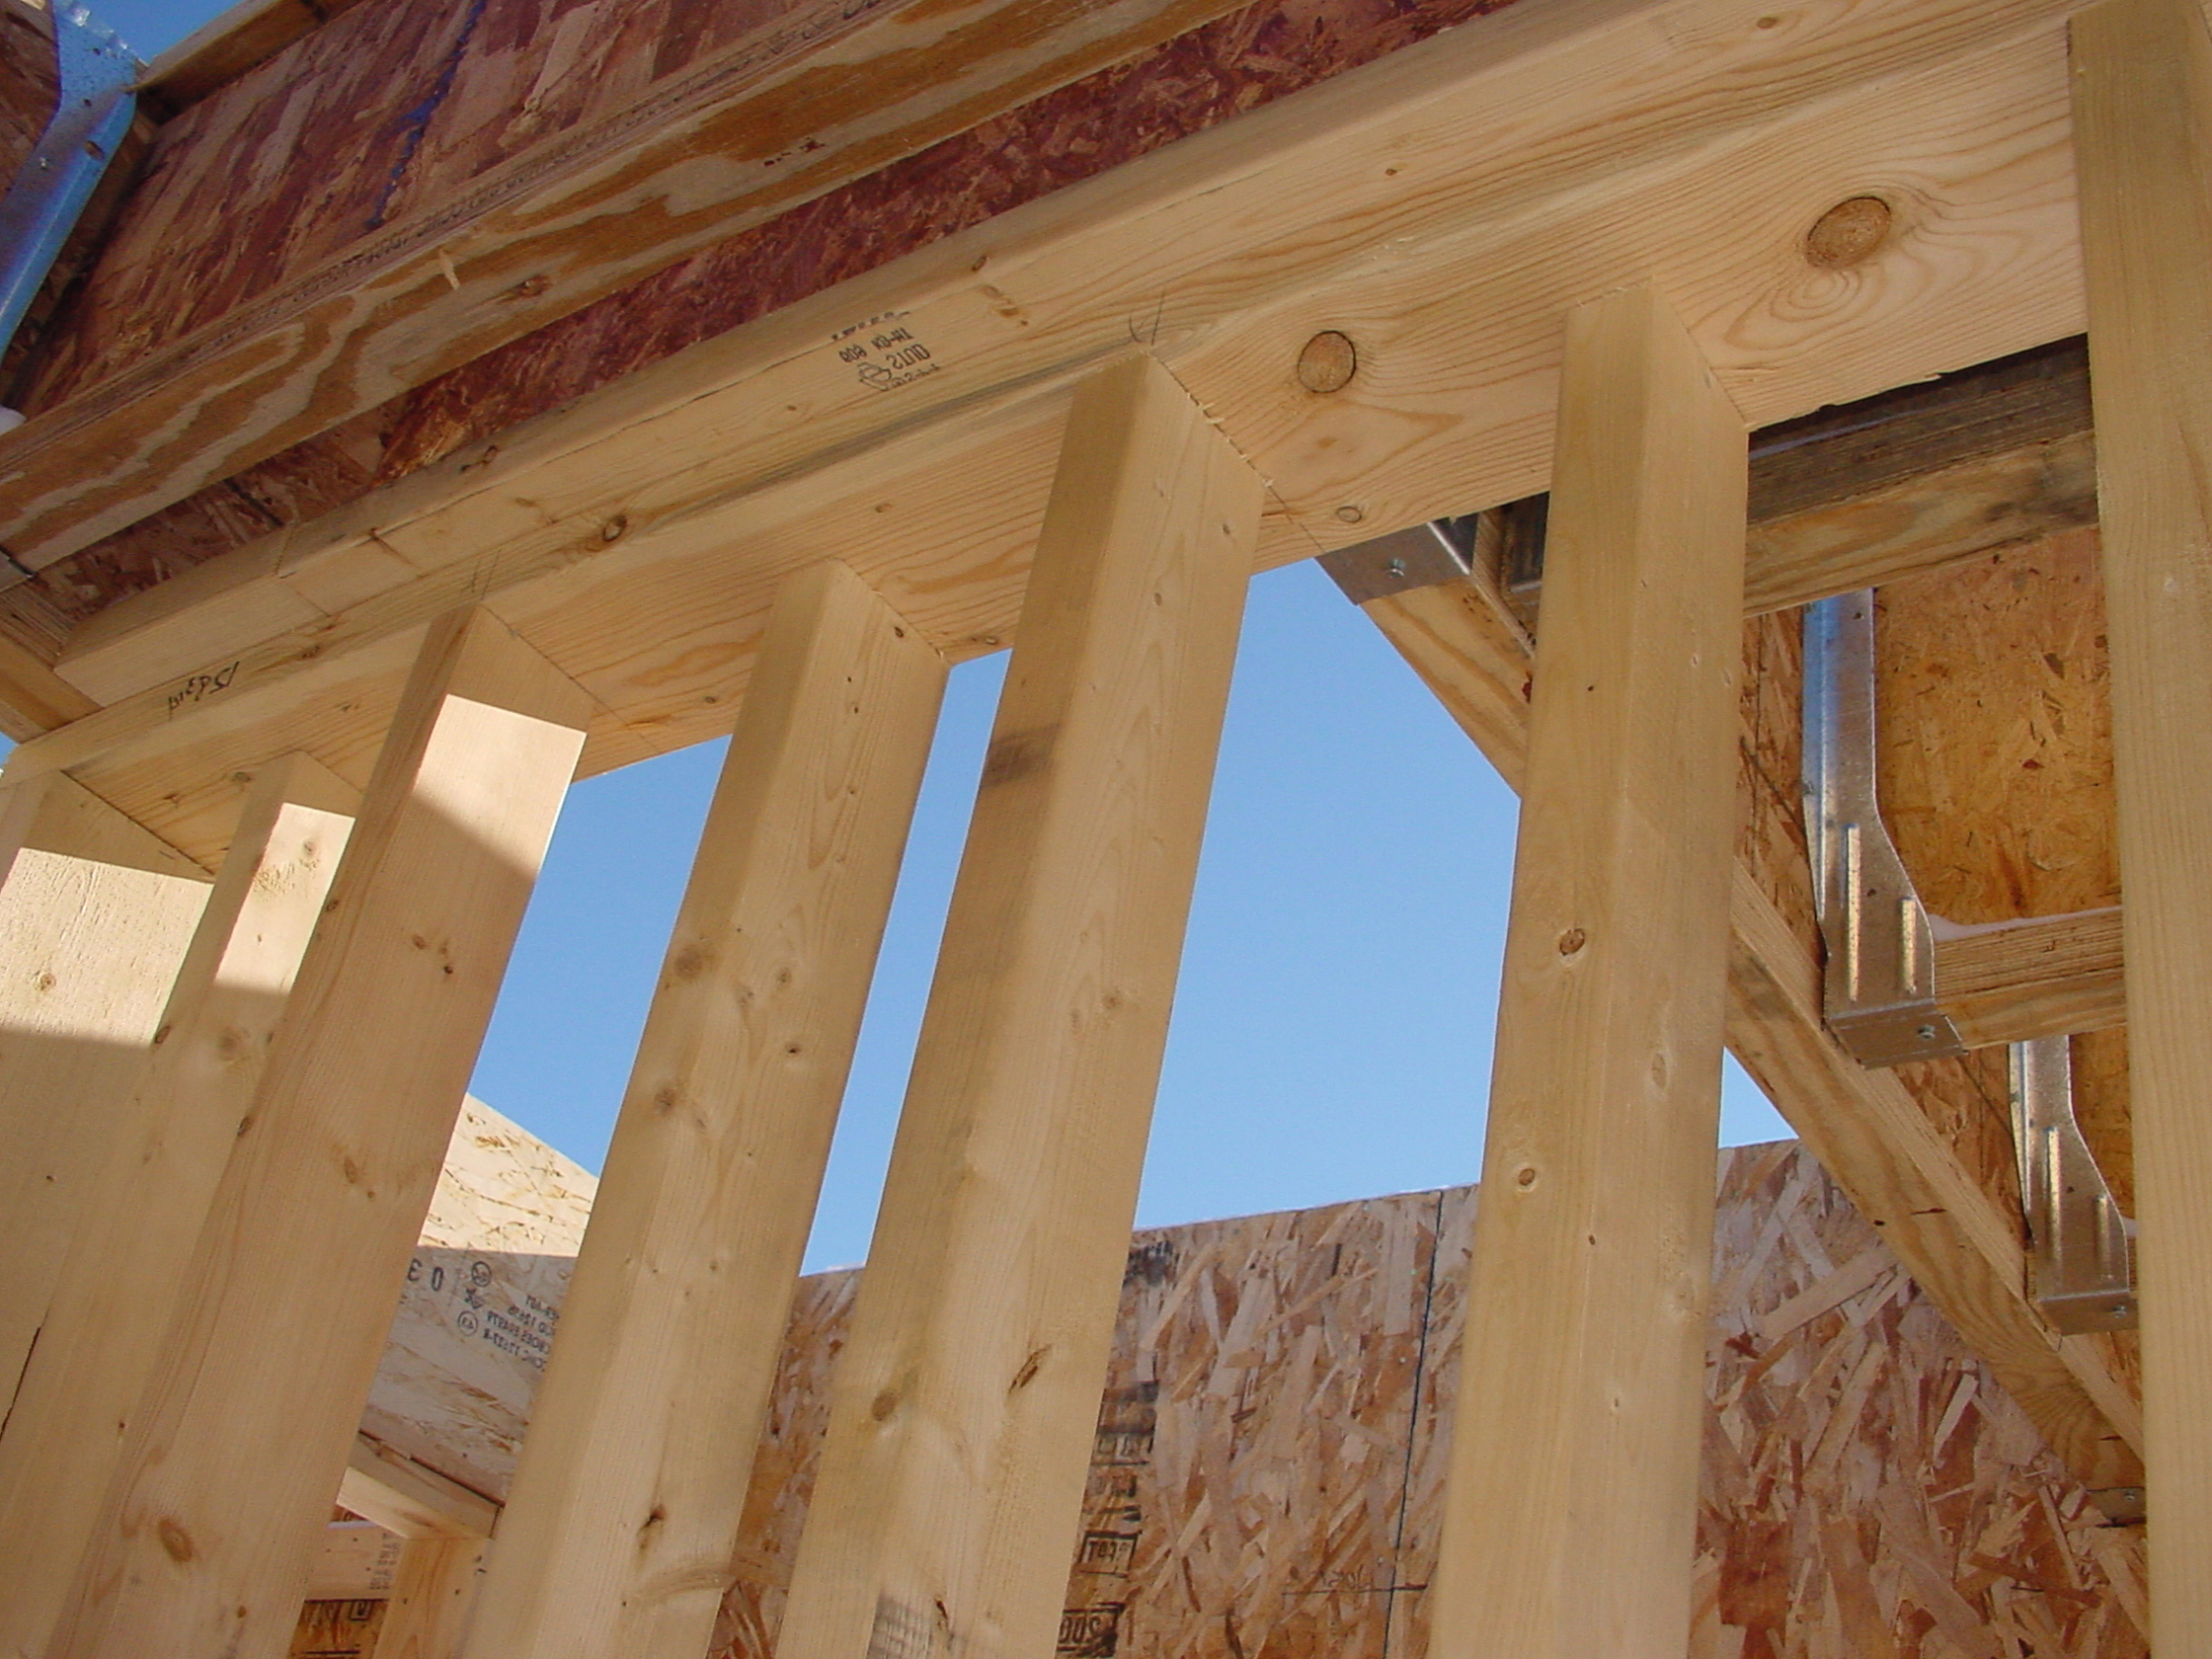
Unless you’re lucky enough to have the whole basement for your hobby, partition walls will also be part of your workshop plans. And here you should aim for a wall design that delivers at least 40 STC. A 2×4 wall with a double layer of 1/2” drywall on each side will do that, but far better is something called a double-stud wall. Staggered 2×4 studs on a wider, 2×6 top and bottom plate boosts STC to 50. Add fiberglass between the studs and performance gets even better. The idea of the staggered studs is to eliminate the continuity of wood from one side of the wall through to the other. Sound is transmitted best through the vibration of solid materials, so the more you can eliminate this kind of direct travel route the better. That’s a staggered stud wall in the photo below, also part of my workshop construction.
Click below to watch a detailed video on boosting sound resistance in both ceiling and wall situations. This video comes from my online course HOW TO FINISH YOUR BASEMENT THE RIGHT WAY.


I hope you found this content useful!
Your generous support helps me produce more practical, hands-on content that I hope you’ll find useful.
Steve Maxwell