- Video Watch Time = 7 1/2 minutes
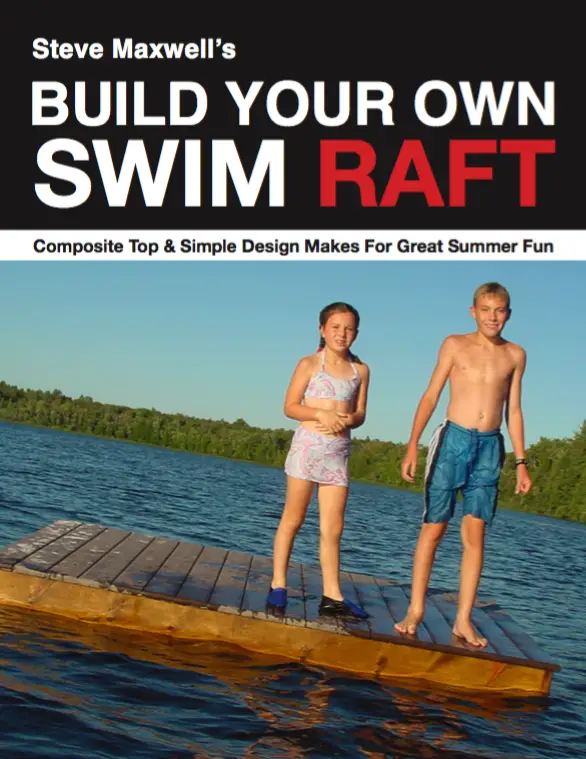
Want to build a swimming rafter? This is the place to get your free plans and instructions. At first you might think I designed and built this swimming raft for my kids, but that’s not entirely true. We live within walking distance of a small lake on (not around) our island home where the raft is anchored. When it’s hot enough to make the cicadas sing, plunging off the side of this swim platform brings back childhood memories and cool refreshment all at the same time.
Background
I’ve jumped from a handful of traditional swimming platforms over the years, and all have had the same problem: slippery, sliver-prone wooden deck surfaces. That’s why I built this platform using composite deck material for the top surface. Besides being maintenance-free, it offers an excellent grip, even under wet, bare feet. In fact, this stuff feels terrific underfoot. I chose Trex for this project because it’s one of the few composites that’s solid all the way through. Unlike hollow extrusions, solid composites can be routed, fastened and detailed just like real wood. In my case the composite deck sits on top of a frame of pressure-treated construction-grade 2x12s that surround foam buoyancy billets specifically made for use underneath floating docks.
How It Goes Together
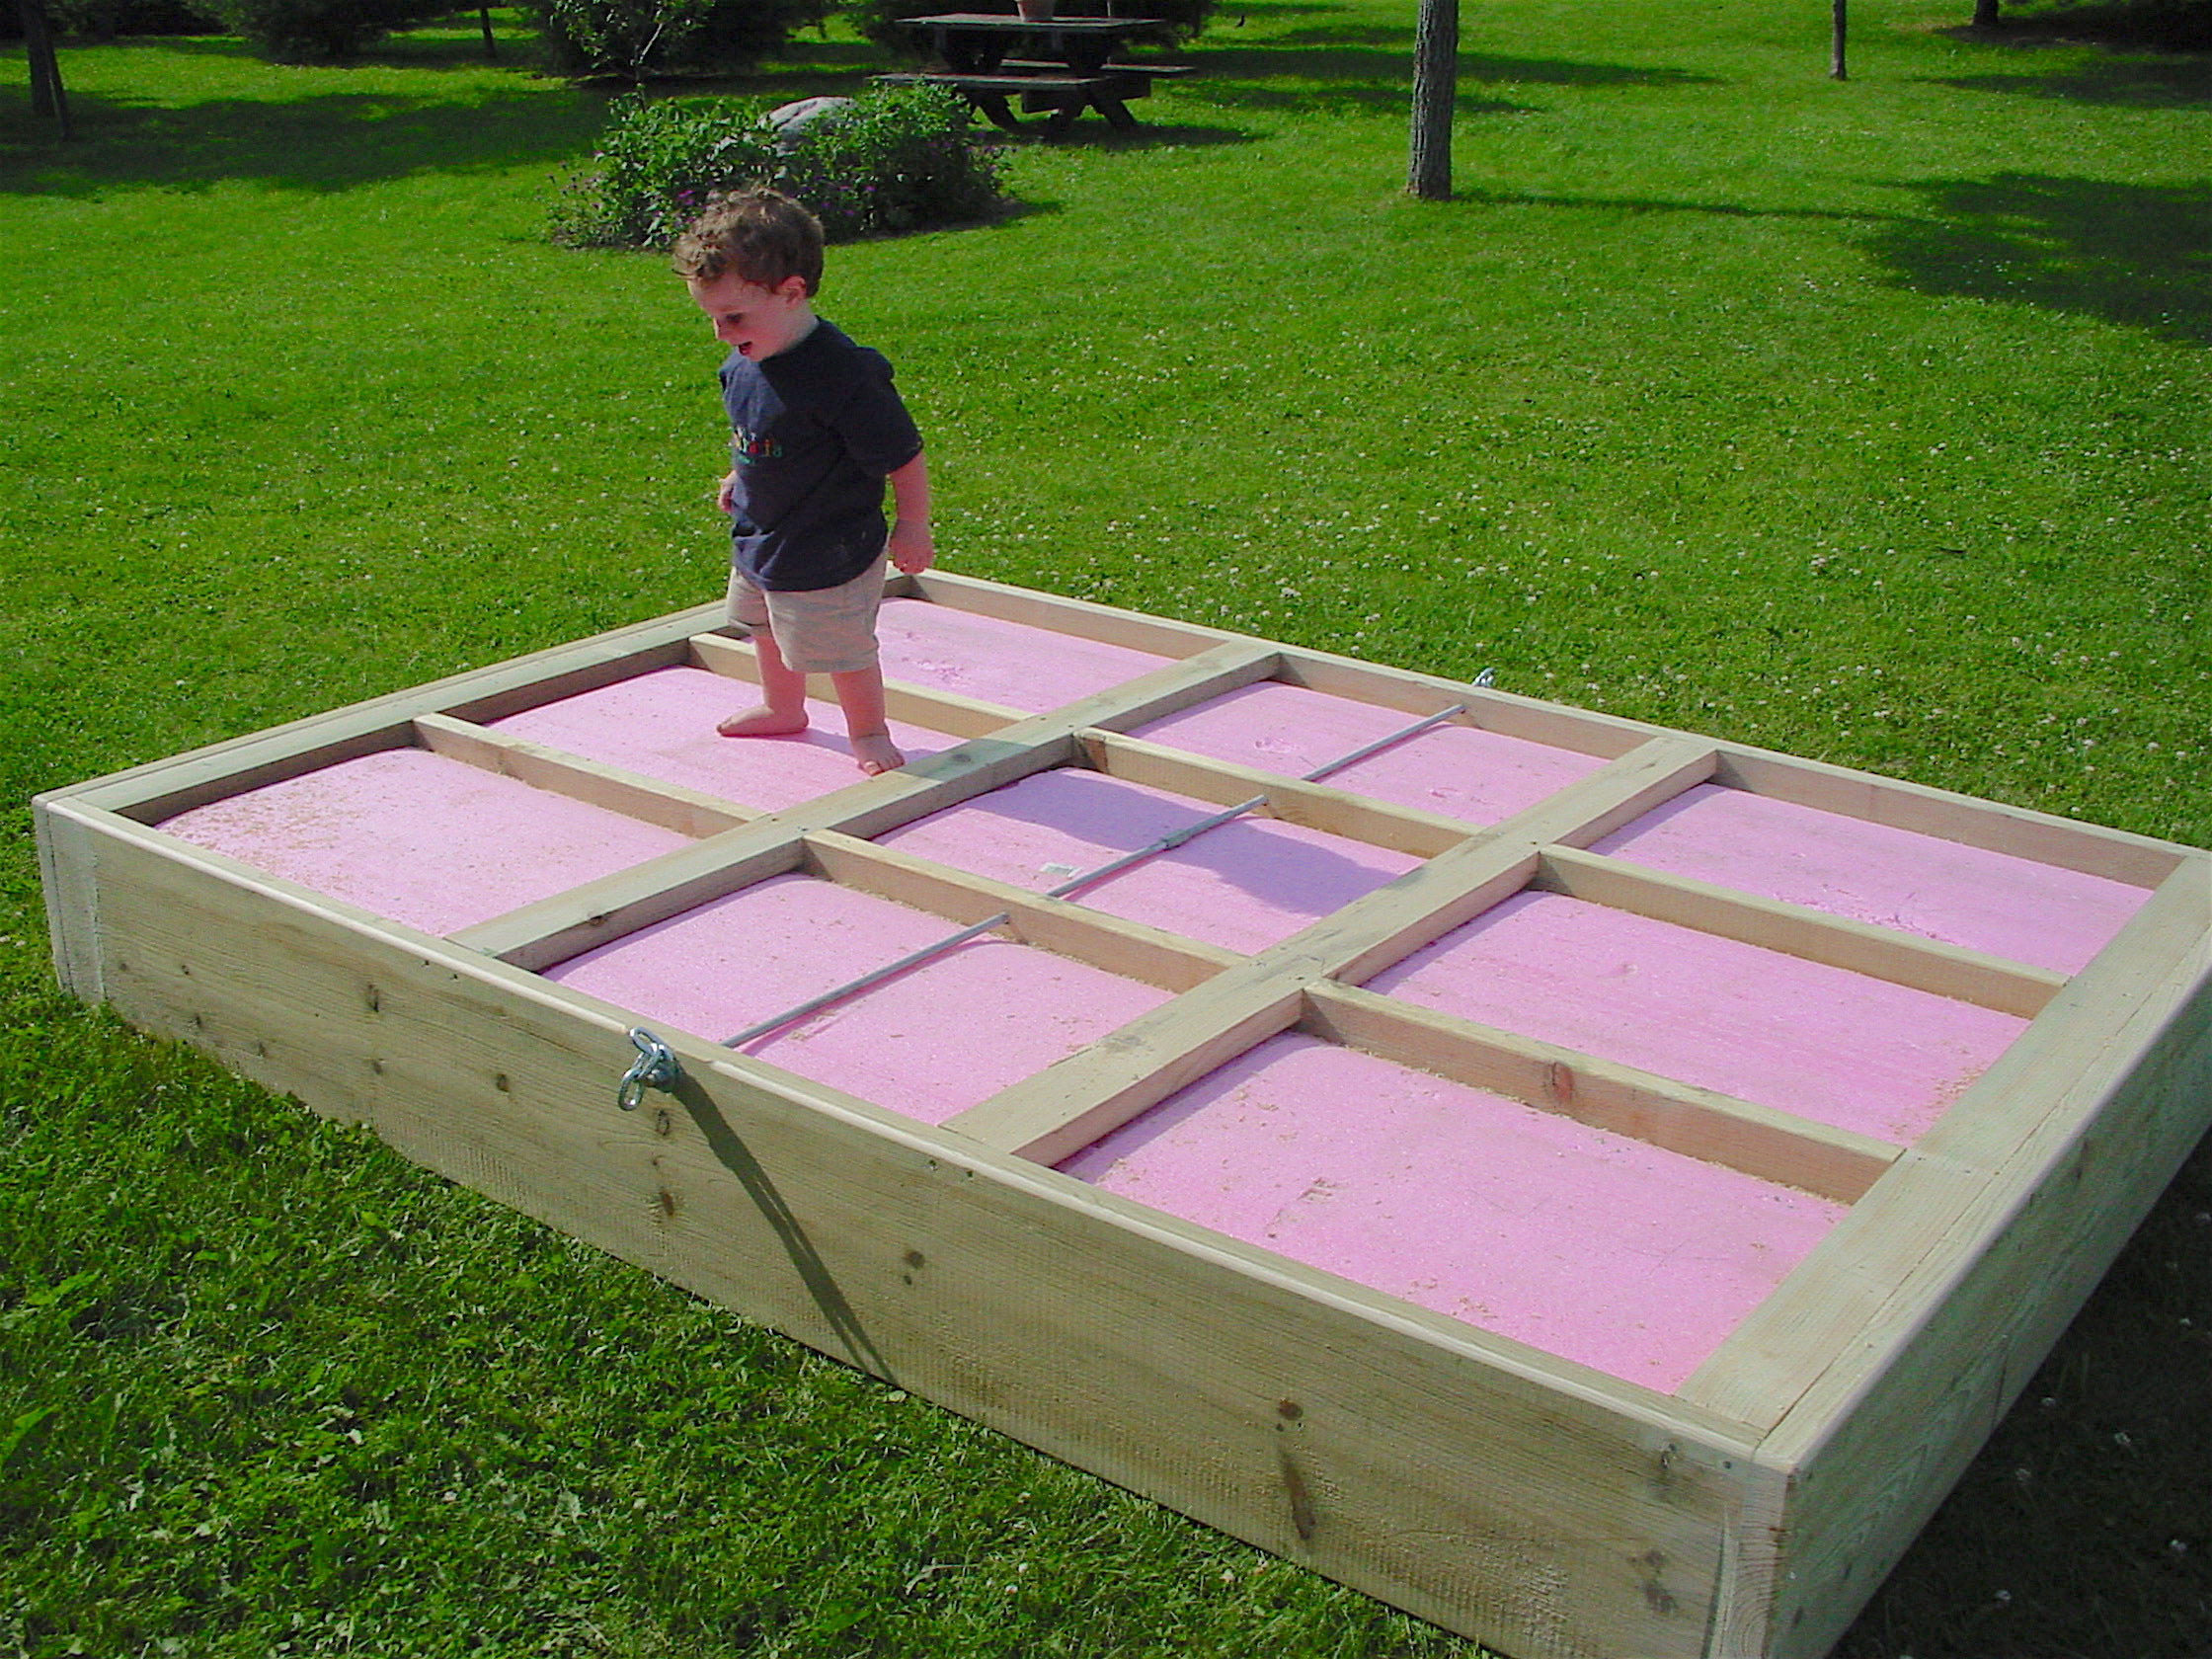
Get ready to build this project by gathering the flotation foam you’ll need. That’s the start. Three standard billets support a raft that’s about 6’ x 8’—big enough for three or four people to use, yet small enough to paddle easily back and forth to the shore each fall and spring. Lay your foam down on a flat surface, measure the exact length of the billets, then cut 2×12 frame sides and frame dividers 1’’ longer. Sandwich the dividers between the foam, with the frame sides along the outside edges, then measure the overall width of the arrangement. This number shows how long you need to make the frame ends, the ones that cap the raft and hold all the other 2x12s together. Cut the frame ends to suit (don’t necessarily follow the plans for this length), then get ready for assembly.

Understanding the Plans
The plans show how I (and my kids) notched the 2×4 bottom strapping into the lower edges of the frame dividers. Although this is more trouble than simply spiking the strapping to the bottom of the frame, it makes for a stronger raft that’s easier to pull up on shore in the fall. Before you cut notches, compare the widths of the frame sides and the thickness of your foam billets. Some brands of billets are so thick that you’ll need to use 1×4 bottom strapping instead of 2x4s. Ideally you want the top surface of the foam to be level with the top edges of the wooden frame, but not even a little higher. Fasten the frame parts together using hot-dipped galvanized or stainless steel deck screws. Fit the foam in place to make sure each billet goes down far enough to clear the top edges of the frame. I had to cut grooves in the bottom of the foam where the pieces of strapping run to make this happen for my raft. The foam I had was a little too tall for the 2x12s.
Even with the bottom strapping in place, you need to bind the swim platform together so it’ll last. Regular pounding by waves and wind is hard on any floating structure, but it’s especially challenging when there’s an anchor chain involved. You can’t just bolt a piece of chain to the side of the raft and expect it to hold. I found that a couple of 1/2’’diameter plated-steel threaded rods coupled together proved ideal for holding the raft frame tight, and provided a place to bolt an anchor chain. Drill and install the tie rod in the middle of the raft along the bottom edge, just below the foam. The instruction video shows what I mean.
Wood Alternative
There are two main drawbacks with solid composite deck stock. It’s more expensive than solid wood, and it’s a lot heavier. To work around the weight problem, I cut the composite ahead of time and routed the ends, but didn’t install it until I had transported the raft to the water’s edge, due to the weight. Once the decking is in place, the raft will be tough to lift, even with four strong backs on the job. The raft will likely find a permanent home in the place wherever you install the composite decking.
The first year our swim platform was afloat, it didn’t have a ladder because I wanted to keep the design simple. But complaints from more senior patrons of the swim platform finally led to a salvaged stainless-steel pool ladder added to the side. As I discovered, installing a ladder solidly isn’t as simple as it seems: you need to support both the top and bottom ends securely. In the end I locked the top ends of the ladder into holes bored into a piece of Trex, then used U-bolts to secure the bottom end of the ladder to another piece of Trex. These top and bottom pieces were lag-bolted to the raft’s side and deck, creating a rock-solid installation. The whole ladder with its Trex pieces comes off when it’s time to pull the raft in for the winter. I could have left the wood frame bare, but I opted for a proven outdoor finish. After sanding the outside faces of the frame with an 80-grit abrasive, I applied two coats of Sikkens Cetol 1 in the dark oak colour. It looks great and matches the Trex perfectly.
Anchors for Swim Platforms
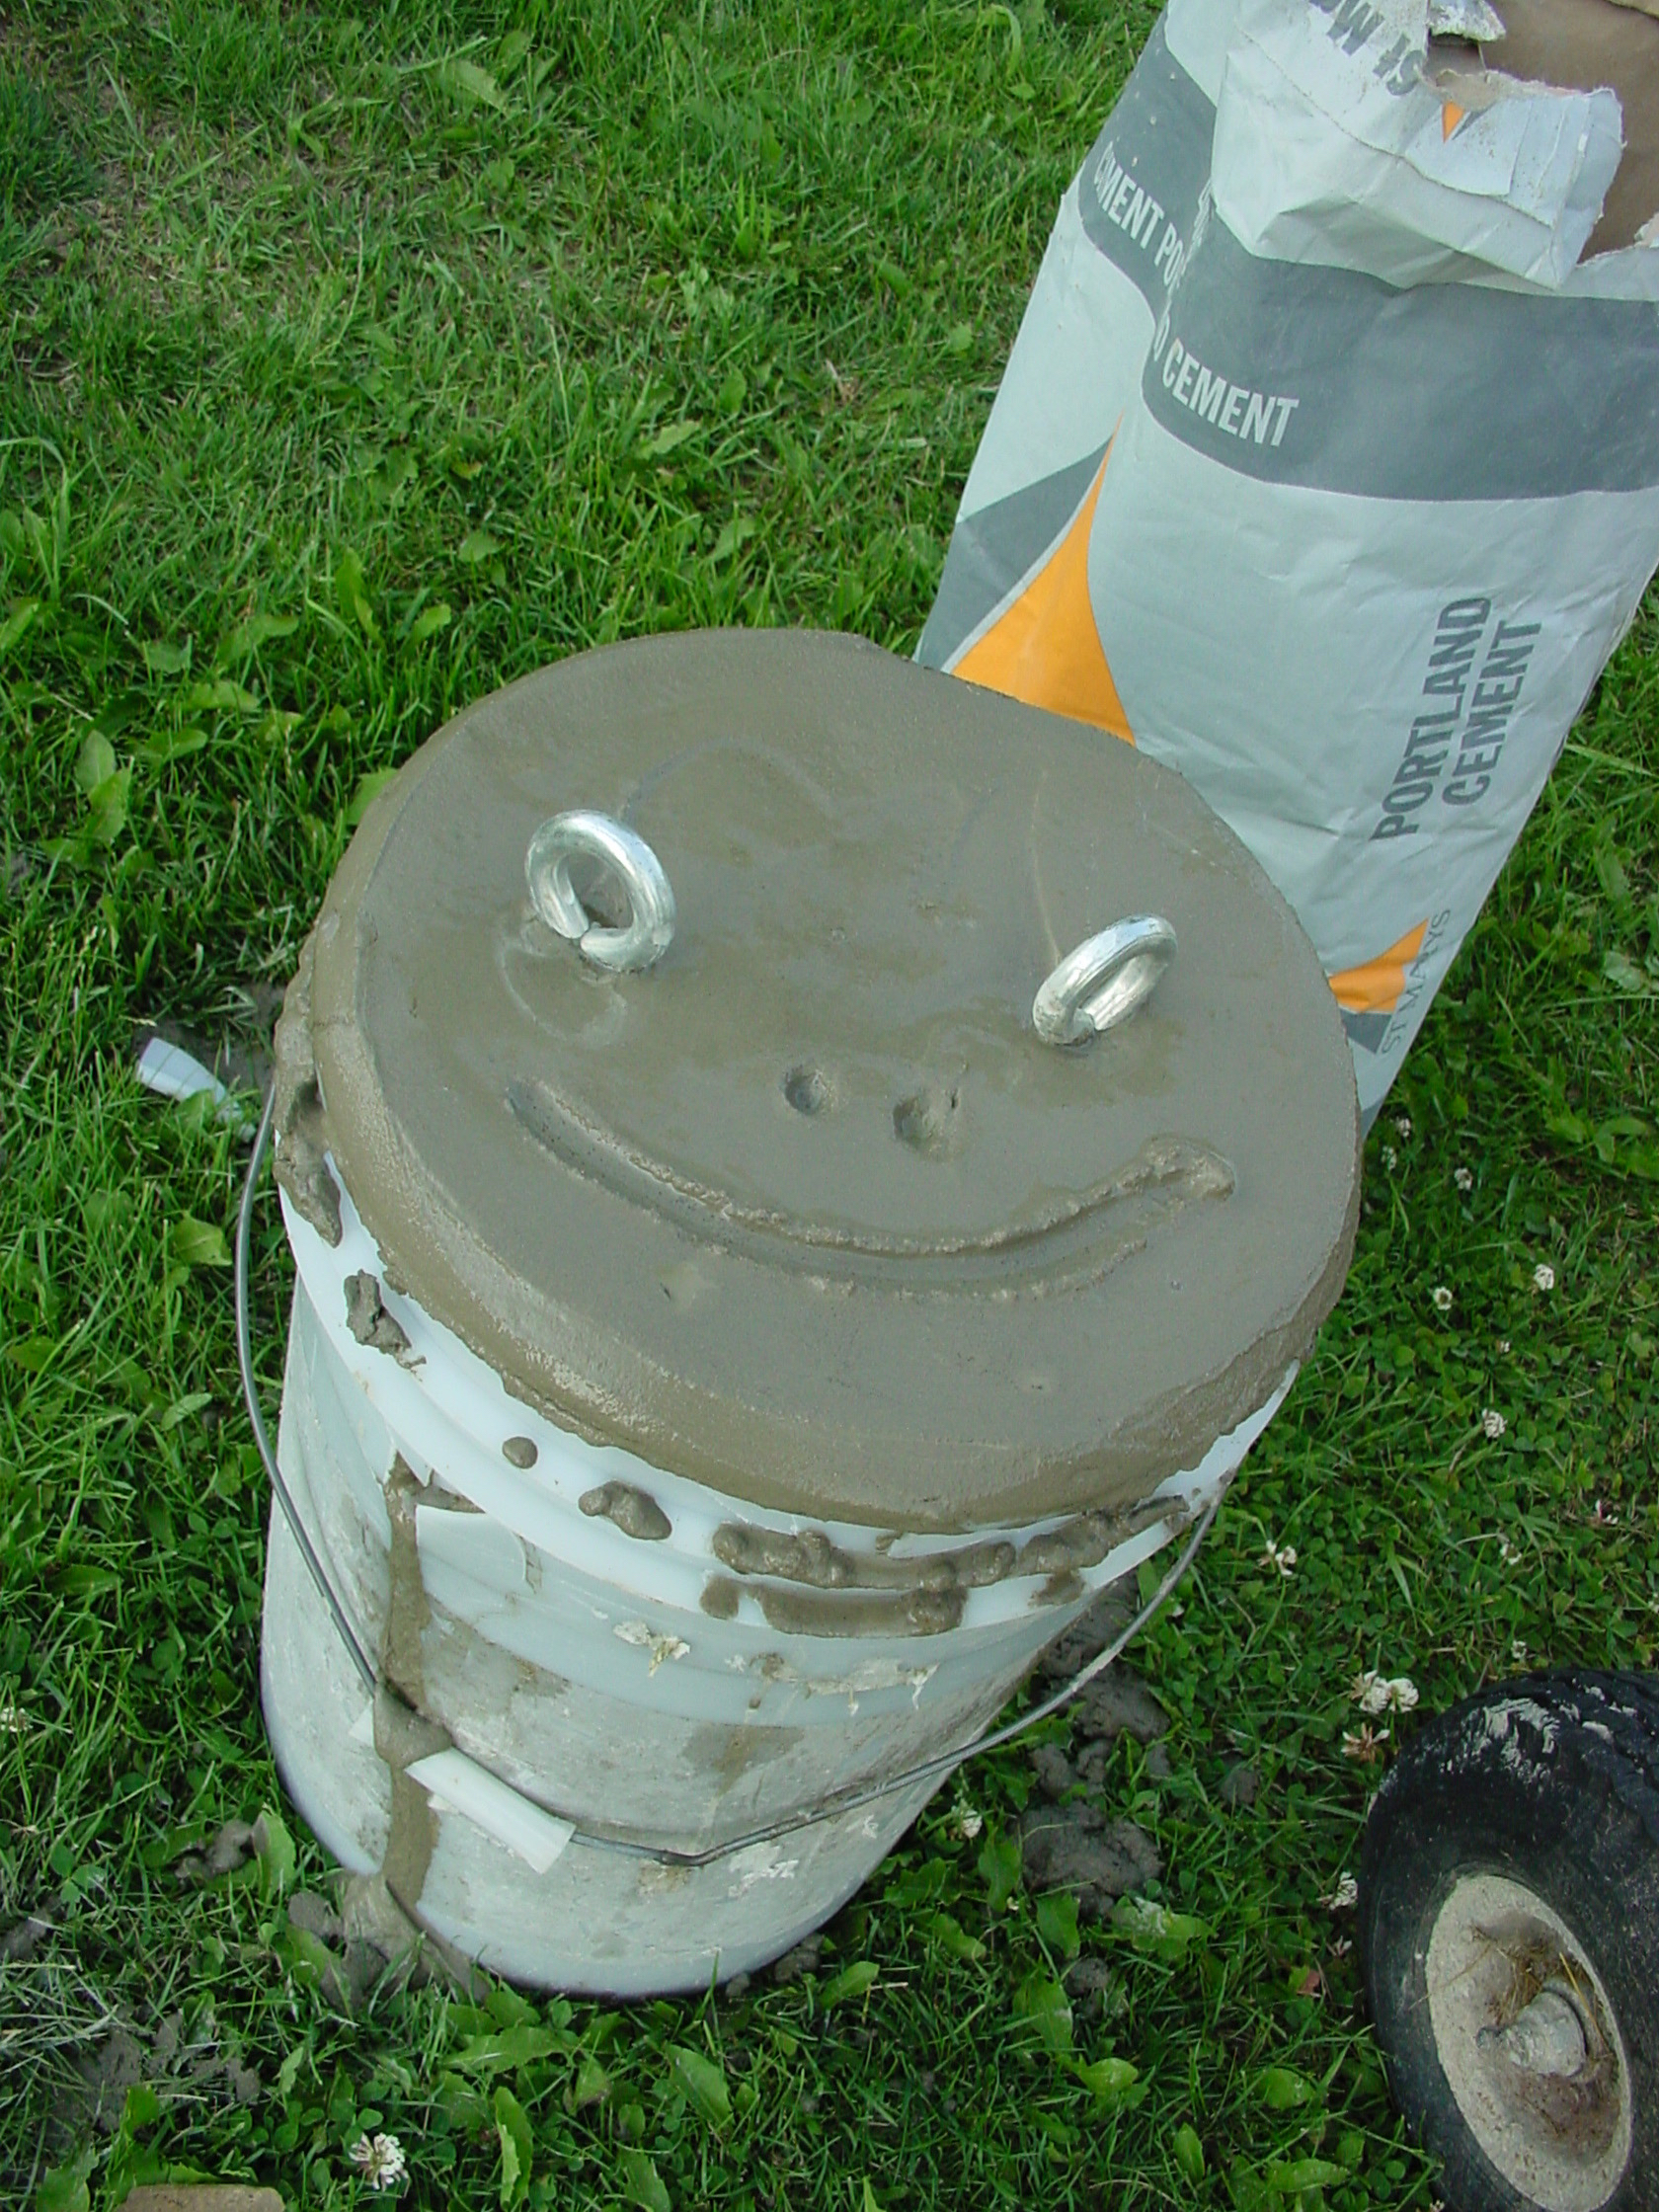
Any swim platform requires a lot of weight to hold it from drifting, but a mortar-filled 20-litre bucket should do the trick on quiet lakes. Set an eyebolt studded with nuts and washers into the mortar when soft, then let it cure for a few days before putting the anchor to use.
Aside from a hefty anchor, you need chain. Less than 24 hours after I first set this raft afloat for the first time, the 5/8’’ nylon anchor rope came untied from the mortar filled bucket at the bottom of the lake, setting the raft adrift. Now I know that a chain is essential, not so much for reasons of strength, but because the threaded links that secure it to the raft and anchor won’t come undone. Rope does! When shopping for chain, get enough to accommodate the maximum water depth plus the maximum swell height plus six feet. Chain with 3/16”-thick links make sense.
Want the materials list for this swim raft project? Click here to download the whole plans and instruction package. Learn more about building this project in the video tour above.


I hope you found this content useful!
Your generous support helps me produce more practical, hands-on content that I hope you’ll find useful.
Steve Maxwell