- Video Watch Time = 4 1/2 minutes
Spade bits are great for boring large holes in wood and plastic, and it’s easy to extend the life of a spade bit with a flat file or bench grinder and a simple sharpening routine. The video above shows how. Master the skill and you save time and money.
Spade bits rotate clockwise when seen from above during use, and it’s the leading edge of each side that must be sharp and crisp to do the cutting. Take a look at a new bit and you’ll see that the metal edge on both sides of the central spur are angled about 5º to 10º from square when viewed from the side. The amount of angle isn’t crucial, just that it be oriented in the correct direction to allow the leading edges to cut wood as they spin.
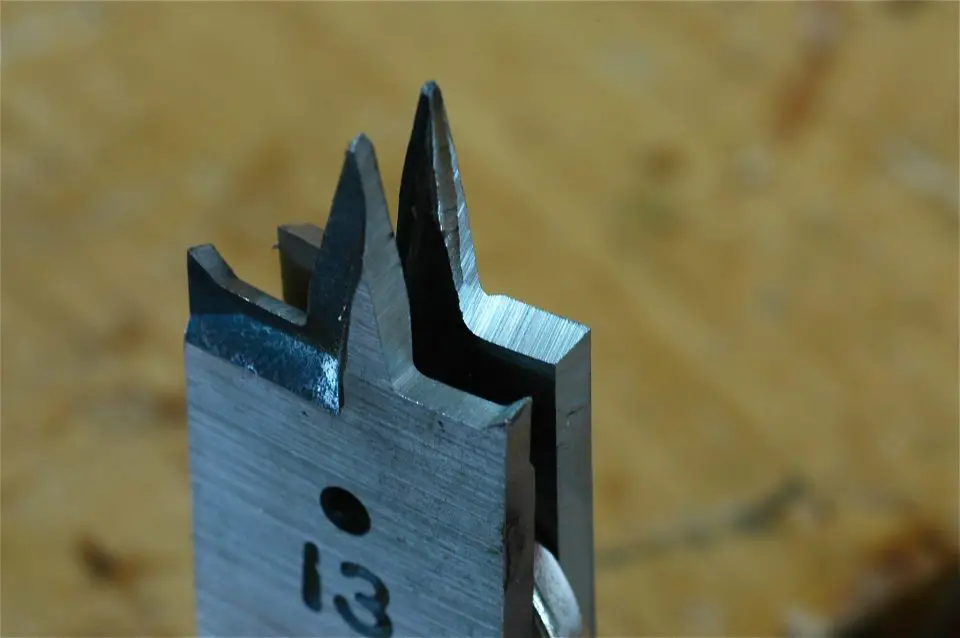
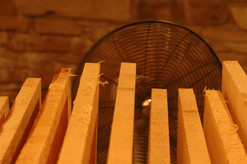
Most spade bits have spurs on their outer edges, but you can grind or file these off while sharpening. Your bit will perform just as well without the spurs, and you can’t sharpen accurately around them any way. The bit in the foreground has spurs.
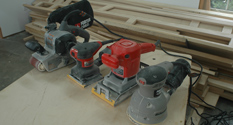
A bench grinder works faster than a file for sharpening, but you need to angle the tool rest 5º to 10º from square to create the necessary bevel. Grind one side of the bit for three, 1-second intervals, then flip the bit over and repeat on the other side of the spur. Cool the bit in water, grind more following the pattern, then repeat as needed until both leading edges of the bit are crisp. You can accomplish the same thing with a flat file and the dull bit clamped upright in a vise, it just takes longer.
No need to have your building or woodworking projects delayed any more by a dull spade bit. You can even custom-grind spade bits to create non-standard or tapered holes.


I hope you found this content useful!
Your generous support helps me produce more practical, hands-on content that I hope you’ll find useful.
Steve Maxwell