A good workshop project can do more than improve a piece of furniture. It can also create time together that is genuinely enjoyable. That’s what happened when my wife Mary found an unfinished pine cabinet full of promise and brought it home to refinish. What followed were several “workshop date nights” spent sanding, staining, sealing, and transforming a rough old cabinet into something bright, useful, and beautiful.
Key Takeaways
- Refinishing old furniture can turn a rough piece into something beautiful and useful.
- Sanding, pickling stain, and water-based urethane created a bright finish while letting the wood grain show through.
- Repeating the stain helped deepen the whitewashed look.
- Workshop projects can be a meaningful way to spend time together.
- A well-made second-hand cabinet can be more rewarding than buying new furniture.
How Workshop Date Nights Began
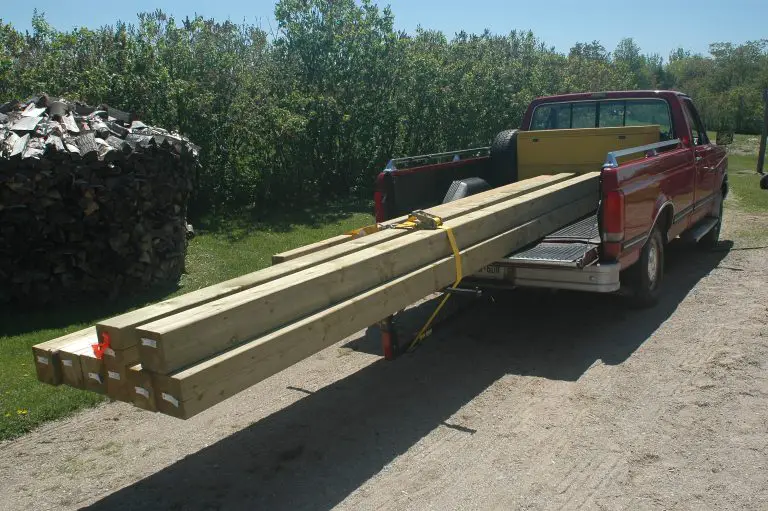
When Mary found that old pine cabinet in a backwoods antique shop near our home on Manitoulin Island, Canada, it was tall, classic, and made entirely of unfinished wood. Even before we loaded it into the truck, it was clear the cabinet had real potential.
Finding an unfinished pine cabinet with promise
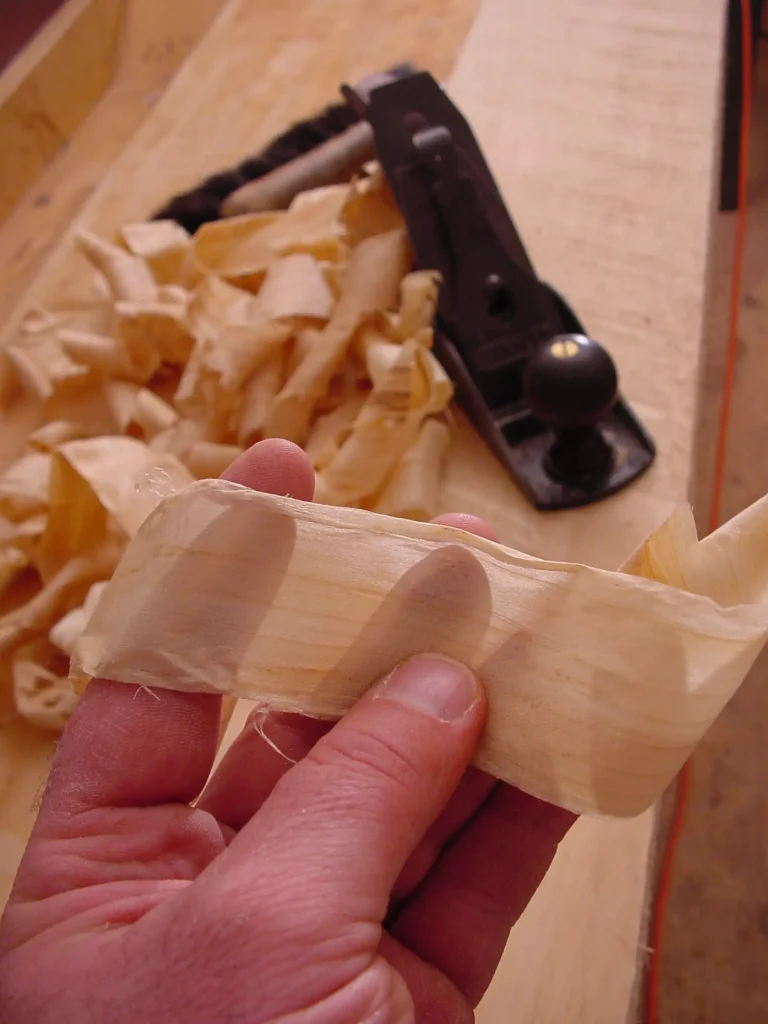
The cabinet wasn’t perfect, but it had something many modern pieces of furniture lack: solid construction, real wood throughout, and good proportions. After bringing it back to the workshop, I fixed the rough spots and small issues that needed attention before the finishing work began.
Why refinishing old furniture together is so satisfying
Most people think of dates as restaurants, movies, or nights out. Workshop date nights are different. Instead of dressing up, you put on overalls. Instead of sharing dessert, you share sandpaper, stain, and brushes. It may sound plain, but it’s deeply satisfying to create something together with your hands.

How We Refinished the Cabinet
The basic refinishing process was simple, but every step mattered. The goal was to brighten the cabinet while still letting the grain show through.
Step 1: Sand the wood smooth
We began by sanding the entire cabinet with 150-grit sandpaper, always working in the direction of the grain. This removed roughness and prepared the wood to accept stain evenly.
Step 2: Apply and wipe off white pickling stain
Next came a coat of white pickling stain. One person brushed it on while the other wiped it off. The key was to leave only the stain that soaked into the wood. Anything left sitting on the surface would create a muddy, messy look.
Step 3: Repeat the stain for a brighter look
We repeated the pickling stain to deepen the effect and give the cabinet a whiter, brighter appearance without completely hiding the grain.
Step 4: Seal with water-based urethane
Once the colour looked right, the wood was sealed with one coat of water-based urethane. This protected the surface while keeping the finish clean and clear.
Step 5: Sand and buff for a smoother finish
After the urethane dried, the surface was sanded lightly with 220-grit paper and buffed with a fine rubbing pad. This helped remove roughness and improved the final feel of the finish.
Why Pickled Wood Finishes Work So Well
Pickling stain is a great choice when you want a lighter, brighter look without losing the character of the wood.
A brighter look that still shows wood grain
One of the biggest advantages of a pickled finish is that it softens and brightens the wood while still letting the natural grain show through. That’s what made this cabinet feel both fresh and traditional at the same time.
Why water-based products made this easier
Water-based finishing products made this project more pleasant. They were easier to use, lower in fumes, and well suited to indoor workshop work where simplicity matters. The article specifically notes that modern pickling stains are easy to use and pleasant compared with older methods.
Why Old Furniture Can Be Better Than New
Projects like this are a reminder that good old furniture often has more value than people realize.
Seeing value in a diamond in the rough
The cabinet didn’t look perfect at first, but underneath the roughness was a one-of-a-kind piece made by someone who knew what they were doing. That kind of quality is worth saving.
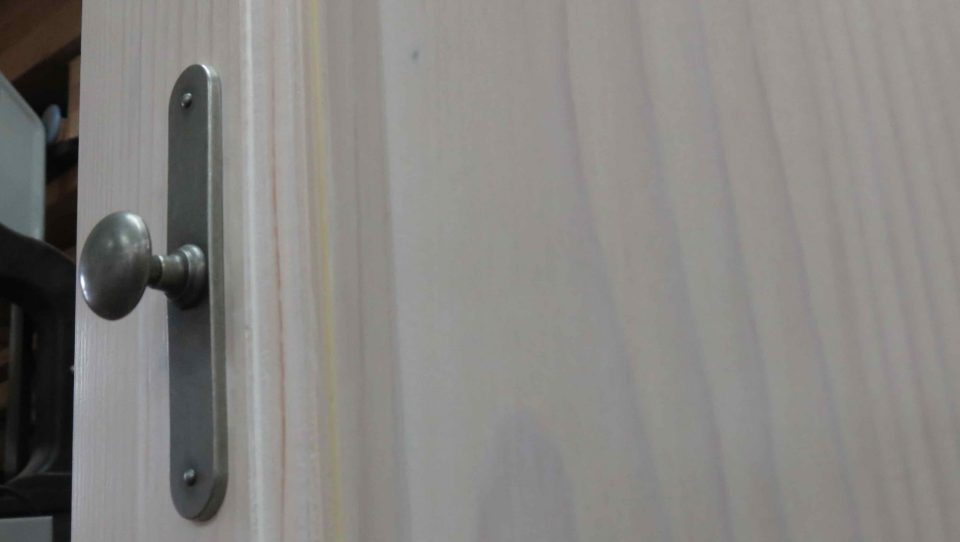
The reward of making something beautiful together
By the end, the cabinet became more than a piece of furniture. It carried the memory of a shared project, several evenings of work, and the satisfaction of creating something better together. That is part of what makes workshop date nights so worthwhile.
Frequently Asked Questions
What is pickling stain used for on wood?
Pickling stain is used to give wood a lighter, whiter appearance while still allowing the natural grain to show through.
How do you refinish an old pine cabinet?
A simple method is to sand the wood smooth, apply and wipe off pickling stain, repeat if needed for more colour, then seal the surface with water-based urethane and sand lightly after drying.
Can you use water-based urethane over pickling stain?
Yes, this article describes sealing the cabinet with one coat of water-based urethane after staining.
Why wipe off pickling stain after brushing it on?
Wiping off the excess helps prevent a muddy, messy look and leaves only the stain that has soaked into the wood.
Is refinishing old furniture worth it?
Yes, especially when the piece is well built. Refinishing can reveal quality, save money, and create something unique for your home.
What are workshop date nights?
In this article, workshop date nights are evenings spent working together on a hands-on project instead of doing a more traditional date activity.
Want more practical home improvement ideas like this?
Join the Bailey Line Road newsletter for weekly DIY tips, building advice and real-world solutions for homeowners.


I hope you found this content useful!
Your generous support helps me produce more practical, hands-on content that I hope you’ll find useful.
Steve Maxwell