There’s nothing like pain in the pocketbook to encourage you to take household energy efficiency seriously. And while there’s no shortage of people writing articles that tell you how to use less energy in your home, most of this advice is written by people who have never actually done anything they write about.
The ideas are not necessarily wrong, but most are too basic and won’t make much of a difference. The list below is different. It’s specific, it’s based on experiences I’ve had personally or experiences my consulting clients and I have had together.

#1. Upgrade Loose-Fill Attic Insulation

Sounds lame and boring, but more loose-fill often yields the best bang for the energy buck when it comes to upgrades. And isn’t it just like life to offer the biggest benefit for the most boring upgrades?. How many inches of attic insulation are in your building now? How many should there be? Measure what you’ve got in several places, average them, then plan to add enough new fibre to bring the total depth up to at least 16” or R-49 (more is better). Fiberglass loose fill costs a bit more than cellulose, but resists settling better. The cost of upgrading a typical attic with blown-in insulation is less than $1000, and this delivers hundreds of dollars of savings each year. The savings triggered by upgrading attic insulation in a poorly insulated home can pay for a tropical vacation for two each year.
POSSIBLE SAVINGS: 10% to 80% depending on current state of your attic.
#2. Seal the Attic Before Insulating
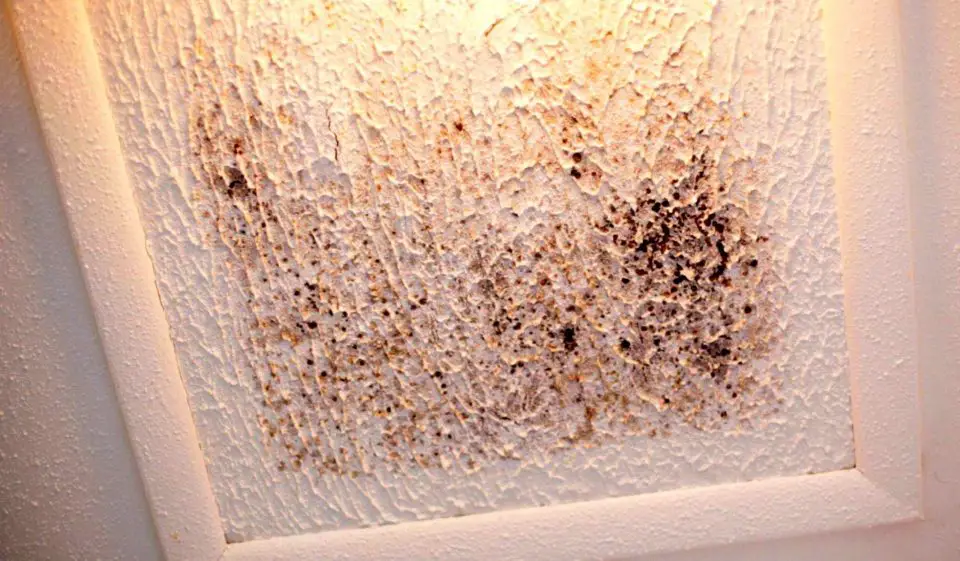
Huge amounts of heat go up and out of houses through the attic unnecessarily each winter, often forming troublesome ice dams as it does. And since most attics are ventilated, attic leaks draw warm, indoor air upwards, right through batts or loose fill. If you’re dealing with a new attic, or a sparsely insulated one, take the time to air-seal plumbing stacks, ceiling light boxes, holes for wiring and the gaps around exhaust fan housings using low expansion foam. Also, weatherstrip the attic access hatch as diligently as you would any other opening to the outdoors. From a thermal point of view, that’s exactly what it is. The attic hatch below is from a house I did some work in, and it was not insulated on top. This let the inner face of the hatch get cold in winter, and since this house had humidity that was way too high during cold months, moisture condensed onto the cold hatch, triggering the mold growth you see.
POSSIBLE SAVINGS: 5% to 10%
#3. Build With SIPs
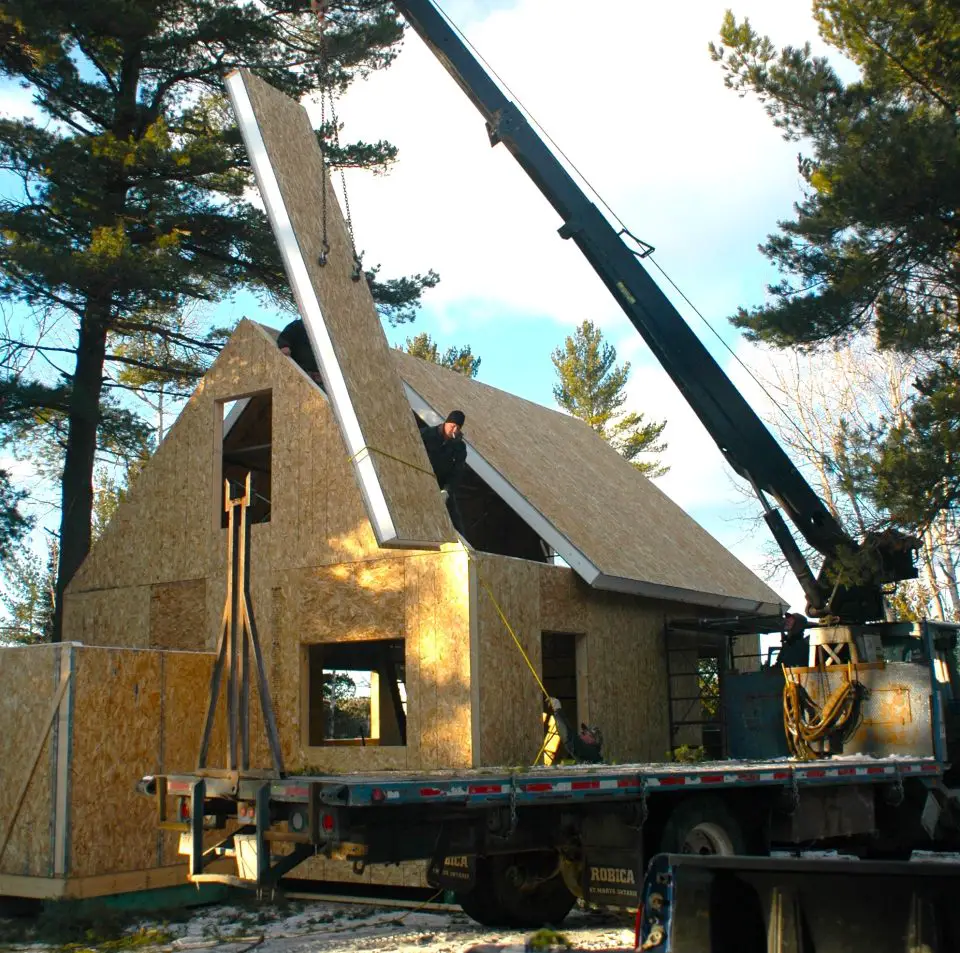
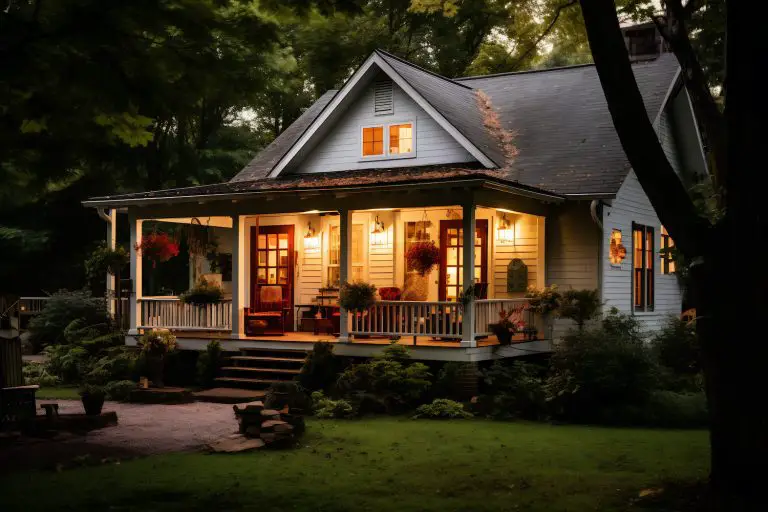
According to a handful of studies, homes built with structural insulated panels (SIPs) use roughly half the energy of an identical 2×6 house built to code with the same R value, all else being equal. This is massive so I’ll say it again. All else being equal, a home built with SIPs uses half the energy of a home built with stick frame walls to current building code standards. Why are SIPs so much more energy efficient? They provide a more continuous layer of insulation than a stud wall, with much fewer areas of thermal bridging and no chance of insulation settling over time. SIPs add three or four percent to total building costs, but yield serious energy savings forever after that. They make especially good sense for roofs with cathedral ceilings. SIPs free you from monkeying around installing insulation over your head, and they guarantee against internal frost build up and ceiling leaks so common with framed cathedral ceilings. The photo below is of a small house I designed and oversaw construction on, built entirely with SIPs – walls and roof.
POSSIBLE SAVINGS: 50% compared with code-built, stick-frame construction.
#4. Warm Up An Over-Garage Bedroom Floor
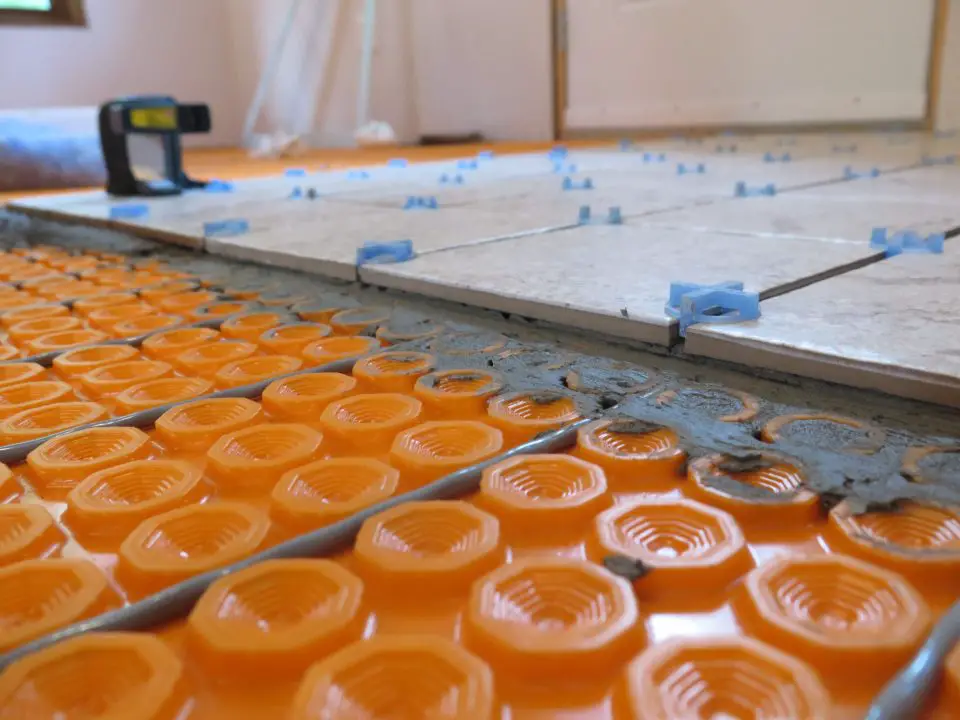
This is the DITRA-HEAT infloor heating system in action. Officially to be used under ceramic or porcelain tiles, I’ve had great results with laminate flooring applied instead of tiles.The ubiquitous two-story bungalow with a bedroom over the garage freezes more feet every year than any other housing detail where I live. If you’re redoing the finished floor in a cold bedroom anyway, put a layer of extruded polystyrene foam down on the subfloor (1″ is good, 2″ is better), with a new, 1/2-inch-thick plywood subfloor on top. Extruded polystyrene foam is dense enough that wooden strapping isn’t necessary. Drive deck screws down through the new ply and the foam, into the underlying floor joists. If foam doesn’t make your toes warm enough, it makes sense to boost heating capacity with electric, in-floor heating mats underneath the new finished floor. While it’s true that electricity isn’t the cheapest way to heat, the amount of heat required to warm the floor of a bedroom is small. Putting that heat right at floor level delivers the most comfort per kilowatt-hour. The photo below shows Schluter’s DITRA-HEAT system going down on a project of mine. The orange plastic uncoupling membrane gets glued down with thinset tile mortar, the grey heating cables get snapped between the raised circular protrusions, then tiles can be installed over that.
POSSIBLE SAVINGS: -5% to 10% (This approach may cost you a bit more in heat, but greater comfort is the main goal.)
#5. Spray Foam Stud Walls

This is me spraying foam from a two-tank DIY system into the walls of one of the small houses I built. The reason spray foam work so well is two-fold. First, it blocks every lost bit of air leakage. And second, the real-world R value of closed cell foam remains constant as temperatures decrease, unlike fiber-based insulations where perform gets worse the colder it is outside.Spray foam is much more expensive than batts for insulating stud frame walls, but the energy saved over the long haul makes the difference in cost an investment, not an expense. You can sub-contract spray foam application in more and more areas, or you can use disposable spray foam systems for smaller, onsite application. One option I’ve used is Tiger Foam (www.tigerfoam.ca; 888.844.3736), but there are certainly others. DIY foam kits come as a disposable, two-tank system, with hoses, a spray gun and a bunch of replaceable spray tips. Although this kind of foam requires a warm application environment, this stuff hardens in less than a minute.
POSSIBLE SAVINGS: 50% compared to fiber-insulated equivalent of same R value.
#6. Foam Rim Joists

This partially installed piece of 2″-thick extruded polystyrene foam sits between floor joists, up in the ceiling area of a basement right against the outer edge of the rim joist. Never use fiber-based insulation here because it triggers condensation and mold growth.Spray foam is one of the only practical ways to seal and insulate rim joists around the perimeter of a floor frame. Batts are a waste of time here because it’s impossible to create a sealed vapour barrier around all those joists. Just pull back existing batts and see the black mold for yourself. Warm air filters through the insulation (laughing at the pathetic attempts at applying poly vapour barrier as it does), cools against the rim joist, forming liquid water and fostering mold growth behind the batts. If you’d rather not bother with a spray foam contractor or spray-it-yourself tanks, cut pieces of 2″-thick extruded polystyrene to fit between the joists with a 3/4” gap all around. Stick the foam in place with construction adhesive, then use a small can of spray foam to fill the gaps and air-seal the edges. Here’s a photo of some foam I’m installing, with spray foam applied around the perimeter to seal out the inside air.
POSSIBLE SAVINGS: Probably less than 5%, but the advantage is freedom from mold growth.
#7. Inject Slow Rise Foam Into Wall Cavities
Plenty of older homes have hollow wall cavities, and many can’t be insulated with blown-in, loose fill insulation because the cavities aren’t large enough or open enough. Slow-rise foam injections offer an option for insulating exterior walls that would otherwise require foam cladding from the outside or inside. Injected into the cavities, the foam fills the space slowly, forcing its way into nooks and crannies that would be impossible to fill any other way. The video below I made is from a few years back and it shows slow-rise foam being used to insulate the walls of a garage that had no insulation.
VIDEO: Wall Insulation Upgrade
POSSIBLE SAVINGS: 30% to 50% depending on current state of walls.
#8. Install Powered Attic Ventilation
When was the last time you stuck your head up into an attic on a sunny summer day and didn’t find it sweltering hot? Never, right? Even with loads of ventilation, attics are hot enough in summer to make upper floors difficult to cool and unnecessarily uncomfortable. Adding a gable-mounted or roof-mounted electric fans to move hot air out can make a hot house much less stuffy in summer. Solar-powered attic ventilators are hitting the market now, too. The only caution is the need to have sufficient vent space in the attic. There must be enough to prevent negative pressure in the attic space while the fan is running. A vent area of at least 1/200 of the attic floor area (not including the vent area of the powered fan itself) is usually enough. Double check by pulling the attic hatch back slightly while the fan is running. If you feel lots of air being drawn upwards, you need more open vent space to the outdoors.
POSSIBLE SAVINGS: 10% to 20% on cooling costs, plus more comfortable upper levels.
#9. Learn About Grants
Governments in many places encourage better buildings, and they’re willing to offer some of our own money back to us to make that happen. One way is energy upgrade grants. The presence of these programs comes and goes, but there’s usually something in place to help reduce costs. Desk staff or web pages will probably give you current information about programs in your area, but here’s another couple of leads.
If you’re in Canada, click here.
If you’re in the US, click here.
POSSIBLE SAVINGS: Many grant programs pay for 50% or more on energy upgrades.
#10. Install Radiant Heat Reflectors Behind Rads

The reflector you see behind the low-profile cast iron radiator saves about 10% in heating costs for homes built before about 1980. It’s a simple thing, but the savings add up.Homes built before 1980 and heated with hot water usually lose way too much heat through inadequately insulated walls immediately behind hot water radiators or convectors. An independent study by Professor Michael R. Collins at the University of Waterloo shows that Novitherm Canada (www.novitherm.com; 866.382.5505) produces the world’s most efficient heat reflectors to solve this problem. Scientifically designed and made of lightweight PVC with a reflective, aluminum coating on the outside, these heat reflectors stick to the wall behind rads and reflect over 93% of the radiant heat back into the room, improving comfort and yielding an annual savings of 10% to 12% on heating bills. Typical cost per house is $150.
POSSIBLE SAVINGS: About 10% in homes built before 1980.
Energy efficiency is like anything else in life. If you want different results, you need to take different actions. Building or renovating to meet 21st century realities requires new kinds of materials and new sets of skills marketed in new ways. Take the time to find out exactly how you cansave energy and it’ll work out better for everyone.


I hope you found this content useful!
Your generous support helps me produce more practical, hands-on content that I hope you’ll find useful.
Steve Maxwell