Do you have windows that aren’t as good as they should be? Perhaps you’re planning a new home or major addition? Windows are a make-or-break feature of any home, and optimizing the quality of windows you choose depends on three things I’ll explain in this article:
- Recognize efficient windows from wasteful ones before they get installed.
- Understand innovative window features so you can look for them as you shop.
- Realize what goes into a good installation and ensure it happens. Don’t rely on window professionals to handle these issues entirely for you. Some will deliver, but others won’t.
Step #1: Choose Intelligently
Informed window choices have to be based on third-party assessments. Don’t put any stock into advertising claims. An outfit called Window Wise is currently my favourite place to start. They’re in the business of certifying window installers, but they also publish a list of windows that meet two stringent performance standards. Window Wise-approved windows also carry Energy Star ratings that ensure above-average energy performance. The best current designs have triple-pane glazing, argon or krypton gas between panes, non-conductive warm edge spacers between layers of glass, and Low-E coatings that reflect infrared and ultraviolet light.

Step #2: Build in a “Plan B”
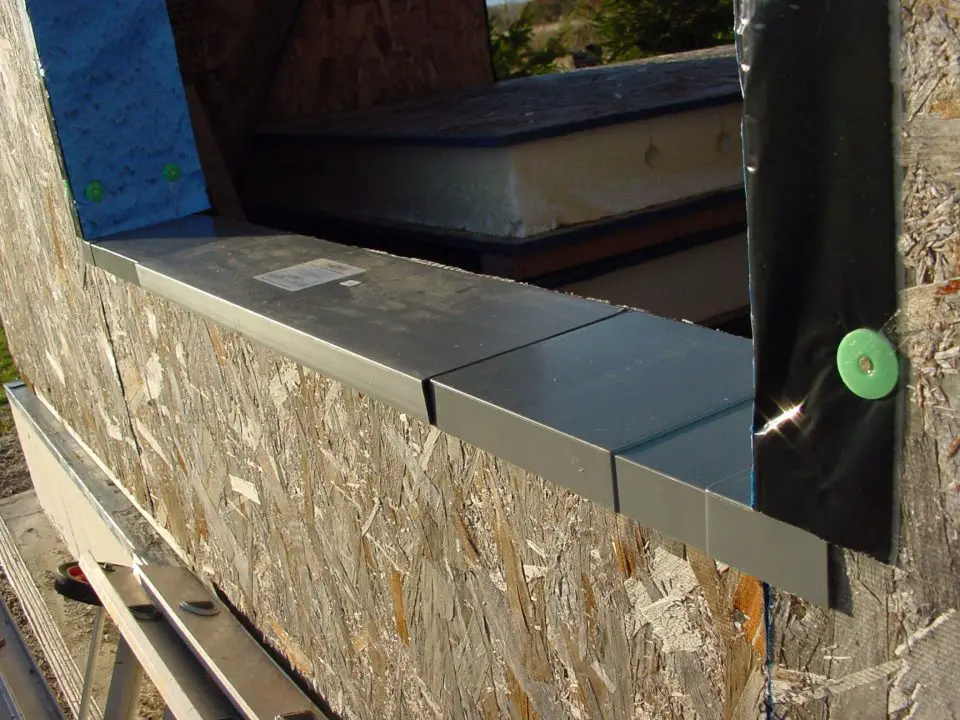
It’s easy to install windows badly, and the difference between good and bad remains hidden, at least for a while. While windows are your initial line of defense against water getting into your walls, most window installation operate with no “plan B”. If water gets past aged caulking or a failed window seam, it goes right onto the wood framing. Internal rot is guaranteed.
All this is why a plastic drainage pan and waterproof lining around the inside of the rough opening makes so much sense. Marvin Windows’ SillGuard, DamSill, Jamsill and SureSill are four brands I know of. They all work the same way, creating an impervious and sloped surface at the bottom of each rough frame, allowing leaked water to drain out from underneath a window. It’s a little thing, but enormously important should water make its way past a window. And make no mistake, it very well could. So why take a chance?
Step #3: Use Correct Installation Techniques

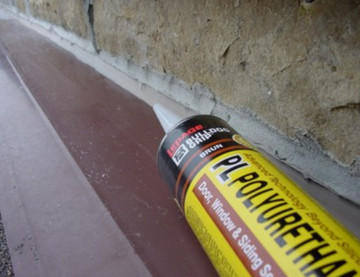
Spray foam is the best way to seal the perimeter of new windows and replacements. Trouble is, most types of spray foam in a can also pose a threat. They expand so much that they can bow window frames inward under the pressure, making it difficult or even impossible to open and close the windows. Over-expansion of foam is why manufacturers developed something called low-expansion foam, but even this doesn’t solve the problem completely when it comes to windows.
What you really need is low-pressure foam, not just low expansion foam. Low pressure types expand just as much as other formulations, but with much less outward force. In tests I conducted on building projects over the years, low-expansion foam can still caused windows to bow inward and bind, even when the window frames were temporarily braced with pieces of wood. Low pressure foam, by contrast, caused no bowing even when perimeter gaps were filled and no braces used.
Video Tutorial
The video below outlines the basics of how windows are installed in houses. This video is one of 40 from my online building course Cozy Cabin. The course empowers first-time builders to create their own tiny home.
- Video Watch Time = 3 1/4 minutes


