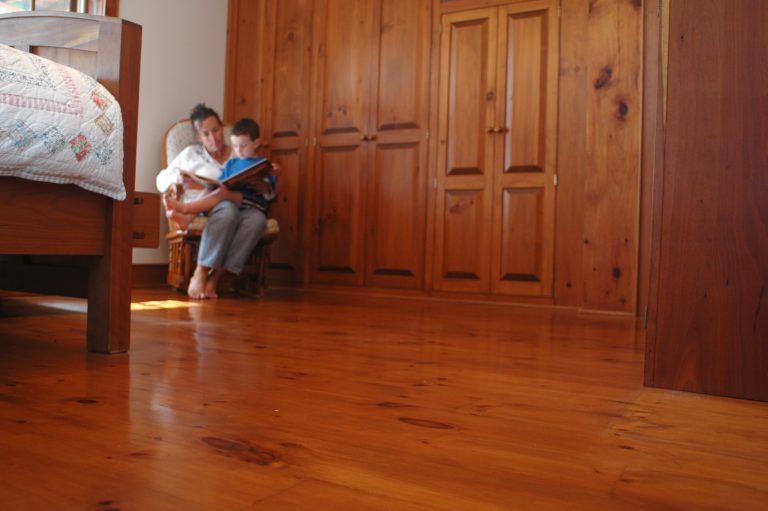
Aside from the kitchen, bathrooms take a lot of hard use. Given how many people use household bathrooms regularly, and the amount of moisture there, it’s no wonder why bathrooms often look the most worn-out of all rooms in the house. But as much as homeowners would love to pamper the area, a bathroom project might hurt your bank accounts. Luckily, there are ways that they can freshen up the place without spending too much.

Refinishing cabinets is an excellent solution to make the bathroom look good as new. Unlike a full bathroom makeover, hiring bathroom cabinet refinishing Poway CA services or those in your locality might not cost too much. However, some homeowners prefer being hands-on, so perhaps you won’t mind handling the project yourself.
But diving right into something without prior knowledge only spells out trouble. And considering how important cabinets are, anything you do there might compromise the entire bathroom. Once that happens, what’s supposed to be a budget-friendly project might turn into a pricy remodeling.
The tips here will help you refinish your bathroom cabinets properly:
1. Lay Out Your Tools And Materials
Refinishing cabinets isn’t as difficult as it sounds. After all, there’s no construction or demolishing that must be done. However, despite being a simple task, knowing how much work goes into remodeling projects, various tools and materials are required to refinish your cabinets successfully.
Settling on a low-quality coating only leads to low-quality results. So, your chosen paint must be of excellent quality to withstand prolonged moisture exposure better. In addition, having an extra water-resistant undercoating from a primer ensures it stays in excellent condition even further. 100% acrylic latex paint on top of high quality primer is the easiest and most forgiving option. Click here for a video on the process.
Moreover, electric sanders are must-haves for prepping cabinets. Because of wear and tear, fillers and sealers may be essential for smoothing surfaces to apply the paint evenly. These need to be sanded to make them smooth after they dry. In addition, tools such as rubber gloves and rags would help ensure you keep yourself and the area clean despite handling paint.
2. Prepare The Bathroom
With your equipment all laid out, the next thing on your list should be to prep the surfaces and the bathroom. Since cleaning up after you’re done with refinishing is a pain, the best thing you can do is manage the mess. Do yourself a big favour and remove all doors and drawers and work on them horizontally on some kind of bench or table.
Use old clothes or fabric to lay them across the floor. They’ll capture all the dust that’d accumulate during the sanding process of the face frames, and catch any droplets of paint or chemicals applied to the cabinets. But to be safe, ensure that you move any item or furniture that might be dirtied and set them far away from where you’re refinishing.
3. Deconstruct And Label Cabinet Parts
Refinishing without deconstructing the entire cabinet isn’t as efficient as you’d imagine. You might think there’s not much work to do, considering it’s still in one piece. However, you’ll sacrifice uniformity for the sake of efficiency. Because, as mentioned, paint and stain can get everywhere. With cabinet doors still attached, the coating you’ll apply might drip as it dries unless its surface is flat enough for a paint roller brush to be used.
Uninstall the cabinet doors and drawers by removing the hardware before tackling the doors and drawers. Label each piece and divide them by section, especially the hinges. Consider drawing a map or a layout of the entire cabinet if labeling the pieces isn’t enough. This way there’s no need to stress too much when reconstructing your cabinets. Some might even consider it therapeutic, as it feels like you’re building a puzzle.

4. Sand It Properly
Sanding your cabinets is a crucial step. After all, their surfaces must be smooth for the paint or stain to be applied evenly, but also microscopically rough to better hold the paint and prevent peeling. However, sanding them down without the proper equipment or technique would nick the wood instead of smoothing the imperfections.
This means you must double your efforts to eliminate all the remaining layers with the right grit sandpaper. However, because of the messy process, some prefer using a chemical deglosser since they share similar outcomes. I personally prefer sanding. Use a 150-grit sandpaper in a sander like you see above. You don’t need to remove all the old finish, just scuff up every surface so the paint sticks reliably and doesn’t peel. Cleanliness, complete freedom from grease, and a bump-free surface is key before painting
5. Apply Paint
Once you’ve finished cleaning and roughening the old coating and smoothing down surfaces, ensure you’ve removed all dust before applying fresh paint. Otherwise, all that effort will go to waste. A vacuum is the perfect tool for this – much better than just wiping with a cloth.
Now, carefully start painting or staining. As a heads-up, you paint must choose the right bathroom paint, considering how moisture affects the surroundings. Only apply it according to the direction of the wood grain to make it look seamless. Avoid dipping your brush in too much paint to prevent drips. Apply an extra coat for thoroughness before leaving it to dry so you can reconstruct the pieces later. The flatter the sheen of the paint, the less it shows up brush strokes.
Takeaway
There’s no need to spend lots of money on refreshing your bathroom. Even though it looks worn down and grimy, you can apply various techniques to make it look good as new; refinishing bathroom cabinets is one of them. The list above is a good place to start if you plan to do the said project soon but still need to familiarize yourself with the process.


I hope you found this content useful!
Your generous support helps me produce more practical, hands-on content that I hope you’ll find useful.
Steve Maxwell