If you’ve got a plumbing drain line to install at your place, perhaps for a new laundry sink or other fixture, I’ve got a story to tell and a suggestion to make.
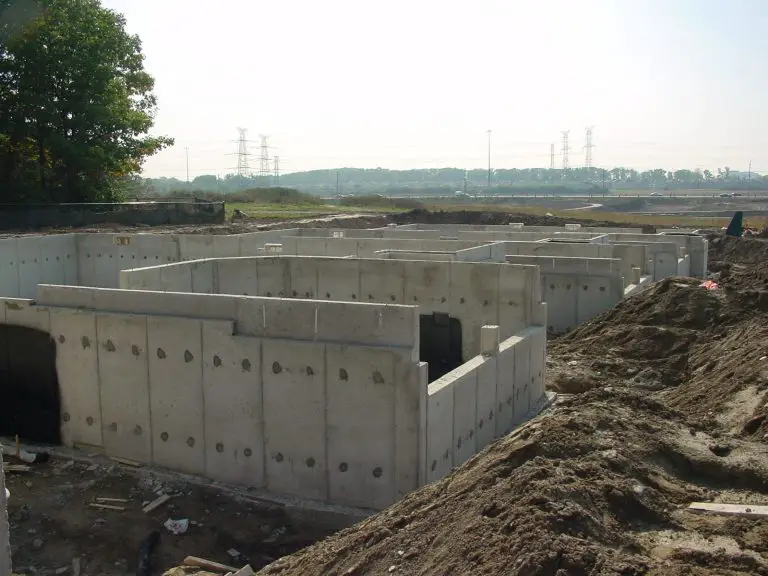
For the first two years that my wife and I were married, we lived in the finished basement of the two-bedroom, post-war bungalow where my grandfather lived since he bought it new in 1953. Being a basement apartment, we weren’t far from realities you’ll find downstairs in any home –
– furnace, fuse box, wash tubs and drain pipes. Of all the mechanicals down there, my memory of those drain pipes stick out most because they were made of cast iron. Not that this is unusual — lots of older homes have this kind of metal drain pipes — but they certainly show how do-it-yourself building and renovation possibilities have gotten so much easier over time.
ABS Simplicity
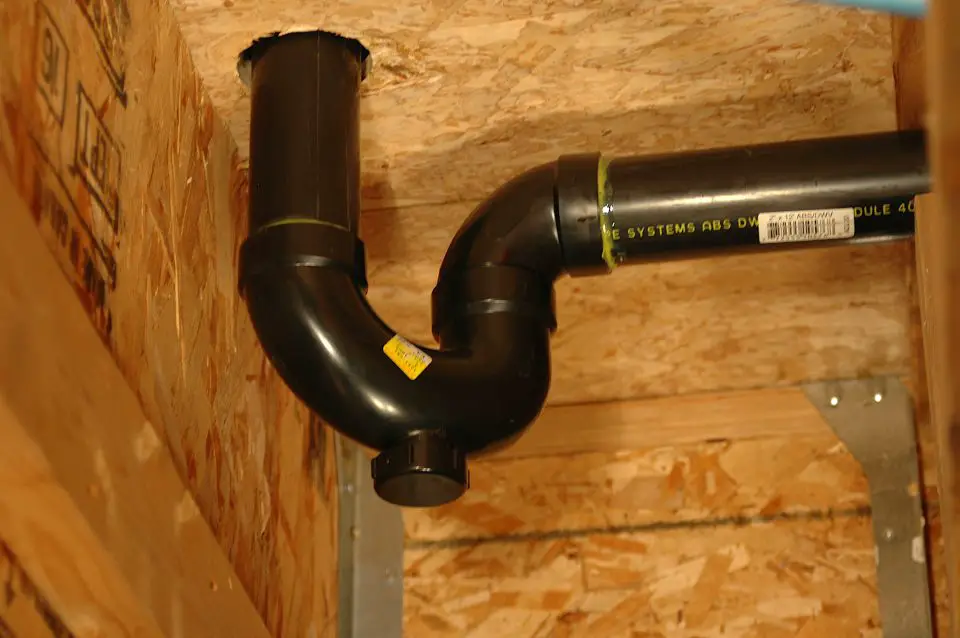
The contrast between the hard-earned skill and the vast tool collection needed to install cast iron drain pipe, versus the ease of working with its modern equivalent – black ABS plastic – is especially stark and telling.
ABS pipe brings successful drain line installation within the grasp of any ordinary handy homeowner. It isn’t perfect, but it’s close. That’s why ABS is the standard for domestic drains across the country where I live, Canada. Aside from the fact that it transmits the sound of flushing toilets like a public address system, it’s hard to knock.
ABS is cheap, lightweight, cuts to length with a handsaw or chopsaw, and joins with just a swab of solvent. If you’re adding a bathroom, laundry tubs or a new kitchen sink, then hooking up an ABS drain is one of the easier parts of the job. In fact, with such user-friendly material, you may wonder what could go wrong. The fact is, there are hidden pitfalls, though they’re easy to avoid if you recognize them ahead of time.
Choosing Pipe Size
When you’re adding any kind of drain pipes, you have to juggle four technical details: pipe size, access for cleaning, pipe slope and venting. Toilets can be hooked to 3 inch or 4 inch pipe; sinks and other fixtures to 1 1/2 inch or 2 inch pipe. If in doubt, err on the side of bigger pipes and you’ll be okay. But even with good-sized pipes, blockages do sometimes occur.

That’s why you need to install “cleanouts”. These are threaded access ports that let you poke a cleaning tool into a pipe to clear jams further up stream. Build lots of cleanouts into your system, especially at the beginning and end of pipe runs.
Basic Drain Pipe Theory
The fact that water runs downhill is one of the easier DIY concepts to understand, but like all little bits of knowledge, this one can get you into trouble. The correct amount of pipe slope is 1/4-inch down for every 12 inches of horizontal run. Go shallower than this and you’ll have drains that empty slowly. Go much steeper and you’ll end up with the dreaded “solids build-up syndrome’’. That’s an accumulation of disgusting, non-liquid bits left high-and-dry in the drain pipe because the water rushed away too quickly to carry it along. A retired plumber I know says the most common drain fault he had to correct in his 40-year career was drain pipes that sloped too steeply, thereby clogging frequently.
Pipes for Air, Too
Another crucial feature of drain pipe installation is venting. Yes, waste water runs downhill just fine without an air vent in the pipe somewhere nearby, but it’ll also create a vacuum in its wake, behind the wave of moving waste water. If there’s no way for this vacuum to be relieved by new air admitted into the system through a vent, the swooshing water will cause sucking sounds in your drains. This is a sign that water in the S-shaped bend of drain pipe (called a “trap”) under every sink, shower and bathtub is getting sucked away. This water is all that stands between you and a home-invasion of gut-wrenching sewer gas.
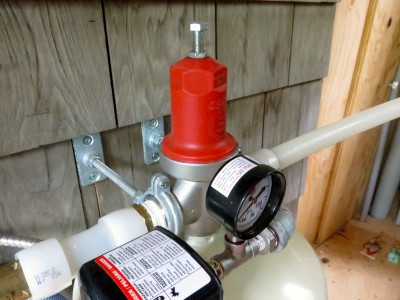
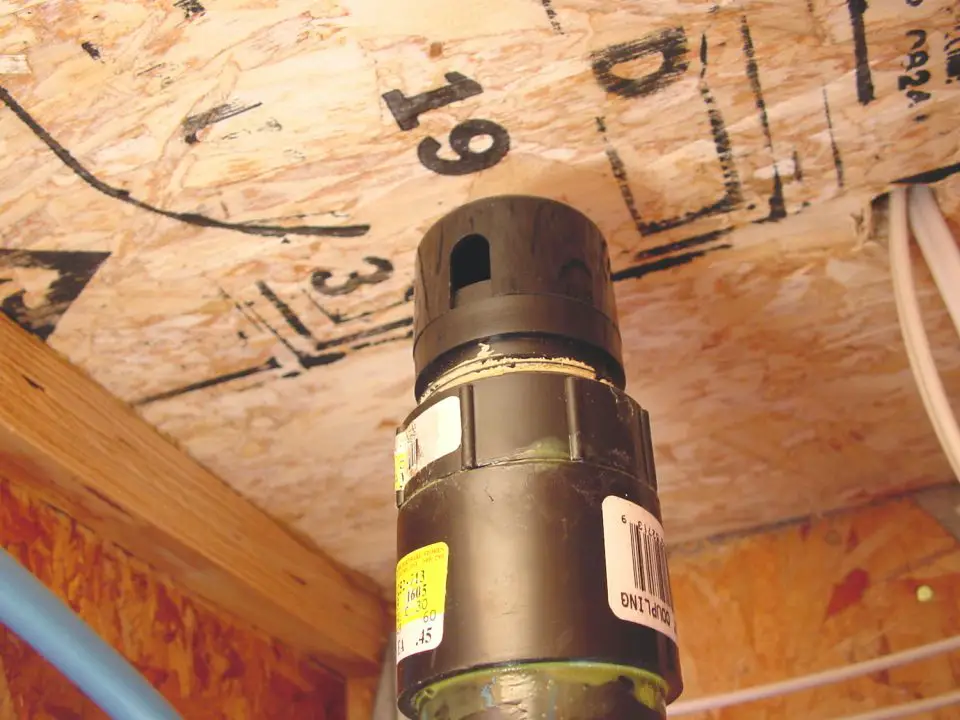
All this is why plumbing codes specify that vent pipes be connected to drain pipes within a few feet of every drain. The problem is actually installing them, especially in reno situations where making a connection to some distant vertical plumbing stack that goes out the roof is difficult or virtually impossible. The solution is a remote vent connected to your new drain pipe.
This is a one-way check valve that’s spliced into the drain pipe near the plumbing fixture, after the trap. As draining water creates its vacuum, air from the room is sucked into the remote vent to relieve it. The vent’s one-way valve prevents sewer gases from moving backwards into the room. I’ve used remote vents and they work really well. Some that I put in 25 years ago are still working fine.
Installing or replacing drain pipe is like many home improvement skills. Success isn’t terribly complicated, all you need is an understanding of the basics and a careful attitude as you gain experience.


I hope you found this content useful!
Your generous support helps me produce more practical, hands-on content that I hope you’ll find useful.
Steve Maxwell