Figuring out how to finish wood reminds me of learning math. As long as
you understand the basics, the process isn’t too bad. But if key bits of
know-how are missing, incomplete or applied at the wrong time, misery is
sure to set in. Successfully applying a basic urethane finish is the
woodworking equivalent of solving simple math problems, and silky-smooth results are guaranteed to happen if you do everything right.
No one is surprised to learn that sanding is the first step towards wood
finishing success, but what’s often misunderstood is exactly how sanding
needs to happen, the kind of sandpaper that’s best, and the sanders that
are ideal for various stages.
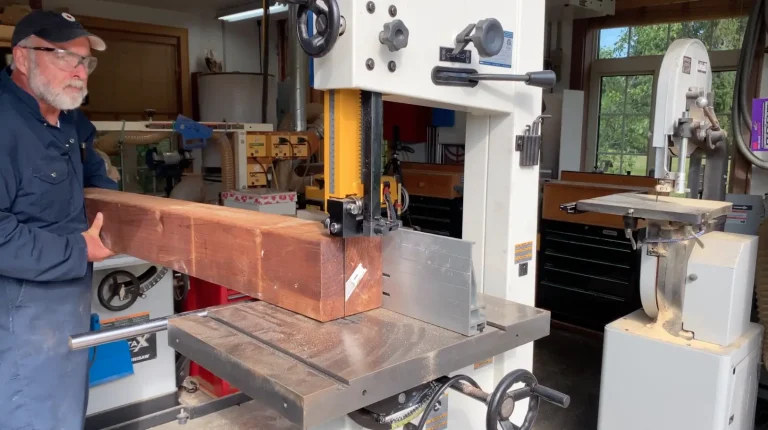
 Belt sander, half-sheet sander, quarter-sheet sander. These are the three power tools I use most often while creating fine urethane finishes on interior wood surfaces. If your project involves solid wood panels glued together on edge, for instance, then you’ll probably want to start with a belt sander spinning an 80- or 100-grit abrasive to level all glue joints. If you’re dealing with smoothly planed, unlaminated pine, then a half-sheet sander with a 120-grit abrasive is a good start. A 150-grit abrasive is often ideal for beginning on hardwood veneered plywood.
Why not a random orbit sander at this stage? I like these tools for sanding
where rapid wood removal is more important than super-fine results, but
random orbit sanders can often leave swirl marks behind, especially on
softwoods finished with stain. That’s why the little-known half-sheet sander
is better for this stage. The pad mainly moves back and forth, along the
wood grain, with little chance for cross-grain swirls. Finish up with a
quarter-sheet finishing sander fitted with 150-, then 180-grit paper, then
again with 220-grit paper.
Regardless of the sanding steps you follow, be sure to work with light
shining off the surface at a shallow angle into your eyes. It’s crucial that you only switch to a finer grit of sandpaper after the one you’re using has
erased all marks left by the previous grit.
When I’m finished sanding, a shop vac is my preferred tool for removing
dust from surfaces before urethane application. I use a round dusting brush
attachment so the wood doesn’t get marked up.
All else being equal, it’s easier to succeed with oil-based urethanes than
waterbased. Drying speed is the reason why. Waterbased formulations dry
much more quickly than oil, so brush strokes won’t flow out as easily. You
can still get good results with waterbased, just use a foam applicator or
synthetic brush with as smooth strokes as possible.
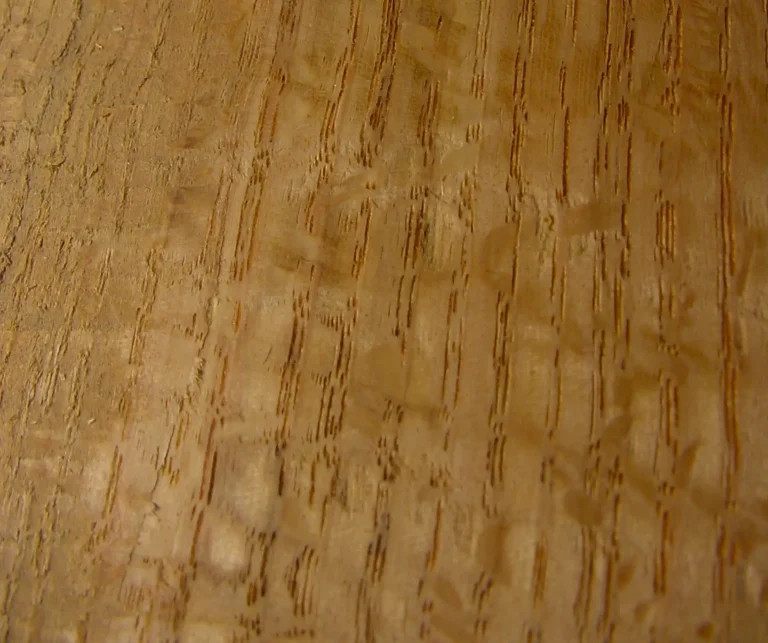
Regardless of how thoroughly you sand before urethane application, your
wood will be quite a bit rougher after the first coat dries. That’s because all
types of urethane – both oil- and waterbased – cause surface fibers to
swell, stand upright, then harden in the upright position. The surface won’t
look much different to the eye, but the wood will feel like it’s got a bad case
of 5 o’clock shadow. This is normal, and it’s why sanding again lightly with
fine sandpaper is a vital step in creating a smooth urethane finish. For
large, flat areas, I use 220- or 240- grit open coat sandpaper in a quartersheet finishing sander. Use this same sandpaper by hand for edges
narrower than 3”. Even something as mild as a quarter-sheet sander will
eat right through the first coat or two of finish if the pad pressure is
concentrated on narrow surfaces.
 For smoothing rounded profiles and mouldings, a medium 3M rubbing pad or #00 steel wool works well. I’ve been testing a synthetic steel wool substitute called Siawool. It works well where regular steel wool would leave residue behind that would rust in the presence of waterbased
urethane. Regardless of what you use, leave the last coat unsanded unless
you want to go one step further with the buffing process I describe below in
Ultimately Smooth.
 I always apply at least three coats of urethane on cabinets and shelves. High-wear surfaces like tabletops should get four or five. If you’ve done your work properly, the finishes you’ll create will always add up to
something you can be proud of.
Sidebar: Ultimately Smooth
Grab one of the spent pieces of 220-grit paper you used for sanding
between coats, wrap it around a piece of foam insulation, then gently rub all flat surfaces parallel to the grain to knock off the tiny bumps left when dust particles landed on the surface while the urethane was wet. Next, grab your random orbit sander, peel off the abrasive disk, then place it on top of a fine 3M rubbing pad on the surface. Switch the tool on and let the machine oscillate the pad on the finished wood, refining the finish. The results will be perfectly smooth in a few minutes, with a lovely satin sheen. Continue with a super fine 3M pad for high-gloss results that look like glass.


I hope you found this content useful!
Your generous support helps me produce more practical, hands-on content that I hope you’ll find useful.
Steve Maxwell