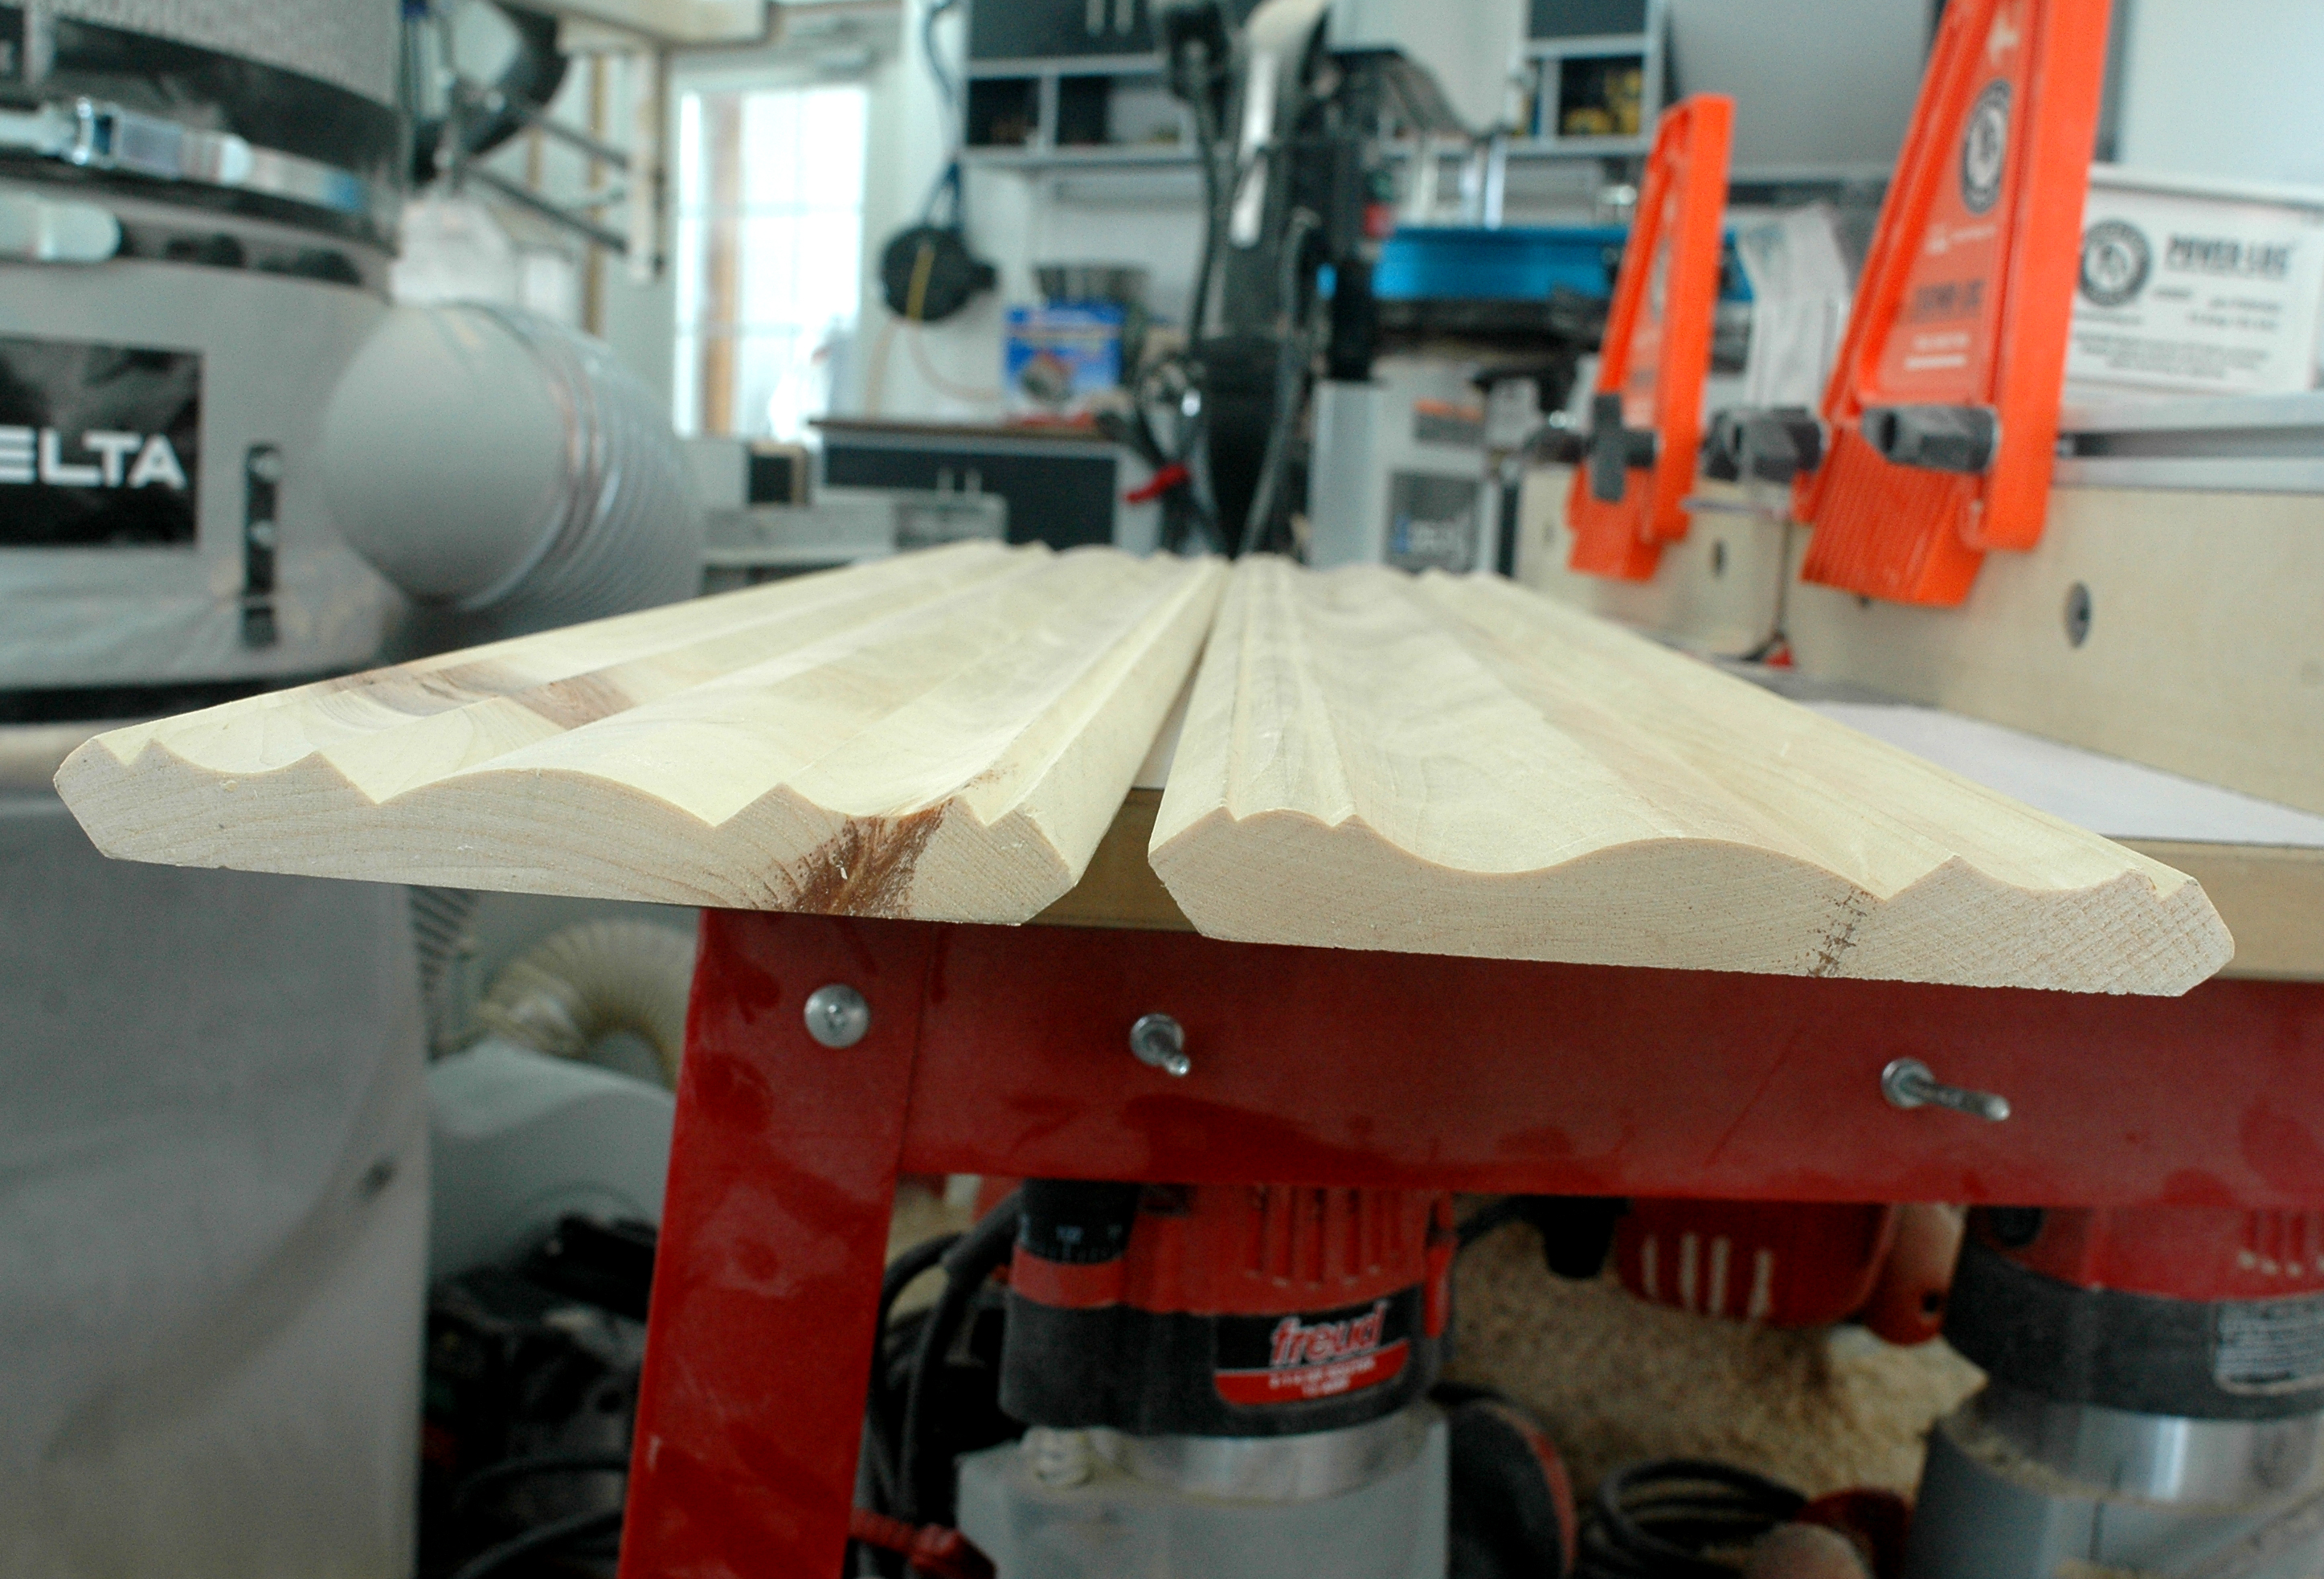
It’s never been easier to make great things happen with a router, and making your own crown moulding is a case in point. Special router bits allow you to mill your own crown profiles up to 5 1/2” wide, starting from nothing more than ordinary, 3/4”-thick lumber and using any good router table. It’s a real money-saver. But for accurate, safe results, you also need to build an extra-wide router table fence. Wide wood requires a big support surface, and the downloadable plans package here shows you how to build what you need. I designed this build-it-yourself fence for Freud, but you can get the blueprints here for free. They’re mine to give away.
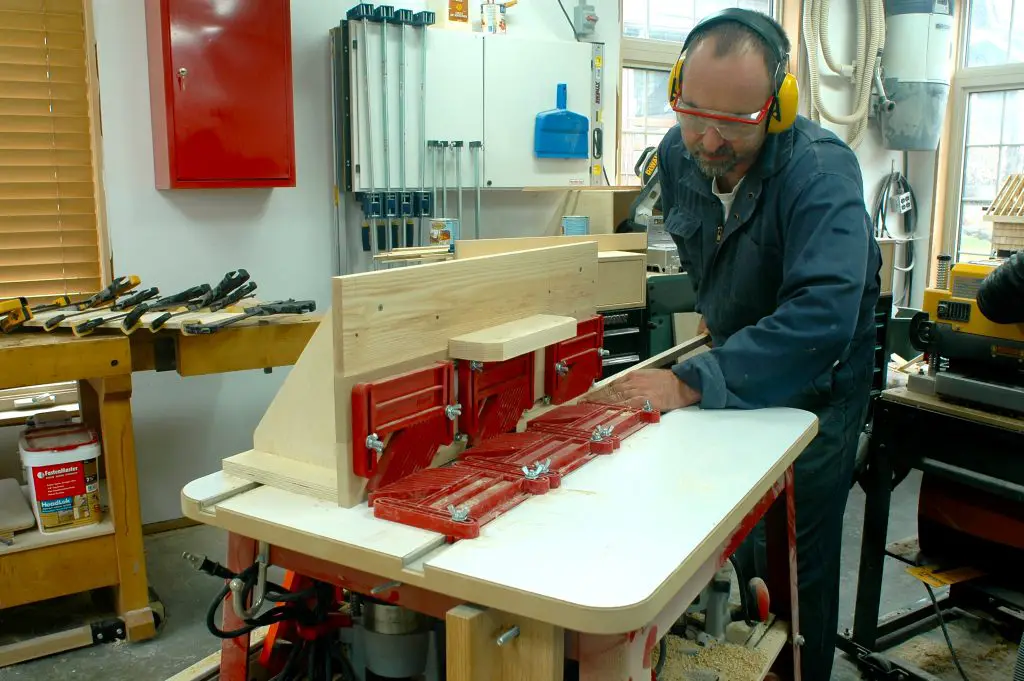
Getting down to details now, the plans and instructions package will lead you step-by-step through the process of converting a standard, aftermarket router table fence to the extra-wide fence configuration. I used the Freud micro-adjustable fence as a starting point because it’s a widely available and economical starting point. That said, the conception the plans works for most other fences, too.
My design also allows you to easily reconfigure your fence back to lower profile operation for ordinary router operations later on. Start by clicking on the image to the left to download the PDF plans package. Print the plans so you can take them to your workbench while you work. The design of the fence is flexible, so you can make it work in different situations.
As you’ll see when you get familiar with the plans, there are three steps to this project:
- Widening the existing vertical surface or your fence.
- Adding anchor points for the featherboards that support the work pieces.
- Creating triangular supports on the back of the fence extension to keep it steady during use.
Router Table Fence Step #1: Add Vertical Fence Extensions
The Freud router table fence comes standard with two MDF faces – one on each side of the router bit opening, and the easiest way to begin adding fence height is by joining additional inserts on top of the standard ones. Glue alone won’t be enough to make these edge-to-edge joints strong, so you’ll need to reinforce them mechanically. You could use 1/4” diameter fluted dowels, though #20 biscuits work better. Remove the existing inserts from the fence, then prepare a place for three biscuits or dowels along the length of each fence piece. Apply glue, then clamp the joints tight.
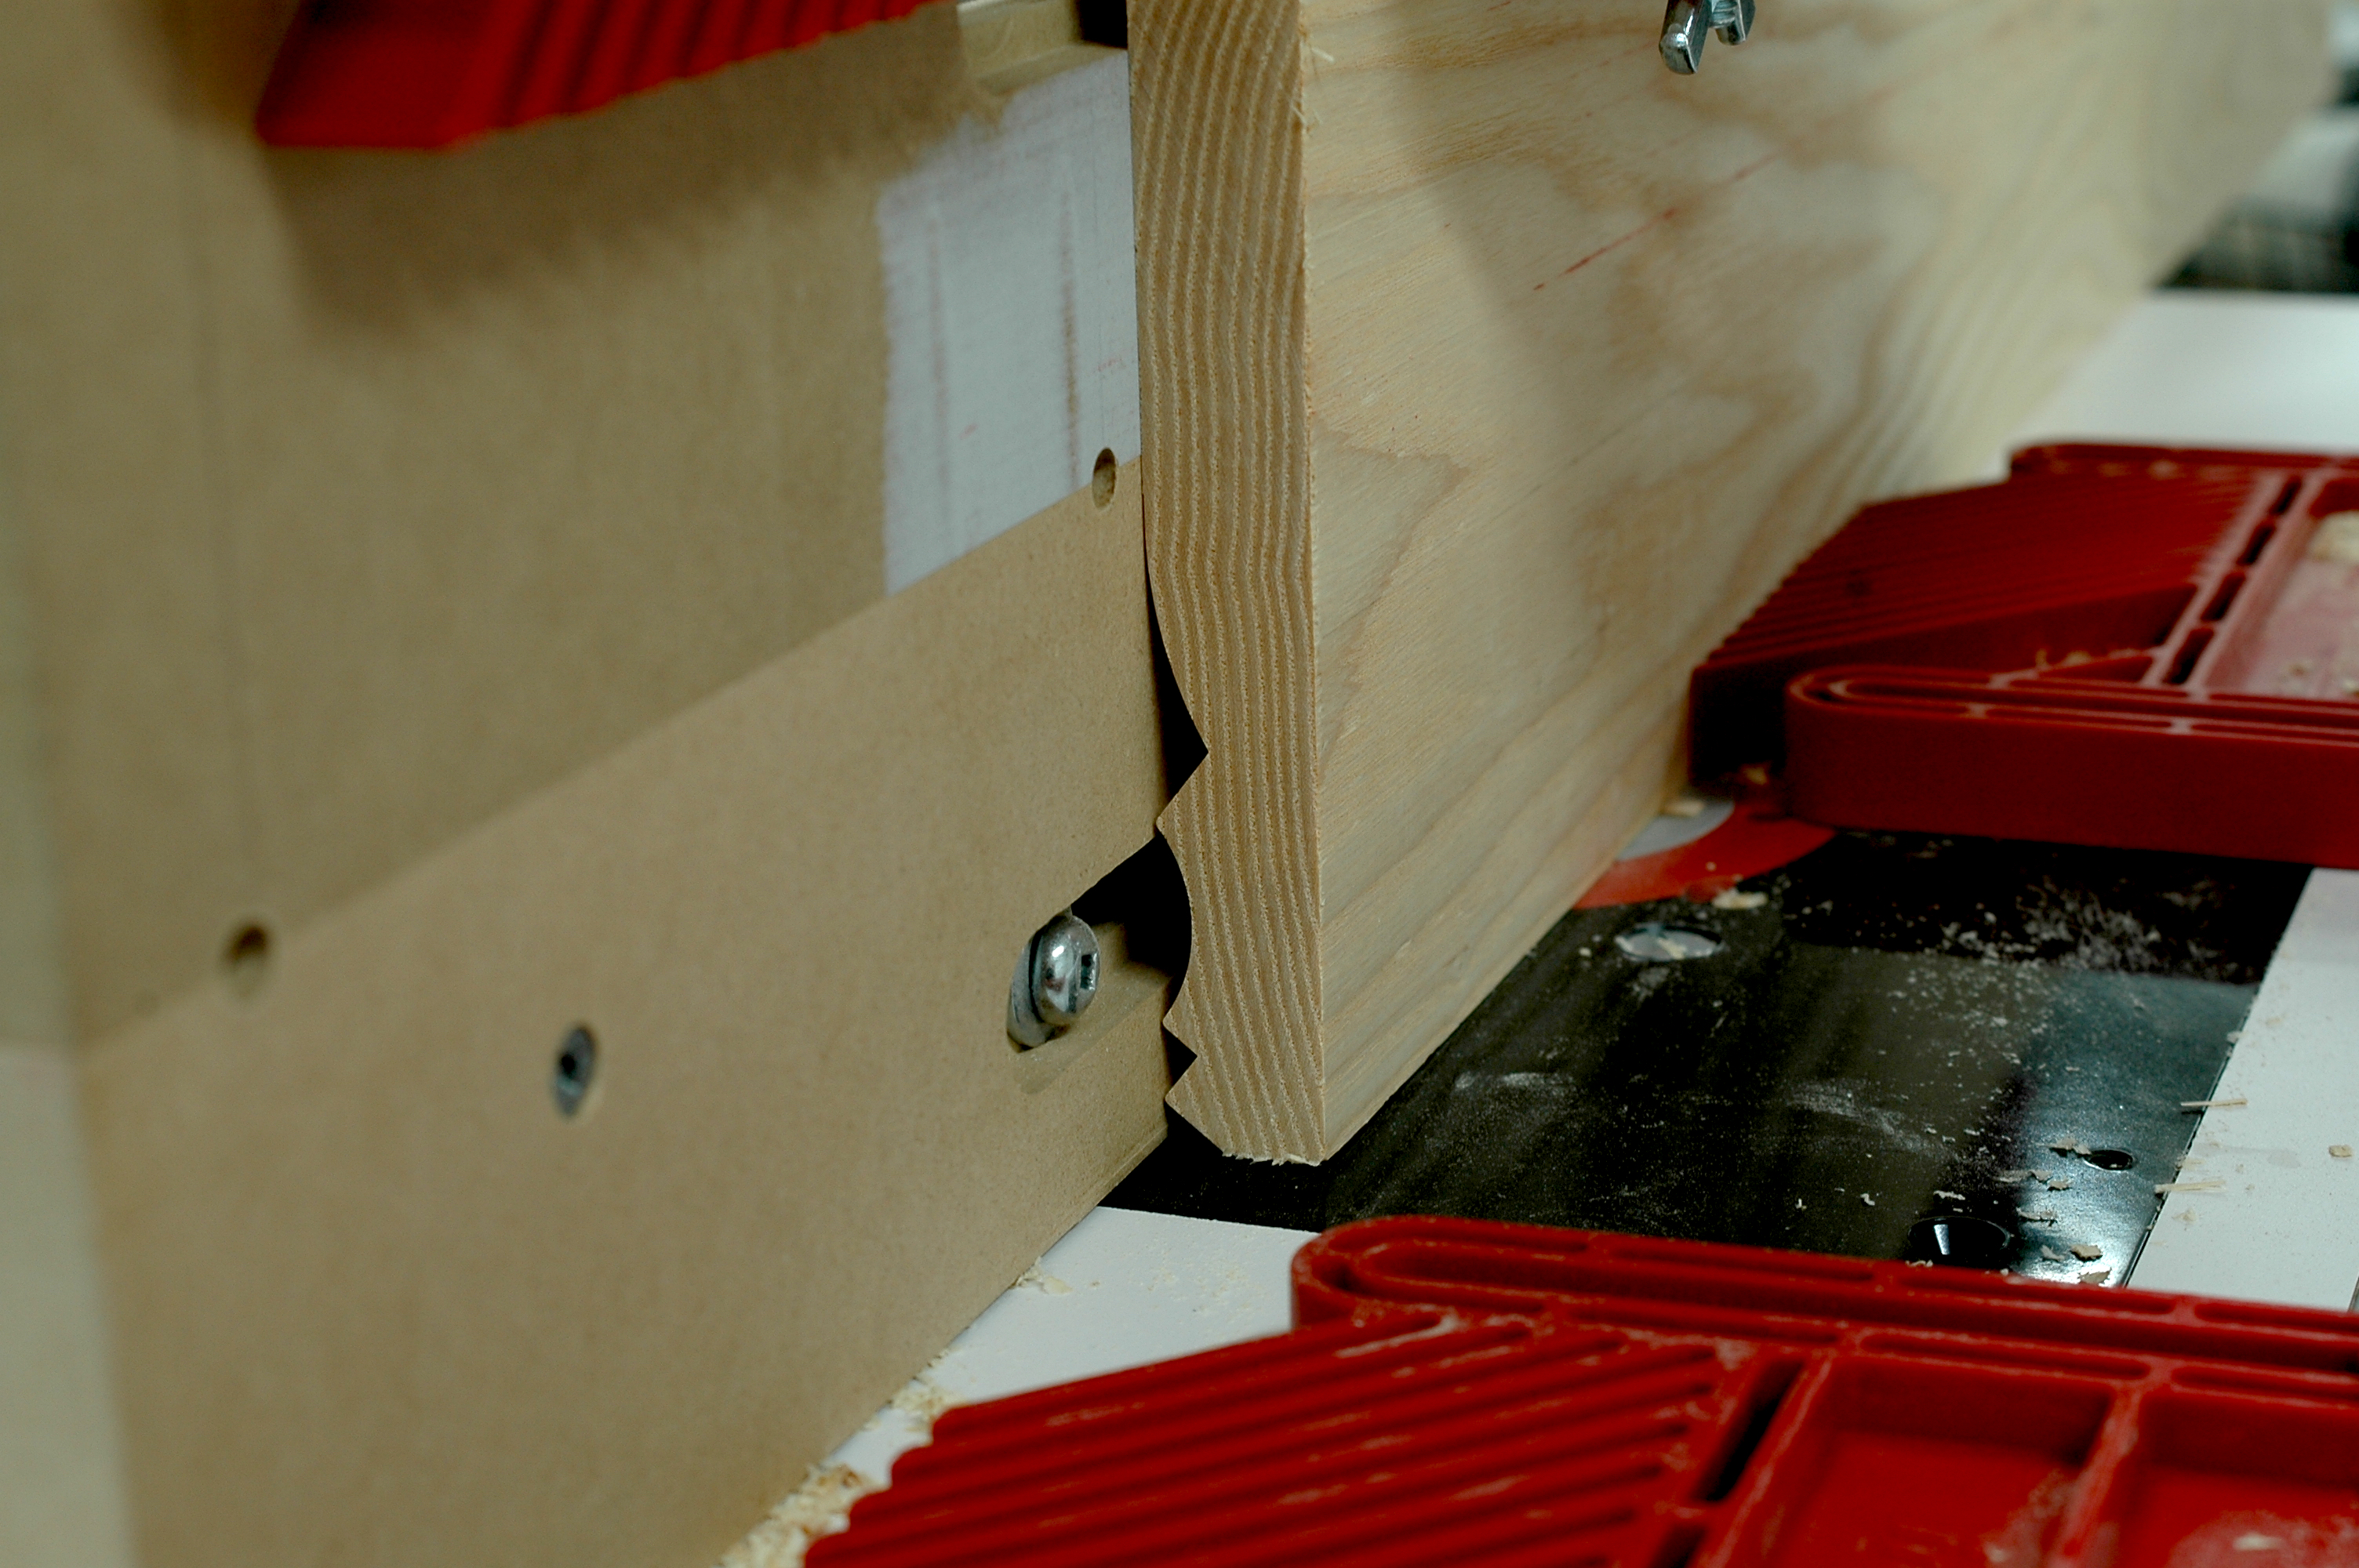
The next stage of fence extension involves joining the two MDF fence faces with a single piece of wood. Hardwood is best. Whatever you use, make sure it’s exactly the same thickness as the MDF you’re joining it to. Use more biscuits or dowels to join these parts.
Router Table Fence Step #2: Create Featherboard Anchor Points
At least five featherboards are required for milling successful crown moulding because the workpieces must be held perfectly steady as they’re being milled. The plans show where to drilled counterbored holes in the fence face for the two featherboards that create downward pressure on the top edge of each workpiece, but that’s not all that’s required. In addition to the sideways pressure created by the two featherboards fastened to the router table top, similar sideways pressure is also required at the top of every workpiece. And to make this happen you need to prepare a horizontal featherboard support and fasten it to the fence face using more biscuits or dowels.
Router Table Fence Step #3: Install Fence Support Braces
Bolt your enhanced fence extension onto the metal fence body and you’ll immediately see why support braces are needed. The fence is now so tall that it’s unable to remain solidly vertical during routing operations.
The plans show details of the triangular fence braces you need to build. Cabinet-grade plywood is best for this job because it’s strong and stable in all directions. Join one support upright to one support base using glue and biscuit joints. It’s essential that the support edge of each assembly be perfectly square to the base, so the fence will be square to the router table top during use.
After the glue has dried, dry-fit the support braces onto the back of the fence as it’s bolted to the router table top. Mark the location of each brace in pencil on the back of the fence, then bore holes for screws that secure the support braces. When your fence is done, bolt it to the router table, then double-check that it’s square to the router table top. If not, use wedges to tweak the orientation, then start milling crown. If you need crown moulding for your projects, this fence will save you a bundle of money.
Have you ever thought of milling your own hand railing stock? It’s easier than you think. Click here to watch how it’s done.
 How did you find this article? I hope you liked it. Please consider helping me cover the cost of creating and publishing content like this. It costs $500 a month just to keep the lights on with this site, not to mention the time and expense of producing the content. Click the “buy me a coffee” button below and it’s fast and easy to contribute. Thanks to everyone helping out.


I hope you found this content useful!
Your generous support helps me produce more practical, hands-on content that I hope you’ll find useful.
Steve Maxwell