Built-in storage cabinets are making a comeback, and that’s a very good thing. Few other storage systems are as elegant and effective, and built-ins can be installed in just about any home.Your design might take the form of entire walls re-purposed into floor-to-ceiling closets, concealed behind paneled doors that match neighbouring passage doors and window trim. Small, empty wall spaces of the sort found here-and-there in every house can be refined into hidden shelves, built like cabinets, yet anchored to the building permanently. Even the space between interior wall studs makes a great location for small built-ins designed to display collectibles.
Whether you intend to tackle the work yourself or hire it out, it pays to understand the technical possibilities behind the built-in option.
In a nutshell, the work of making built-ins involves:
- Creating a veneered plywood shelf box that fits within the wall cavity. Even shallow cavities, otherwise unusable ones, can be used for this.
- A finished framework spanning the gap between the shelf box and surrounding walls and provides places to hang a door, if desired.
- The best designs match neighouring woodwork and trim.
Shelf Box
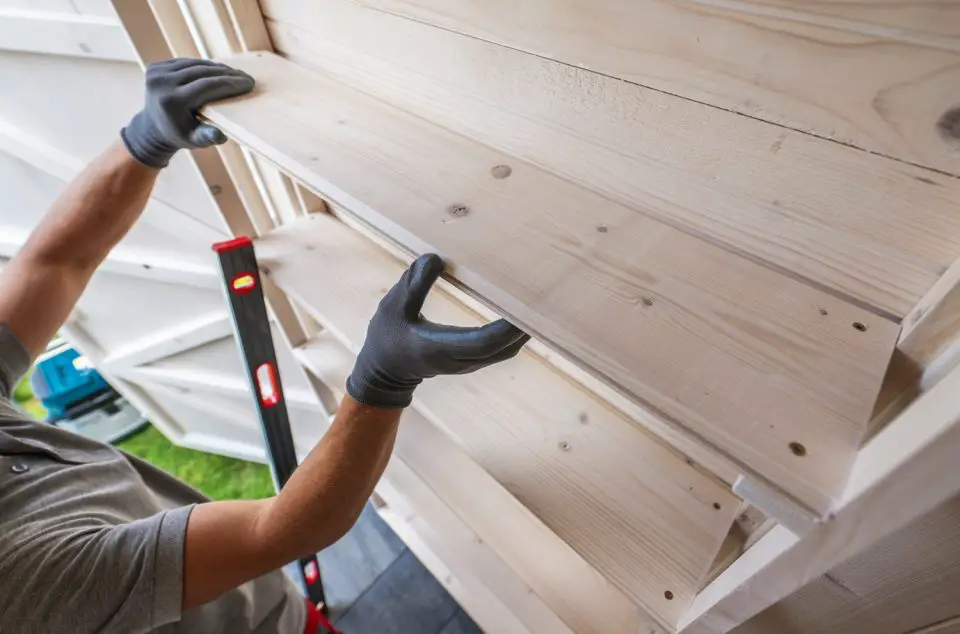
- Floor-to-ceiling built-ins are based on shelf boxes with sides made from 3/4″ hardwood-veneered plywood.
- Built-ins less than 48″ high can be made using 1/2″-thick ply.
- Vertical strips of 5/8”-thick tongue and groove lumber of the sort sold for wall paneling work well for back panels, as does 1/4” veneered ply.
- If you’ll be making your own built-ins, consider preparing a full-size floor drawing as inexpensive insurance against the heart-stopping hazard of an ill-built built-in. Use some masking tape to outline the footprint of the space on your workshop floor, then erect a few wall studs to mimic the vertical opening you’re building to.
- If you’re creating a floor-to-ceiling installation, then don’t bother with a bottom panel on your shelf box. The existing finished floor isn’t going anywhere, so you might as well use it.
- Of course, built-ins that start part way up a wall need a four-sided shelf box.
- Regardless of your design, simple butt joints (glued and nailed) are more than adequate.
- Whatever design you’ve selected, plan to leave a 1/2” to 3/4” gap between the existing walls and your box. This seems a lot, but it’s necessary to allow for what sometimes passes as plumb and square in a typical house.
- Whatever gap you end up with between your box and the surrounding walls, take up the slack with wedges or strips of wood during installation.
Framework
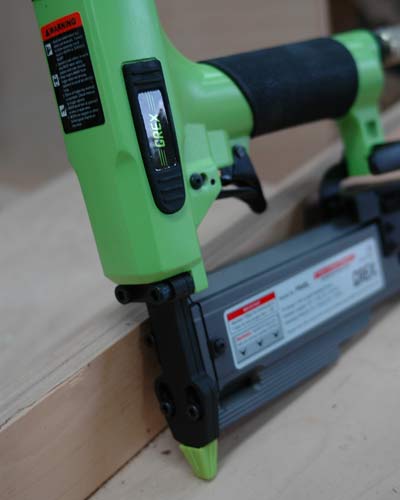
- Many home work shoppers are surprised to learn that biscuit joinery is the fastest and easiest way to connect the door and door frame parts needed to enclose your built-in.
- You can also buy ready-made, unfinished wooden doors at any building supply outlet.
- Pre-hang the doors on hinges within their frames, then fasten the entire assembly to the plywood box that’s the built-in.
- For units shorter than 48”, use glue and countersunk finishing nails covered with a wax filler stick.
- Larger installations call for screws concealed underneath tapered wooden plugs. By pre-finishing these plugs in the same way you finished the face frame and doors, you’ll get a nearly invisible final installation.
- Install shelves on adjustable pins driven into holes bored into the sides of the plywood.
Tastefully designed built-ins are one of the few home improvement features that actually add more to real estate value than they cost to put in. That’s especially true when they’re located in the kitchen and bathroom. But more important than money, built-ins make your home a better place to live. And that’s one of the biggest advantages of applying a little imagination to your home improvement plans.


I hope you found this content useful!
Your generous support helps me produce more practical, hands-on content that I hope you’ll find useful.
Steve Maxwell