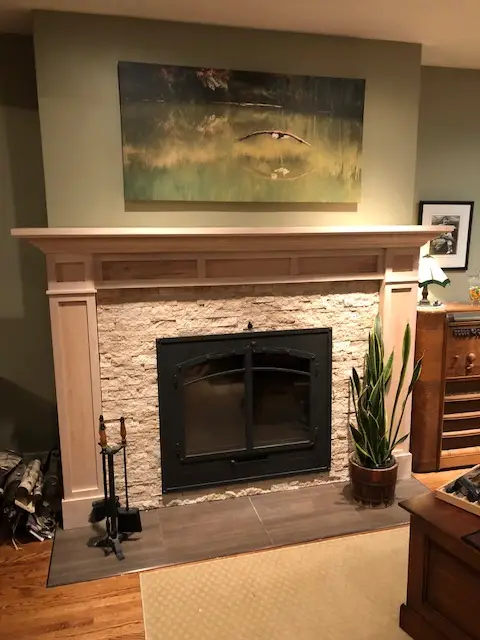
Do you have your heart set on a timber frame home or addition, but need a less expensive or simpler way to make it happen? This article is for you. It applies if you’re thinking of doing the work yourself or hiring a contractor. In the photo below my wife, Mary, is oiling posts and beams that we joined with traditional timber frame joinery when we built our place. Big wood is a beautiful thing to live with, regardless of how it’s joined.
Big Wood is Beautiful
One of the biggest differences between discerning homeowners and contractors is easy to predict. It’s the tug-of-war that sometimes emerges between the desire for a classic appearance and the need to stay practical and affordable. Homeowners often want features that are outside the budget of the project or beyond the skill level of the tradespeople available for a contractor to hire. The quest for efficiency, coupled with insufficient skills in the labour force, are the biggest reason why so many great big trees get sawn into planks and hidden behind drywall, rather than sawn and joined into beautiful beams that remain in full view as part of the design. I’ve used a Canadian hardware system called Timberlinx (877.900.3111) on a few of my projects, and it goes a long way to making exposed timber designs more affordable for homeowners, and more doable for contractors.
Hidden Metal Hardware
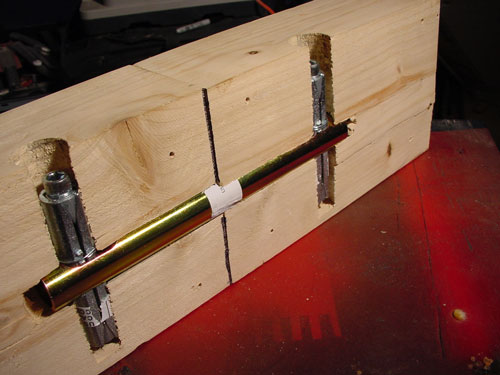
Timberlinx is a system of simple, hidden hardware that eliminates the need for time-consuming, skill-dependent traditional joinery typically used for connecting big wood into parts of a building frame. I first learned about Timberlinx more than 25 years ago. The system uses metal tubes inset into holes that span the connection between adjoining timbers. Expanding metal pins fit into oval holes at the ends of each tube. When you make these pins larger by turning a big bolt in the centre, it draws the joint tight. I’ve used the Timberlinx system to connect solid wood timbers as well as engineered glue-laminated beams and it works equally well with both. You can see a cross-section of a Timberlinx joint opened up below.
Drilling Jig is Key
Drilling accurate holes is key, and the Timberlinx system comes with a robust metal drilling jig that guides a 1 1/8” diameter self-feeding drill bit square to the face of the wood. This approach bores the necessary intersecting holes for the system – one long hole for the central tube, and two shorter ones for the expanding pins. There are a handful of different variations on Timberlinx hardware, depending on the specific joinery situation you’re facing. You can see the drilling jig below.

You’d have to be something of a mechanical genius to understand exactly how Timberlinx works from my short description here, but that’s okay. What really matters is that you realize there’s an efficient alternative to traditional timber framing methods, and it’s probably not something your contractor knows about. Timberlinx isn’t something you’ll see in any hardware store.
Although I’m a purist when it comes to wood, and I do prefer and use traditional joinery methods in some of my own work, I consider a little bit of cheating with hidden metal hardware a small price to pay if it means replacing hidden 2x6s and 2x10s with the magnificence of grand, exposed 6×6, 8×10 and 10×12 timbers.
Finding Big Timbers
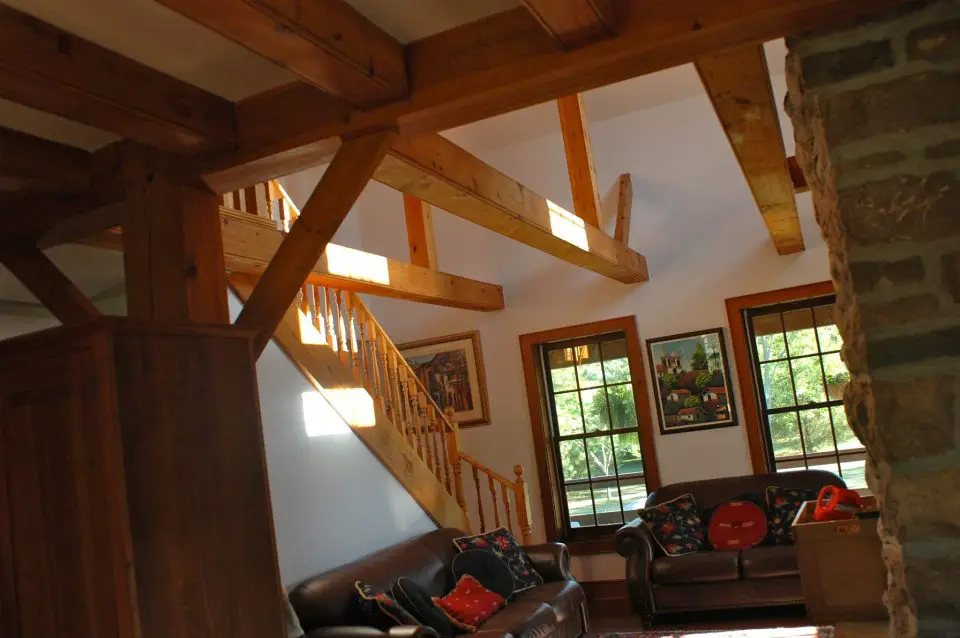
So where do you get timbers to build with? The best ones come from the small sawmills that you’ll find wherever good forests grow. That’s where I got the timbers used for the frame below, all connected with traditional joints. Some small sawmills are stationary, one-man operations, while some sawyers offer a traveling sawmill service. I’ve also ordered beams from my local building material supplier, delivered to my site four weeks later with shingles, plywood and insulation.
Tools for Cutting Big Wood
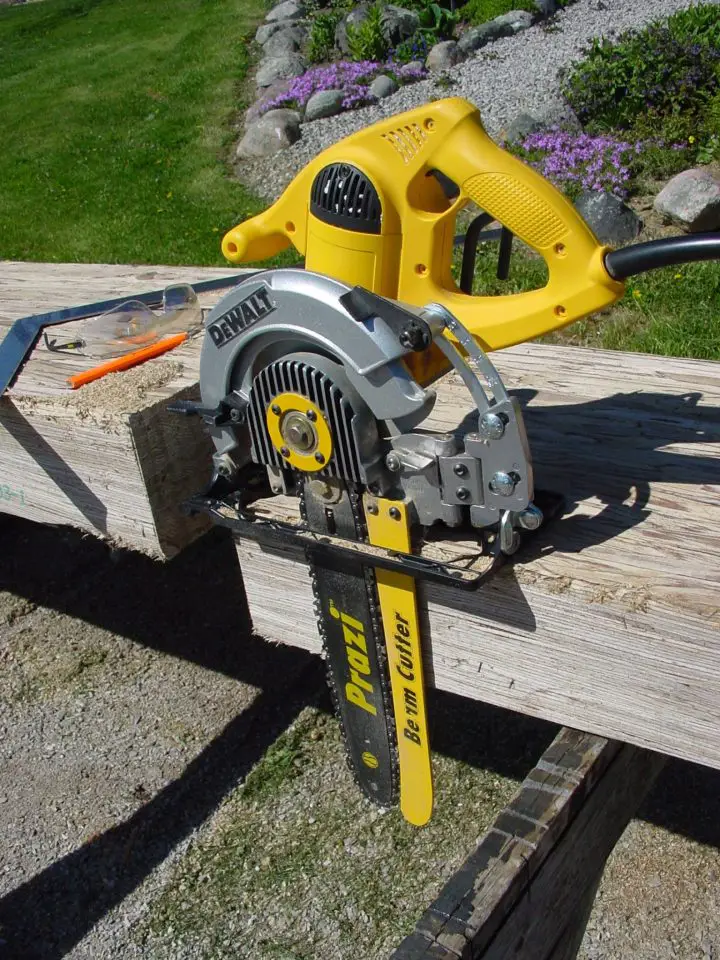
Cutting timbers to length requires special tools, since regular power saws don’t cut deeply enough, though the options are simple and affordable. I use an electric saw fitted with a Prazi beam cutter chainsaw bar, or a gas-powered chainsaw fitted with a support shoe called a 75º Head Cutter (www.bigfootsaws.com; 888.798.4499) that keeps it cutting square.

Where I live we enjoy access to wood that most of the rest of the world can only dream about. And while there’s certainly a big place for conventional lumber framing methods, doesn’t it make sense to let a little bit more of extraordinary big-wood timber show through when beautiful material like this is available?


I hope you found this content useful!
Your generous support helps me produce more practical, hands-on content that I hope you’ll find useful.
Steve Maxwell