- Video Watch Time = 12 1/4 minutes
Want to create an attractive, distressed finish on furniture and interior woodwork? Chalked paint is one of the most effective specialty finishes you can apply to create this effect, in part because its colour pallet takes you back at least a century. But there’s more of an advantage than just colour, as you’ll see. Start by watching the video above, then get more details in the article.
What Is Chalked Paint?
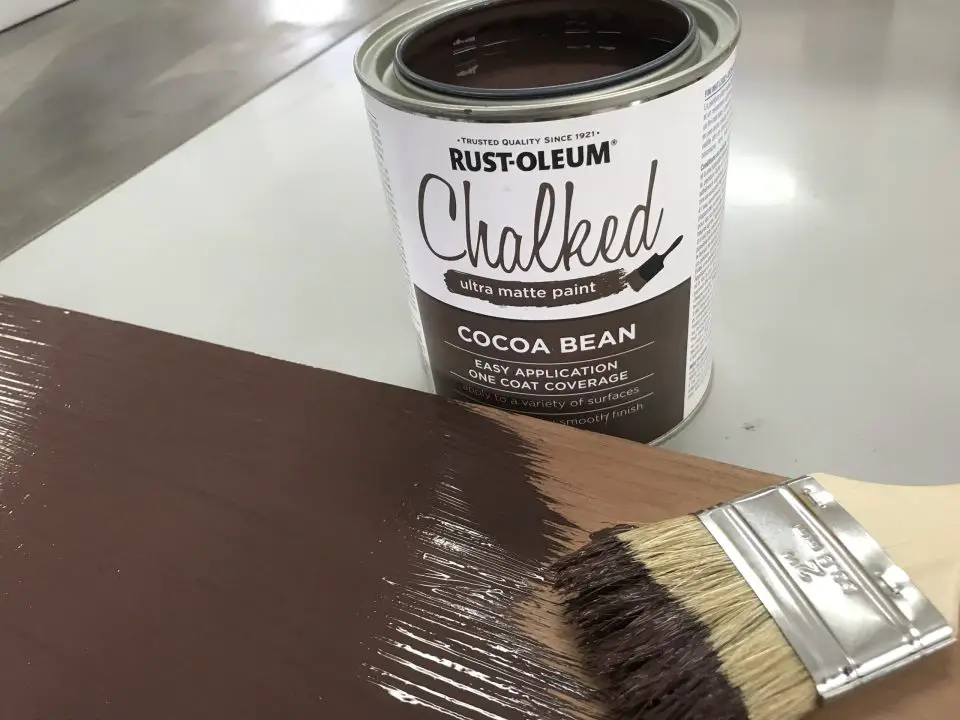
As you’d guess from the name, chalked paint is soft when it dries and it sands very easily. It can be applied to clean, bare wood, though I have also applied chalked paint to wood that has been lightly oil in the past, and even over deteriorating stained finishes. The main virtues of chalked paint are that it has no harsh odours, it’s easy to apply well, and it’s tailor-made for the kind of distressed look that has become so popular. Chalk-type paints are made by a handful of different companies, but the most widely available in North America is made by Rust-Oleum.
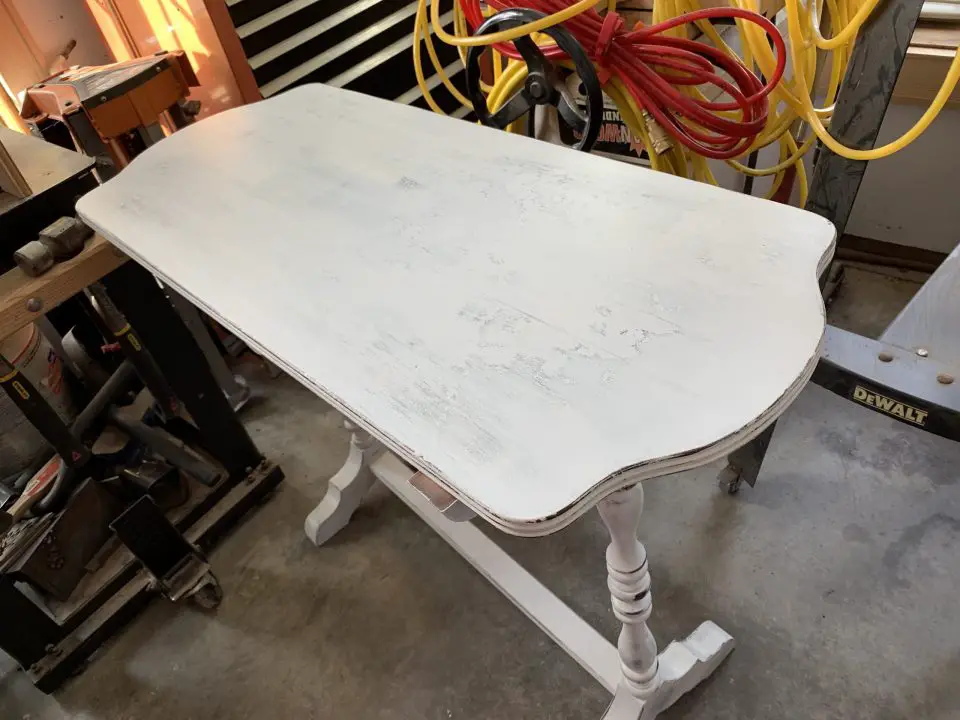
How to Use Chalked Paint
To create the distressed look, begin by staining your wood to simulate the golden patina imparted by age. This is what you’ll see later in areas where your simulated wear goes right through the chalked paint. Any medium brown stain will do – even oil-based. Let this stain dry for more than a day, then stir the chalked paint thoroughly before brushing some on. The table above already had a dark stain, so no more staining was required.
Chalked paint is thicker than many kinds of paint, so it takes a thorough mixing. I use an old 1 1/2” diameter spade bit in a cordless drill as a kind of workshop egg beater to mix all kinds of paint perfectly. It’s much more thorough than mixing with a stick by hand. Apply paint and let it dry on top of the stained wood. One coat usually does it, but two coats may be necessary if you’re not happy with the coverage. As with any finish, chalked paint makes bare wood a bit rougher than it was before application as surface fibers swell, stand upright and harden that way. The paint will be dry in a day. After that, use some fine sandpaper to smoothen the surface, knocking down the raised grain that has developed. As you work, it’s time to apply some artistry, too.
Distressing for That “Old Look”
Light sanding is what lets you create wear in areas where it could have happened naturally. The idea is to sand through the paint on corners and edges and chair rungs, but not to sand through the stain you applied earlier. Go gently at first since you can’t easily put paint back if you’ve removed too much. Sand with 220-grit abrasives (always by hand for this job), stand back and look at the whole piece of furniture periodically as you work. Chances are good that you’ll need to add more wear marks until the whole project sports the degree of distressing that suits your taste.
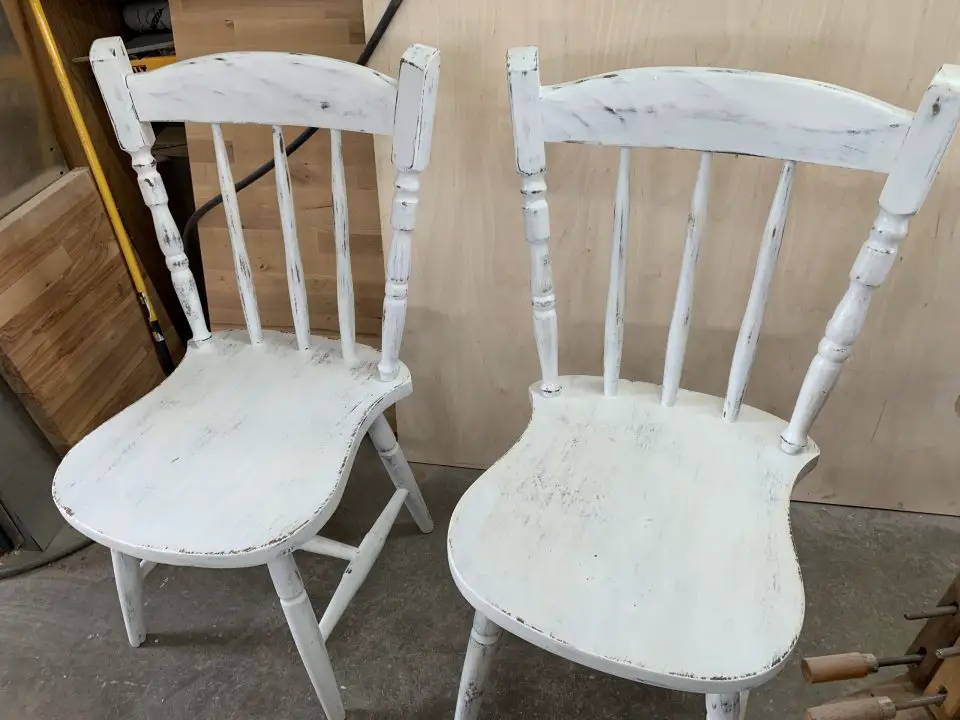
Can’t any paint be used and rubbed down like this to create a worn look? No. You can try distressing, say, latex house paint, but it won’t work well because this kind of paint (and most others) are made to resist wear and abrasion too well. Chalked paint, on the other hand, sands very willingly. For distressing you need paint that’s easily worn away.
If chalked paint sounds a lot like milk paint in how it behaves, that’s because the two products are similar. I’ve come to prefer chalked paint because it comes premixed, unlike milk paint which usually comes as a powder that you mix with water and not just by hand. To work properly milk paint powder must be mixed with a mixing attachment on a drill for complete mixing. Chalked paint is also more widely available, too.
Sealing a Chalked Paint Finish
When you’re satisfied with the look, vacuum off all the chalked paint dust, then seal the surface. My favorite product for this application is wipe-on polyurethane because it’s so inconspicuous. You really can’t tell it’s there, except that the chalked paint surface is tougher and better protected. While it’s true that a distressed chalked paint finish looks great when new, it only gets more interesting with wear and tear. Are there any other wood finishes that actually look better as they get worn?


