Spade bits are one of my favourite tools for boring holes in wood and most plastics. Precision is the reason why. Spade bits cut almost as cleanly as more expensive bits if you manage them properly, while also allowing at least three unique advantages.
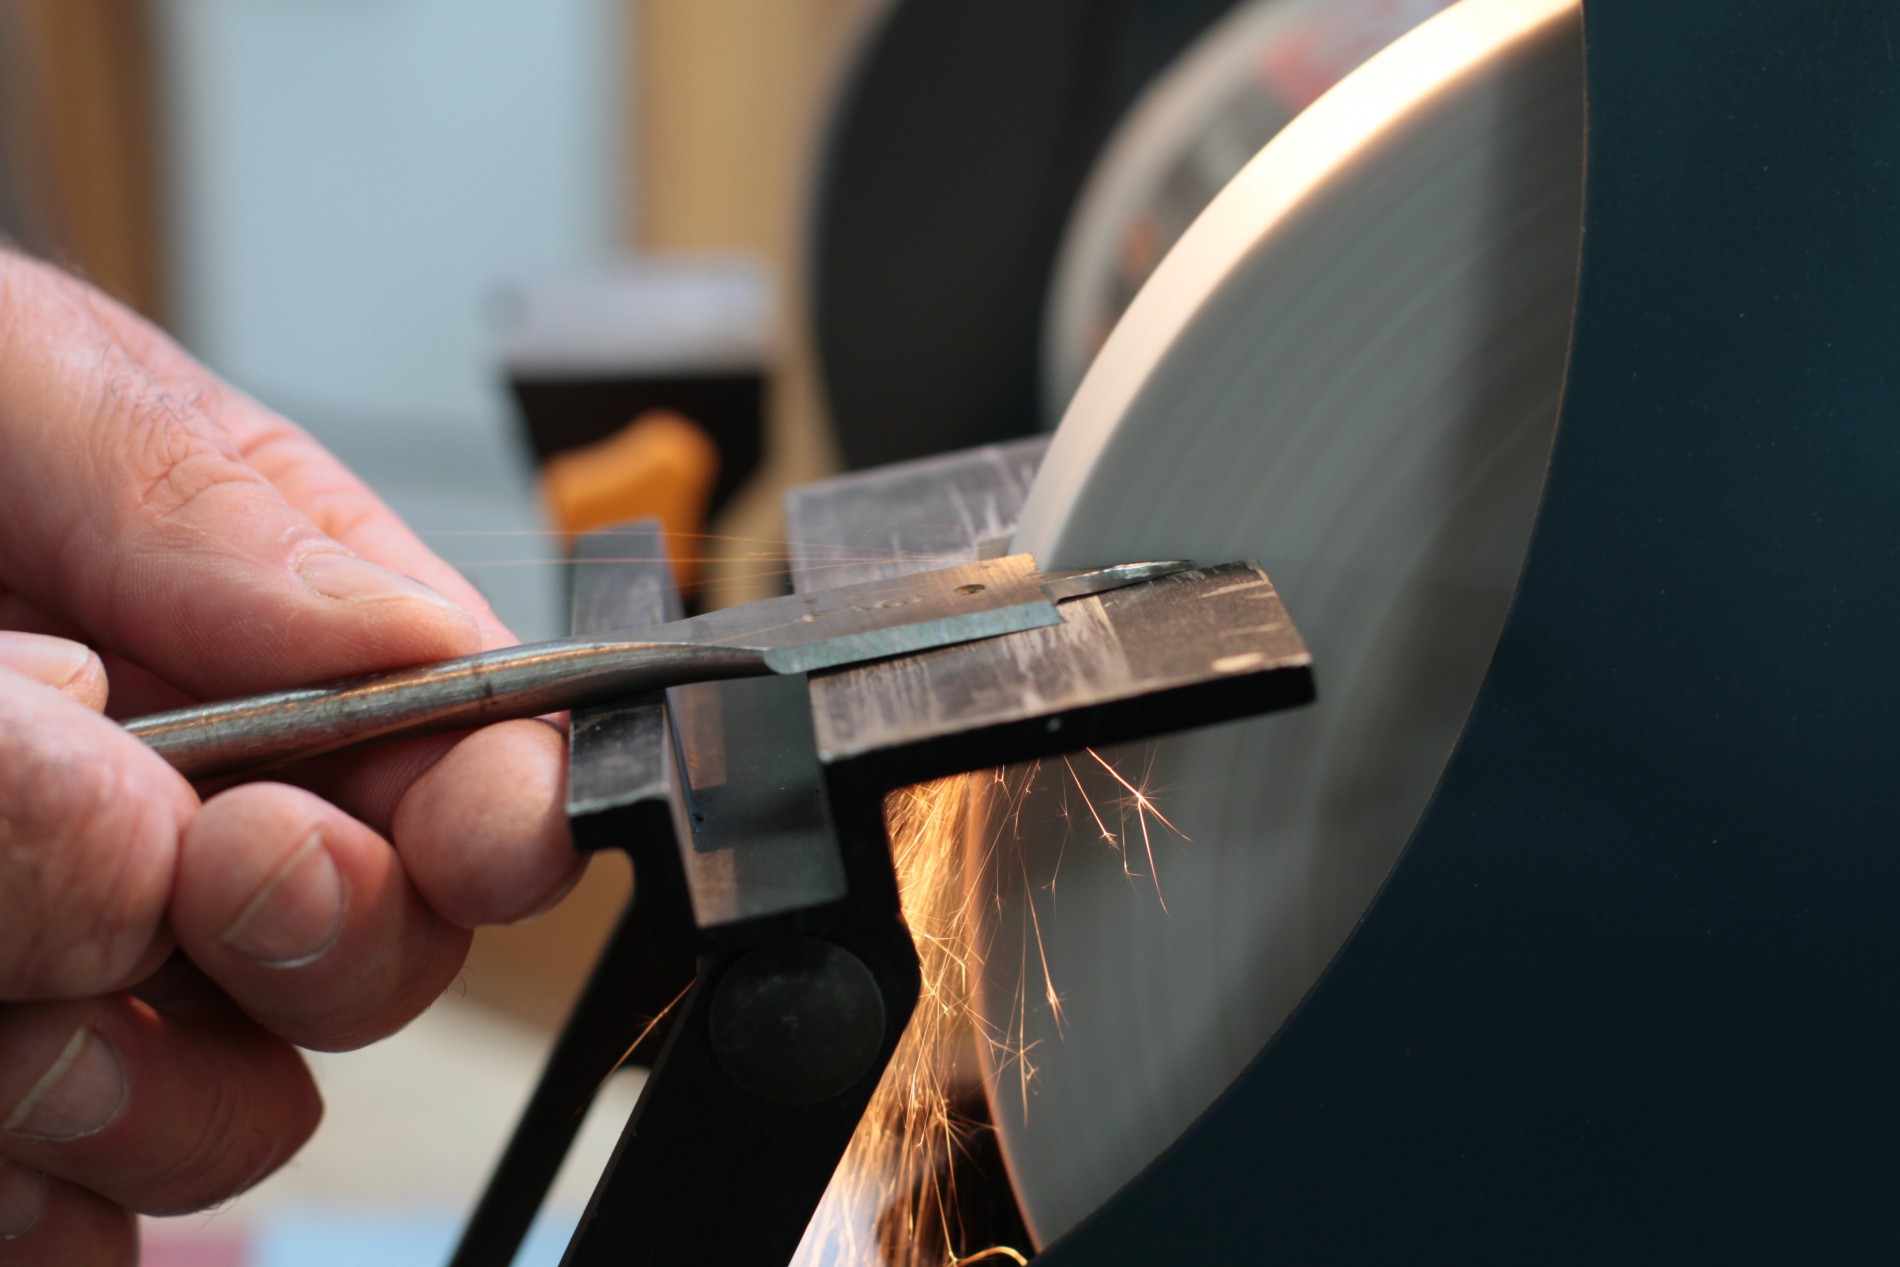
Besides being inexpensive and available at every hardware store, spade bits also keep working well for many years. All it takes is a minute or two spent sharpening now and then. I used to do this work with a flat file, but now I use a bench grinder. Either way, don’t worry about the spurs on each side of most new bits. They’re supposed to create crisper edges on holes, but I find they make no difference. Sharpening your own spade bits removes the spurs, but the results cut just as cleanly as a brand new bit with spurs.
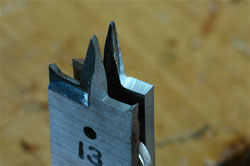
Angle and balance are the two essentials for sharpening spade bits. The leading edge of each of the two cutters needs to angle back about 5º from square. The exact angle isn’t critical, so you can safely replicate the factory angle by eye. A couple of seconds of contact against the stone is all it takes to restore all but the most mangled bits. Count the number of one-second contacts you make on one side of the bit, then replicate it on the other. Only the crudest balancing is necessary for spade bits because they don’t spin very fast – about 1000 to 1200 rpm. It’s not necessary to sharpen the sides of the central point, though you can grind it shorter for applications where you don’t want the point punching through the bottom of a hole.
Spade bits are inexpensive enough that they can be modified for one-of-a-kind applications – a feature that can’t be duplicated with any other bit. By grinding the sides of the bit evenly, for instance, it’s easy to precisely tweak the diameter of the hole created. This technique is also useful for creating holes that are just right to accept tapered wooden plugs for covering screw heads.
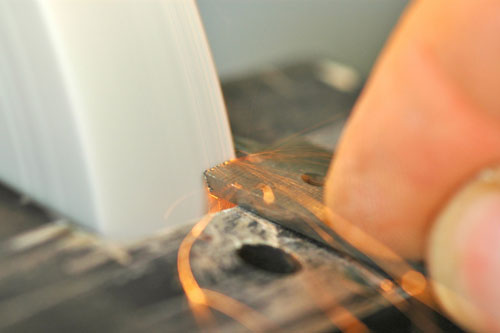
Whatever your intentions, don’t let the spade bit get hot while grinding. It’ll change the consistency of the metal, preventing it from holding an edge as long as it should. A soft, cool-running grinding wheel on a bench grinder is much safer than the standard, hard wheels that come on grinders from the factory. Use a diamond dressing tool to shape the edge of the stone so it creates a square and crisp corner where the cutting edge of the bit meets the base of the central point.
Got a hole to drill in close quarters? Is a regular bit too long to let you get in with a drill? Cut the shank of a spade bit shorter so the drill can fit into the space. You’ll find the metal of a spade bit too hard to cut with a hacksaw, but you can grind through the shank, then clean up the rough end before chucking the bit in a drill.
Spade bits have a bad reputation because they create such rough holes when they’re dull. But once you learn how to keep them sharp, and how to modify them to create customize hole sizes and shapes, you’ll find no more grounds for spade bit prejudice.
Watch and learn how to sharpen spade bits from the video above. It takes just a few minutes as you’ll see . . .


I hope you found this content useful!
Your generous support helps me produce more practical, hands-on content that I hope you’ll find useful.
Steve Maxwell