A few years ago I got busy fixing a flat tire on my lawn tractor on a Saturday, and the job took much longer than it needed to. I also endured more anguish than necessary during the task, and I wasted money, all because I forgot something my grandfather taught me 50 years earlier.
Timeless Wisdom
Grandpa was an office worker his whole life, but like many office workers of yesteryear he was also surprisingly skilled with hands-on tasks. People generally were back then. He had six-quart wooden fruit baskets full of tools in the garage (I still have them), he kept little jars on revolving carousels to store screws, bolts and washers, and he built, fixed and restored many things around the house and cottage. One day when we were by the lake together for a few weeks, Grandpa showed me how to fix a flat tire on his car – a 1962 Ford Galaxy 500.
“The first thing you always do, Steve, is get some air into the tire to see if the valve is leaking.” He unscrewed the valve cap, inflated the tire a bit with a hand pump, put some spit on his index finger, daubed it on the open end of the valve, then waited. “If the valve is leaking, you’ll get little bubbles of spit showing up”, Grandpa explained. Sure enough, bubbles formed.
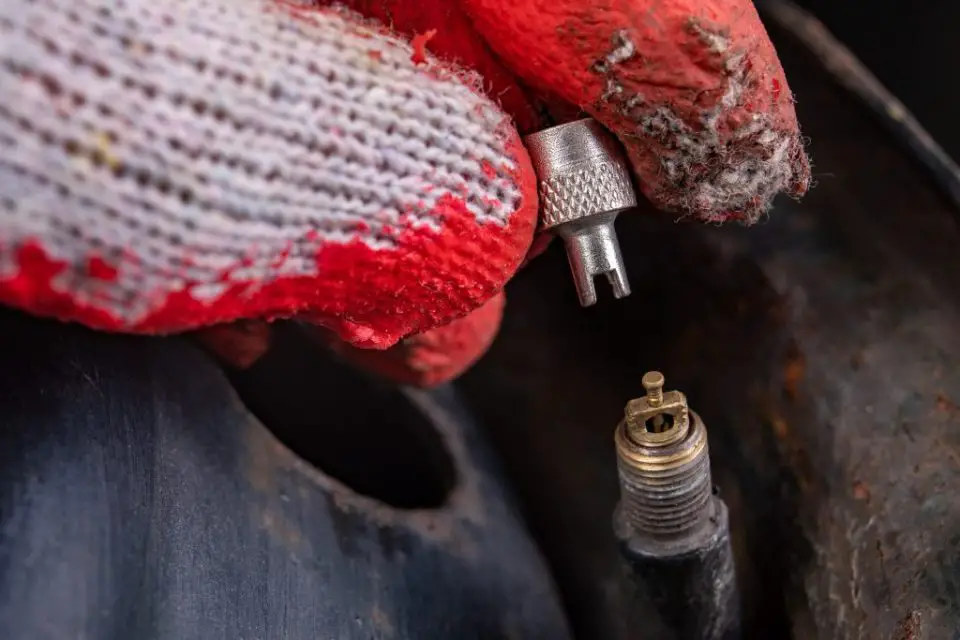
Grandpa was the kind of guy who kept little things on hand so repairs could be done without going to the store. This included new valve stems and the kind of metal valve cap with a little wrench on top for removing and replacing valve stems. He unscrewed the old valve stem, put the new valve in, pumped up the tire and checked again for bubbles. You can see one of those wrench-equipped caps below and a partially removed valve stem.
No bubbles appeared after the valve replacement and I remember feeling an amazing sense of relief. Grandpa had taken us from being stranded at the end of the remote dirt road where our cottage was, to being back in business, mobile and free. The prospect of a flat tire felt much more worrisome in my young mind than I see it to be now, but the relief of the repair done well was huge.
Check From Easy to Hard
I’ve fixed dozens of tires since that day back in the 1970s, and I almost always remember to check valves first. That said, it’s easy to overlook this step because a leaky valve isn’t usually the problem. More often than not it’s a puncture or a leak where a tubeless tire meets the steel rim. Over the decades I might have seen only one or two bad valves out of dozens of flat tires.
When I discovered the flat tire on my lawn tractor a week after topping up the pressure to the recommended max of 10 psi, I immediately bought a replacement tube from a great little local shop in town ($30). When Saturday rolled around, after I got my newsletter out for the week, I jacked up the tractor, removed the wheel, then started wrestling the tire off the rim with tire irons. A new tube installed in record time was my plan. I had that “Saturday-get-it-done” attitude going on. The back tires on this lawn tractor were originally tubeless, so the tire was reluctant to come off the rim because it’s made to form an air-tight seal without a tube. I’d repaired this particular tire before, installing a tube to solve a recurring bead leak problem some years earlier. Yanking the old tube out was easier when I removed the old valve stem to let all the air out, but getting the new tube in was difficult. It was quite thick and beefy, and more reluctant to go in place than it should have been since I didn’t bother breaking the bead on the inside face of the tire. “That’s “breaking the bead” is what they call separating the rim of a tubeless tire from the steel rim it was made to fit on. It’s not an easy thing to do, breaking the bead on a tubeless tire, but I should have done it.
Struggle Builds
After pushing the valve through the hole in the rim, and holding it there with a little screw-on gizmo made to stop tube valves from sneaking back into the tire during the remounting process, I wrestled the open side of the tire back on the rim. I’d been at the job for about 45 minutes now, but it took another 20 minutes of struggle to man-handle the tire back on the rim with tire irons. There was little cooperation on the part of the tire and I was losing momentum on the job. So much for experiencing the satisfaction of a Saturday job well done in record time.
Have you ever noticed the feeling that comes over you when a job isn’t going as well and as quickly as you’d hoped? That’s what was happening to me at this stage. The tire valve really wanted to disappear into the hole in the rim, and it was all I could do to stop that little devil from sneaking away as I connected the air hose to inflate the thing. I knew I was in trouble when only half the tire got hard. I had a classic case of “twisted tube syndrome”. The air wasn’t getting everywhere it should inside the tire and the valve was still quite eager to slip back into the rim too, even with some air pressure applied.
I threaded my tire valve holder on again after relieving the pressure a bit in a vain attempt to make things right. A couple of firm pulls on the valve to straighten it changed the course of the job completely. Under the strain of my pulling, the entire valve broke off from the new tube, the remaining air gushed out of the tube into my face, and I knew then for sure that I’d just killed a perfectly good, perfectly brand new tube. $30 gone and I was no better off then I had been. Worse, actually. That’s when I remembered Grandpa’s words:
“The first thing you always do, Steve, is get some air into the tire and see if the valve is leaking.”
I’d forgotten to do that little step, but consoled myself with the thought that the valve was probably fine. Valves usually are.
Key Detail
looked at the old tube lying beside the war zone I’d just created with tools lying everywhere. Should I put the valve back in and see where the old tube is leaking? A new tube is all the way in town 12 miles away, the shop was closed until Monday, but maybe I can patch the old one. Should I wait to get a new tube? That would be the high-quality thing to do, but I was curious. Where was the leak anyway? I really should know so I can check the tire closely in that spot to see if there’s a nail or something sharp involved.
I screwed the old valve stem back in the old tube, inflated it enough to make it firm, then went over to an outside water tap. There was no hissing sound of leaking air, but usually running water over a faulty tube is enough to show where a small puncture is. Not this time. No bubbles just from flowing water, though there had to be a leak somewhere. The tire did go flat in a week, after all. Pretty fast. That’s what made me think of the cattle watering trough I’d just got working earlier in the day for the coming grazing season. It was 300 yards to the south and full of water. Submerging the tube would show the leak for sure, but who wants to walk that far when you’re feeling impatient and much less than pleased about how a job is going? Sometimes the right thing to do doesn’t feel like the right thing to do.
By the time I walked to the trough, I was eager to plunge the inflated tube into the cool, clear water. Usually bubbles are very easy to see from whatever part of an inflated tube is underwater, but not on the first plunge. Rotating the tube, I tried another area. No bubbles. The last one third of the tube still yielded no bubbles from the old tube that had gone flat. Could it be the valve? No, surely.
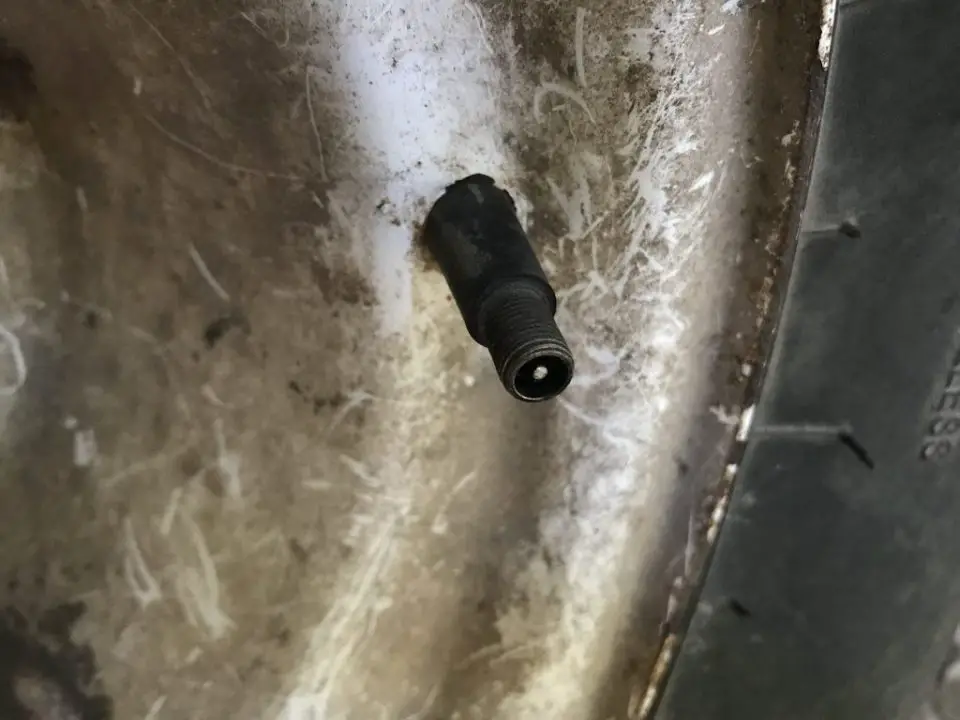
I put it under the water specifically and looked closely at the valve. There were no streams of bubbles coming from the submerged valve either, but something was happening with the little silver zone of air trapped in the tip of the valve underwater. It was getting larger. It took about 5 seconds of submerging before a single bubble broke free and rose to the top. Another 5 seconds and another bubble. More time, more bubbles. I’d forgotten Grandpa’s lesson and it cost me a couple of hours of less-than-fun work and a $30 tube. How easily we forget the important things in life.
Back home from the water trough, with a new valve installed in the old tube, a little air showed no leaking of the valve. What time and trouble I could have saved myself if I’d checked that valve. I decided I needed to pop the tire off the rim on the far side this time so I’d have an easier time getting the old tube in place. I should have done this before, but enthusiasm had turned to impatience earlier on. I wasn’t going to let this happen again.
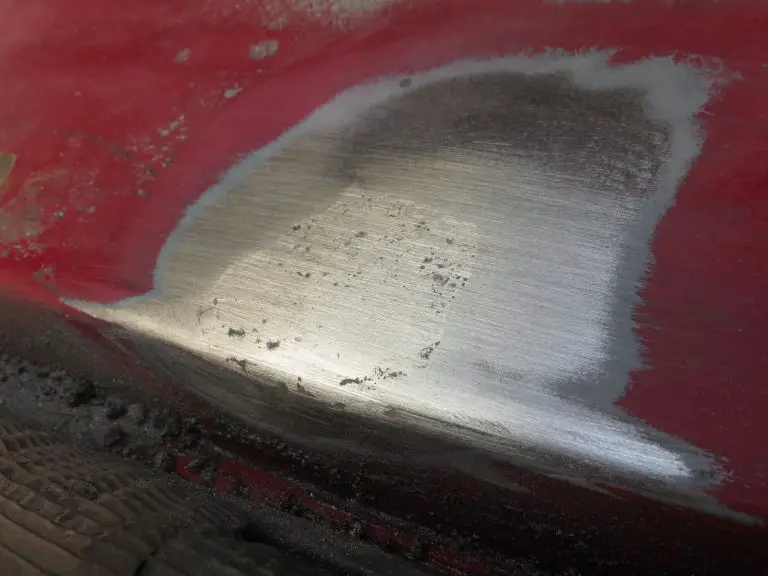
The best way I’ve found to break the bead of a tire without special equipment is to lay the tire on its side on the ground under something heavy, put the base of a jack on the side of the tire where it meets the rim, then pump the jack up. The pressure on the sidewall of the tire eventually pushes it away from the steel rim, giving a lot more room to stuff the tube in place properly. It takes a surprising amount of pressure to break a tubeless tire bead, even on a small tire.
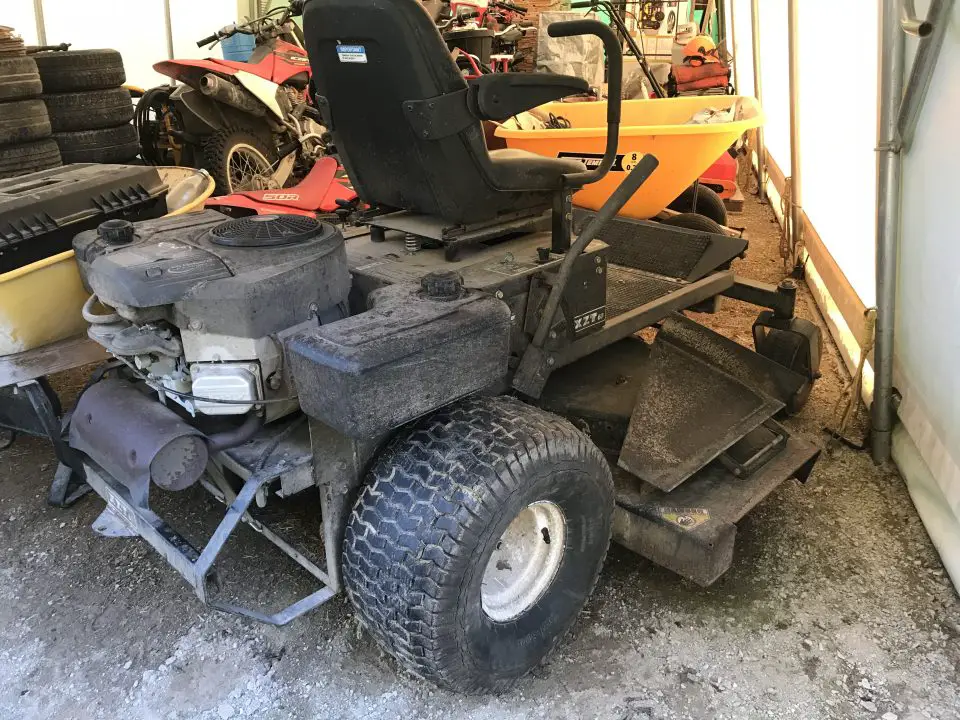
If I’d remembered Grandpa’s advice about valve leaks, I would have had the whole flat tire thing fixed in about 5 minutes instead of a lot longer. Five minutes is all it took me to find a new valve, install it, and pump the tire up to pressure. My “Saturday-get-it-done” rhythm would have been unbroken if only I’d remembered to do the right job in the right order. That’s my old Swisher mower below, with a sound tire holding air.
Everyday, on every project you tackle, each job is made up of many little decisions about quality. And I mean little. Do I shift that stud slightly more in line with the plate before nailing it home or go as-is? Do I take the time to sand that table top by hand in the direction of the wood grain as a final step before finishing, or let things go after just a power sanding? Do I climb out from under my vehicle to put some thread-sealing liquid on the oil drain plug just to be sure it won’t leak or vibrate out? Each of these decisions is small, but as practical, hands-on people, they set the trajectory of our lives. And yes, some decisions are so small we forget to make them. Like putting a little spit on the end of a tire valve before getting out the tire-fixing tools.
Oh, and that old tube that I thought was leaky but it wasn’t? It’s still holding air and working fine now, a number of years later.
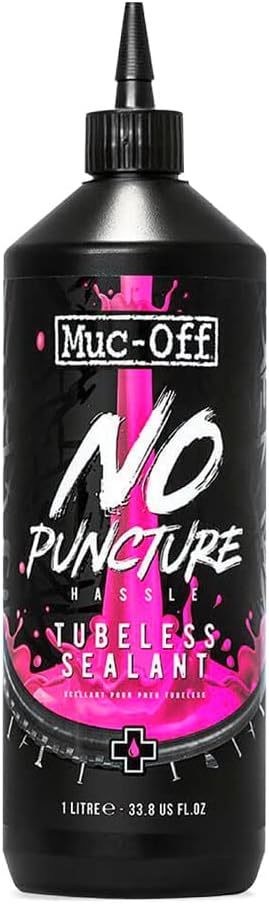
Side Note: Over the years I’ve tried various liquids for fixing small tire punctures and bead leaks, but none worked at all until I found something called Muc Off. I’ve used it three times to fix leaky lawn tractor and farm tractor tires (the small front ones), and it works exceptionally well. Drain all the air out of the tire, squirt Muc Off into the tire, then put the valve stem back in and re-inflate. I’ve had perfect and permanent success with this, and it also prevents future leaks. It’s made primarily for bicycle tires, but works well on larger ones, too.
So, what do you do when you really have a flat? Click here to watch a tutorial video on the subject. It shows how you can fix your own tubeless tire flats on cars and trucks without professional help using plugs and tire cement. (Without even taking the wheel off the vehicle, if you want).


I hope you found this content useful!
Your generous support helps me produce more practical, hands-on content that I hope you’ll find useful.
Steve Maxwell