Video Watch Time = 4 1/2 minutes
There are several ways to cover screw heads so they look nice in fancy woodworking projects, but the best I know of involves tapered wooden plugs filling counterbored holes. A small, inexpensive Canadian tool called the Snug-Plug cutter (www.leevalley.com; 800-267-8767) is ideal for making your own plugs from scrap wood. You can also buy ready-made tapered wooden plugs, though you won’t have much to choose from in the way of wood species and grain orientation. Regardless of whether you make your own tapered plugs or buy them ready to use, you’ll need to understand something called counterboring.
What Is Counterboring?
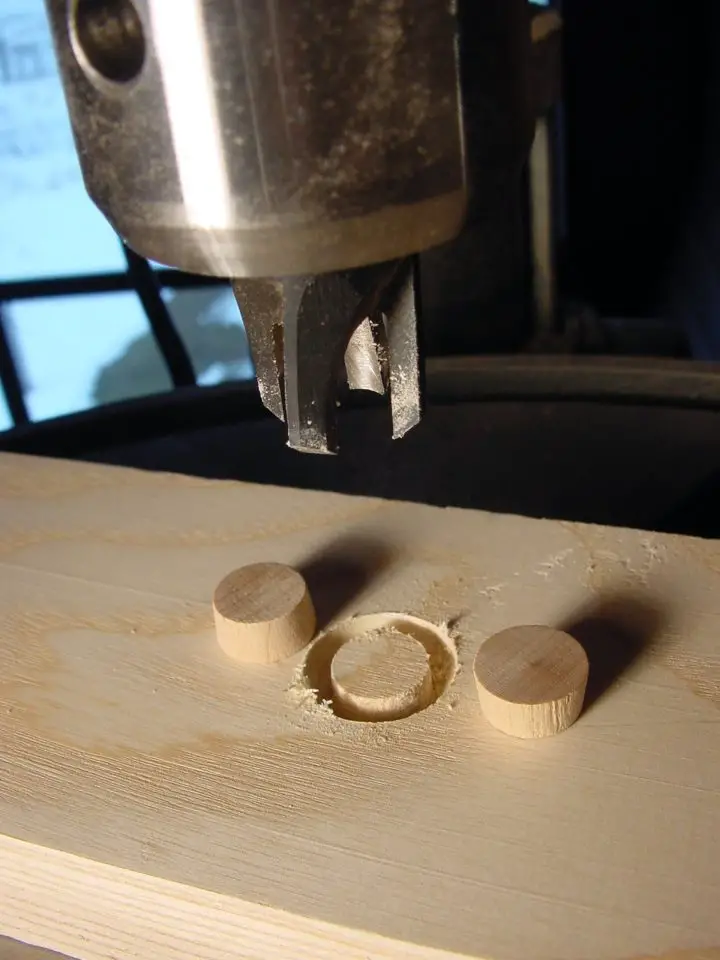
“Counterboring” refers to the creation of a round pocket in wood that will accept the head of a screw, allowing it to sit below the surface. Counterbored holes for typical wood screws are 1/2″ diameter and about half this deep, and I like to use a sharp spade bit for creating counterbored holes for wood screws. You can see the Snug-Plug tool below, making some tapered wooden plugs on my drill press in my workshop.

Tight-Fitting Plugs
The main ingredient for success is to have your counterbored holes sized so the plugs fit nicely into them, and get tight just as the plug is being tapped home with a hammer or mallet. You can’t be sure that a standard 1/2″ spade bit will be exactly the right size for this, and this is why you must bore test holes and see. Just don’t make the mistake of boring holes in your project without first testing the wooden plugs in the counterbored test holes. Can you spot the tapered wooden plug installed below in this composite lumber deck board? It’s hard to see, but it’s just below the two uninstalled plugs, and just to the right of the modified 1/2″ spade bit. As you can see, the whole tapered plug thing works just as well with plastic lumber as it does with tree lumber.

Are your tapered wooden plugs too loose of a fit in the counterbored holes? The best solution is to grind a little metal off the sides of the spade bit, then test again in some scrap wood of the same kind you’re using for the main project.
Watch the video below for tips on spade bits in general: what they are, how to use them, and, most importantly how to sharpen the cutting edges and adjust their width.


