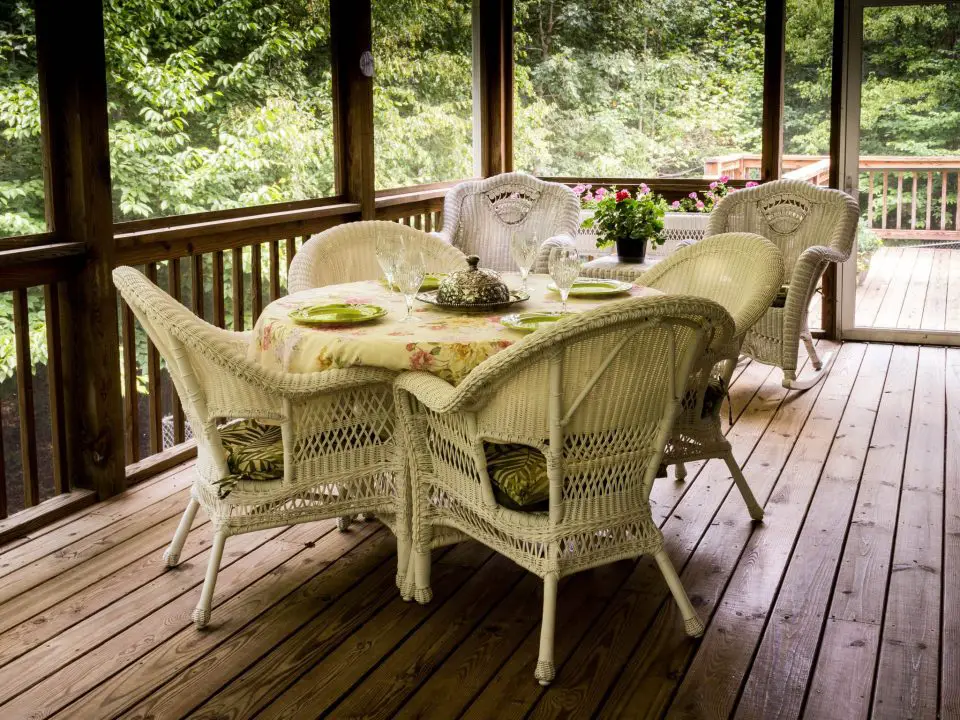
Modern homes are so much better with expansive outdoor spaces for barbeques, family parties, relaxing, and unwinding. While you can hire a professional to install your deck, you can still create one from scratch. In fact, your input is exactly what’s needed for the optimal deck.
The good thing is that you may not even require any experience to create a deck. If you know your way around tools, you can probably build a DIY deck. However, that may require a little learning. This guide will take you through the basic steps involving in building a DIY deck, so you know ahead of time if it’s something you can tackle.
Obtain Necessary Permits
It’s good you know whether or not building a deck requires a permit. In Ontario, Canada, you may need a license for decks you plan to attach to your house or another structure on the property. A deck that’s more than 30 inches or higher above the ground may require a permit. This requirement applies to decks with a walking surface area greater than 108 square feet.
These permit requirements are different in many parts of the United States. Decks you plan to attach to your home, those over 30 inches above grade or 200 square feet in size, may require a permit. The permit requirements may vary between states, too.
For example, in Nashville, Tennessee, you must submit your site plan to the Metro Nashville Department of Codes (MNDC) and Building Safety for examination. Therefore, if you don’t hire a deck builder in Nashville and try to do it on your own, you should be familiar with these requirements.
Assess the Design and Layout
This step should be straightforward, especially if you’ve already applied for your permit after submitting your deck layout to an inspecting body. If your deck installation doesn’t require a permit, ensure you have a definite layout and design handy.
Essential questions to ask yourself when doing deck design and layout include:
● How will I use the deck?
● How much space do I have?
● Do I need shade or sun exposure?
● How is the deck’s access and safety?
Decks are used for various purposes, including entertainment, family dining, and relaxation. It’s also prudent to identify obstacles like trees or railings and build around them, creating more space. Also, decide whether or not you need shade and ensure you know your area’s building code for safety and access.
Collect Materials & Tools
Physical building starts here, so ensure you collect building materials. Have the tools for layout and measuring, including tape measures, chalk lines, framing, and speed squares. Have your shovels, pipe and squeeze clamps, pry bars, and wrenches handy for excavation.
You’ll also do some cutting, so tools like circular saws, jigsaws, reciprocating saws, and other saw varieties should be accessible. Fastening tools like nail guns, compressors, and drills should be available. Don’t forget your sanders to shape or smooth around corners.
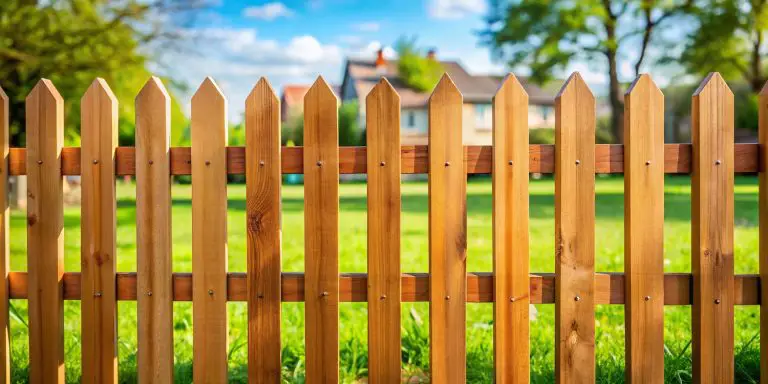
Also, decide on the type of decking material you need. Decide what suits you best between timber and composite. Please remember that these materials have different construction requirements. Composites can be expensive, but wood is readily available and reasonably affordable.
Start Building
The complexity of deck-building varies depending on the design. The process isn’t one-size-fits-all. If possible, acquire a deck plan from your building inspection office with the appropriate dimensions and site requirements to make the construction more guided and easy. Here are the general steps to take. However, please note that you may require some fine-tuning to achieve your desired quality.
Prepare the Site
Use strings and stakes to outline the deck’s shape. If your deck is simple and square, measure diagonally from one corner to another. Then, use a shovel to remove weeds and grass to clear the area.
Install the Ledger
Mark out the footing posts’ location before installing the ledge board. You can directly anchor the ledger board to your house’s framing. This side will form the deck’s structural side against the house. Here’s how this process generally occurs:
● Remove the siding above the area
● Tuck flashing up under the siding’s piece that remains above this area
● Extend the flashing down the house’s side. After you’ve installed it, ensure it’s low enough to extend below the ledger board.
● Attach the ledger board over the metal flashing using bolts or lag screws.
● Seal behind the ledger using caulk. Doing that may further prevent moisture from entering. It’s prudent that you anchor your deck correctly. Doing so will guarantee structural integrity and load-bearing capacity while preventing rot and deterioration.
Install the Footings and Posts
Erect the measured and cut posts that support the beam. You can reinforce the posts with concrete to ensure they’re plumb. Once the concrete dries, install the support beam. You can fasten the beams on the vertical posts using bracket bolts or drill them down.
Install the Joists
Attach one end of the joists to the ledger board with metal joist hangers. The other end will rest on top of the support beam. Once you’re through, the principle framework will be ideally in place.
Lay the Decking
Attach the decking boards and give your deck some physical form. You can fasten the decking boards using nails and screws into each joist. Use brackets instead if that option is applicable.
Apply Seal
Protect your deck with sealants. Timber decking oil can be ideal if you’ve chosen wood as your decking material. Otherwise, you can use any sealant your timber merchant recommends. Don’t worry about this if you’ve opted for composite because it typically doesn’t require sealing. Your deck should be ready now, so get the grill and let the party begin.
Conclusion
Installing a deck requires approaching the process systematically. However, it’s wise to always comply with your area’s building code and obtain building instructions before starting. It’s also good you understand the type of decking design you’ve opted for to ensure you meet the quality you desire.


I hope you found this content useful!
Your generous support helps me produce more practical, hands-on content that I hope you’ll find useful.
Steve Maxwell