Upholstery is one of those things that make life nicer out of all proportion to the time and materials involved in applying it. And by the same token, our personal lives start to look a whole lot more second-rate when the couches, chairs, cushions and seats in our world get shabby, worn and torn. All this is why small, air powered staple guns fill me with hope. They may be light and quiet, they may not cost much, but these tools also make it possible to easily renew your home’s upholstery with surprising ease and economy.
The first step towards DIY upholstery success is to give yourself permission to mess up as you learn. This is essential for every kind of new DIY venture, but it’s a surprisingly difficult mental trick for some people to pull off. I suspect that childhood scoldings from parents and teachers over mistakes made years ago are the reason why some people are so paralyzed by the fear of messing up. I’ve also discovered a trick that really helps overcome this. It has to do with time, money and logic, and I’ll use a recent upholstery job I took on as an example.
One of my boys made the mistake of parking his off-road motorcycle on soft ground in the spring. The kickstand sank, the bike felled down, and the upholstery on the perfectly good seat got slashed on some metal as gravity did its thing. A new seat cost more than $200, and professional reupholstery would be more than $100. A few minutes online and we found a replacement fitted seat cover for $20. How many seat covers can I mess up and still be better off financially than if I’d bought a new seat? How much time can I spend figuring out how to recover a motorcycle seat in my workshop in the same time I’d spend driving all over the place trying to find an upholstery shop that does motorcycle seats? Break free from the subconscious memory that your grade two teacher belittled you in class. Give yourself the go ahead and attempt the new manual task, abandoning the lie that it must be perfect. Even if the worst happens (and it probably won’t), it’ll still cost less time and money than you’d spend on a regular fix. The risks of the brave are less than the losses of the timid.
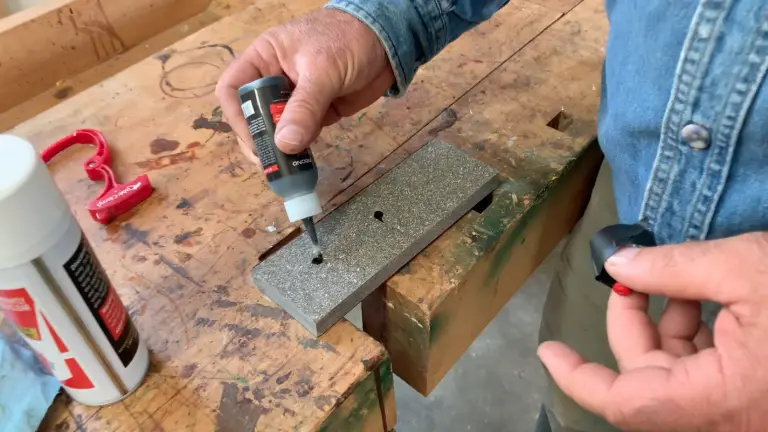
All you really need to get good results with this kind of upholstery project or any other is the right kind of air stapler. And when it comes to staplers, there’s a huge range of models made to handle a dizzying array of different staple widths and gauges. Don’t worry though. You can safely ignore all this confusion because the best kind of air stapler for general upholstery uses the same kind of staples that are sold in every hardware store in Canada.
Generically called the T50 staple, it’s the type that works in most hand-operated staple guns, as well as the kind of air stapler I recommend for home upholstery work. The shape of the T50 staple is wide enough to hold all kinds of fabrics securely. Even the relatively soft consistency of the vinyl seat cover I installed was held securely and tear-free by the wide T50s, even though the material ended up being under a lot of tension. You’ll discover many other uses for an air stapler that shoots these fasteners, too.
 Technically speaking, you can upholster items with a hand-operated, non-powered stapler, but it’s considerably more difficult to do a good job. Although most people have the strength to squeeze the spring-loaded handle and fire one of these tools easily enough, it’s not so simple while positioning fabric and pulling it tight. That’s why an air stapler is such a useful tool. One flick of the finger and the staple is driven home. The stapler I use in my shop is made by GREX. It’s a small, US-based tool brand that’s bucking the trend towards flimsier, disposable air tools. Instead, they use all metal construction, they design their tools to be rebuilt, and their innovative models work exceptionally well. Air staplers like these can operate off the smallest of air compressors and they generate just the tiniest bit of noise.
Smooth, wrinkle-free application is the key to successful upholstery. And unlike a lot of other manual ventures, you can make an upholstery mistake, realize your error, remove some staples, and then move forward wiser and more skilled than you were before. If only life were as forgiving as upholstery.
In the case of the seat I recovered last month, the process begins the way it usually does with these things, by prying out all the old staples with a flat screwdriver. Toss the old cover, and then tack the new fabric down with two staples at each end. Pull the fabric snug along the middle of one side, tack it down, and then repeat on the other side. Continue driving staples in the middle of each loose section until you’ve got one every inch or so.
You probably shouldn’t tackle an entire couch as your first upholstery project, but it won’t take long to get skilled enough for that. The right tool and the right attitude and you’re most of the way to becoming the kind of person who need never have shabby upholstery again.


I hope you found this content useful!
Your generous support helps me produce more practical, hands-on content that I hope you’ll find useful.
Steve Maxwell