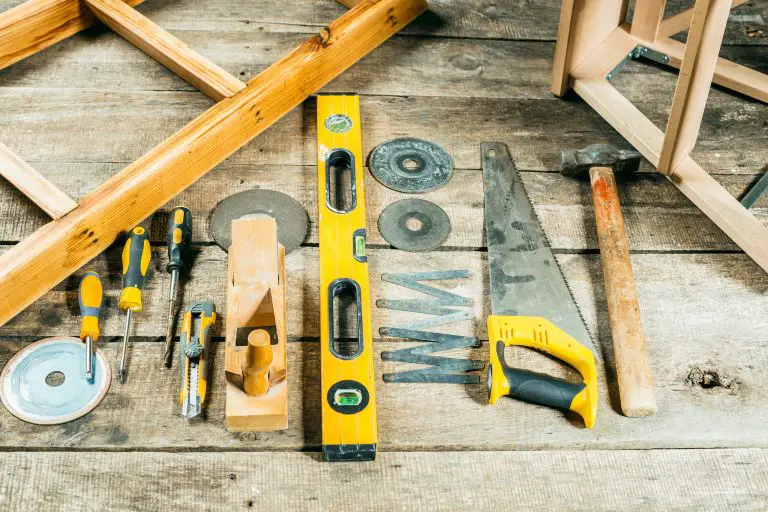
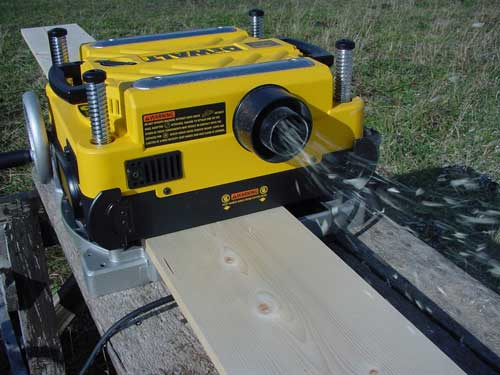
What’s a Thickness Planer?
Thickness planers are benchtop power tools for making rough wood smooth, and as planer prices drop, more and more home workshoppers are investing in these machines. Growing popularity is a good thing, but I do hear from more than a few home workshoppers who are having trouble with their planers. These machines require more maintenance than other woodworking tools, and though this task is neither difficult nor time consuming, it does need to get done. Regular waxing is the first step.
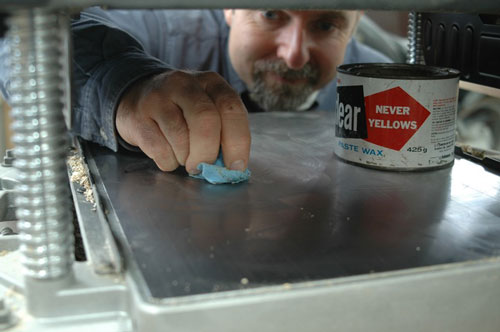 Maintenance Tip #1: Regular Waxing is Key
A thin film of wax on the planer bed is essential for wood to pass smoothly through every planer I’ve used over the last 30 years. Where boards are supposed to be drawn through a planer automatically, they’ll jam up and stop moving without wax.
I prefer paste floor wax for planers, because it dries hard, slippery and free from stickiness. Liquid automotive wax works well, too. At the first sign of boards not feeding through smoothly, switch off the power, unplug the machine, raise the cutter head and rub wax on the bed where the wood slides. Let it dry for a few minutes, then buff the metal with a clean rag.
Maintenance Tip #2: Replace Blades Regularly
Dealing with dull blades is the second thickness planer maintenance point, and for this you need to unplugged the power cord and get inside the planer by unbolting the top.
 Planer blades wear in two ways. They either get dull (leaving fuzzy wood surfaces behind), or they get chipped, leaving long lines of raised wood that correspond to the chips along blade edges.
Most planers have two internal blades that revolve and cut wood. Some have three. Regardless of the design, all planer blades bolt to a heavy, spinning solid steel cylinder called the cutter head. Most benchtop planer blades are not designed to be re-sharpened, and that’s a good thing because it makes them easy to change accurately. They’re sharp along both edges and priced to be disposable.
Renewing blades is simply a matter of unbolting the old ones and either flipping them around or replacing them with new, then bolting everything together again.
All planers use many small bolts to secure blades, and losing just one means you won’t be able to use your planer until you get a replacement from the manufacturer. Avoid unnecessary hassles and frustration by using a rare earth magnet to hold all blade bolts together in one clump after you take them out.
Before you go ahead and change chipped blades that leave behind raised ridges of wood, loosen the blade bolts, slide one blade over as far as it will go, then retighten the bolts. This shifts the nicks in blades that left behind ridges of raised wood when the chipped blade areas were aligned.
 For a closer look at the details, watch my video on changing thickness planer blades.
One last thing: Whenever you have the cutterhead exposed for maintenance, it makes sense to get your can of wax out again. The shroud surrounding the cutter head eventually gets rough and sticky as resin and small particles of wood cling to it. If this build up gets thick enough it’ll encourage planer shavings to jam, causing problems during heavy cuts. Rubbing paste wax onto the sides of the shroud offers two benefits. Not only do the solvents in the wax help dissolve any existing buildup, but they also make the surface smooth, slippery and less likely to get grungy before your next blade maintenance session.
Feel like a mechanic yet? Learning to fine-tune and maintain tools is a big part of woodworking success. The fresh, smooth boards coming out of your planer will make all the efforts of learning new skills worthwhile.
Got a tool maintenance tip you want to share? Email me and it might get published.


I hope you found this content useful!
Your generous support helps me produce more practical, hands-on content that I hope you’ll find useful.
Steve Maxwell