The small, simple garage workshop has been the birthplace of many great things in the world. I often think of this as I consider what we do in the two-storey workshop we built next to our house. Walt Disney started his life’s work in a garage, and so did Hewlett Packard, Buddy Holly, the Apple empire and Amazon.com. Let me show you a few things to keep in mind when setting up your own garage workshop.

Garage workshops are the kind of place where small ideas can get in out of the weather and grow in a cost-free space. Here at my own place our workshop has made huge differences in our lives. Woodworking, metalworking, writing and videography all happen here, and so does home schooling. But when it comes to setting up your garage for creative workshop ventures, most people have three hurdles to cross.
3 Hurdles to Cross
- Heating (or maybe cooling) the space.
- Keeping dampness from rusting your tools.
- The need to organize tools and supplies, and even occasionally keep a car in the garage.
Hurdle#1: Heating/Cooling Your Garage Workshop
Garages are almost never built to be heated or cooled, and this leads to a decision. Either make your tinkering a seasonal venture, or rig up some way of heating all or part of your garage so you can work in the winter. Keep in mind that the biggest factor behind economical heating isn’t the energy supply you choose, but the efficiency of insulation you install. And solving this problem isn’t as easy as slicing open a few bales of fiberglass batts.
The good thing about this issue is that you have tons of garage heating choices (and cooling) to choose from. Just make sure you insulate your garage before you decide to invest in heating, otherwise that money will go to waste. Insulation is the best energy efficiency investment you can make.
With so many garage designs around, the challenge of insulating successfully varies a lot. But in all cases, the greatest gain comes from installing a ceiling in a garage that doesn’t already have one. Sheets of 1/2″ plywood on top of ceiling joists do an excellent job here because this approach separates the leaky areas where roof framing meets walls, while also providing a surface to support insulation. Putting plywood on top of ceiling joists like this means insulating the space is easier and you’ll retain visible access to the joists to support hanging hooks and tool storage.
A warm workspace is one thing, but you also need plenty of room to handle lumber, store tools and maneuver projects around. Most garages need to go on a diet because they contain “too much stuff”., and that’s why job number one is to get rid of those crusty paint cans, the broken dehumidifier and everything else you “might need some day”. Be ruthless.
Hurdle#2: Keep Your Tools Rust-Free
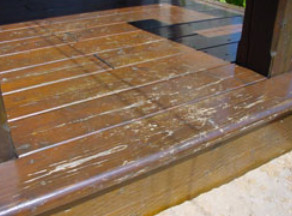
However dry the average garage might seem, it’s not dry enough for trouble-free tinkering, woodworking and tool storage year-round without some help. At least not in a cold climate. And surprisingly, the moisture problem is the most troublesome when a wave of warm, springtime air moves into a cold garage. This causes condensation to form on all things metal, resulting in rust if you’re not prepared.

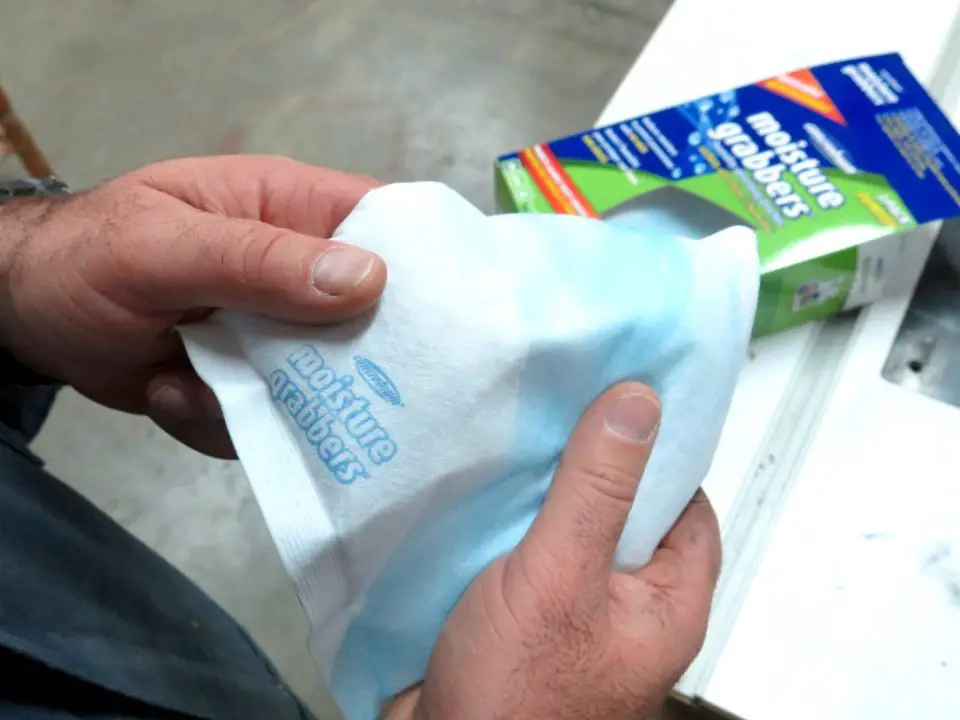
As long as your toolboxes are latched tight and sealed, moist springtime air probably won’t come in contact with cold tools and it won’t cause condensation and rusting. This is your best bet if you can’t heat your garage. For particularly rust-sensitive tools, consider putting a silica gel dehumidifier canister in the toolbox or cabinet. This draws airborne moisture from the small, enclosed space, ensuring that rust doesn’t get a chance. The best units include a metal outer canister. Just heat the unit in a toaster oven to drive off captured moisture, re-establishing the effectiveness of the unit for another three or four months.
You can buy small silica gel canisters at camera shops or larger ones at Lee Valley Tools (800-267-8767). Even simpler and easier are the moisture-absorbing pouches like Moisture Grabber. I’ve used these extensively, they work well and can be recharged and reused with heat. If you’ve got stationary tools like a tablesaw, paste wax or a very light coat of machine oil applied to the bed is the only option you’ve got for keeping rust at bay.
Hurdle#3: Optimize the Storage Space
The best way to accommodate your tools (and the untossable stuff that remains) is with hanging shelves that use stiff wire frames or sheet steel tracks to support shelf planks. It’s a terrific system that I’ve been using for years. It keeps valuable small equipment and supplies up off the dirt and dampness of the floor. Heavy-duty metal wall brackets are the best way I’ve seen to store lumber in a garage shop. Both these systems can co-exist with a car if you plan things right.
Put the basics of good garage workshop design into practice, and you’ll create the kind of space that you might just be able to change the world in. But even if nothing famous comes from your efforts, a good garage workshop is still worth the trouble – and not just for you.


I hope you found this content useful!
Your generous support helps me produce more practical, hands-on content that I hope you’ll find useful.
Steve Maxwell