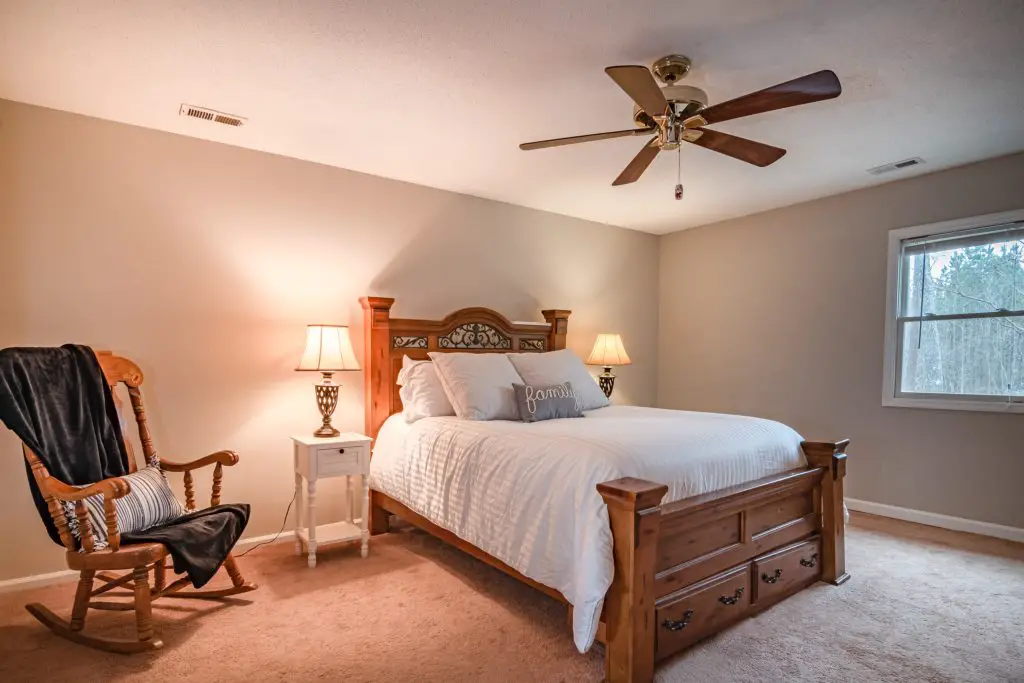
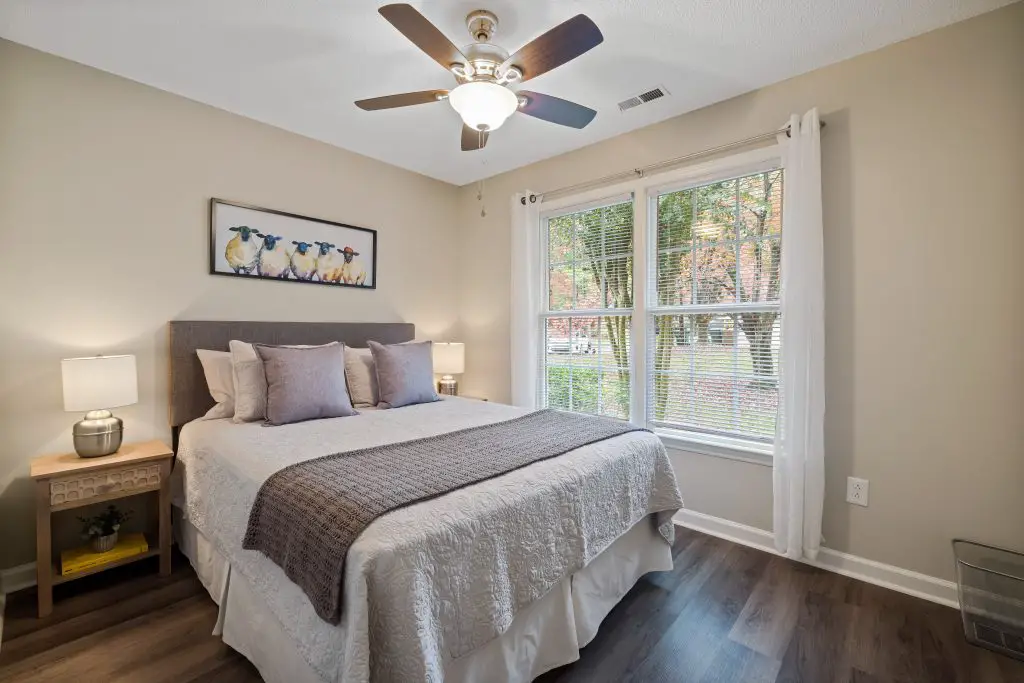
Is your ceiling fan getting old? If it’s making a new and unpleasant noise, showing signs of rust or wobbling, it could be time for a new ceiling fan. You don’t have to pay an electrician hundreds of dollars to replace it for you. Follow these steps to do it yourself.
Turn Off the Power
For your safety, it’s important that you turn off the power to your ceiling fan before you begin working on it. Go to the breaker box and turn off the breaker that controls the circuit your fan is on. If you’re not sure which breaker it is, you can use the process of elimination to find it. Keep switching off breakers until you find the one the cuts power to the ceiling fan. If your current fan isn’t working, you’ll need to test the wiring directly with a non-contact voltage detector to confirm that the circuit is, in fact, dead. This can happen after you lower the fixture from the ceiling but before you disconnect any wires.
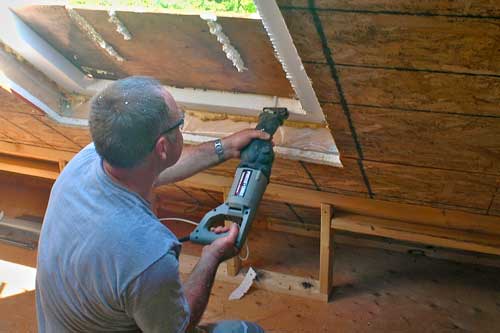
Take Down the Old Fixture
With the power safely switched off, you can begin disassembling and removing the old fan. It’ll be easiest to remove the blades first, one at a time, and then take down the fan motor assembly by detaching the downrod from the ceiling mounting plate. If your fan is a ceiling hugger model without a downrod, remove the screws that hold the canopy in place. You can hang the fan motor from the hook on the ceiling plate while you disconnect the wiring connections by removing the wire nuts and untwisting wires.
Check the Electrical Junction Box
Ceiling fans are pretty heavy, weighing 50 pounds or more on average, so you want to make sure you have an electrical box that can handle that amount of weight. If you’re replacing an old fan, you probably have a fan-rated electrical box in your ceiling already. Check that the electrical box in your ceiling is rated for use with fans and that it’s firmly anchored either directly to a joist, or to a fan brace that is anchored to the joists on either side. If your electrical box isn’t rated to handle the weight of a fan, you’ll need to have it removed and install a proper one to replace it. This job involves semi-serious wiring and may require the surrounding drywall to be remove and replaced, so you might want to get a professional in to do the work. The box needs to be secured directly to the joist if possible, or use a metal fan brace if not.
Pull the wiring from your ceiling down through the electrical box. Wrap the bare portion of the ground wire around the grounding screw in the electrical box and tighten the screw to hold the wire in place. Make sure you leave enough ground wire hanging off the end to connect to the ground wire coming out of the fan.
Assemble the Fan on the Floor
Put your fan motor, canopy, and downrod together on the floor, following the assembly instructions that came with your fan. Pull the wiring from the fan motor up through the canopy and downrod, if your fan model has a downrod.
Install the Fan Ceiling Plate
Attach the ceiling plate to the electrical box using one-and-a-half-inch screws. Pull the wiring from the electrical box through the hole in the middle of the ceiling plate.
Connect the Fan Wiring to the House Wiring
The fan ceiling plate should have a hook on it – use this hook to hold the fan motor assembly while you connect the wiring by twisting the ends of the wires together and securing them with wire nuts. Connect the black wire to the black wire, the white to the white, and the green or bare to the green or bare. Once you have connected the wires, tuck them up into the electrical box.
Secure the Fan Motor to the Ceiling Plate
With the fan wiring hooked up, you can swing the fan motor up into position and screw it to the ceiling plate.
Finish Assembling the Fan
Once the fan motor is securely attached to the ceiling plate, you can move on to attaching the light fixture and blades. Some ceiling fan light fixtures will just plug into the motor housing, while others will need to be wired up just like the fan motor, with the black wire connecting to the black wire, the white to the white, and the green to the green. Secure the light fixture using the screws that came with your fan, put in light bulbs and install the bulb cover.
If you bought a smart ceiling fan, there might be wall controls to install. Most of the time these wall controls are wireless – they work using radio frequencies. Follow the instructions that came with your fan to attach the wall controls to the wall.
Finally, it’s time to add fan blades. On most fans, each blade will have a metal bracket that attaches to the fan motor housing. Put the bracket on the blade and then attach each blade to the fan motor housing. Once all the blades are attached, you can restore electricity to the circuit and test out your new fan!


I hope you found this content useful!
Your generous support helps me produce more practical, hands-on content that I hope you’ll find useful.
Steve Maxwell