While it’s true that woodscrews are a strong, practical and economical way to join pieces of wood for furniture, they usually fall short when it comes to good looks. That’s why it’s standard practice to hide wood screws used in furniture and woodworking projects you care about. But success involves more than meets the eye, especially since new options for hiding screw heads are now available.
- Reading Time = 6 minutes
Tapered Wooden Plugs
The classiest approach involves covering installed screws with wooden plugs, but before you get that far you need to do some planning. That’s because several elements must fit together with tight tolerances for success. Start by looking at the wooden plugs themselves below.
Traditional wooden screw plugs are nothing more than slices of dowel, but since ready-made tapered plugs have become inexpensive and plentiful, there’s no reason to use anything else. Tapers are best because they make it easy to get a drum-tight fit with the surrounding hole edge. Even a small gap around a cylindrical plug looks pretty bad. Tapered plugs get tapped into a hole of the right size, filling the gap around the perimeter for a nice, tight job.
These days woodworking supply outlets everywhere carry two kinds of tapered wooden plugs. There’s the original type with end grain showing on the top, and the kind with edge-grain visible on the top. End-grain plugs soak up stain more readily, making them ideal wherever you want plugs to become prominent visual design elements in the completed project. Edge-grain plugs, on the other hand, are designed for invisibility. They have the same grain orientation you’re likely to find on the face of most boards, and they’re available in different wood species.
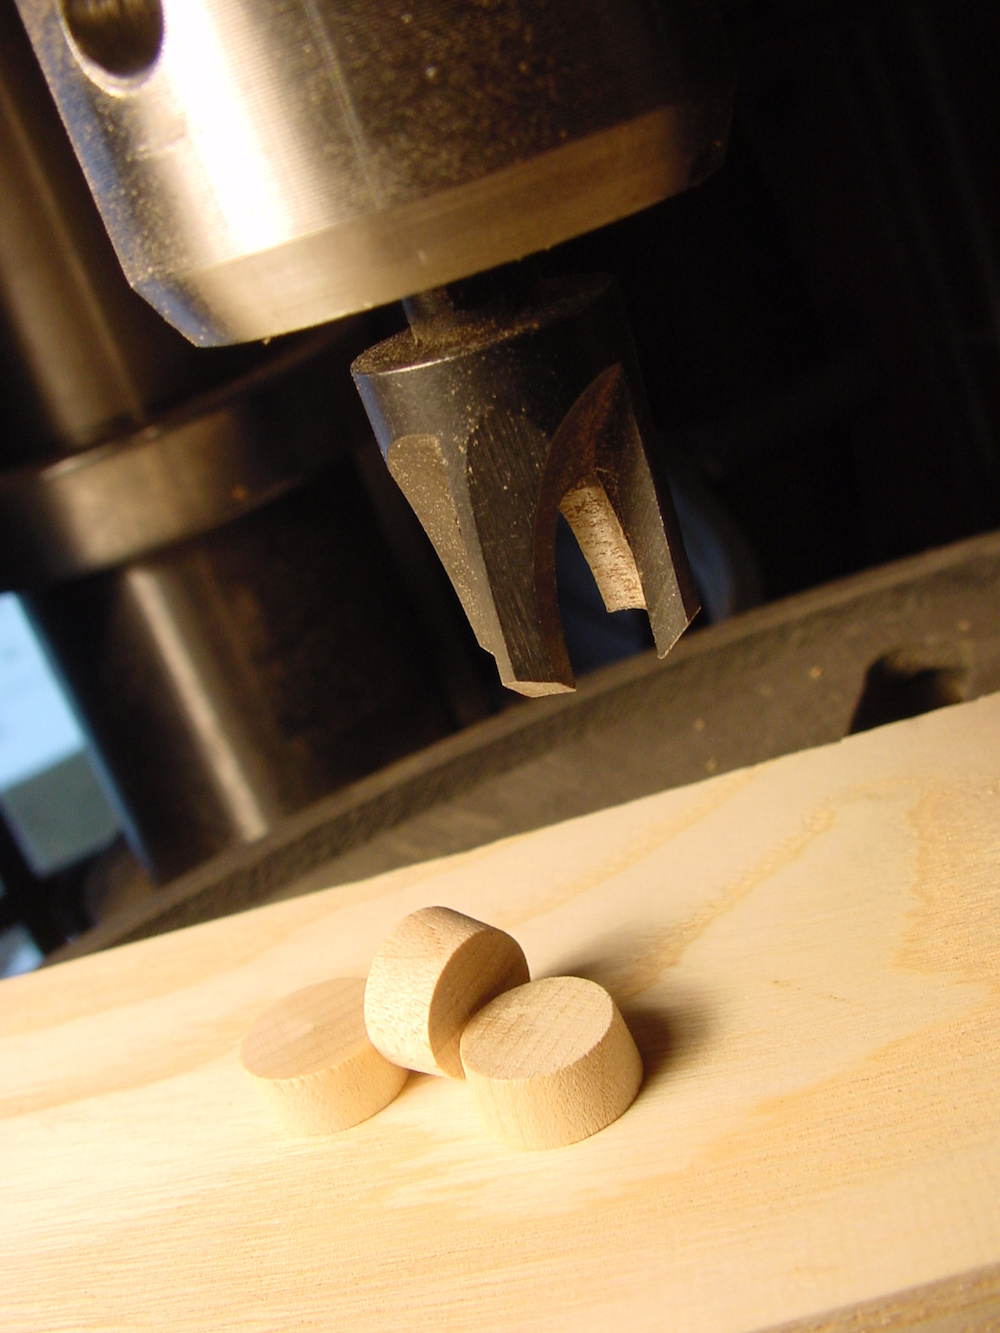
For the best camouflage job possible, you can’t beat plugs made from the very same boards you’re building your project from. This is where a tapered wooden plug cutter really shines. The best is a patented Canadian version produced by Lee Valley Tools for use in a drill press. I’ve never seen any kind of tapered wooden plug cutter that works as well as this one. You can see my tapered cutter during a work session in my drill press, below.
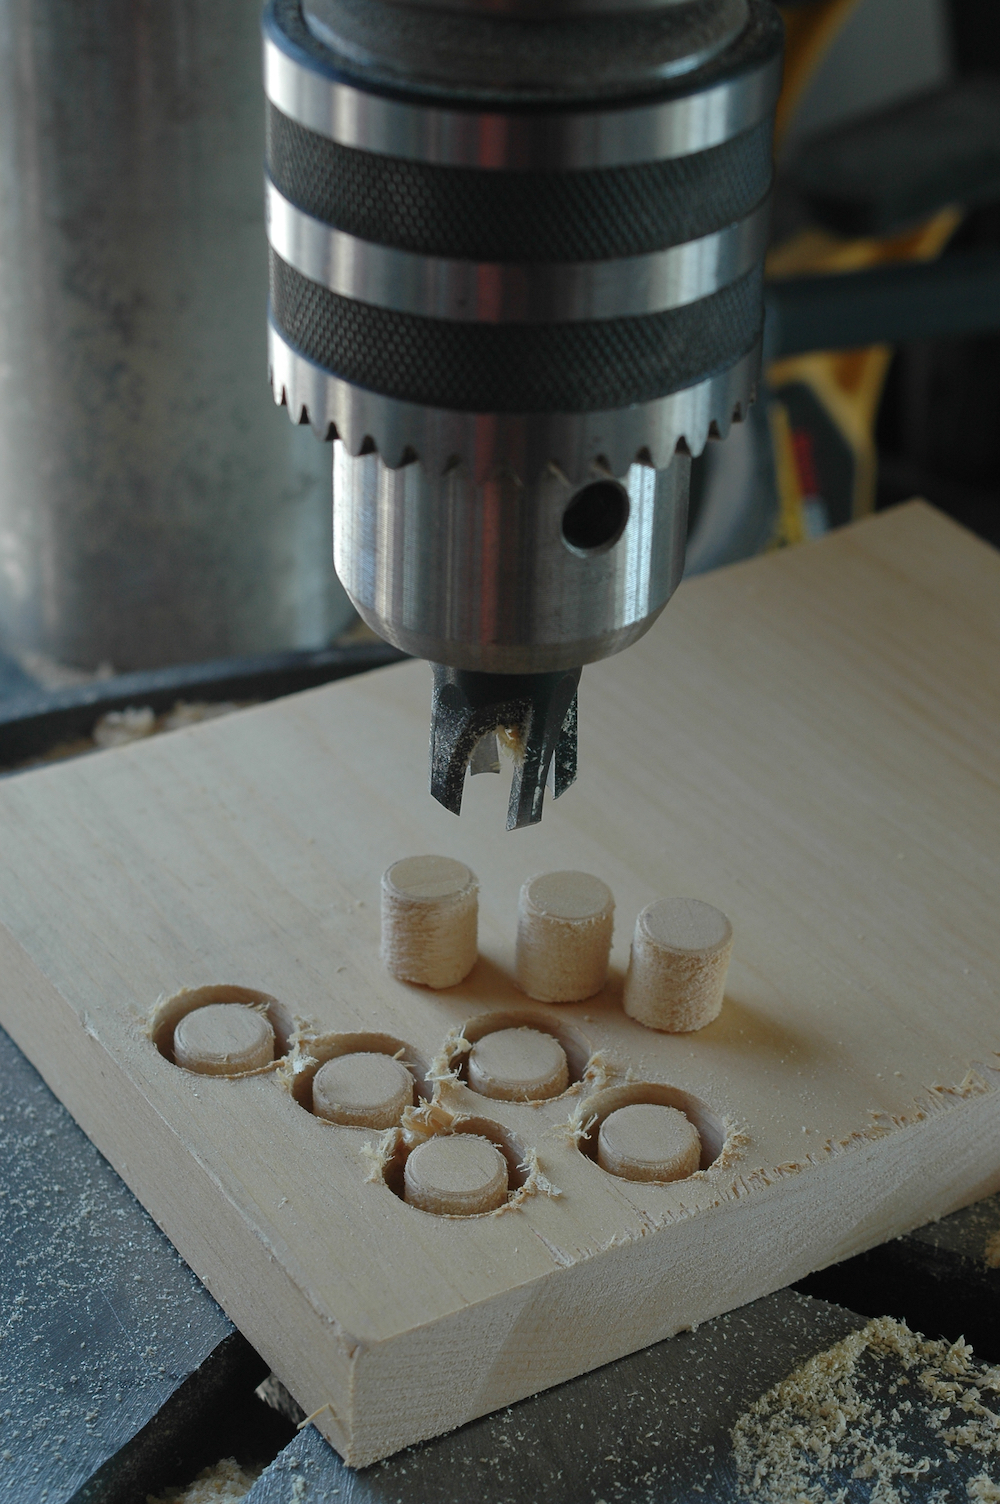
Next time you get ready to install some plug-covered screws, make your mistakes on scrap wood. Drill test holes and try a few tapered plugs. This is the only way to know for sure if you’re boring exactly the right size hole for the particular plugs you’re using. Ideally, the plugs should get nice and snug as you tap them flush with the surrounding surface. Tighter than this is okay (just pare off or sand off the excess wood later), but looser is a problem. If you’re having trouble boring ideal holes for the plugs you have on hand, here’s a tip.
Get a spade bit that’s slightly larger than the hole you need, then grind the sides down bit-by-bit on a bench grinder. First one side, then the other. You’ll find it easy to tweak the diameter of the hole created but this custom bit so it’s perfect for your situation. This technique is even more useful when you need to bore precise holes to fit a particular piece of dowel or hardware.
Counterboring For Screws
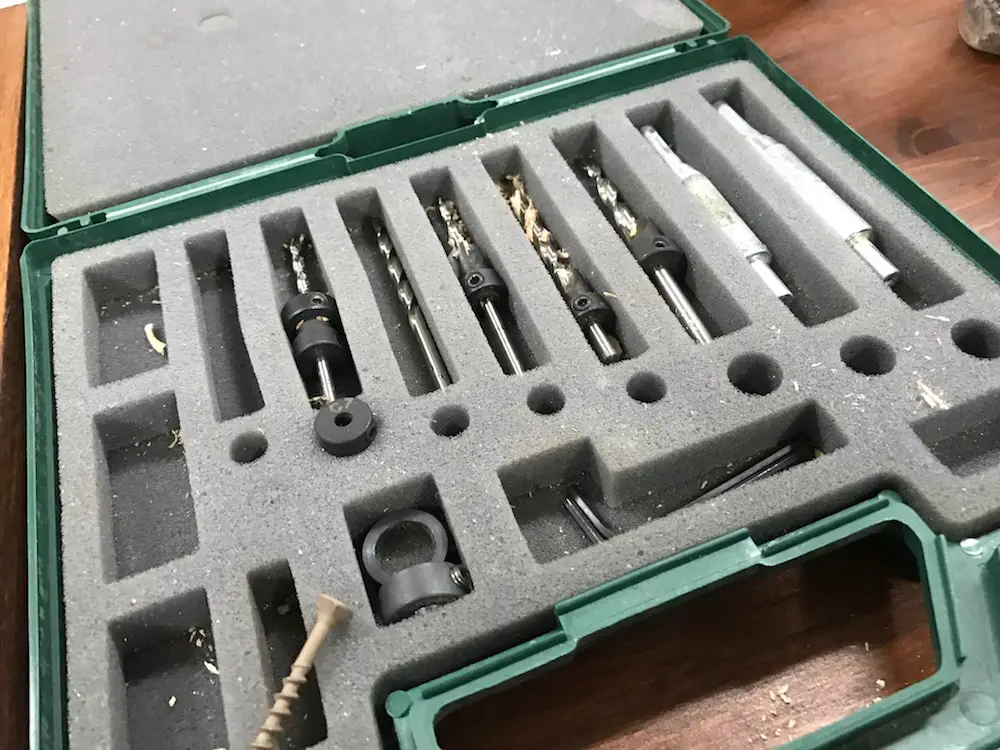
If you’re working with softwood, a counterbored plug hole made with a sharp spade bit is probably all you need before screw installation, but hardwood is different. For that you’ll need to predrill holes for the screw threads first, the screw shank (that’s the unthreaded portion part way up the screw body) and the wooden plug. Trouble is, all the bit changes required can really slow down building progress. First you drill the counterbored pocket for the plug, then you change the bit to bore holes for the screw threads, then you change the bit again to drill holes for the screw shank. That’s a lot of trouble, and it’s why tool manufacturers invented something called countersink/counterbore bits. These include a tapered twist bit topped with a counterbore cutter and a depth stop ring. The taper matches the tapered shape of typical wood screws, and all the various parts of these bits can be repositioned to suit different lengths and diameters of screws. In one pass they make a complete hole that’s ready for screw and plug installation. You can see my tapered twist bit kit below. Notice the black counterbore cutters and depths stops secured to the tapered bits with set screws.
Another advantage of tapered plugs is the glue-free installation that’s possible with them. Since even small amounts of glue squeeze-out can cause prominent stains to emerge while finishing, it’s best to avoid glue use whenever possible. Tap the tapered plugs home dry, sand them flush, then let your wood finish lock them in place permanently. Do the job right and you’ll be amazed how well hidden your little secret about wood screws remains.
Making Visible Screws Look Good
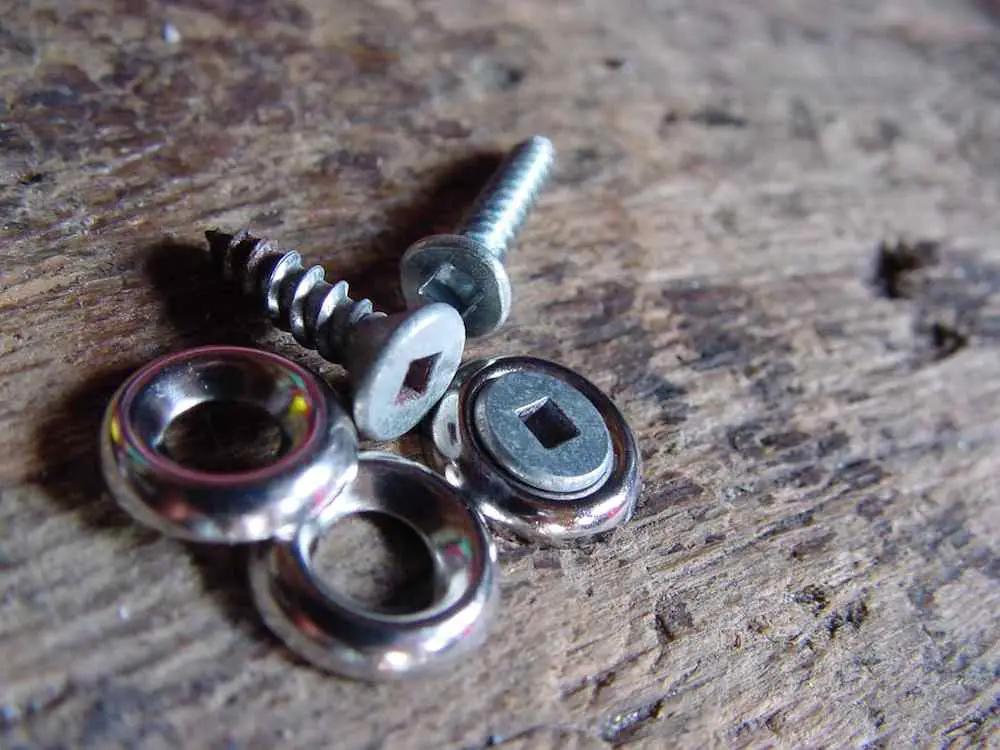
Not all screw heads need to be hidden, even in fancy woodworking. Cup washers offer another alternative to tapered plugs and there are two kinds. The chrome cup washers you see below are like a little bagel sliced in half lengthwise. A flathead wood screw sits in the hole in the centre, making the whole thing look pretty good with no hassles at all. You can see the half-bagel cup washer in action below.
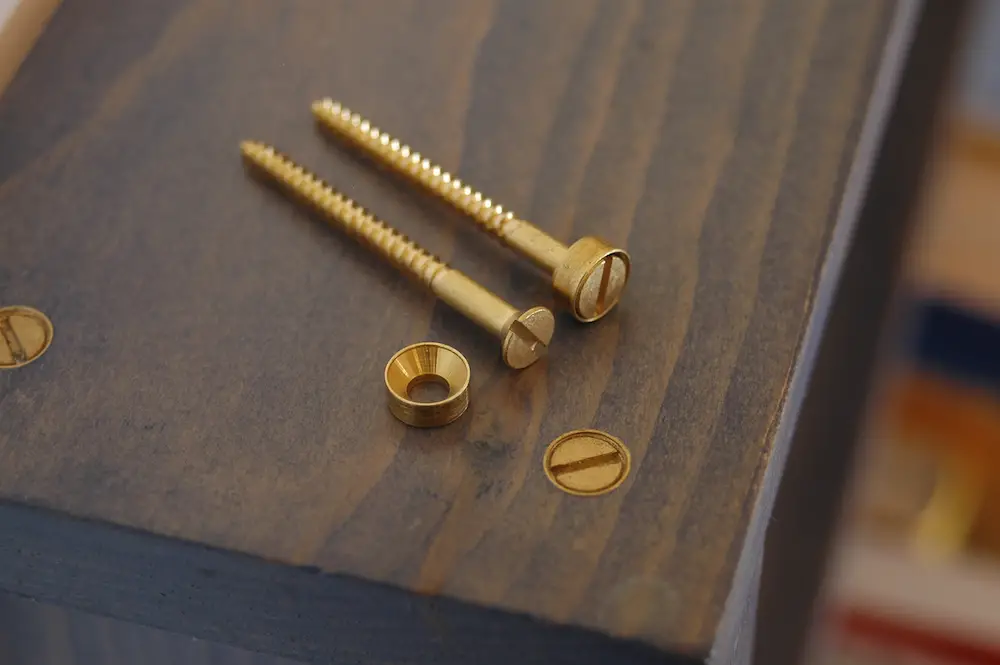
The more formal, recessed brass cup washers you see below require a very precise hole to be bored to accommodate the brass cup, but after that the work is easy. Custom grinding of a spade bit to exactly the right diameter is the key trick for getting this to work. Practice on scrap of the same species as your project and you’ll avoid nasty surprises. You can see some recessed brass cup washers in action below, in a small book shelf I made years ago.
 Did you find this article useful? I hope so. Please consider helping me cover the cost of creating and publishing content like this. Click the “buy me a coffee” button below for a fast, safe and simple way to make a contribution. Thank you very much for helping to keep this website up and running.
– Steve Maxwell


I hope you found this content useful!
Your generous support helps me produce more practical, hands-on content that I hope you’ll find useful.
Steve Maxwell