If you want to boost your woodworking game, you need to know the best way of sanding trim. And the fact is, every kind of trim needs to be sanded before staining or finishing, especially if you plan to use a clear sealer such as urethane. Texture is the reason why, and something called a sanding mop is the ideal tool for the job, as you can see in the video below.
How to Sand Trim Quickly & Well
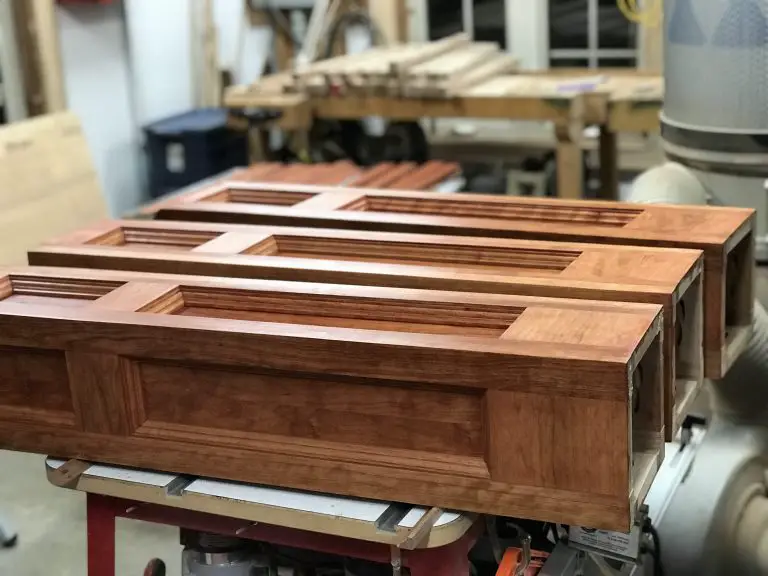
The milling machine that makes trim in factories always leave behind at least small undulations on the profiles they create. These might not be noticeable when the trim is bare, but these flaws will show up after a finish goes on. This is why all trim needs to be sanded before finishing. The thing is, this is not only a pain, but it also takes a long time to do well. And if this wasn’t enough, there’s the danger of rounding over the crisp details that make trim attractive. That’s no good, but it’s where a simple sanding attachment can help.

Sanding Mop for Trim

I solve these problems with a “sanding mop” that I use on my drill press. That’s what you see above. Simple tools like these deliver smooth results on irregular surfaces, and as unlikely as it sounds, they don’t make crisp details dull, either.


I hope you found this content useful!
Your generous support helps me produce more practical, hands-on content that I hope you’ll find useful.
Steve Maxwell