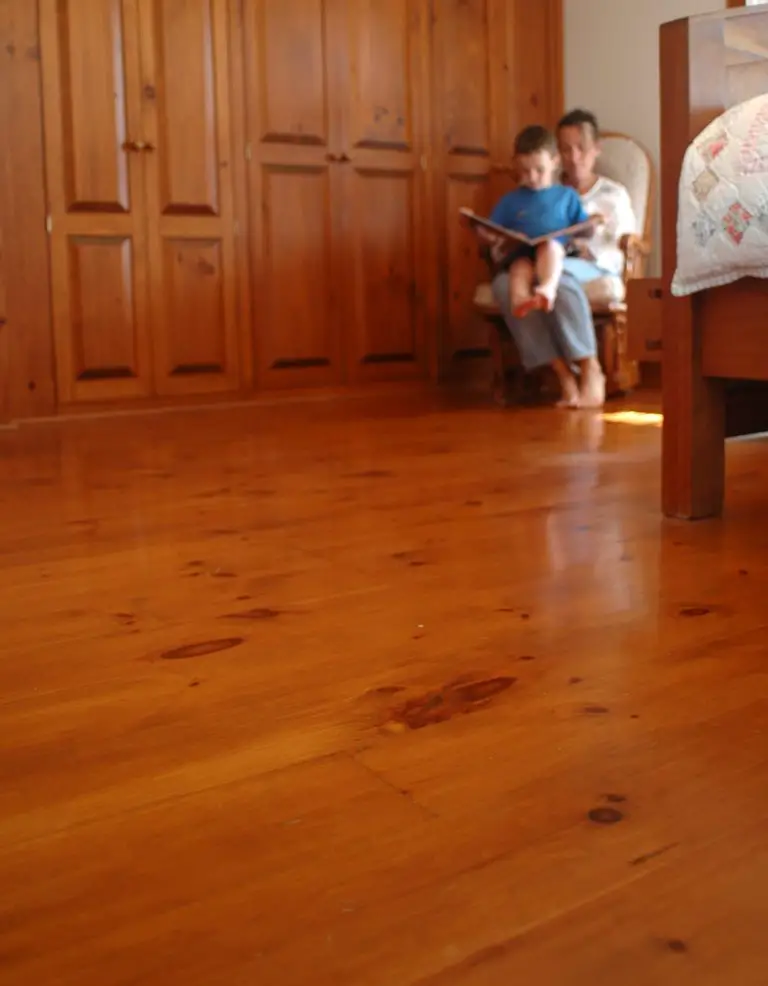
A warm floor means warm feet, and warm feet means a warm body. That’s the philosophy behind radiant infloor heating systems, and I’ve become convinced they’re the best way to heat your home. Trouble is, few old houses (and not many new ones) have the necessary equipment from the start, mine included. When I designed and built my place in the late 1980s, infloor heating wasn’t mainstream enough for me to take it seriously. That was a mistake on my part, but it’s not a mistake that exists today. I retrofitted an entire system in my place and it sure is nice. If you long for toasty toes, but don’t yet have them, then perhaps what I’ve learned can help you. The article here is about hydronic infloor heating using pipes and valves that direct hot water through the floor. If a simpler electric infloor heating installation makes more sense for you, click here.
After looking closely at all the options, I opted for a hydronic infloor heating system. It uses a network of flexible plastic pipes made of something called PEX (cross-linked polyethylene) to channel hot water of about 120ºF underneath the wooden floor structure, turning the entire floor into a kind of radiator. There are a handful of companies that offer the necessary hardware for this, but I chose to go with Uponor (888.994.7726). They make great products and their product line is especially well suited to the retrofit situation I had.
All radiant infloor heating installations begin with some kind of drawing for laying out the pipes, and this means more than just one continuous loop of pipe snaking within the floor frame. To operate most efficiently, each pipe loop mustn’t exceed some maximum length. In the case of the 1/2” diameter pipe that’s typical for these installations, that’s 300 feet. The layout plan provided by Uponor for the first floor of my place included nine different loops over the 30-foot x 40-foot floor area. Besides the need to keep loop length fairly short for thermodynamic reasons, there’s an immediately practical advantage, too. The ever-present prospect of pipes tangling as they go up means that shorter lengths are easier to handle. I can tell you that working above my head, installing thousands of feet of piping between joists was the most gruelling job I’ve done in a long time. That’s the installation I did shown below.
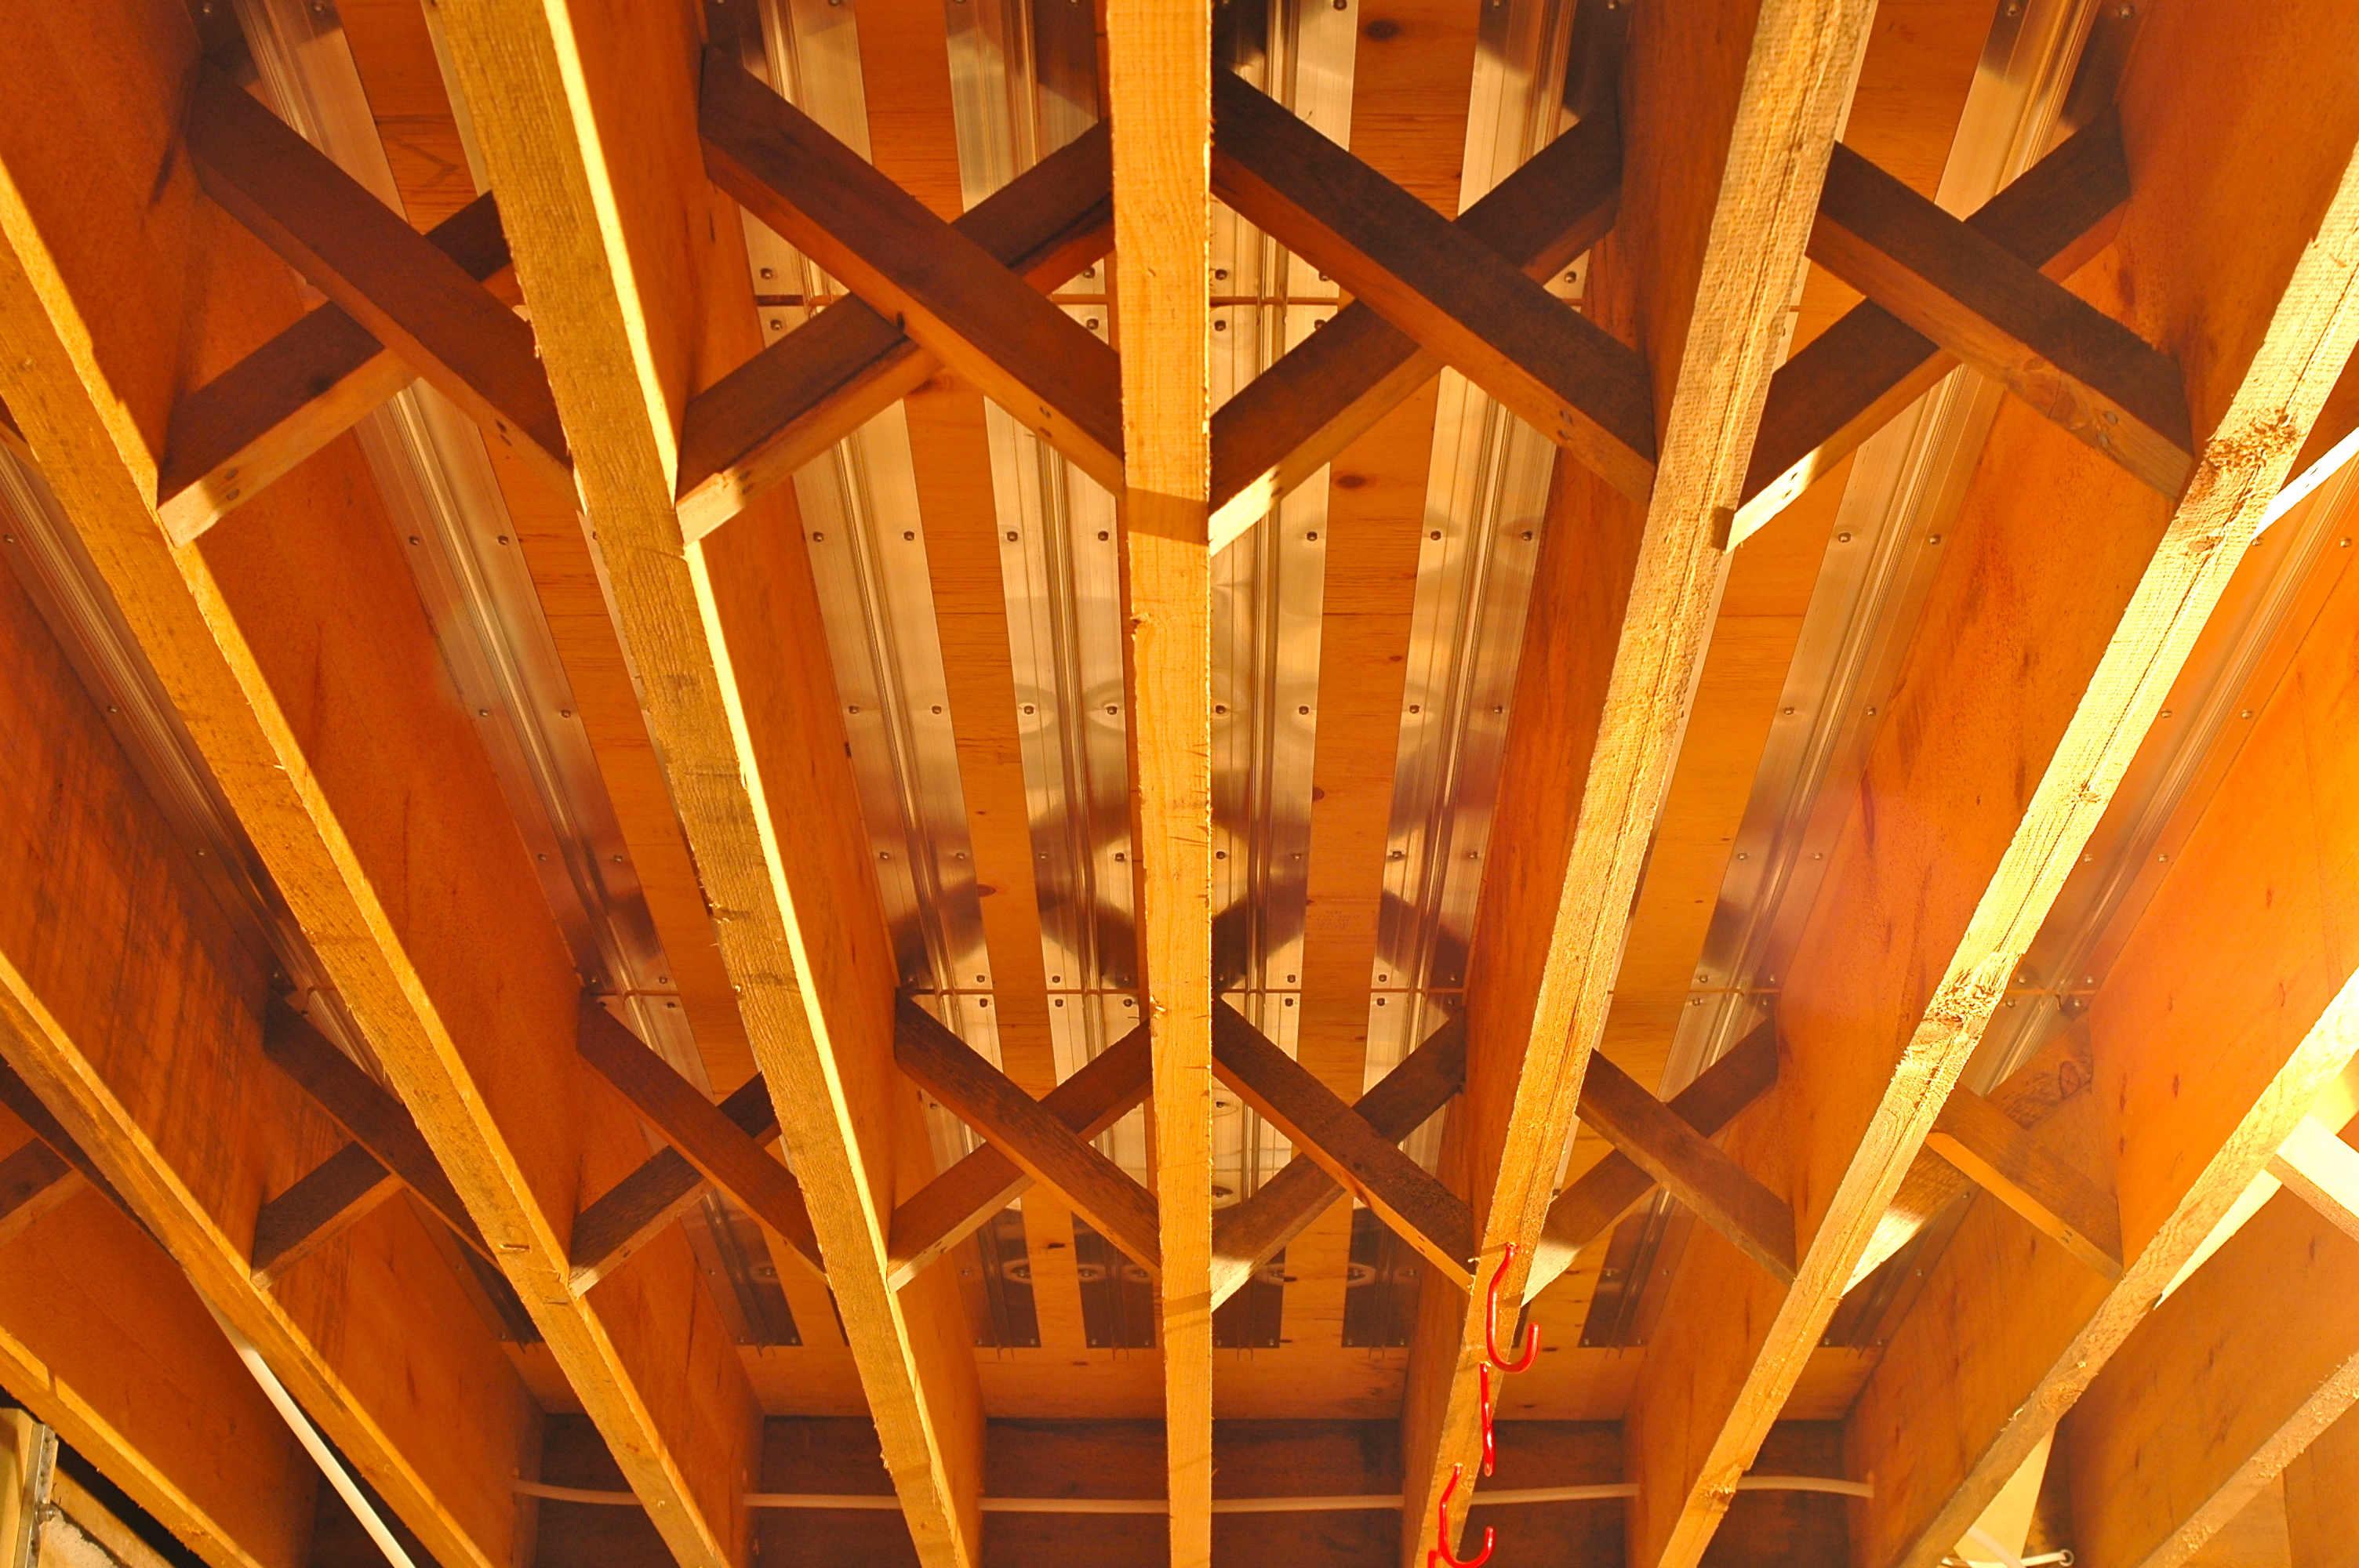
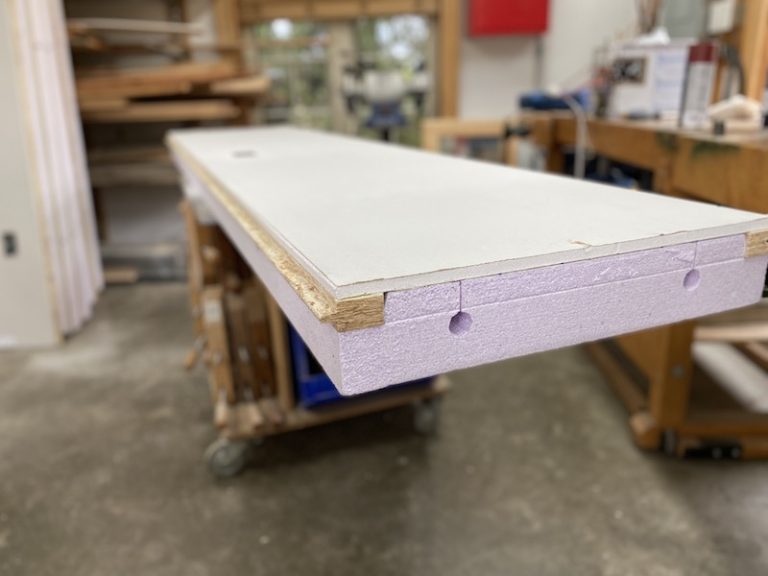
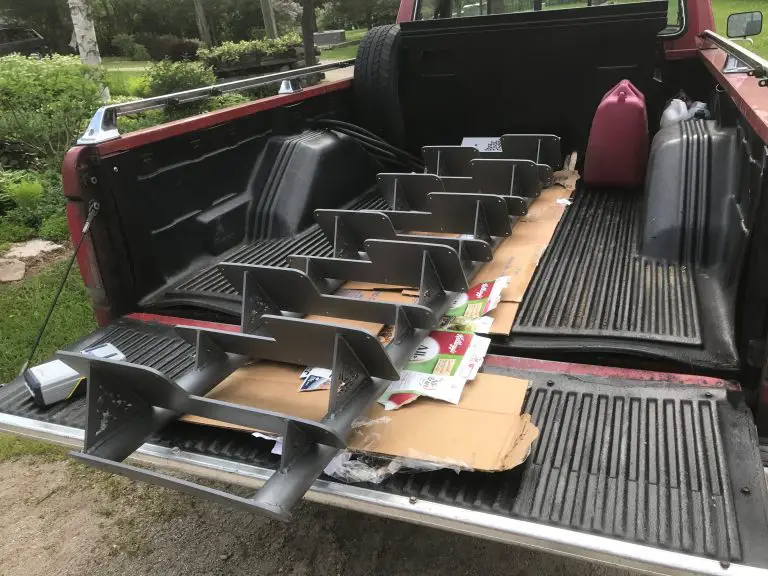
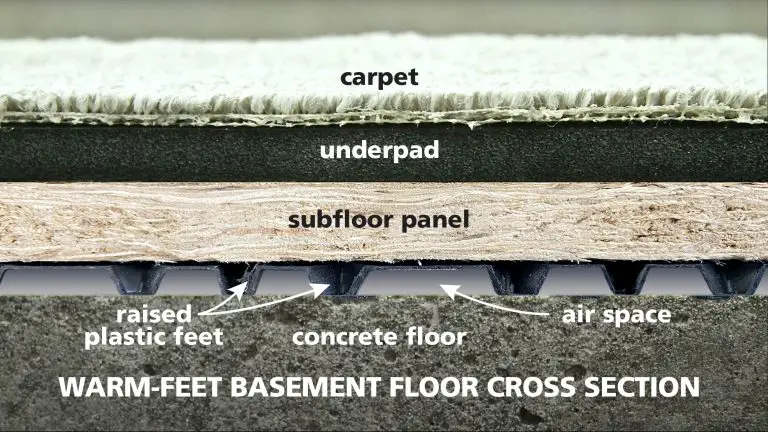
Installing an infloor heating system is not something Uponor recommends as a DIY job, but it all depends on what kind of DIYer you are. But even if you plan to hire a professional, an understanding of the system is helpful as you check out various contractors and evaluate their proposals. In my case I fastened two 4” wide strips of rigid aluminum extrusion along the length of each joist cavity, secured tightly to the plywood above with short screws. These plates include a curved trough designed to hold the 1/2” diameter flexible pipe that the hot water flows through. The aluminum conducts the heat away from the pipe, delivering it to a wider area of the plywood above. Although there’s a total of 1 1/2 inches of wood flooring sitting above these plates, heat still does work it’s way up, though not always as much as you want. That’s key to understand.

I’d originally thought of applying spray foam to the underside of the subfloor and over the pipes and heat transfer plates after all piping was installed, but in the end I opted to leave everything open so I can keep an eye on the pipes and do repairs if necessary. The system works well as-is for keep the floor warm. It’s part of a larger system that uses cast iron radiators to increase the speed and heating capacity of the system. Click here to learn more about the antique cast iron radiators I installed as part of the overall hydronic heating project.
There’s more to hydronic infloor heating systems than just pipes in your floor, and I’ll tell you more later as I learn more about the boiler, controls, insulation and what it finally feels like to have warm toes all the time during cold weather.


I hope you found this content useful!
Your generous support helps me produce more practical, hands-on content that I hope you’ll find useful.
Steve Maxwell