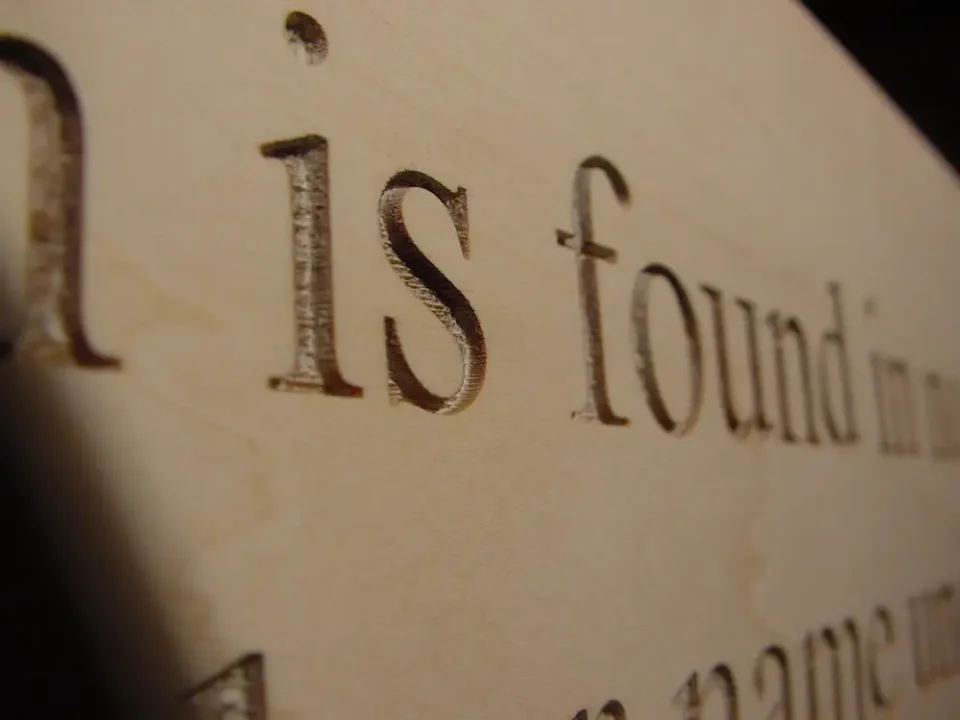
Isn’t the crispness of this lettering amazing? Very precise, very clean lettering and imagery are possible on wood using laser engraving techniques.
There’s a terrific way to personalize all kinds of workshop project items you build, and not many home woodworkers have tried it. You can add names, numbers and even images on anything made of wood, masonry, metal, plastics and solid surface materials. It’s called laser engraving, it doesn’t cost much to have this stuff done by a professional shop, and you can see a close-up example of it below.
What is Laser Engraving
I’ve used laser engraving often enough to recommend it with complete confidence. Anything that can be photographed or created on a computer screen can be transferred to various materials with stunning resolution via a laser system. You’ll find custom laser engraving offered by large trophy and award manufacturers, so Google to find something in your area.
Think of laser engraving as precise, computer-controlled woodburning art and you’ll get the idea. Visual depth, shadow and contrast are all created as power to the computer-controlled laser beam varies during use. Think of a laser engraver like a computer printer, but instead of putting ink on paper, it uses a laser to burn into various surfaces. In woodworking projects that I’ve had laser engraved, the depth of surface texture changes by about 1/32-inch from dark areas to light ones. Here’s the process of making it happen as part of your projects:
How to Include Laser Engraving in Your Projects
Step#1: Select an image or create a design. Hi-resolution digital photos are best. Also, any computer-ready design or lettering can be rendered with a laser.
Step#2: Contact a laser engraving contractor and discuss your intentions. Costs for engraving in wood range between 70 to 90 cents per square inch of lasered area, plus $15 to $25 setup fee. Lasers are often limited in the size of material they can handle, so ask how big of a piece of wood can be accommodated.
Step#3: Deliver computer files or visual items to your laser contractor. The more digital preparation you do ahead of time, the cheaper the job will be for you. Email transmission is ideal. Don’t send an image as part of a text message because this will reduce the quality of the image too much.
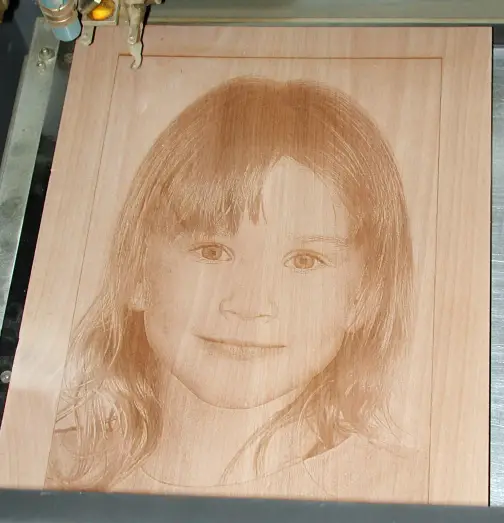
It’s easier to find a laser operator who can do lettering than photographs. Applying successful laser images depends on experience and subtle skill, especially when working with the vagaries of wood. Pine, spruce and most coniferous woods laser poorly because of high resin content. Open-grained woods such as oak and ash yield poor detail because of their open pores. Western red alder and basswood are two species that accept images very well. Their fine grain and consistency yield crisp detail and shading. Banak, walnut and red cedar also accept excellent lettering because they develop a very black surface under the laser. The image below was lasered into a piece of western red alder from a photo.
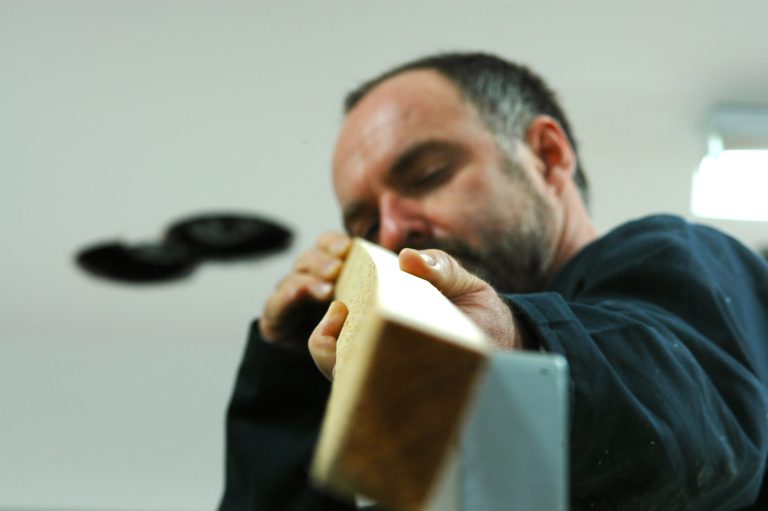
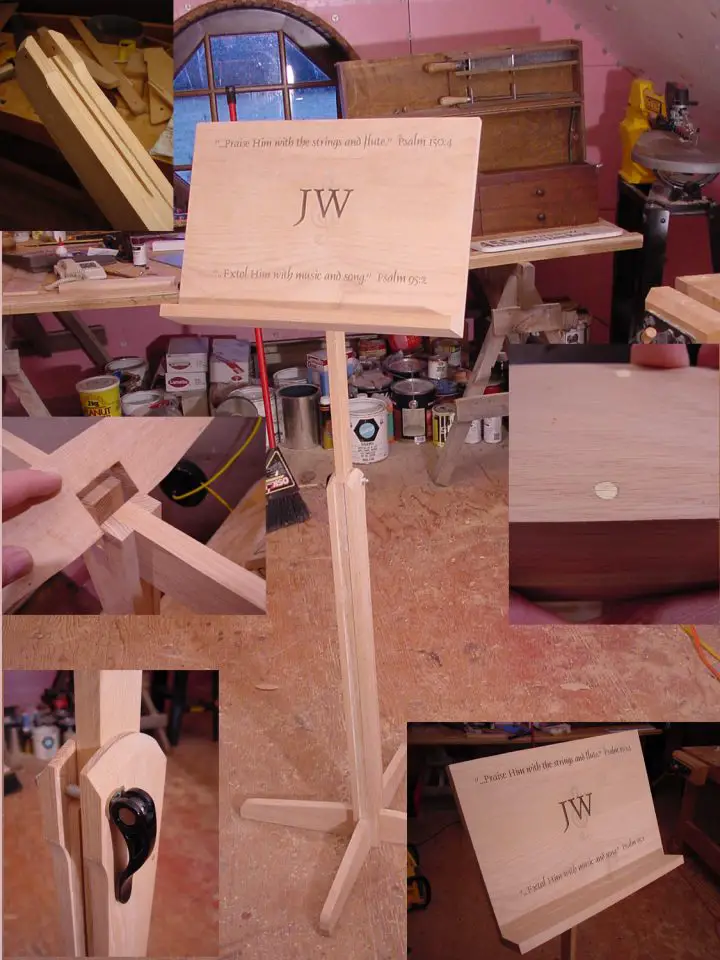
I’ve had laser letters applied to parts for a music stand I built, an outdoor sign made of Corian, and even the lid of my own simple white pine casket I built a number of years ago. (Yes, I’ve built my own casket.) In all these cases I called a laser engraver hundreds of miles away and we worked out details of specific lettering. The design was applied to materials at his end, then shipped to me early in the construction process before the lasered material was woven into the project involved. You don’t even need a computer to get in on the act. Any cell phone will allow you to proof the proposed design.
With its fine surface detail, sealing laser engravings attractively isn’t as simple as you might think. It’s easy to clog details of the images with a thick finish, making them seem muddy and lifeless. The same risk applies to lettering. I’ve had good luck sealing surfaces with several layers of wipe-on polyurethane or tung oil after the lasering is done. Light coats of spray-applied gloss urethane, put on the wood before it passes through the laser, is another excellent option.
When you count all the costs of building your own furniture, it probably doesn’t make much sense to pursue the craft because it saves money. A more enduring reason is the opportunity to create something that lasts and has personal meaning. Laser engraving is a high-tech way to add old-fashioned charm to anything that comes out of your workshop. Remember it the next time you’re working on something really special.


I hope you found this content useful!
Your generous support helps me produce more practical, hands-on content that I hope you’ll find useful.
Steve Maxwell