Building a Deck to Last
Q: What details should I ask my builder for on our new deck? We’ve paid a deposit already, but what materials should I be asking for? I really want our deck to last a long time and look great.
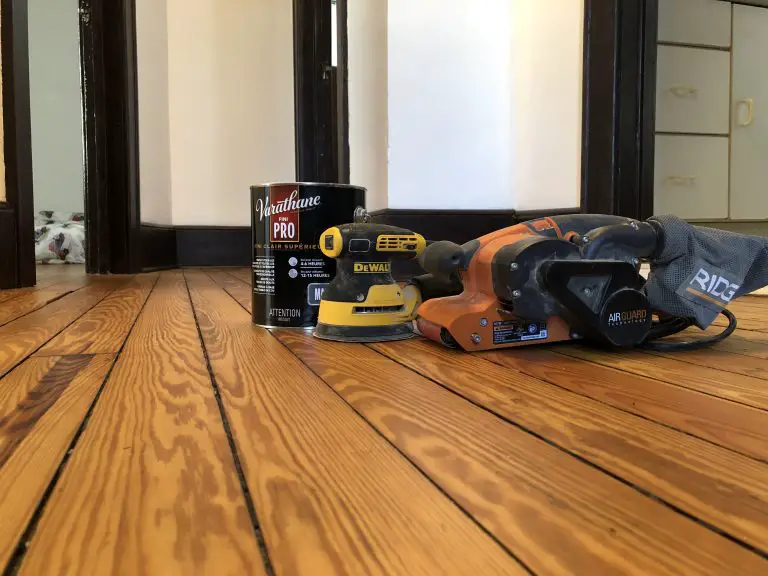
 A: Over the years I’ve received many requests for help like yours, and a complete answer is rather long and involved. The first thing is to choose the material for the top. Wood is still required for the underlying support frame because synthetic materials are not yet rigid enough to replace wood for structural applications. That said, you can choose either wood or a maintenance-free composite or plastic for top surfaces. Wood is generally less expensive, but composites or plastics do free you permanently from the need for finishing and refinishing. A significant number of people I hear from regret using wood for their new deck after struggling to keep it finished.
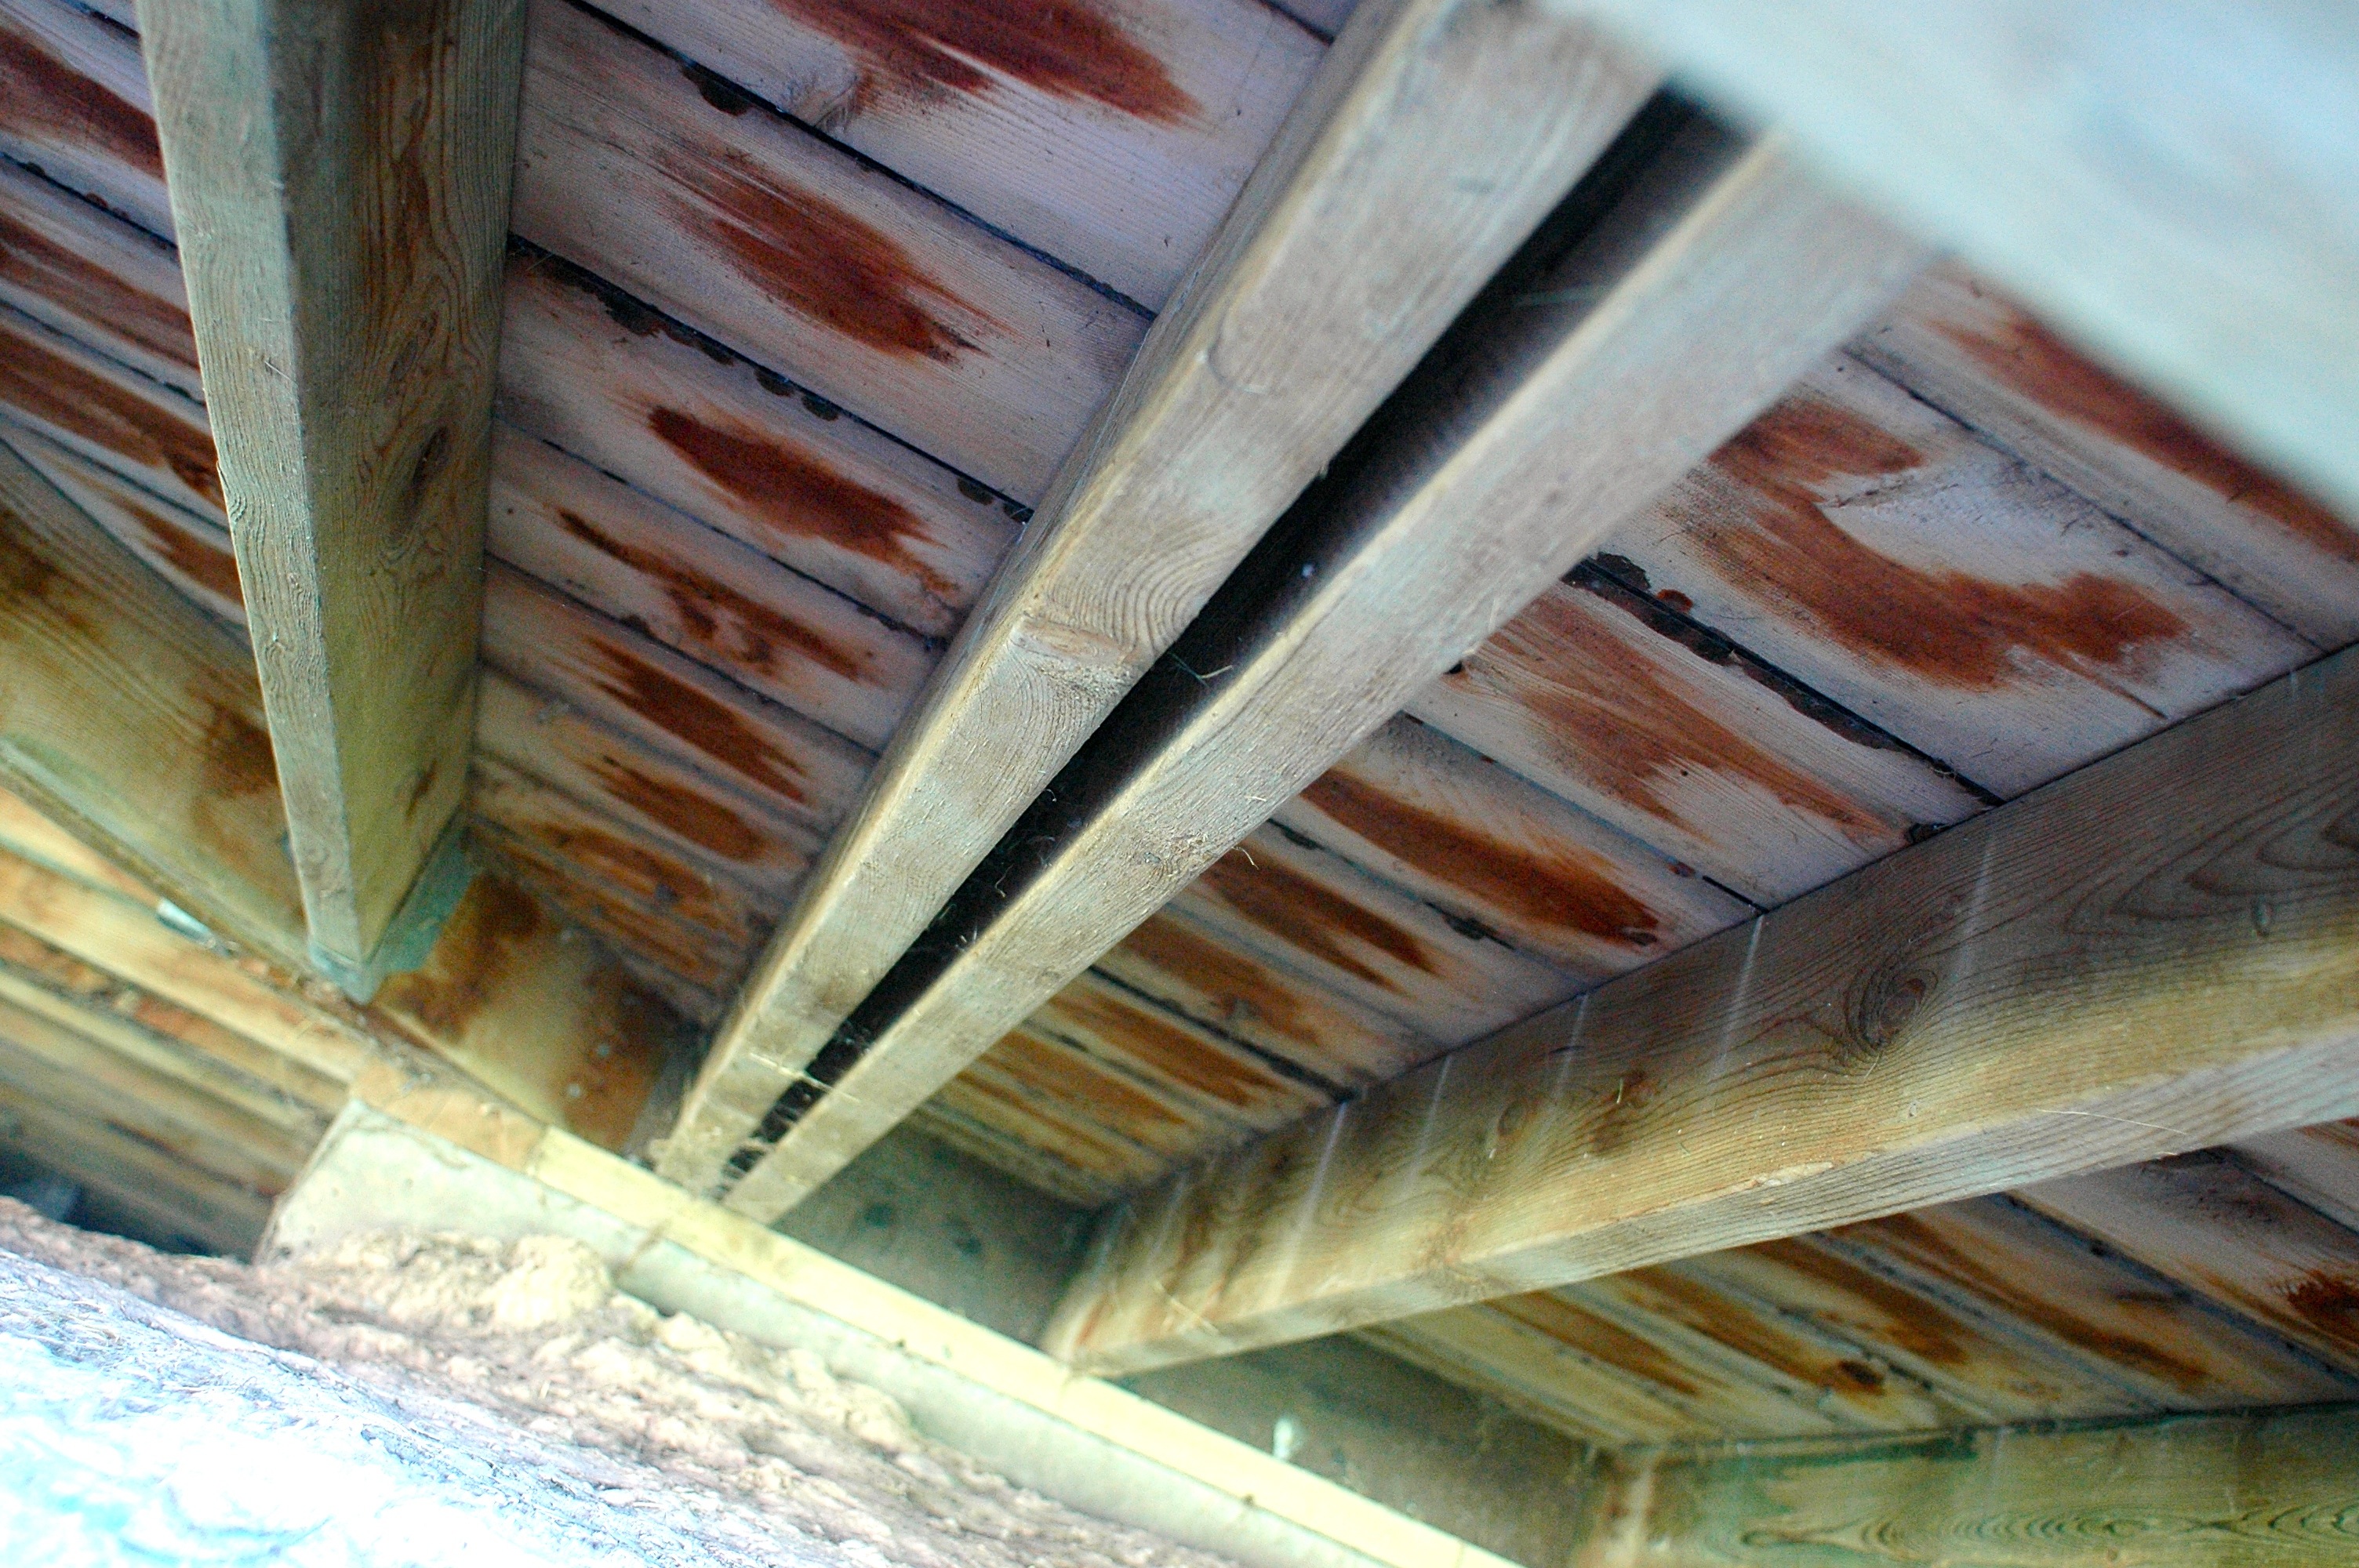
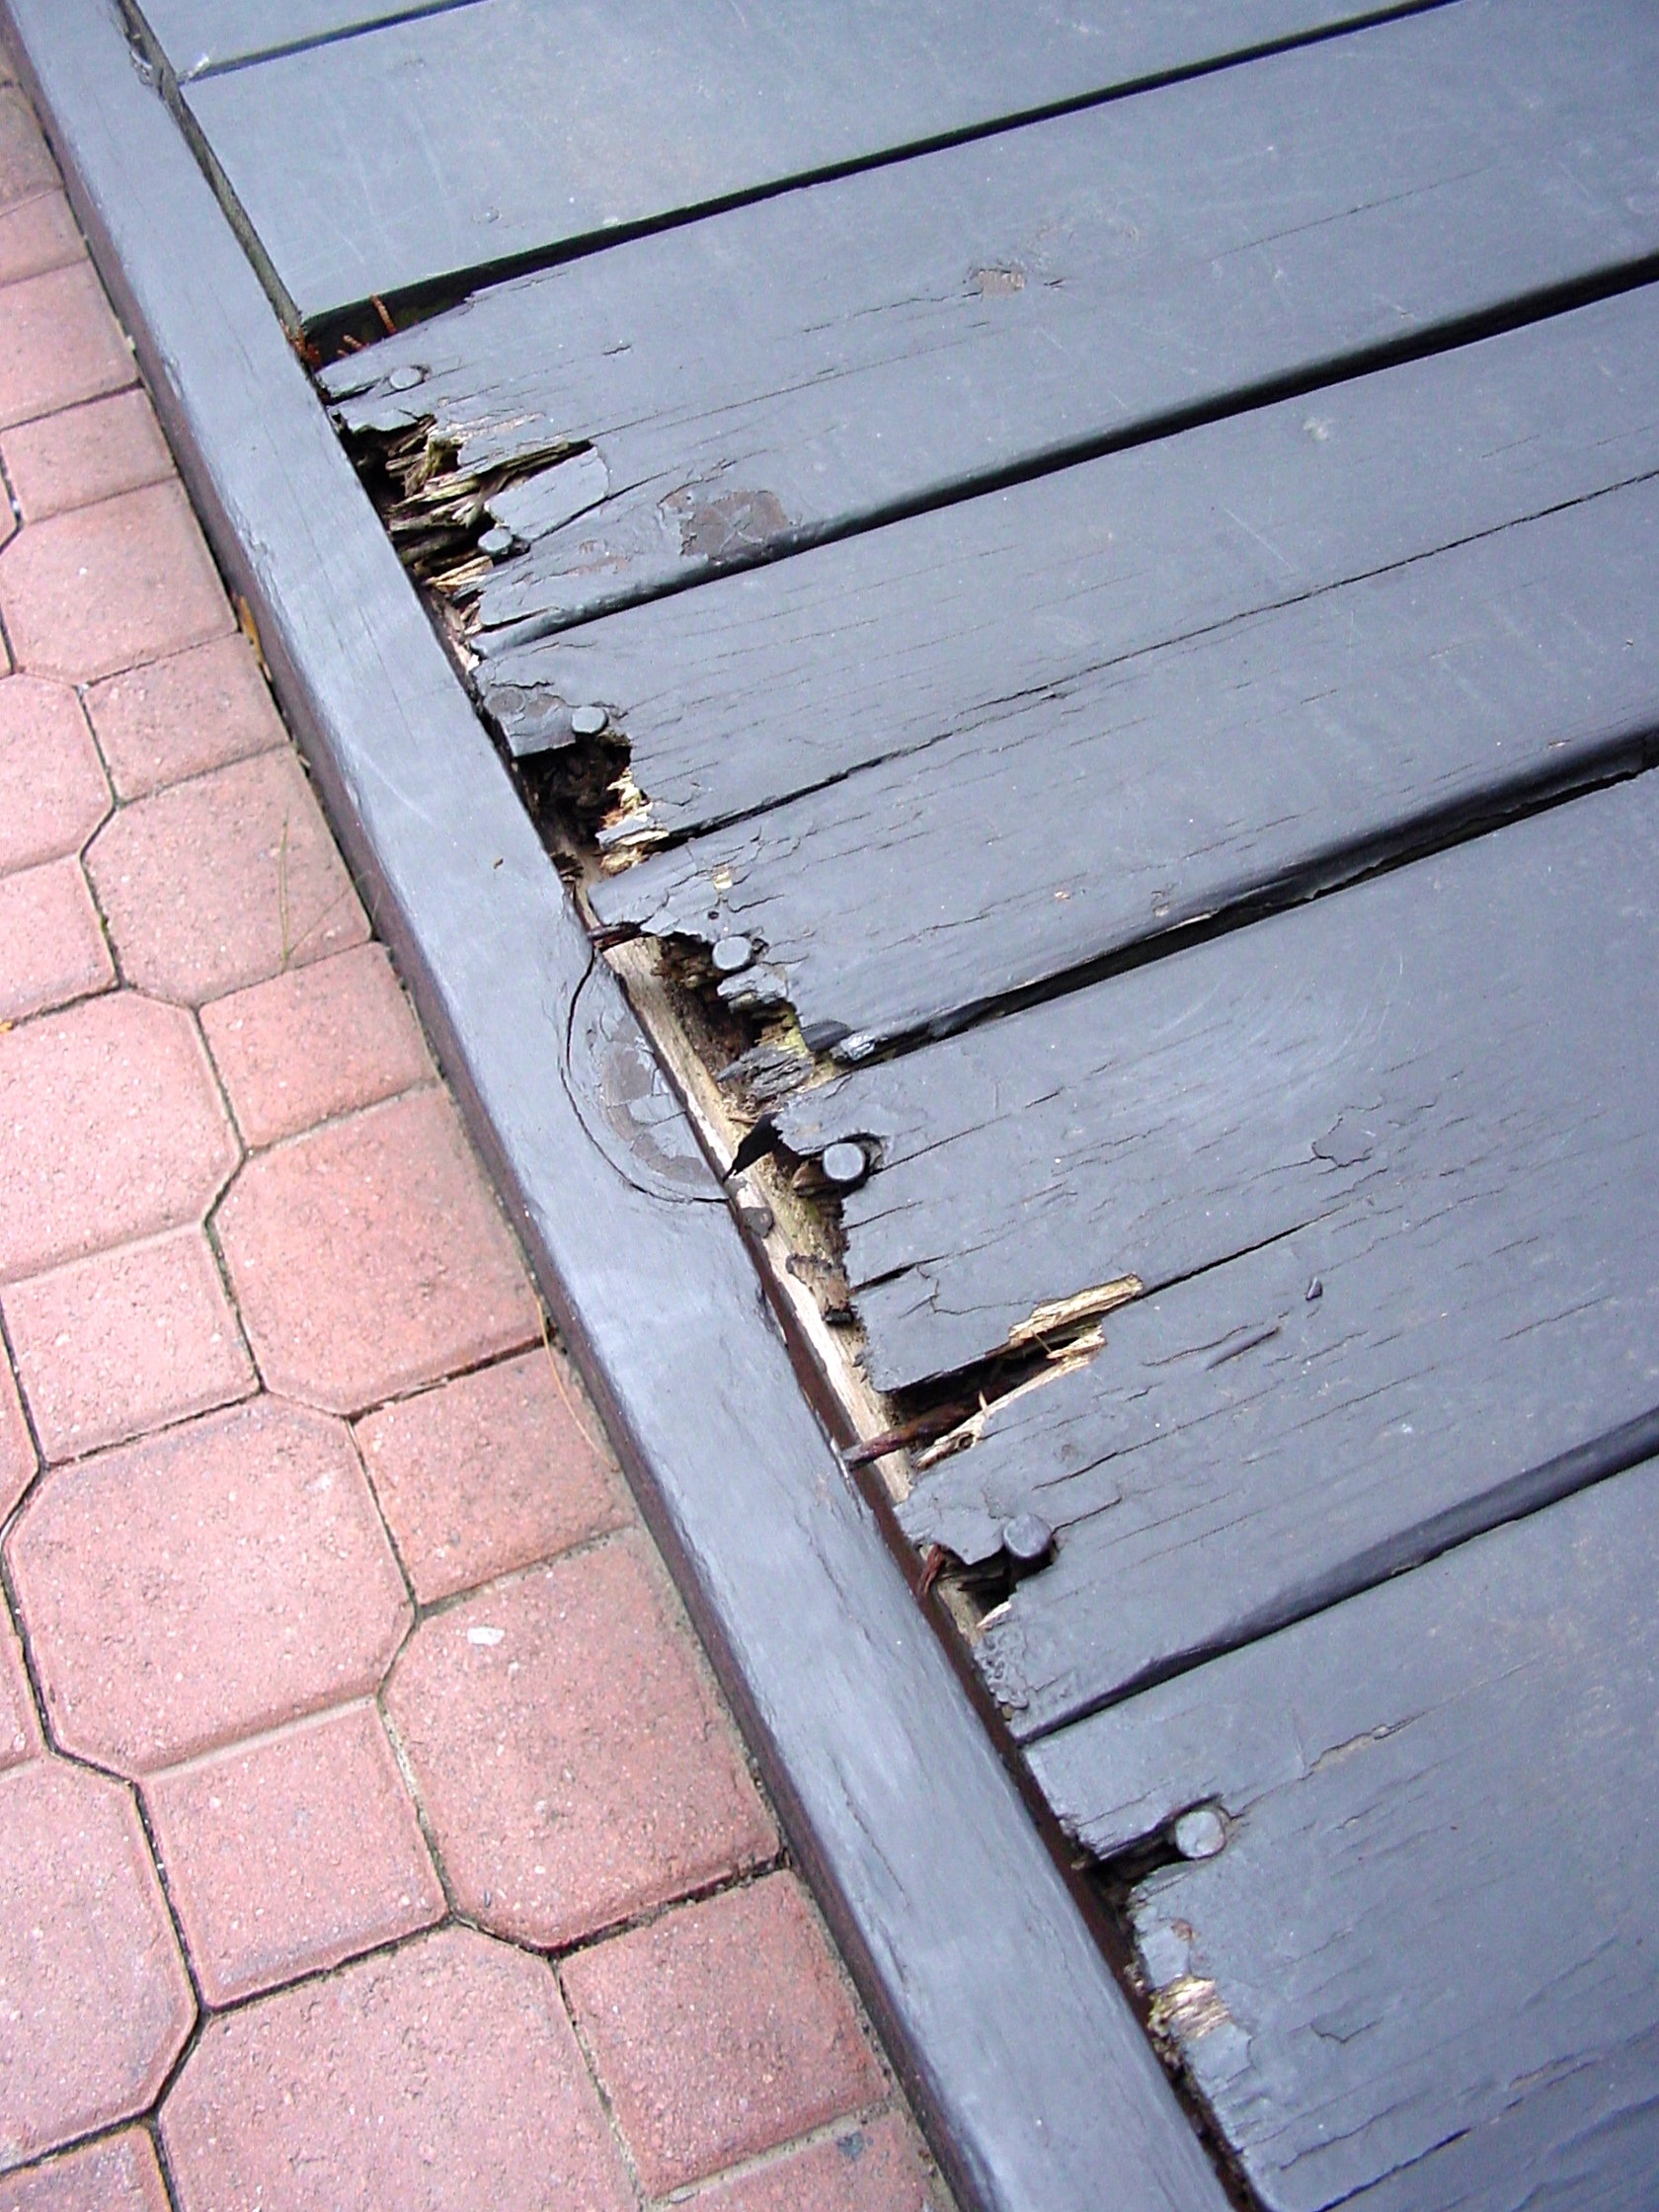 You can double the life of your new deck if the support structure is built differently than most decks. The key to a long, rot-resistant life is a design that lets the underlying wood dry out as quickly as possible. Large areas of wood-to-wood contact are commonly found on new decks, but this detail holds moisture that promotes rot unnecessarily. The use of spacers and spaced wooden deck boards is especially important for preventing rot, even if you’re using pressure-treated or cedar lumber.
Deck construction questions are the single most common query I get from readers, so I put together a video resource that explains how to build a structurally optimal deck, regardless of the size or style you choose. You can learn more about it here.
Removing Plastic Drywall Anchors
Q: How can I remove plastic wall anchors from drywall and patch the holes before painting?
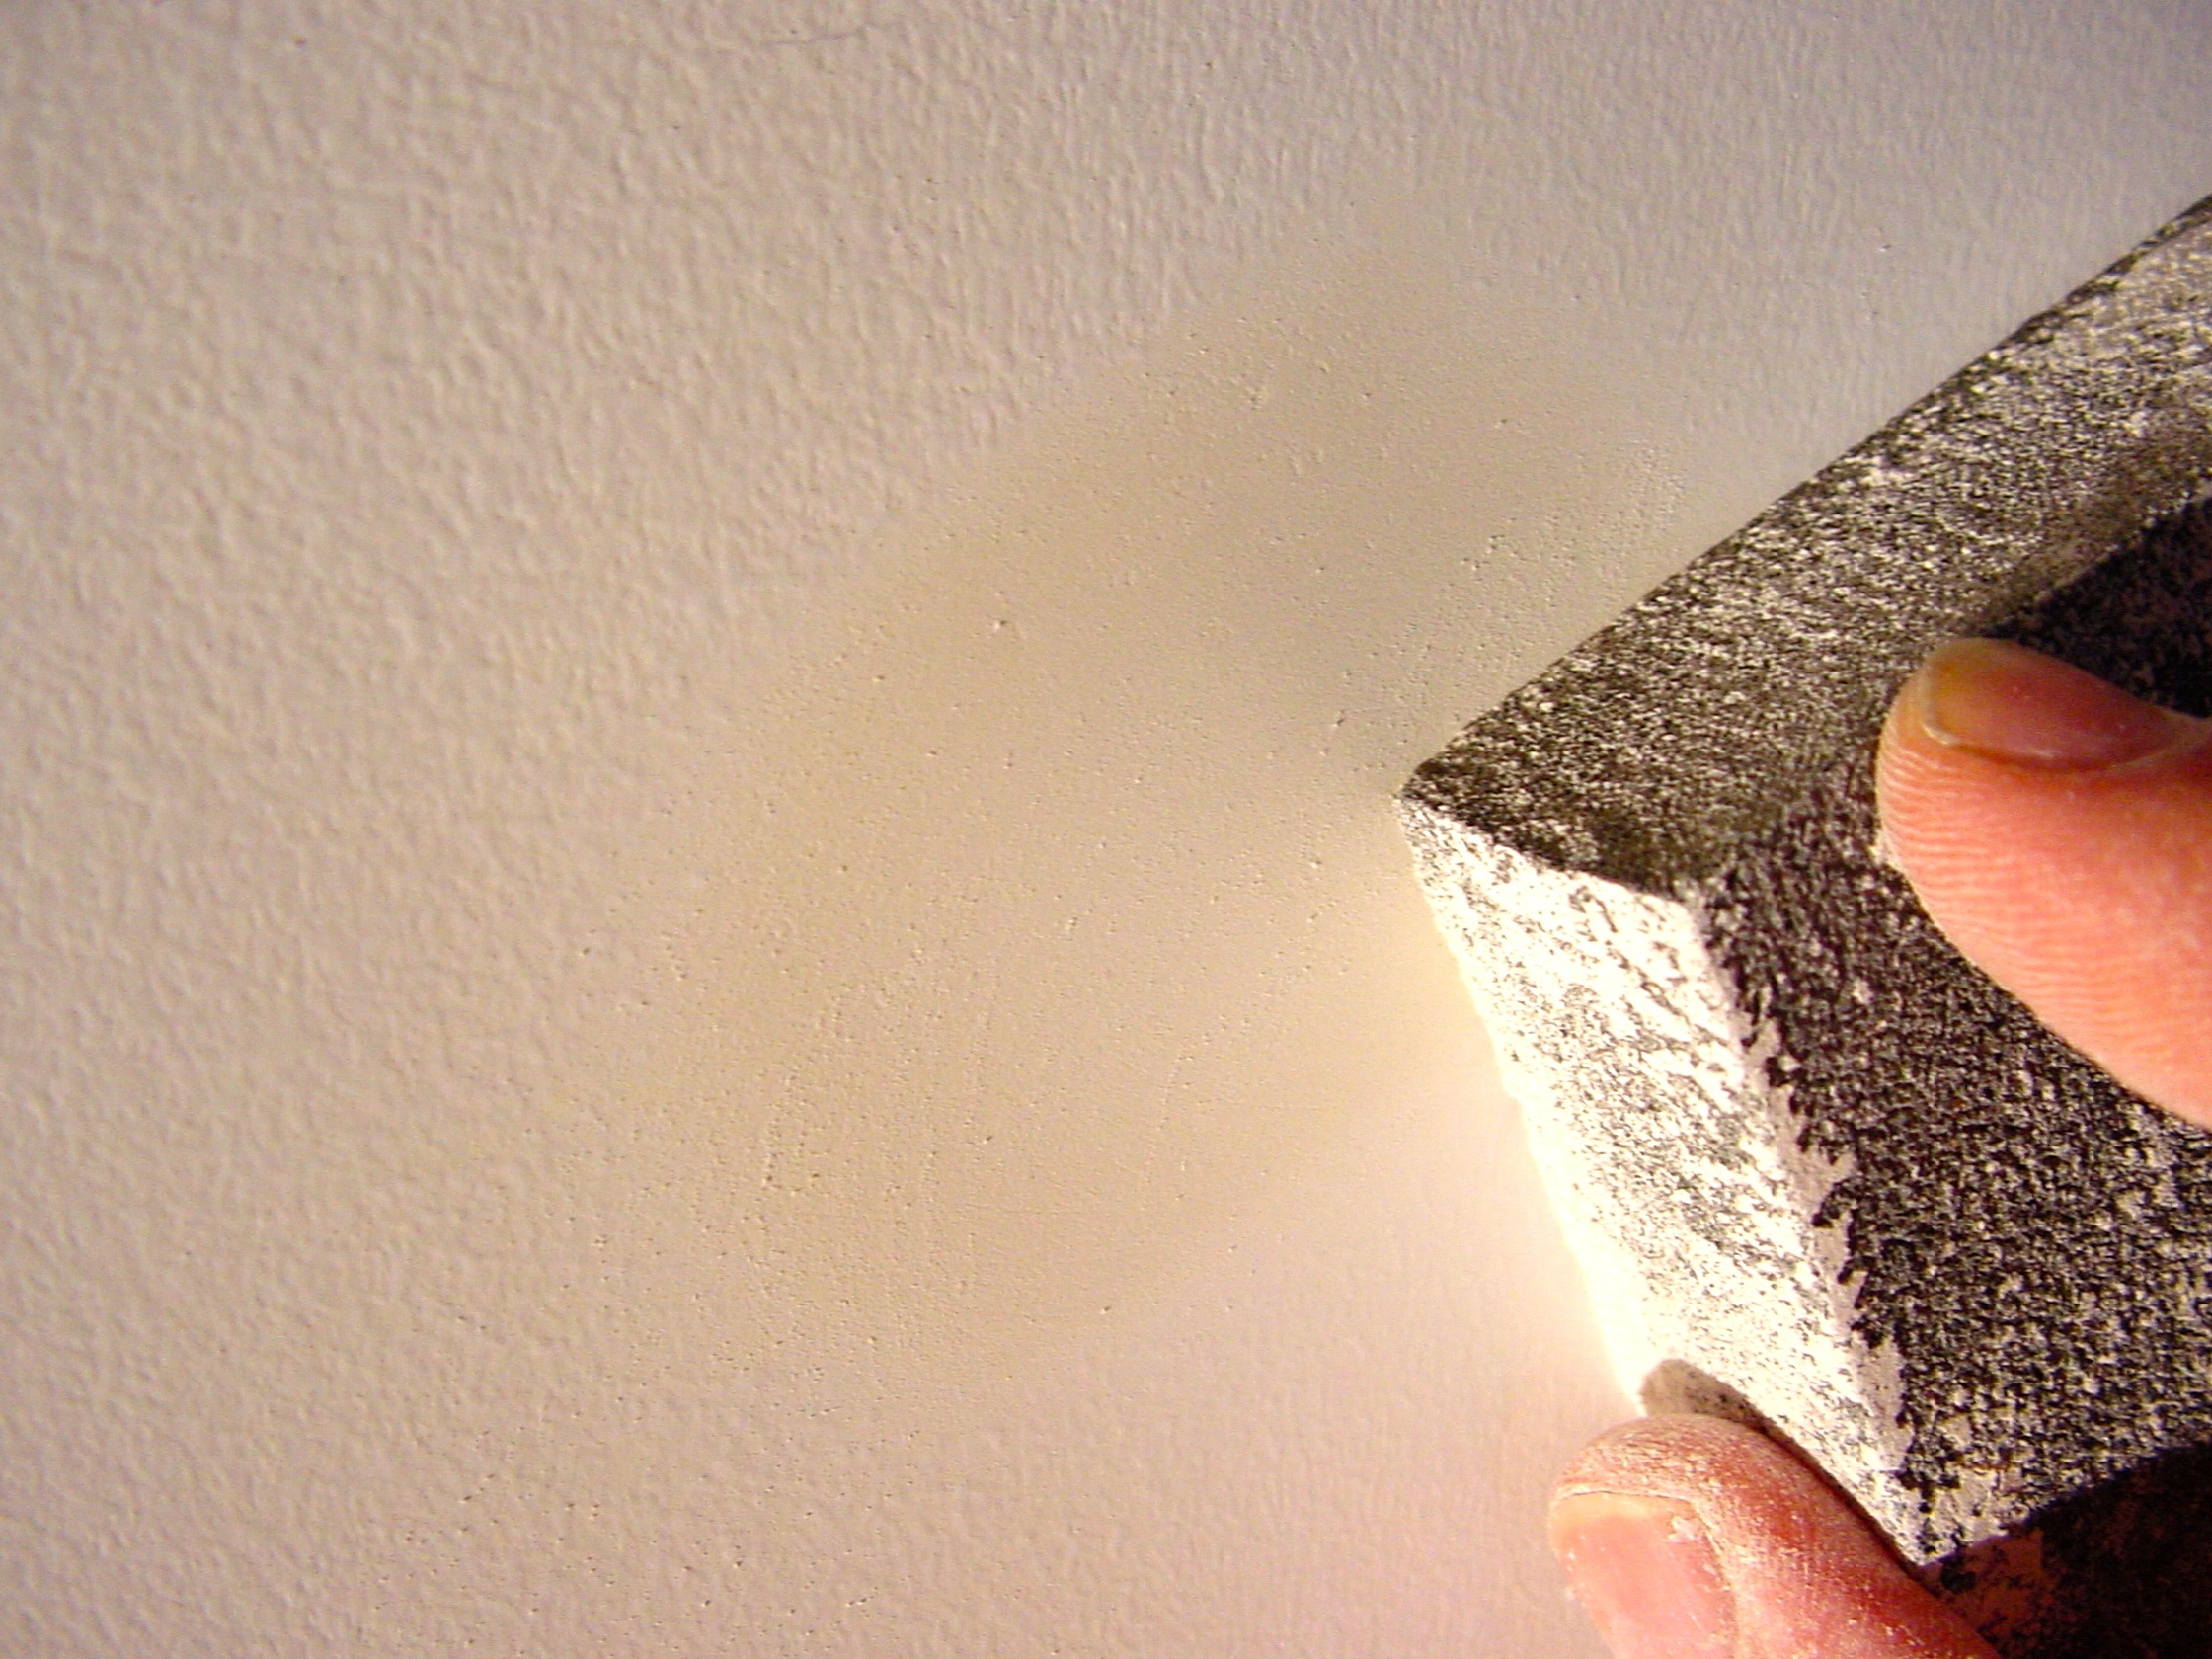 A: The trick is that you don’t actually have to remove the old anchors at all. Just pound the anchor down below the wall surface using the rounded handle of a screwdriver or putty knife. You need to create a slight crater in the area, with no frazzled drywall paper extending above the wall surface. Next, fill the hole and crater completely with drywall compound, plus an additional slight bulge of compound that sits slightly proud of the surface. Let the compound dry completely (12 to 24 hours) before smoothing the area with a sanding sponge. You may have to fill and sand the area again if any kind of depression remains. Paint the area and you’ll never know an old anchor was there!
Choosing a Basement Ceiling
Q: What’s easier to install when finishing a basement ceiling, drywall or ceiling tiles?
A: Ceiling tiles are simpler to install because they don’t require as many special skills as drywall. Sheets of drywall are also heavy and you need quite a bit of practice to plaster the joints so they don’t show. That said, if there are pipes and ducts extending down below the ceiling in your basement, then this can complicate ceiling tile installation to the point where drywall might make more sense. Then there’s the issue of appearance. A drywalled basement ceiling looks nicer to most people, especially in a recreational space. Ceiling tiles lend an institutional feeling, though they do allow easier access to pipes, wires and light fixtures in the ceiling area. Just slide the tiles to one side and the area is exposed. If you do decide to use drywall on the ceiling, be sure to coat it with as flat a paint as possible. It looks much better overhead than anything with a gloss.


I hope you found this content useful!
Your generous support helps me produce more practical, hands-on content that I hope you’ll find useful.
Steve Maxwell