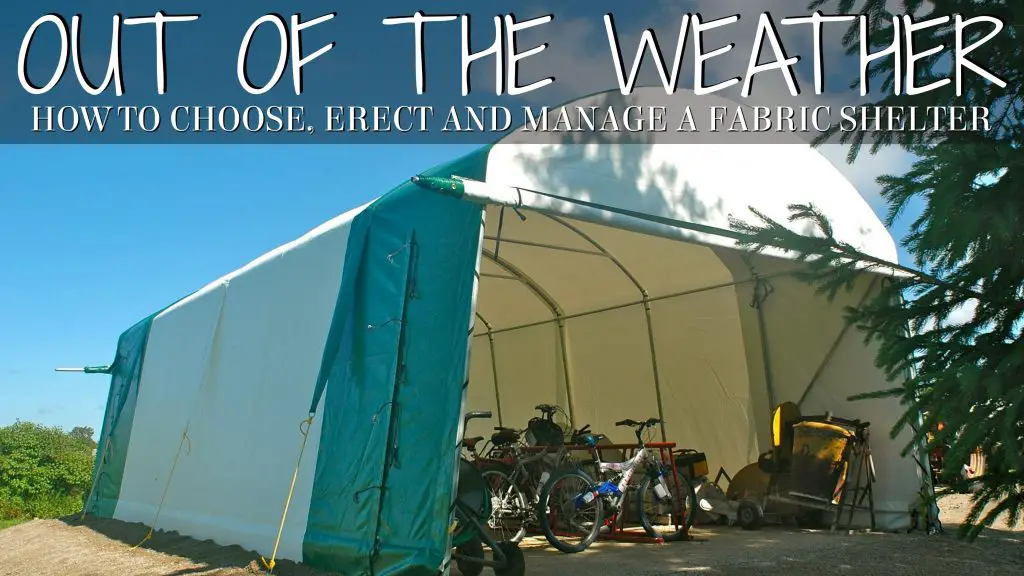
Sheltered storage space is always in short supply, but as true as this is, it doesn’t mean your machines, equipment and stuff needs to sit outside and rust. A portable garage can make all the difference. Also called temporary shelters or fabric shelters, this kind of structure uses hoop-shaped metal frames to support a tarp that keeps rain, sun and snow off equipment and building supplies. In 2009 I set up a heavy-duty fabric shelter at my place and it’s performed pretty much flawlessly ever since. Perhaps my experiences can help you. Details are below, but you might want to start by watching the product review video I did on this shelter in 2012.
Click below for the video:
Choosing a Portable Garage
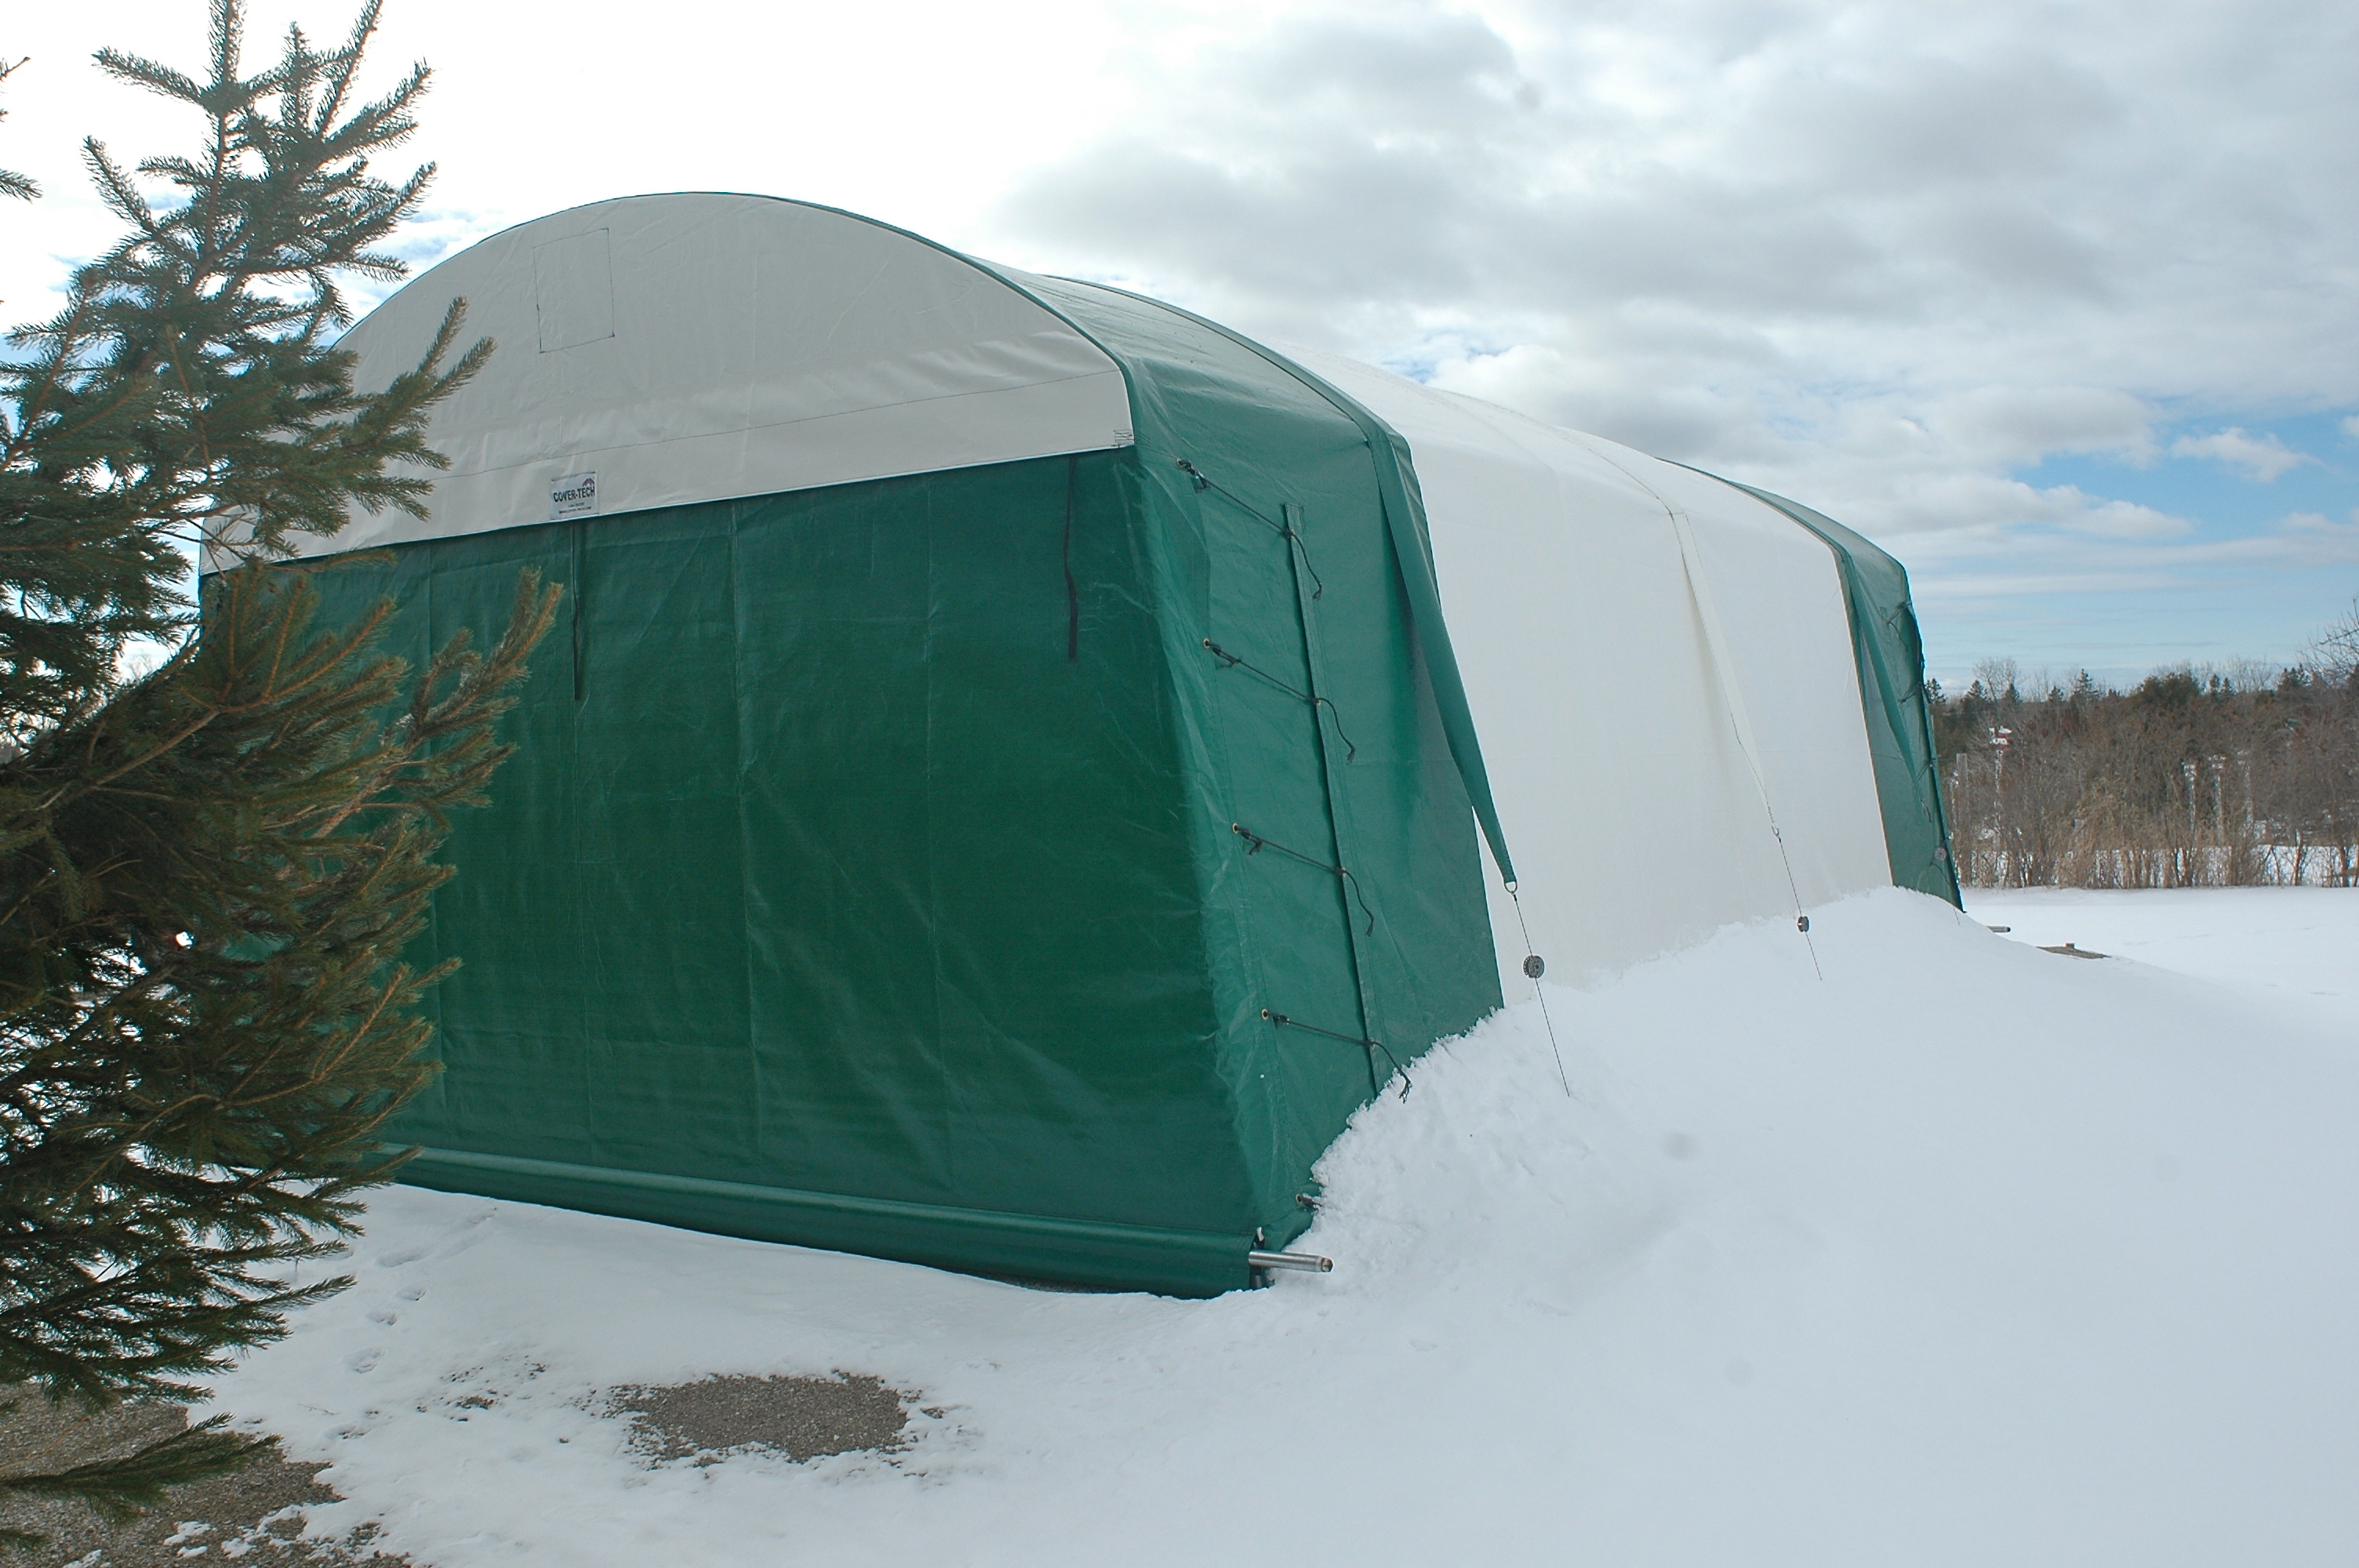
Back in 2009, I bought a 16’ x 30’, angled-wall shelter made by a Canadian company called Cover-Tech (www.cover-tech.com; 888-325-5757). I chalk the long-term success of this shelter up to three things.
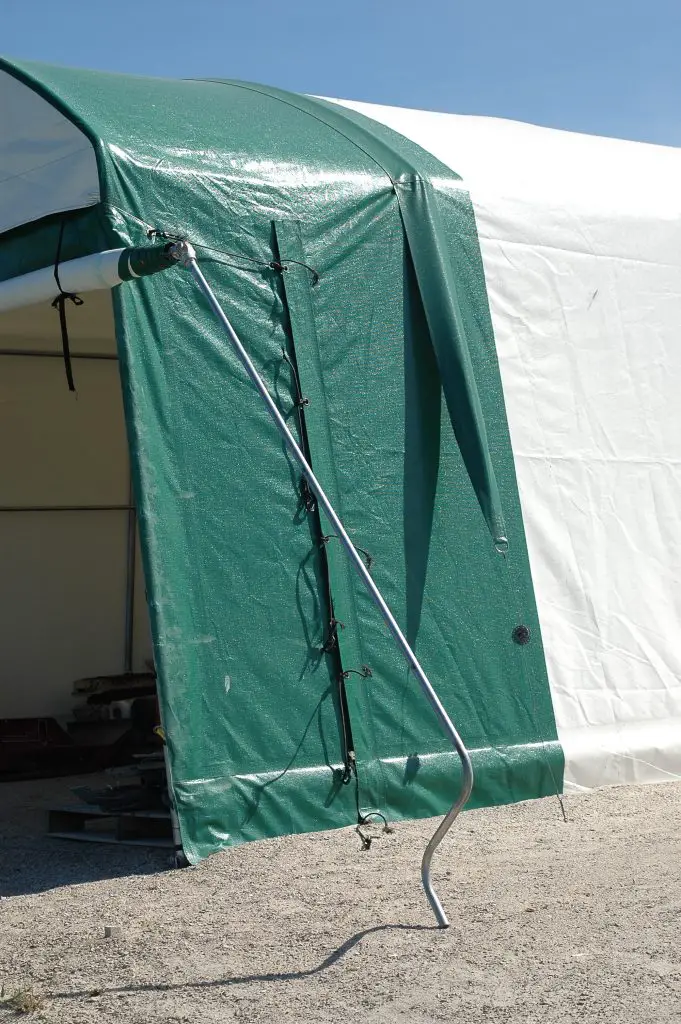
First, it’s well made. The thick fabric and large-diameter galvanized pipes used to make the hoops are more than up to the job. There are probably other shelters out there that are as good as my Cover-Tech, but I’ve never seen any that are better. The only technical issue in 11+ years has been that one of the fabric doors wore through in places where it was rubbing against the metal frame from wind. Other than that, there’s never been the slightest bit of trouble, even on the harsh, windy, exposed island location I have it set up on.
The second reason for success is that I invested time and a little money building a decent, well-drained base before erecting my portable garage. This is more important than many people realize, especially if you’ll be using the shelter as part of a busy outdoor life.
The third reason for success is that I’ve learned the tricks of managing a portable garage properly. It’s not always the same as with an ordinary wood-frame structure. As you’ll see, the reasons come down to moisture, wind and blowing snow.
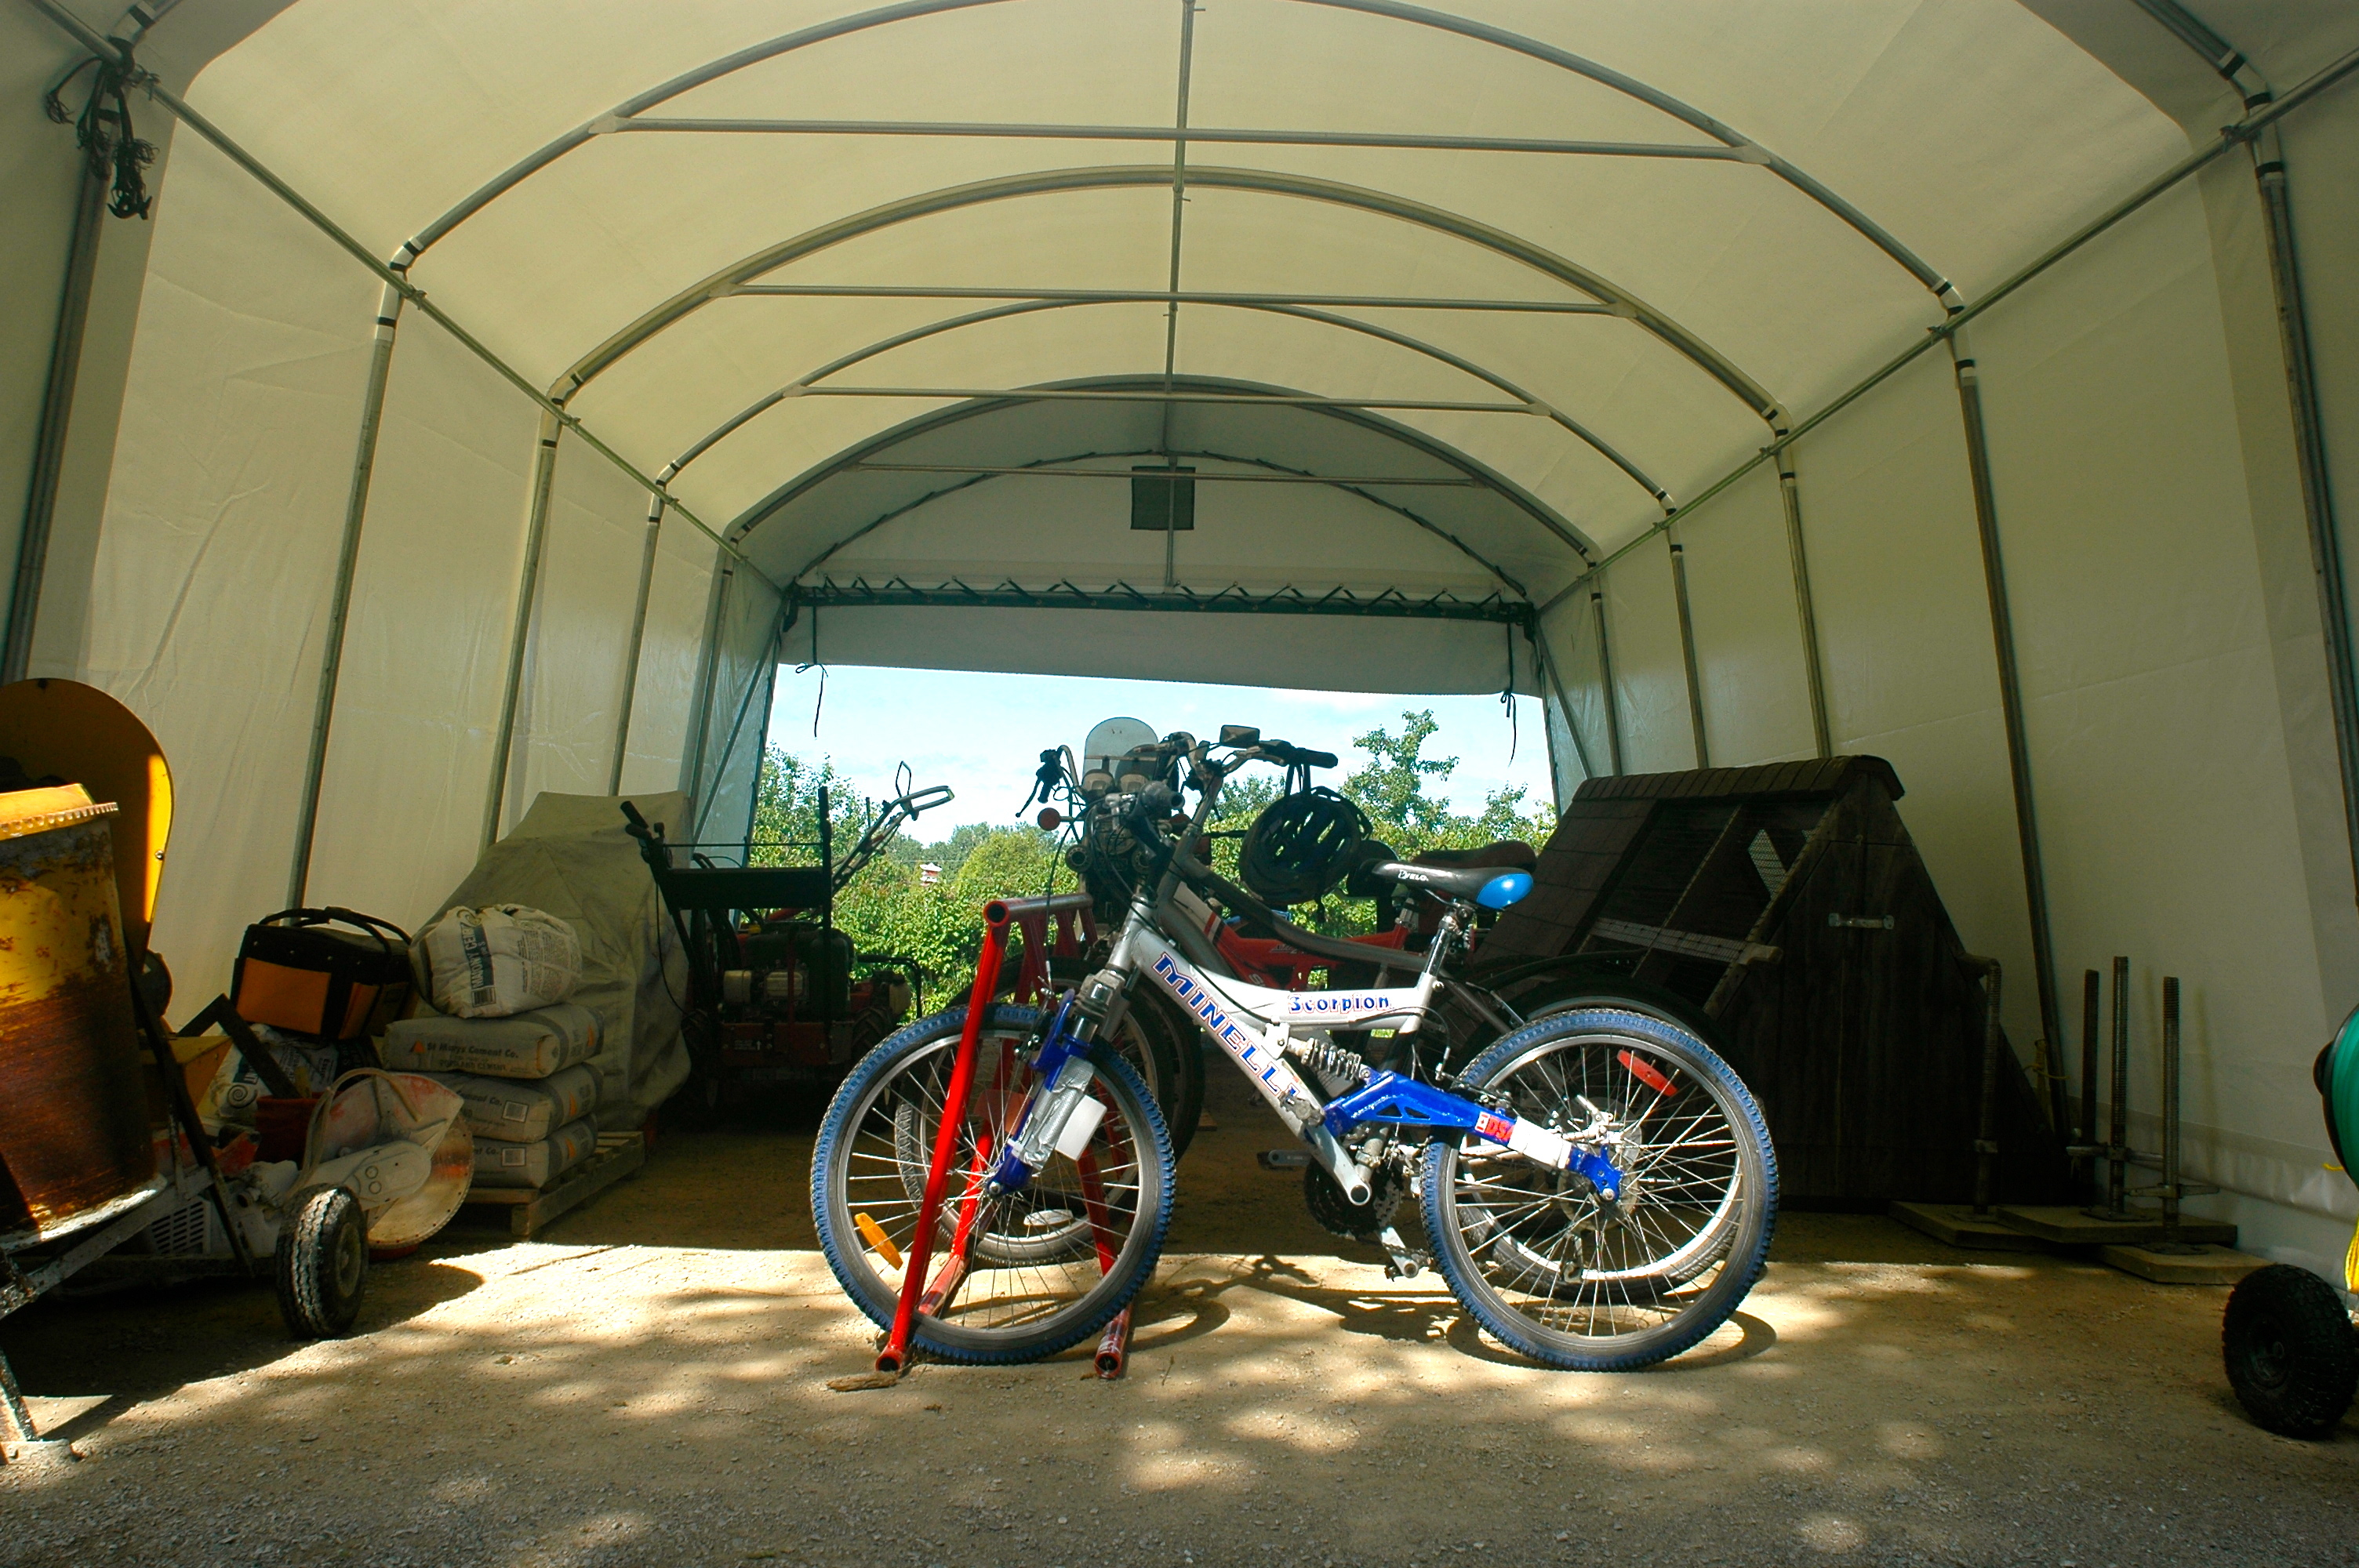
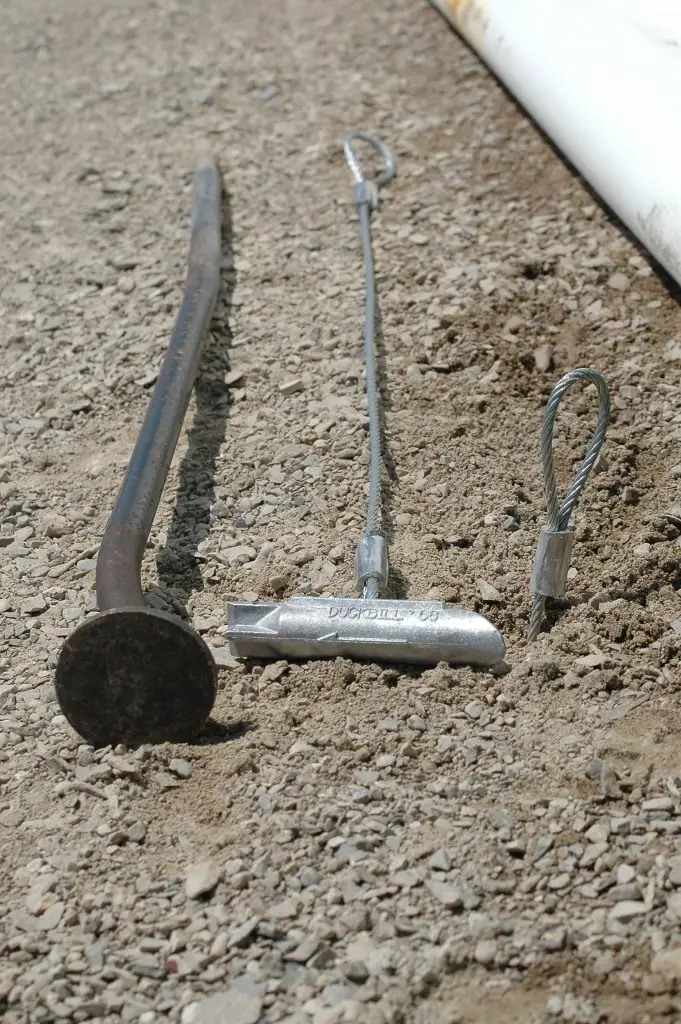
As you’re shopping for a portable garage, there are some optional features you should know about. The most valuable in my experience is having roll-up doors at both ends, not just one. Having access to both ends makes it much easier to put stuff in an get it out. Another thing to consider is optional hold-down straps that go over the portable garage, anchoring into the ground on each side. Not all companies offer this additional anchorage, but it delivers an added level of strength and wind resistance.
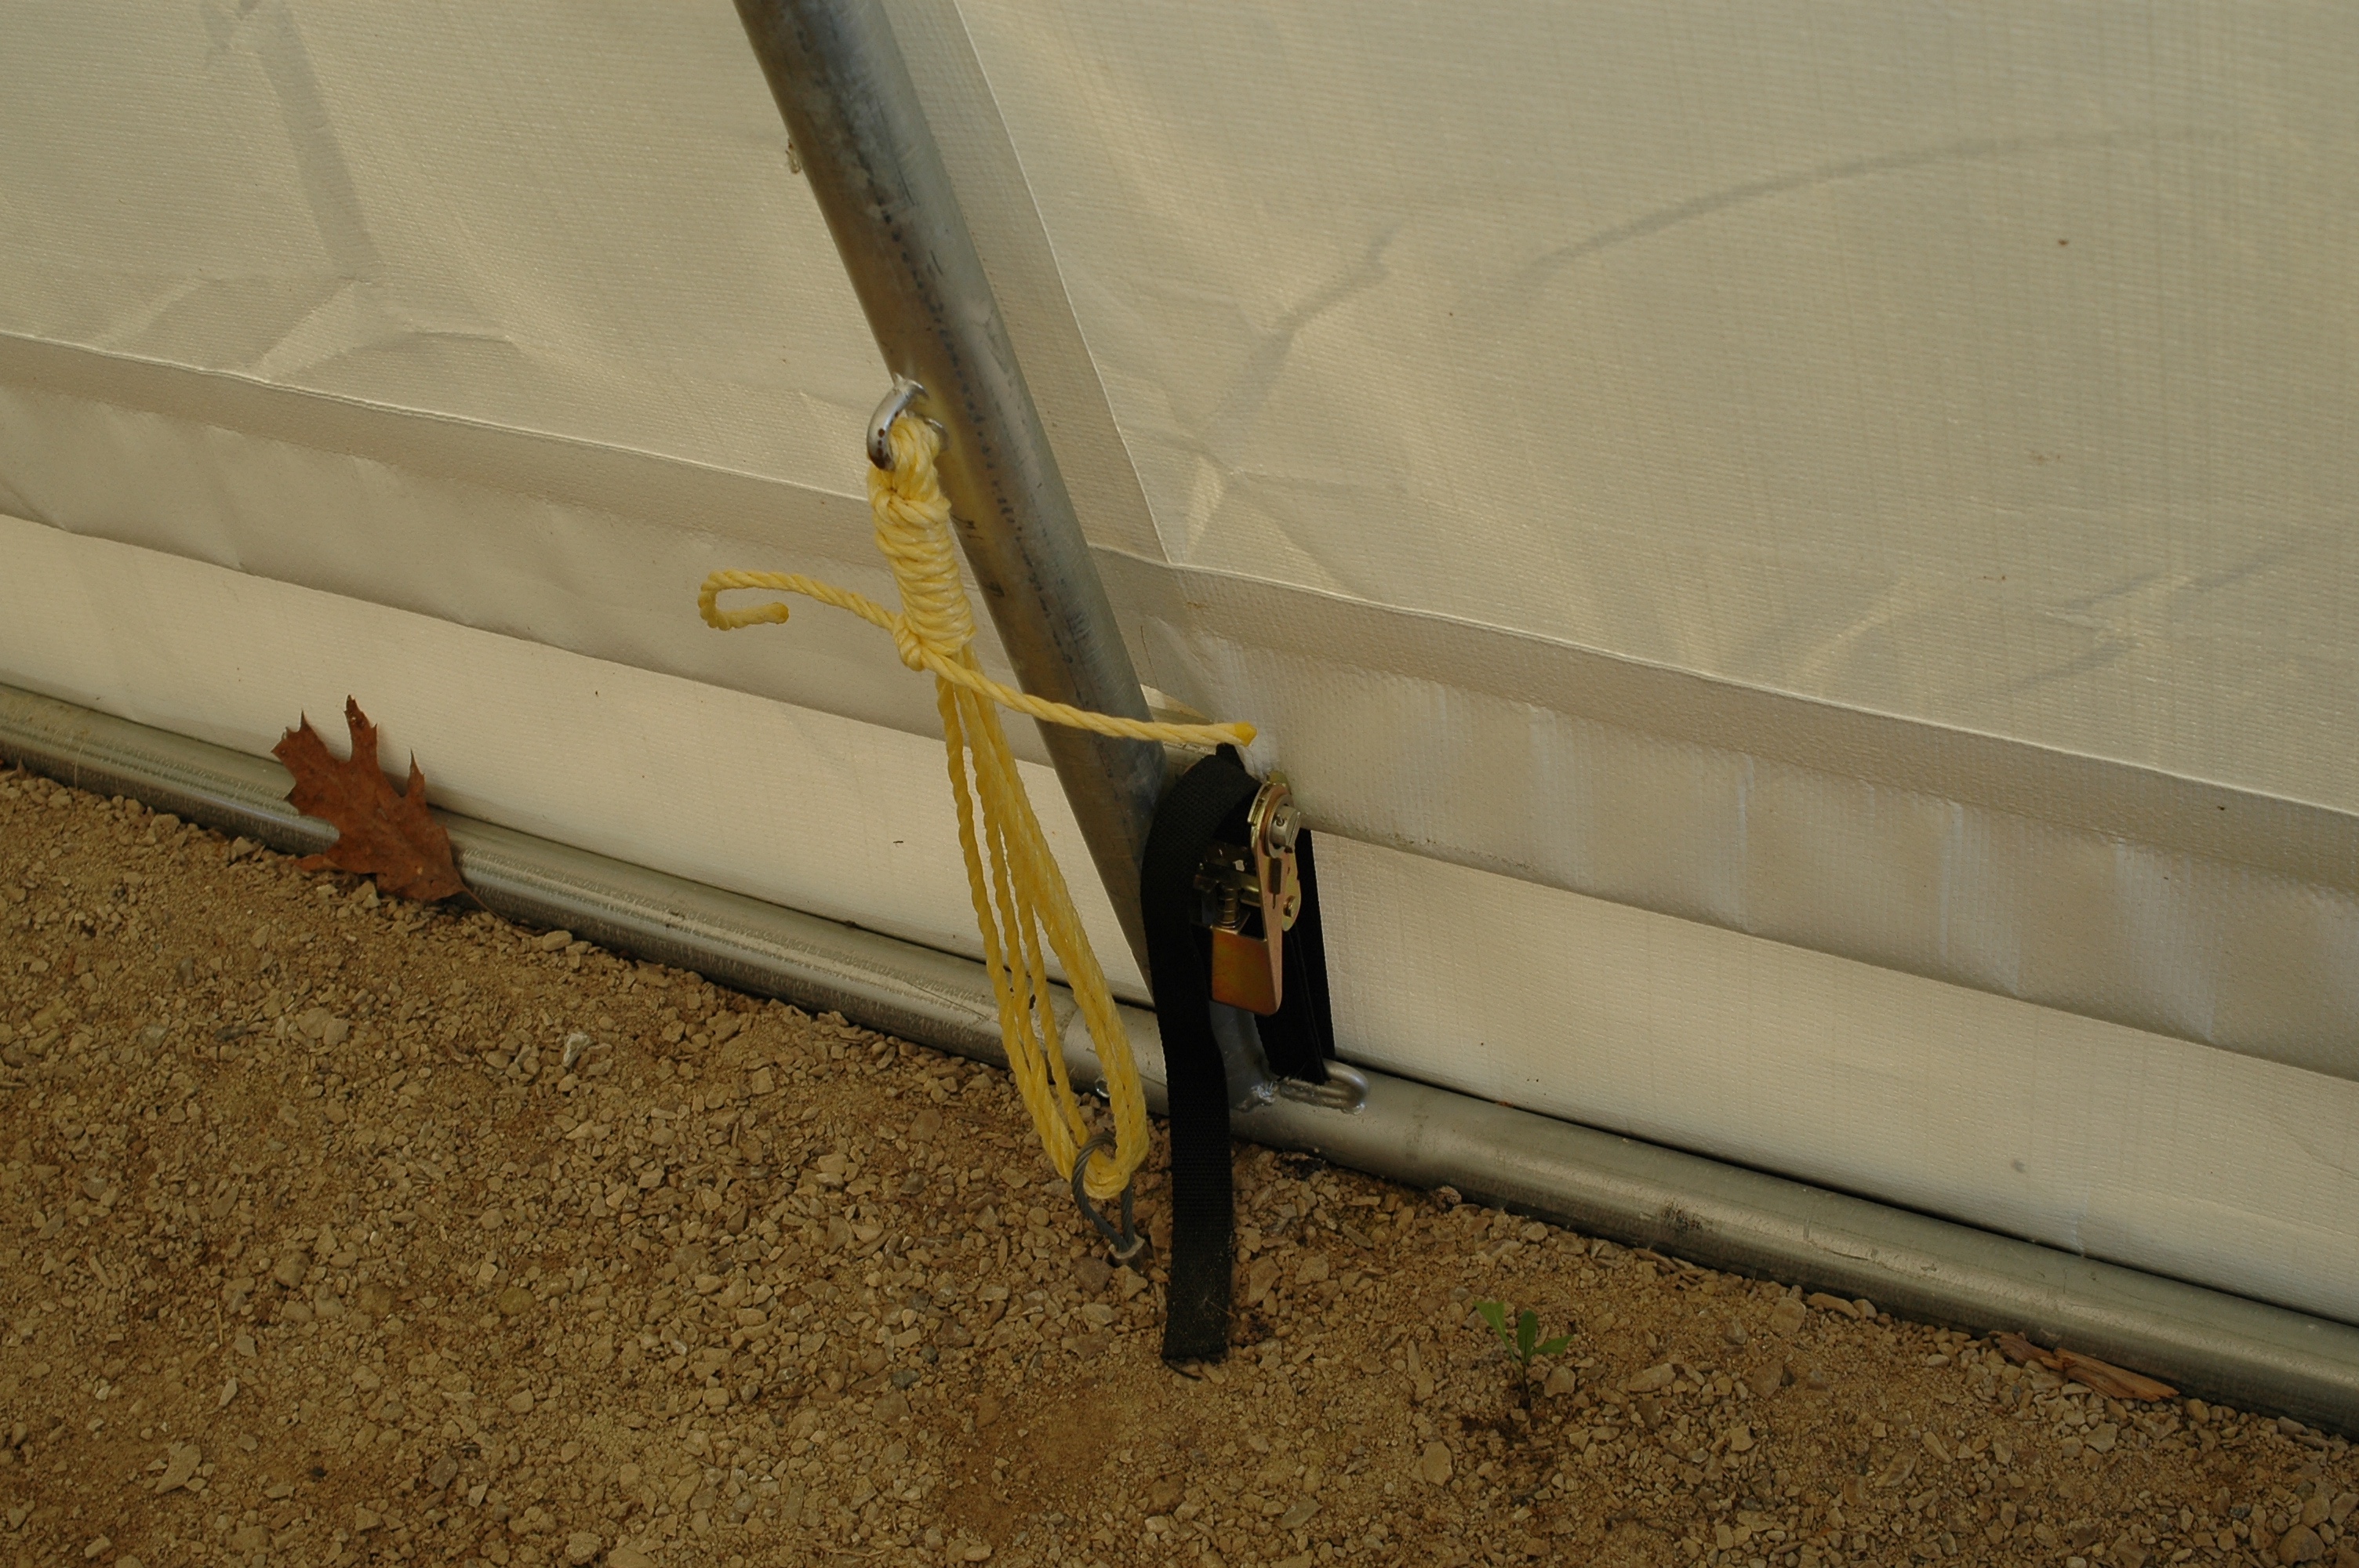
All portable garages use some method to secure the fabric over the frame and tighten it, and most use a series of laces that thread through grommets in the fabric and around the frame. I paid a little extra for a system that uses ratcheting strap clamps to secure the fabric and draw it tight. Besides being more effective than laces, the ratcheting system is easy to snug up later, if the fabric ever gets loose.
Tips for Erecting a Portable Garage
You could simply erect a portable garage on undisturbed ground, but that probably won’t perform well with all the traffic you’ll have going into and out of the thing. Who wants a muddy floor with ruts and holes? Creating a raised, solid, well-drained base is a better option. It’s the single biggest thing you can do to get your fabric shelter up and running optimally, and in my case this work started with some sharpened 2×2 wooden stakes. Hammer these into the ground at all four corners of the area you want to make level for your pad, plus more stakes every 10 feet or so along the sides. Use a transit to mark the tops of these stakes for sawing off level, then use the sawn top ends as reference when you’re putting down fill and compacting it. I used limestone screenings under my shelter, sloping this fill down when it got past the leveling stakes, extending 6 to 10 feet beyond the footprint of the shelter.
Have the fill for your base dumped in or near the pad location, then use a loader tractor or skid-steer loader to spread it around evenly. You’ll compact the fill surprisingly well if you intentionally drive over all areas of the fill as you level it. This should prevent settling, though you’ll eliminate all risk of settling if you let your pad sit for several months before erecting your shelter. A year is even better. As usual, patience pays off.
Managing Your Portable Garage
Each shelter company has their own assembly instructions, but few tell you what to expect when it comes to managing the shelter once it’s up. What’s to manage you say? Moisture is the big thing. Since these shelters are surprisingly air tight when installed properly and the door is closed, moisture will migrate up from the ground or come in on wet equipment, making interior humidity levels too high. And when outdoor air temperatures cool down outside, it can cause airborne moisture to condense on the inside of the tarp and the metal hoops enough to rain down on your stuff. This dynamic can even happen when it stays below freezing for long periods of time in winter. The sun will raise internal shelter temperatures above freezing during the day (even when it’s below freezing outside), triggering the condensation cycle even when you might not think it can happen. Ventilation is the simple solution, but the question is how to get it.

The most effective approach involves leaving the shelter door open whenever wind and weather permit. Some shelters have screened ventilation openings up in the gable ends, though many require you to cut the tarp in front of the screen to open them up. Either way, check inside and see how the “weather” in your shelter looks, especially as fall cools to winter, and winter warms to spring. Visible moisture on the walls is a sign that you need more ventilation.
As with any shelter, you need to be aware of the door. When windy weather arrives, it’s important to close the door and secure it shut. Many shelters also rely on the door being closed to give the structure racking resistance during strong winds. My own shelter came with bungee cords for keeping the door closed under normal conditions, plus ratcheting strap clamps for cinching the door down extra tight before a wind storm.
It’s usually true that it’s easier to buy things than it is to store and take care of them properly. A fabric shelter might not seem as exciting as a new quad, a tractor, mini-excavator or the equipment you store inside, but a good shelter is at least as important as the stuff being protected. And in my case, this one has worked really well for quite a while.


I hope you found this content useful!
Your generous support helps me produce more practical, hands-on content that I hope you’ll find useful.
Steve Maxwell