Recessed lighting combines gorgeous aesthetics and practical features in a way that no other lighting system can match. But to enjoy these benefits without disappointment, you need to understand some technical details as well as the range of bulb, fixture and dimmer choices. Sometimes success with recessed lighting demands more technical thinking than other choices, but the results can be worth it.
Recessed lights (also called “pot lights”) have come along way from the large, visually-prominent, ceiling-mounted floodlights that appeared in the 1960s and 70s. And the biggest difference between now and then is choice, simplicity and lower cost. There are options, and the first step towards working through all the options is identifying what you want to accomplish.
Are you after ambient lighting in an attic loft that’s not tall enough to handle hanging fixtures? Or how about spotlighting of art or collectibles? Perhaps you need to angle some light along a sloped ceiling of a second-story bedroom? Need to illuminate a kitchen? All of these challenges and more can be easily met with the right kind of recessed fixtures. The trick is to choose well. When it comes to recessed lights, most people think of aesthetics first, but technicalities matter, too.
Right Light for the Job
The simplest way to begin coming to a decision about recessed lighting is to ask yourself two questions:
- Low-voltage or high-voltage?
- Insulated or non-insulated ceiling space?
If your room needs a wide beam of light for general illumination, then consider a fixture that uses a 120-volt, flat-style design. This is one of the so-called high voltage options and modern models have also made this the simplest. The hardware is inexpensive and installation is simple.
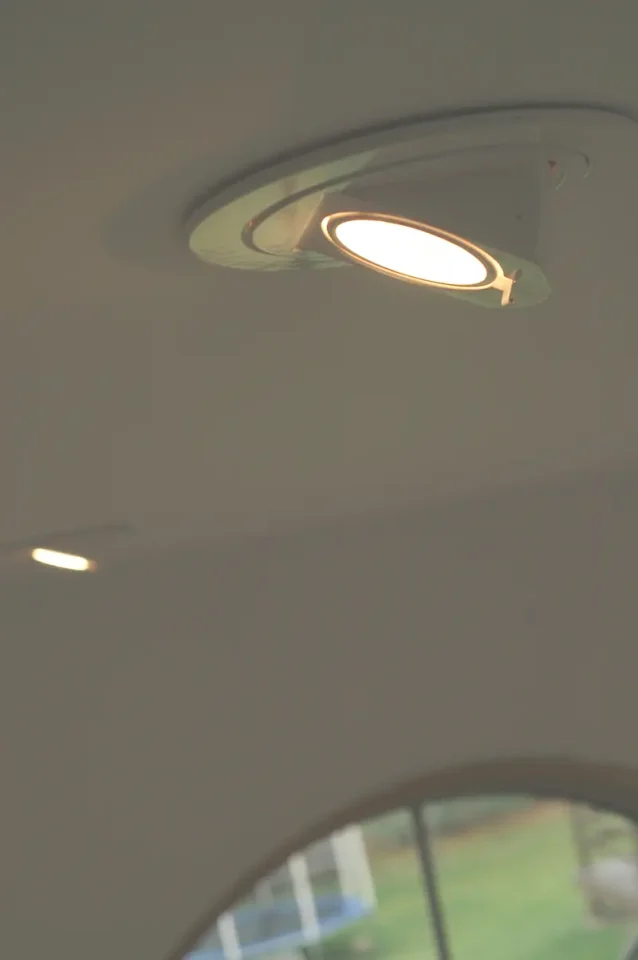
You can see a relatively new type of recessed fixture below, and I really like this design. Fixtures like these are 90% less expensive than older style recessed fixtures used to be, and they’re also so much easier to install during renovations or new construction. You simply fasten the small connection box near a hole that will be cut in the ceiling drywall, then make an electrical cable connection inside the box. This is step#1.

Look closely at the fixture above. Notice how the electrical cord has an unpluggable connection mid-way along. Unplug this connection, screw the box to wood framing during construction, then make a notation where you want the hole for the fixture to be after the drywall is up. These days drywall installers have large hole saws that make the correct size of round opening for recessed fixtures, so they’ll need something to tell them where to bore holes for fixtures.
After painting is done, just reach in the hole and plug the fixture to the wire again. This is step#2. The blue, spring-loaded arms you see on the sides of the fixture above grip the edges of the drywall, holding the fixture in place. That’s it. The only drawback is that this type of fixture has no replaceable bulb. In my experience I’ve never seen one burn out yet, but it makes sense to buy some additional fixtures and keep them in storage. They’re quite inexpensive. This way if one stops working you can simply pull the old fixture out of the drywall (the box mounted to the ceiling framing stays put), unplug the connection, plug the new fixture to the cable, then replace the fixture into the drywall hole.
Easiest Fixtures
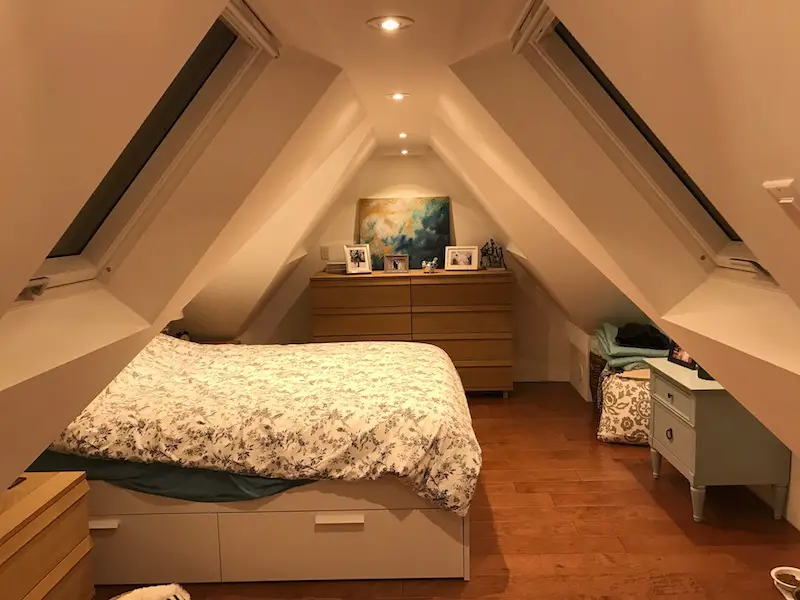
The type of recessed fixture above have come on stream during the last 10 years. The last few batches I’ve installed are of this type and I like them a lot. Click here for a model that I recommend. You can see this type installed in the loft bedroom below.
What’s Above the Fixture?
One technical issue you need to think about is the nature of the space above your recessed lights. Is it a heated, fully indoor space, such as an insulation-free joist cavity between two levels in a house? In this case, any kind of recessed fixture will do just fine, as long as it’s installed according to manufacturer’s directions. If insulation will touch the fixture, you’ll need a fixture with what’s called an “IC” rating. In this case, IC stands for “insulation contact”.

Dimming LED Low-Voltage Lights
While modern recessed fixtures have their place, integrating LED wall sconces into your design can offer a functional yet decorative touch. Especially in areas where ceiling mounts aren’t feasible, these sconces prove invaluable. Regardless of fixture design, many modern recessed fixtures have LED lights, and these do have their advantages. The thing is, some LEDs can be dimmed when connected to a dimmer switch, while others won’t dim properly. Many of today’s recessed fixtures have a light built right in (as above), but dimming them with a wall-mounted control, is not a given. Check this detail before you buy.


